Picture Frame Moulding
Installing picture frame moulding to any room in your home will add charm and character and it’s easier to accomplish than you might think.
The cold month of January was the perfect time to complete my picture frame moulding project and this was one of the first trim projects I have completed mostly on my own. My husband got me started and I hit the ground running from there and completed it all by myself.
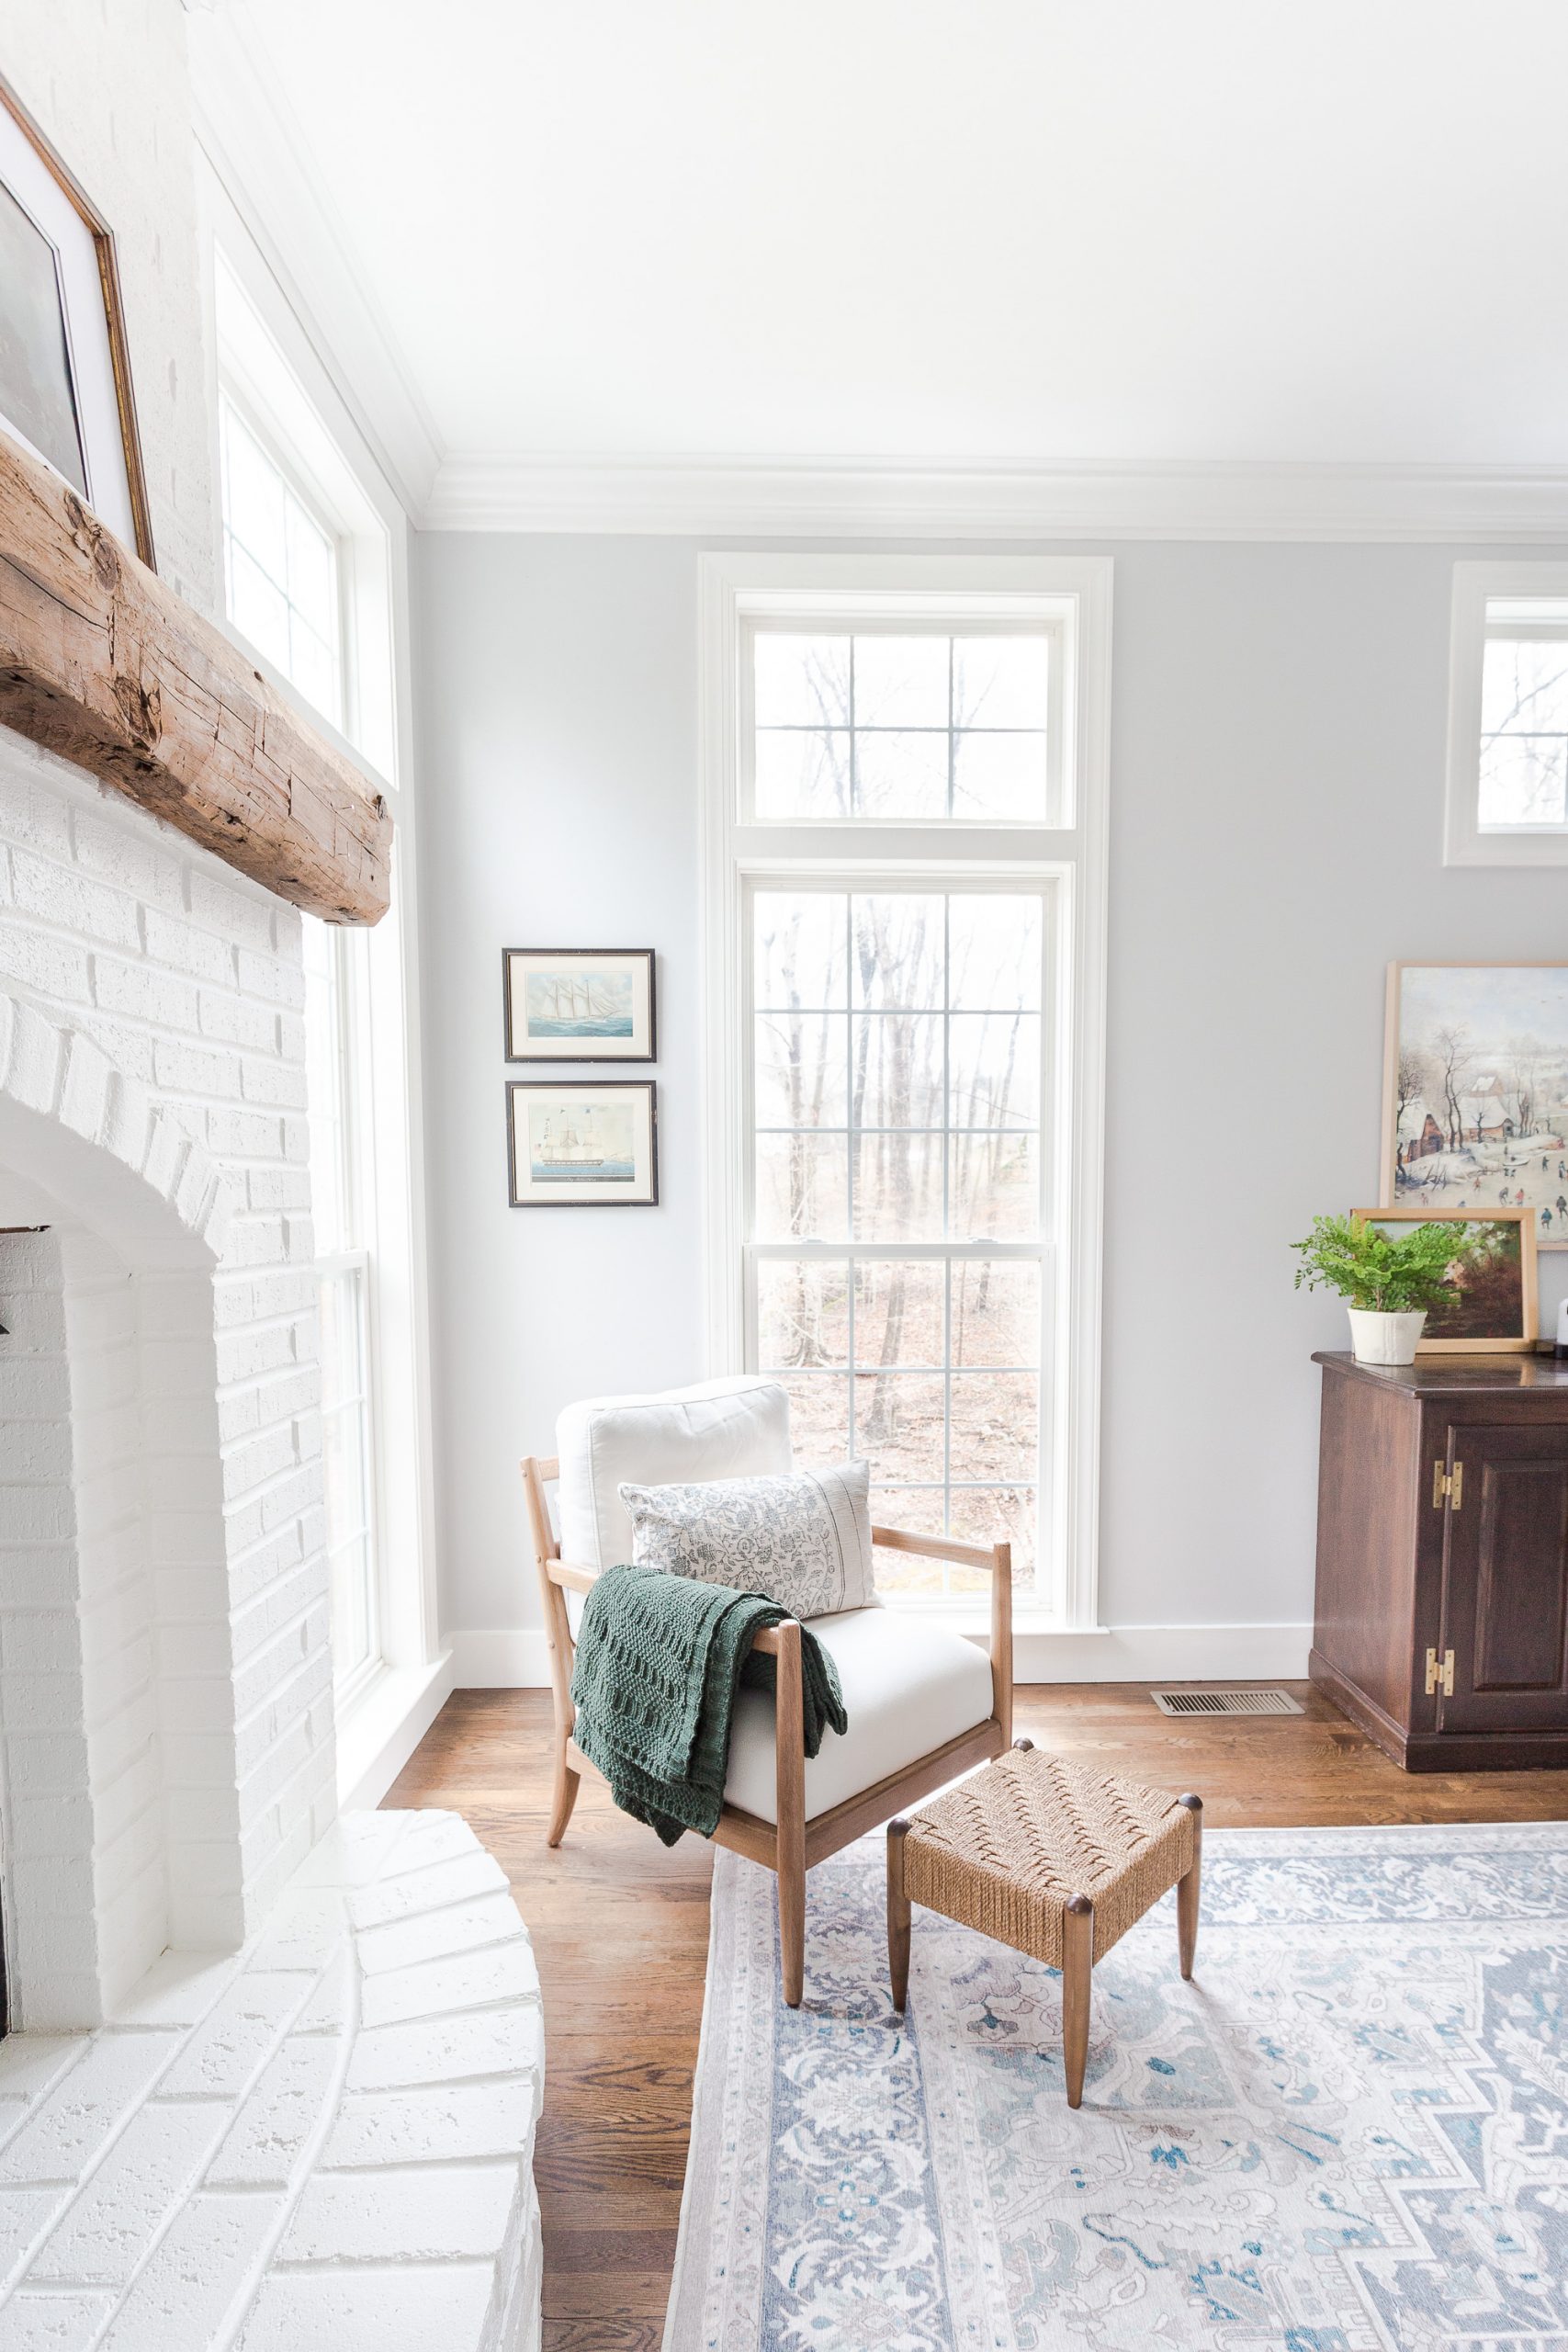
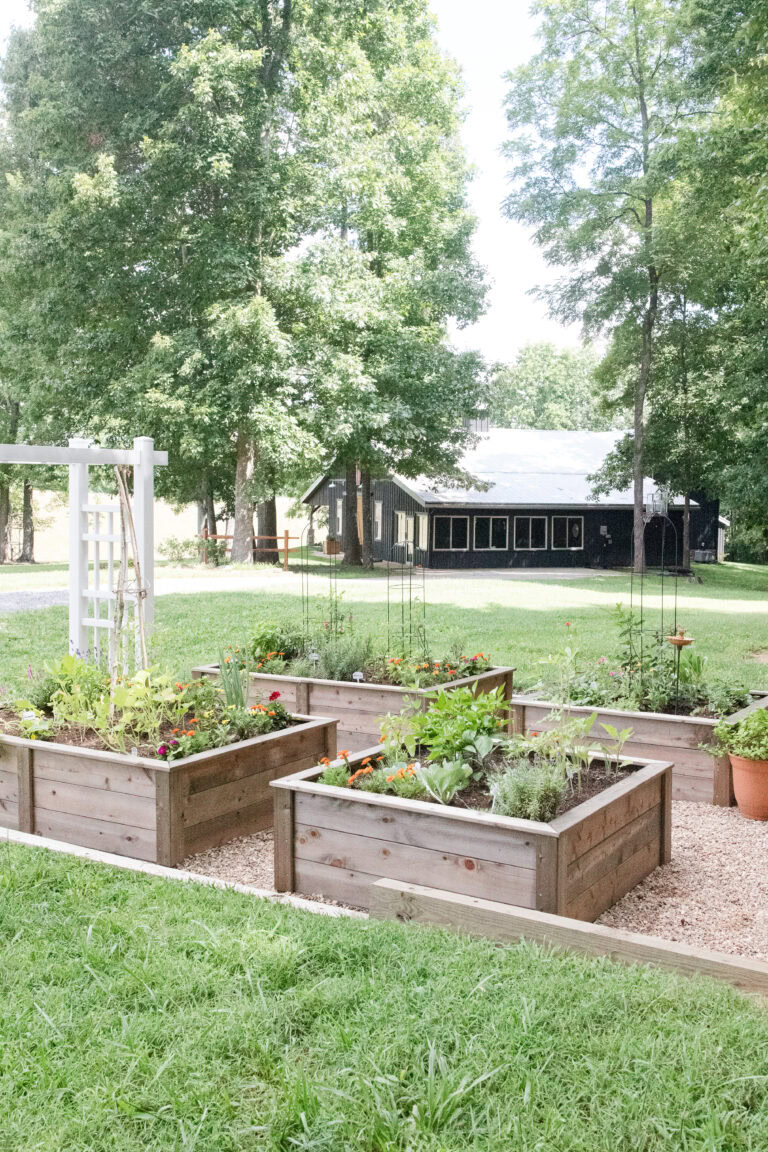
After moving to our Tennessee home, we spent the first few months painting our barn and shop. Our only focus was getting that done and I spent hours every day trying to accomplish this HUMONGOUS task. Painting and decorating our primary bedroom in our new home was at the top of my to-do-list once the barn painting was complete. I wanted to add more than just paint to our room but not overdo it so I decided to install picture frame moulding and so glad I did.
Affiliate links are provided below. Please see my full disclosure.
What is Picture Frame Moulding?
Picture frame moulding is typically in the shape of a rectangle or square…think picture frame here. It’s like adding a picture frame directly to your walls. It uses a combination of squares and rectangles that add texture and yes…charm to any room you add it to. You can add picture frame molding to an entire room to create a focal point or all over your room like I did here. Moulding can either be very decorative or more simple. For this tutorial we are using a simple base cap moulding and adding it directly to the wall.
Maybe you’ve heard different names for picture frame moulding such as: panel moulding, shadow box trim, box paneling, molding or wainscoting.
Different Types of Moulding
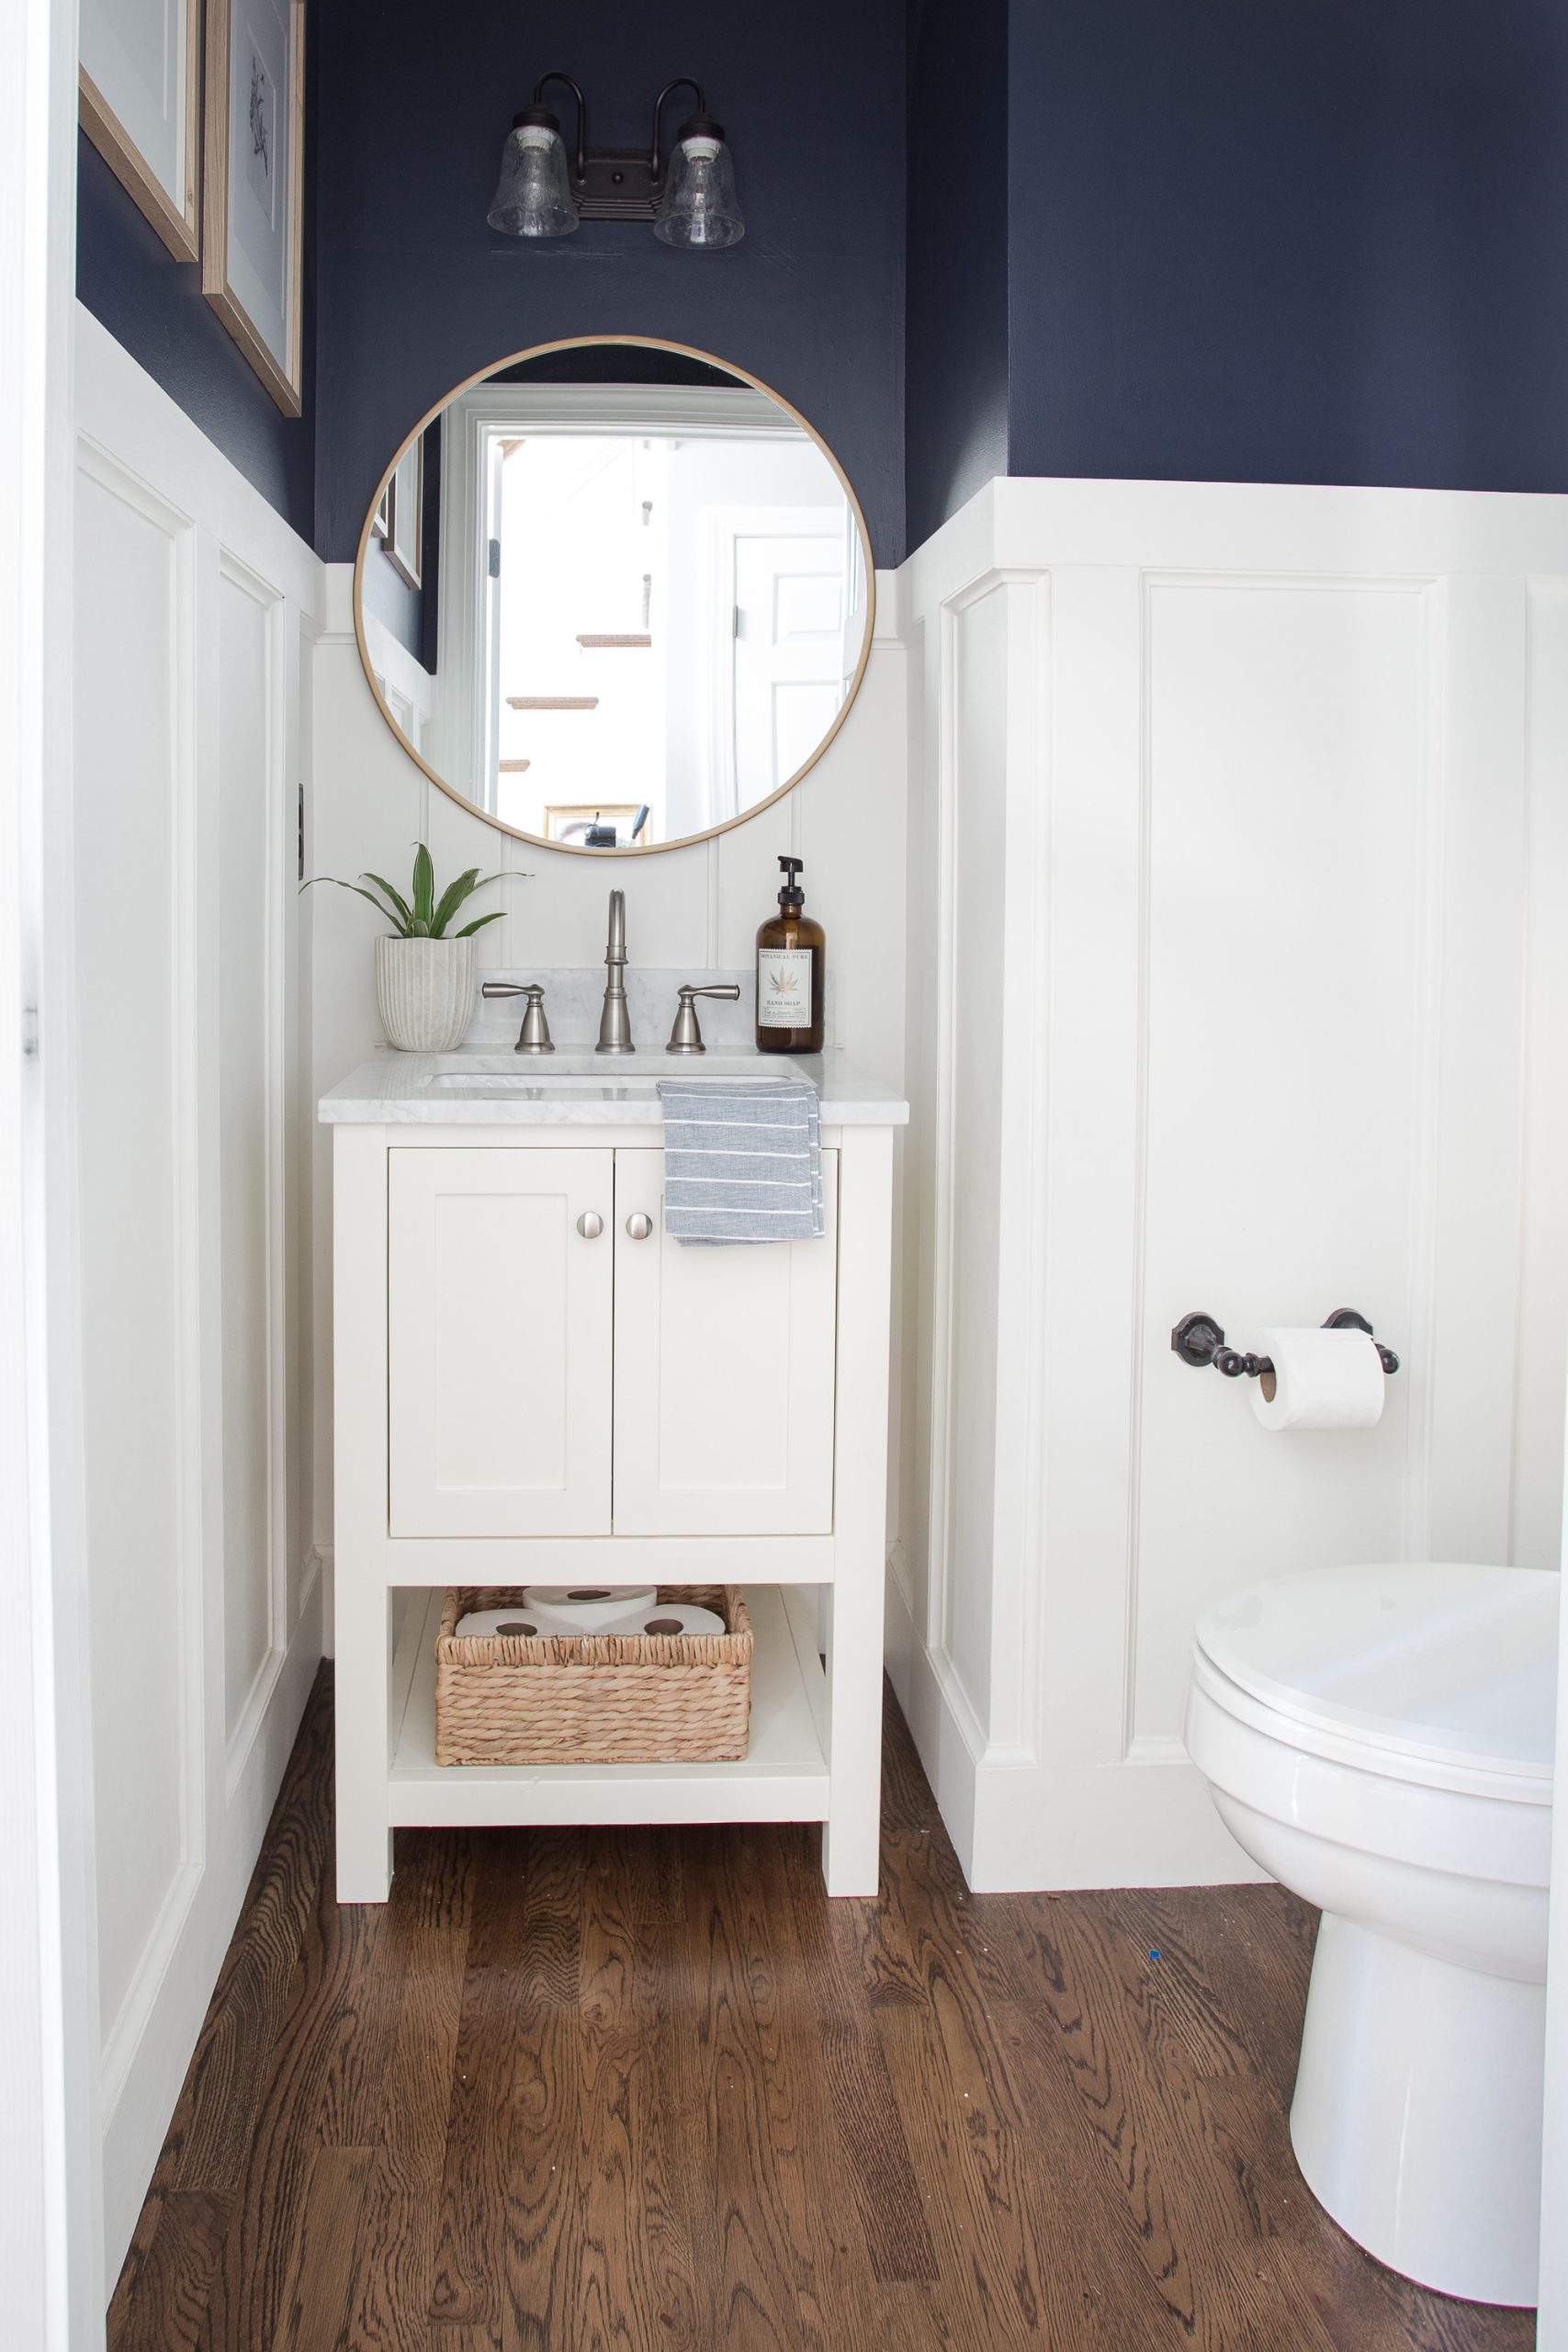
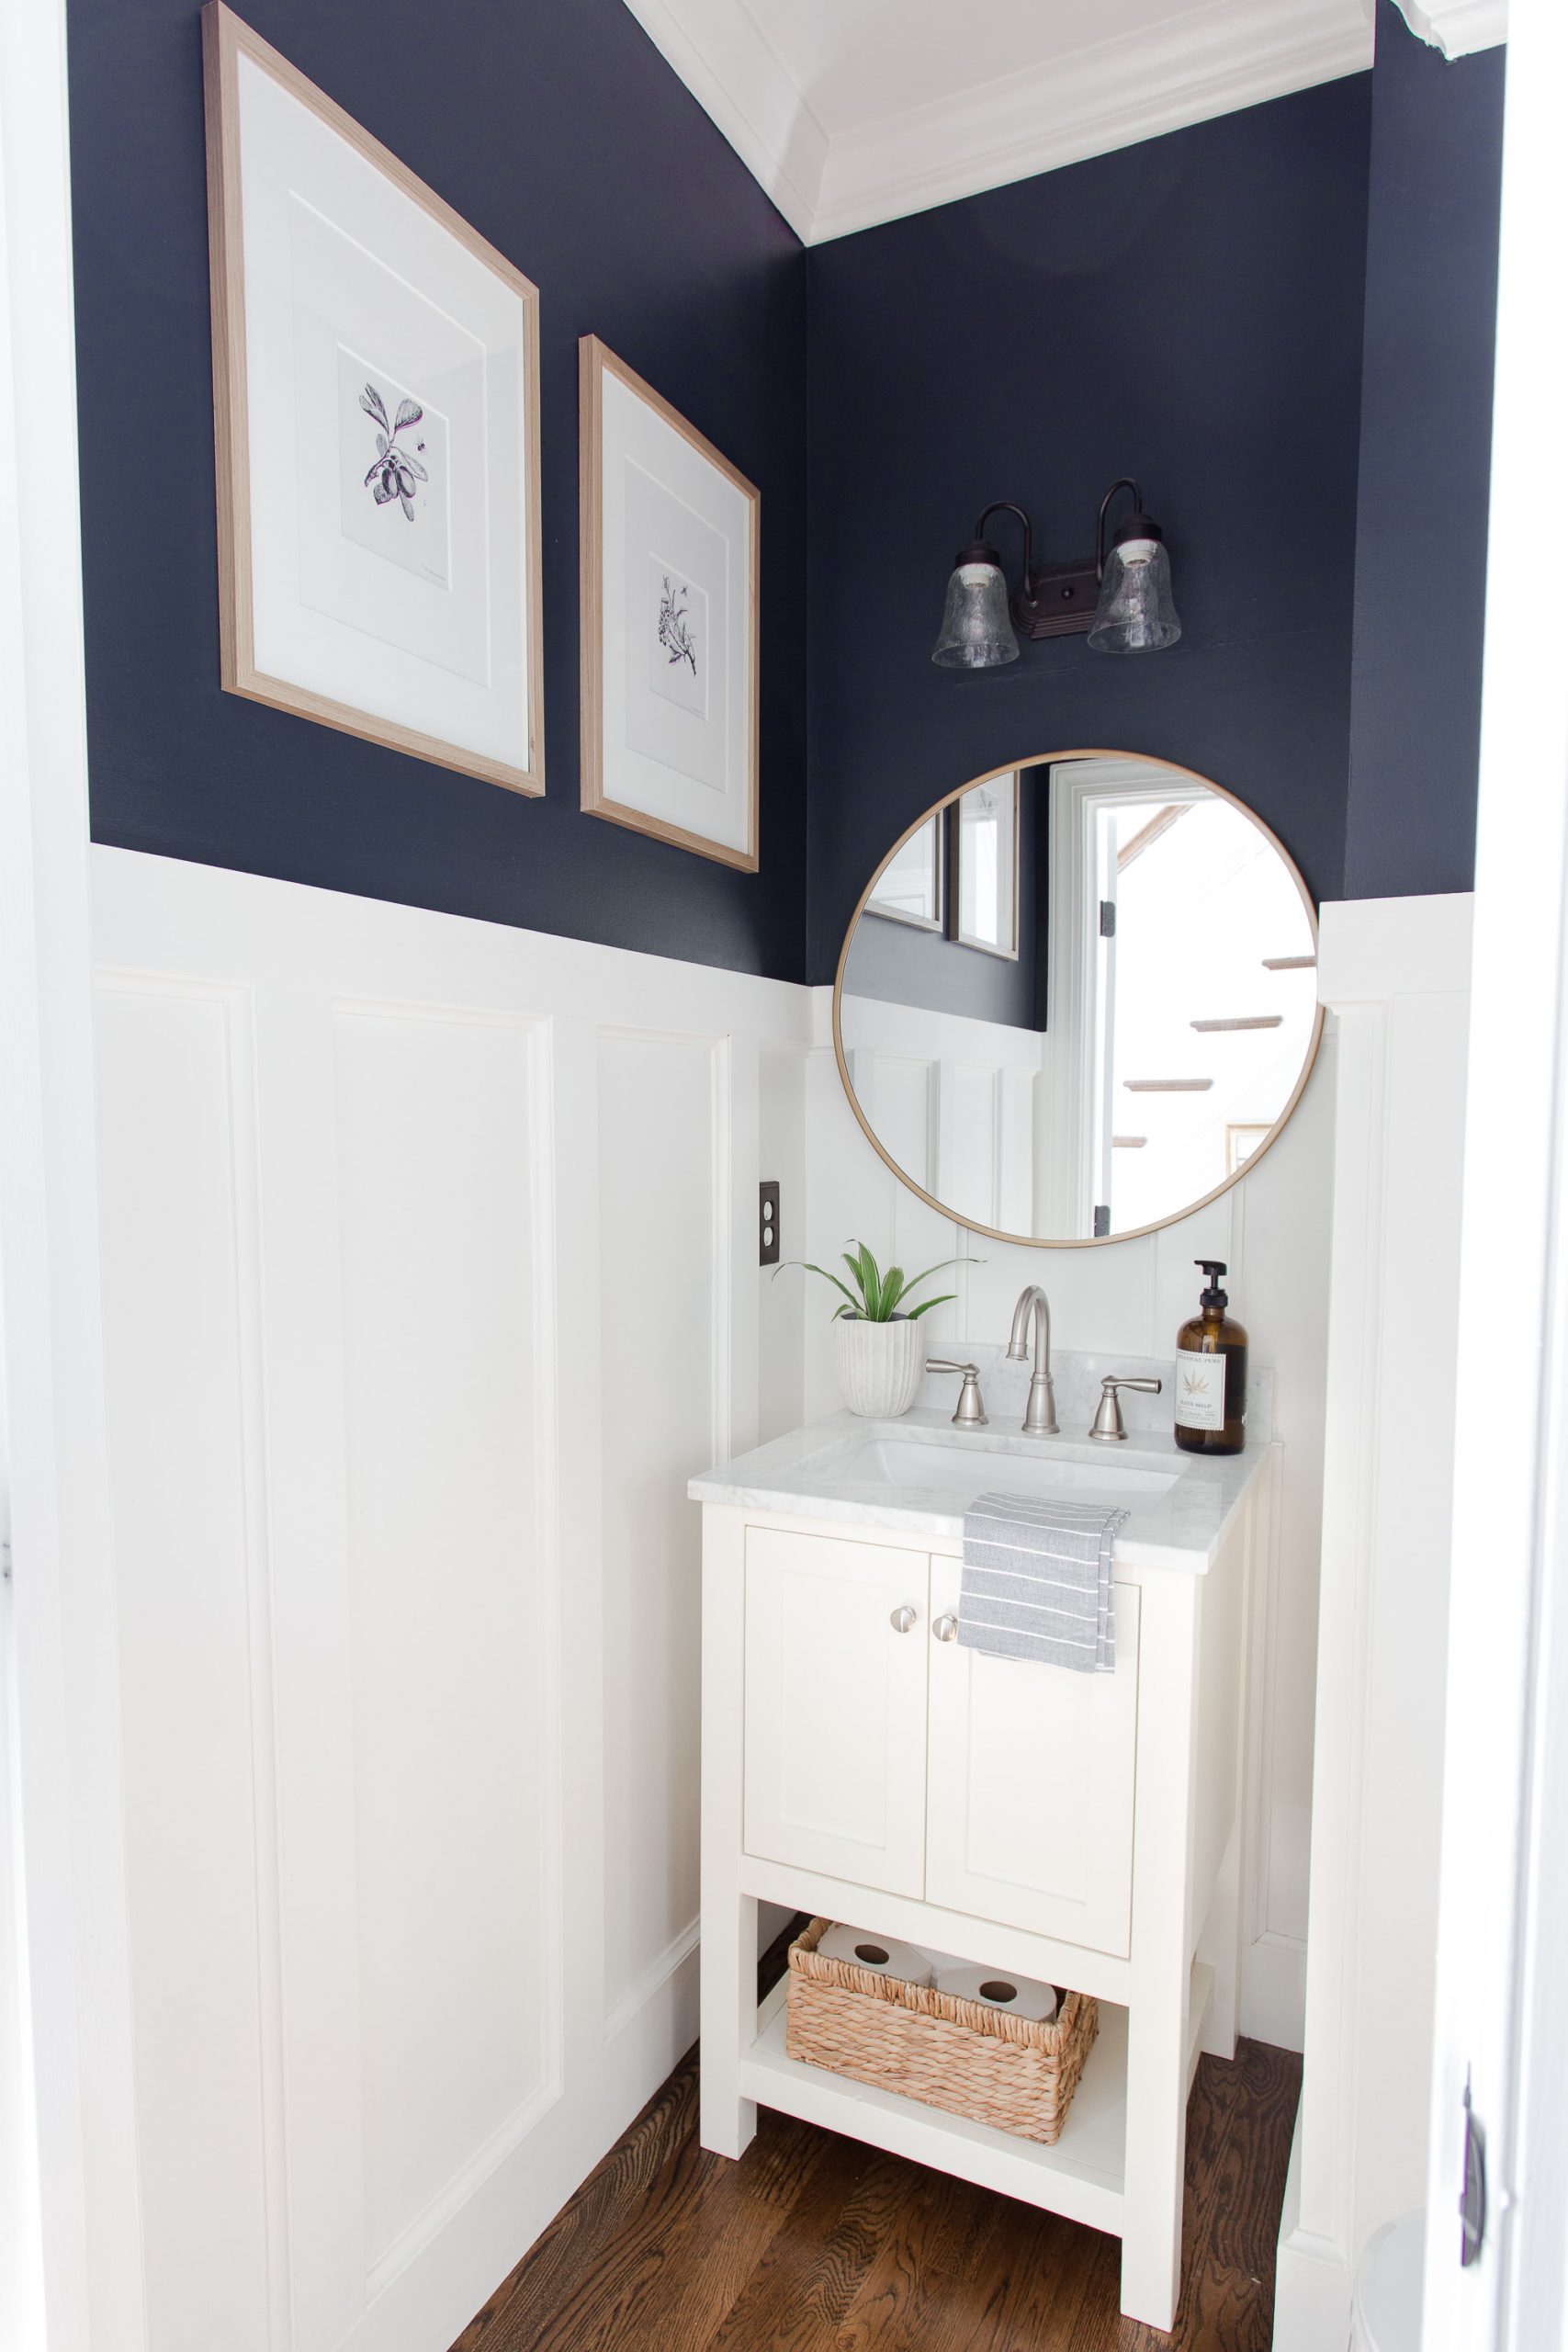
There are many different types of moulding that can be used in your home and we have used several different styles in our previous home to elevate the overall design. One of my favorites is board and batten that we installed in our powder room. Board and batten can be simple, elaborate or somewhere in between. We added a little cove moulding to the board and batten seen below to give it a nice finished edge.
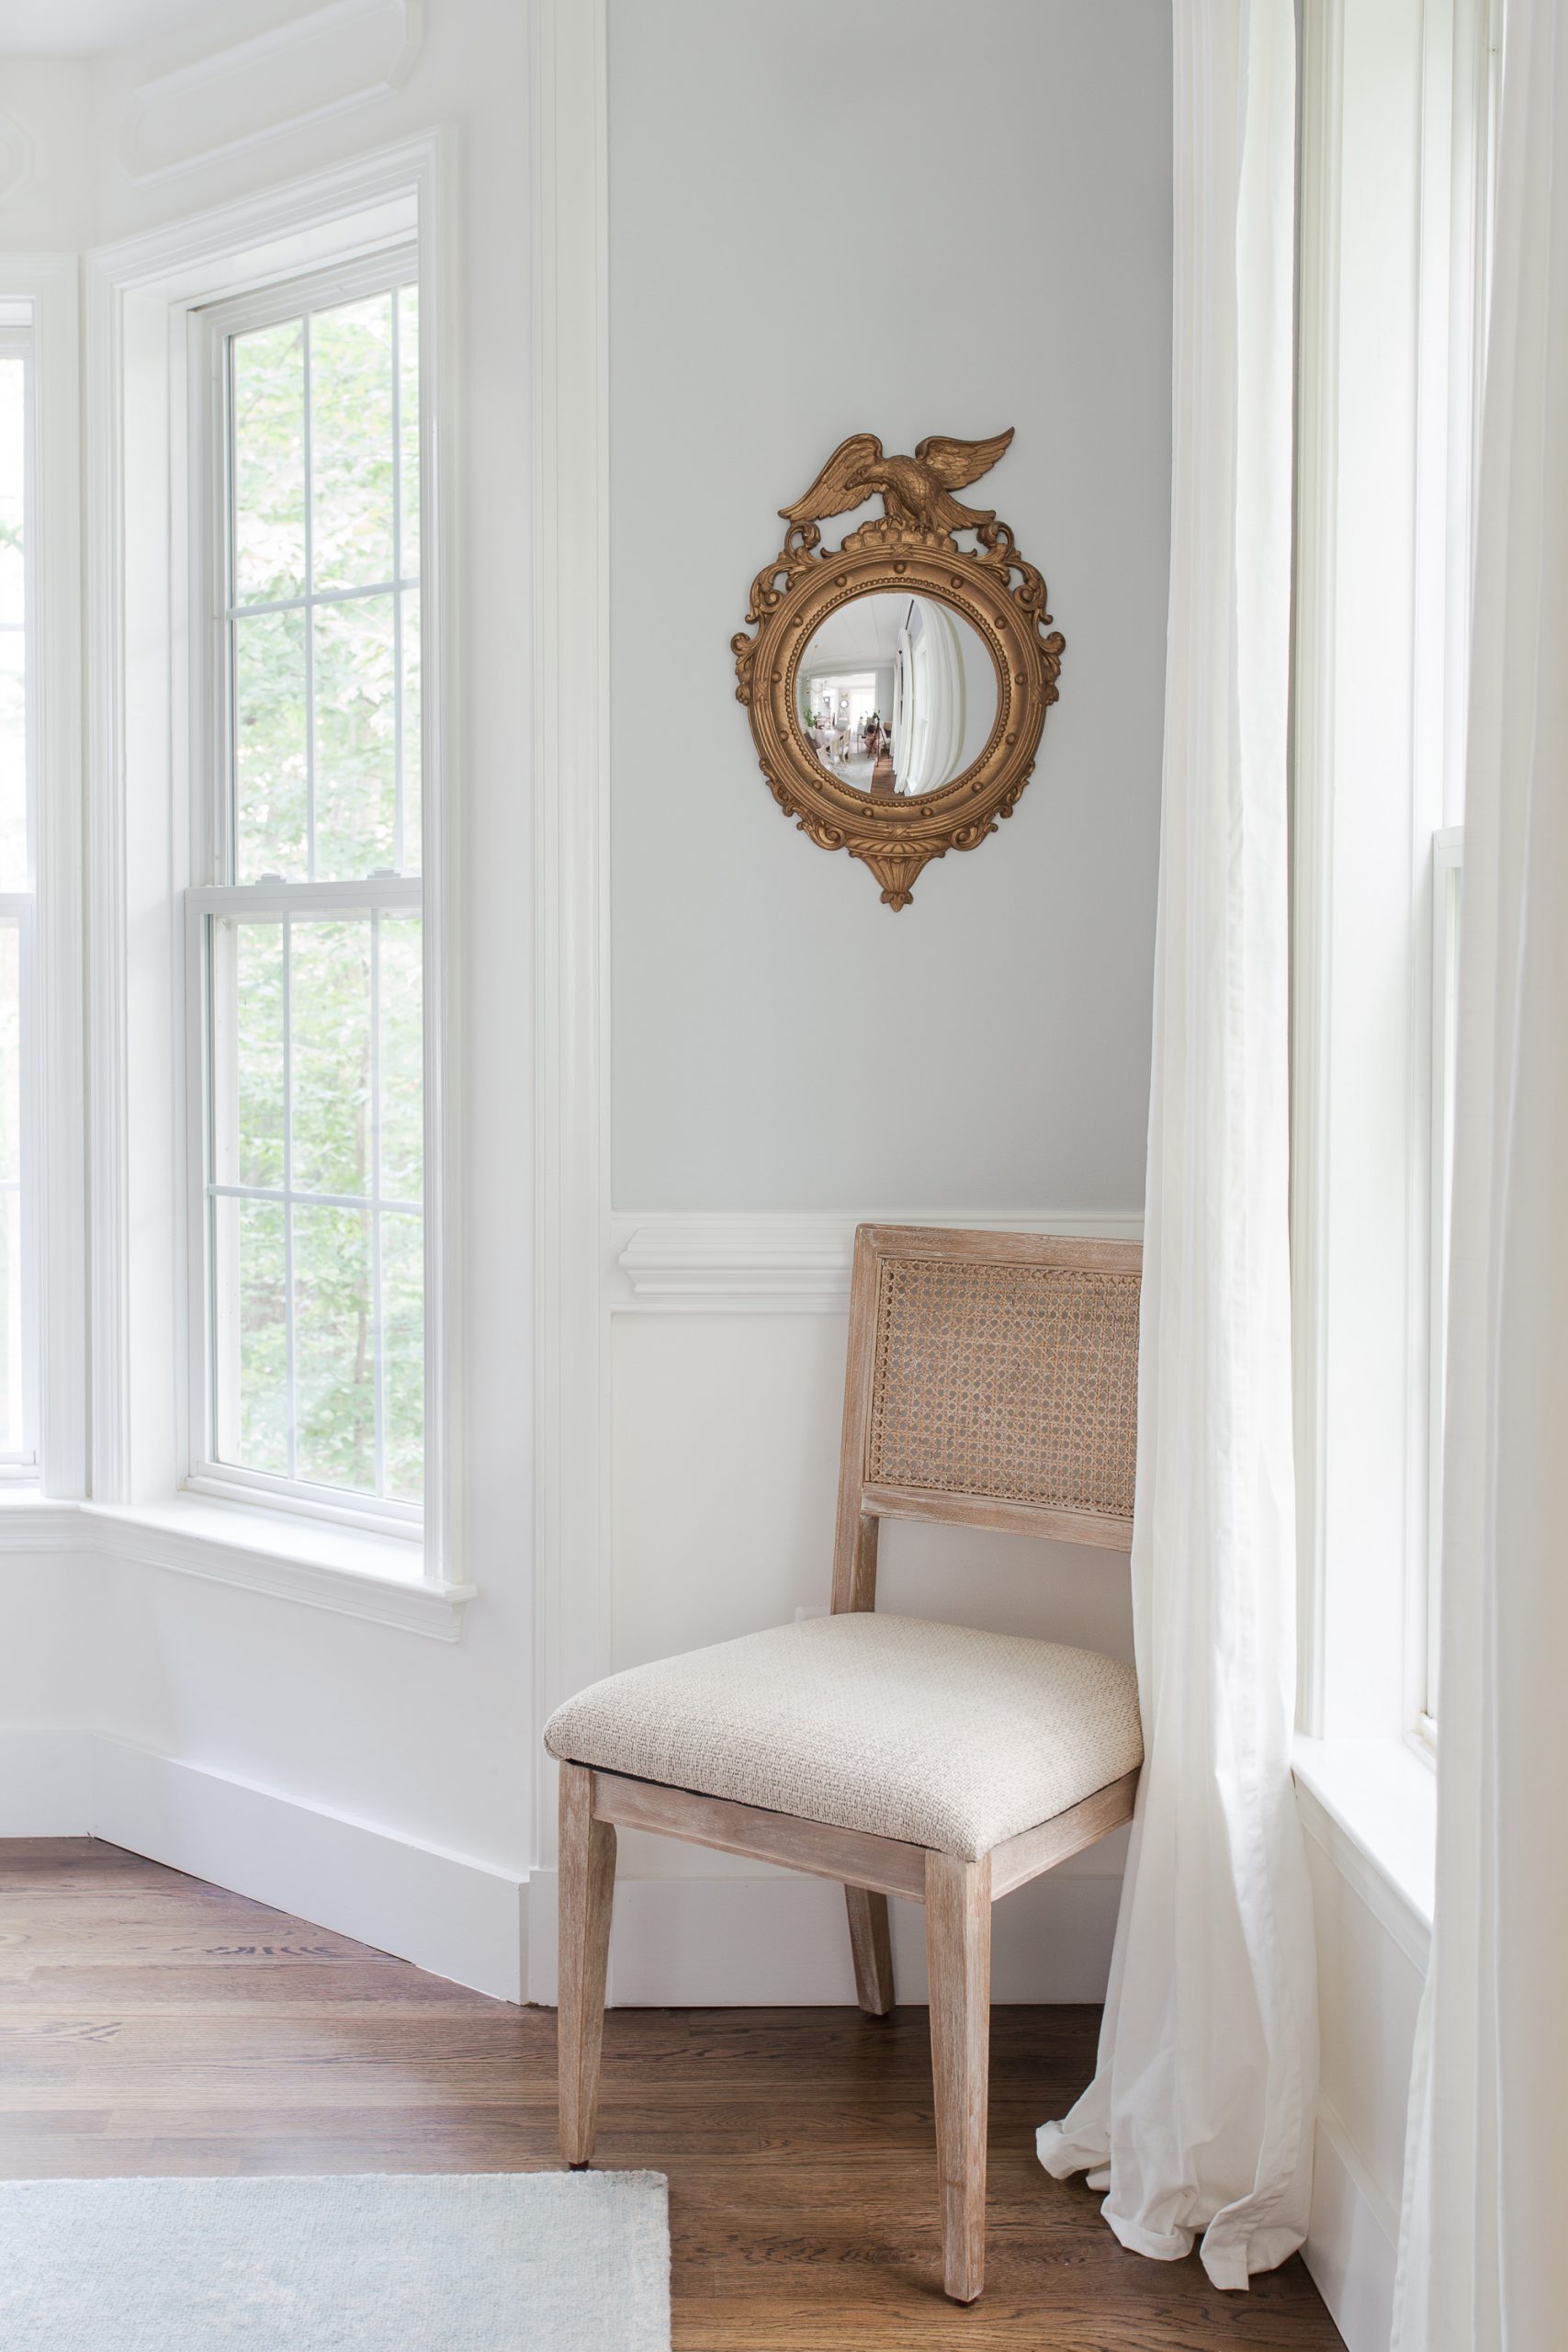
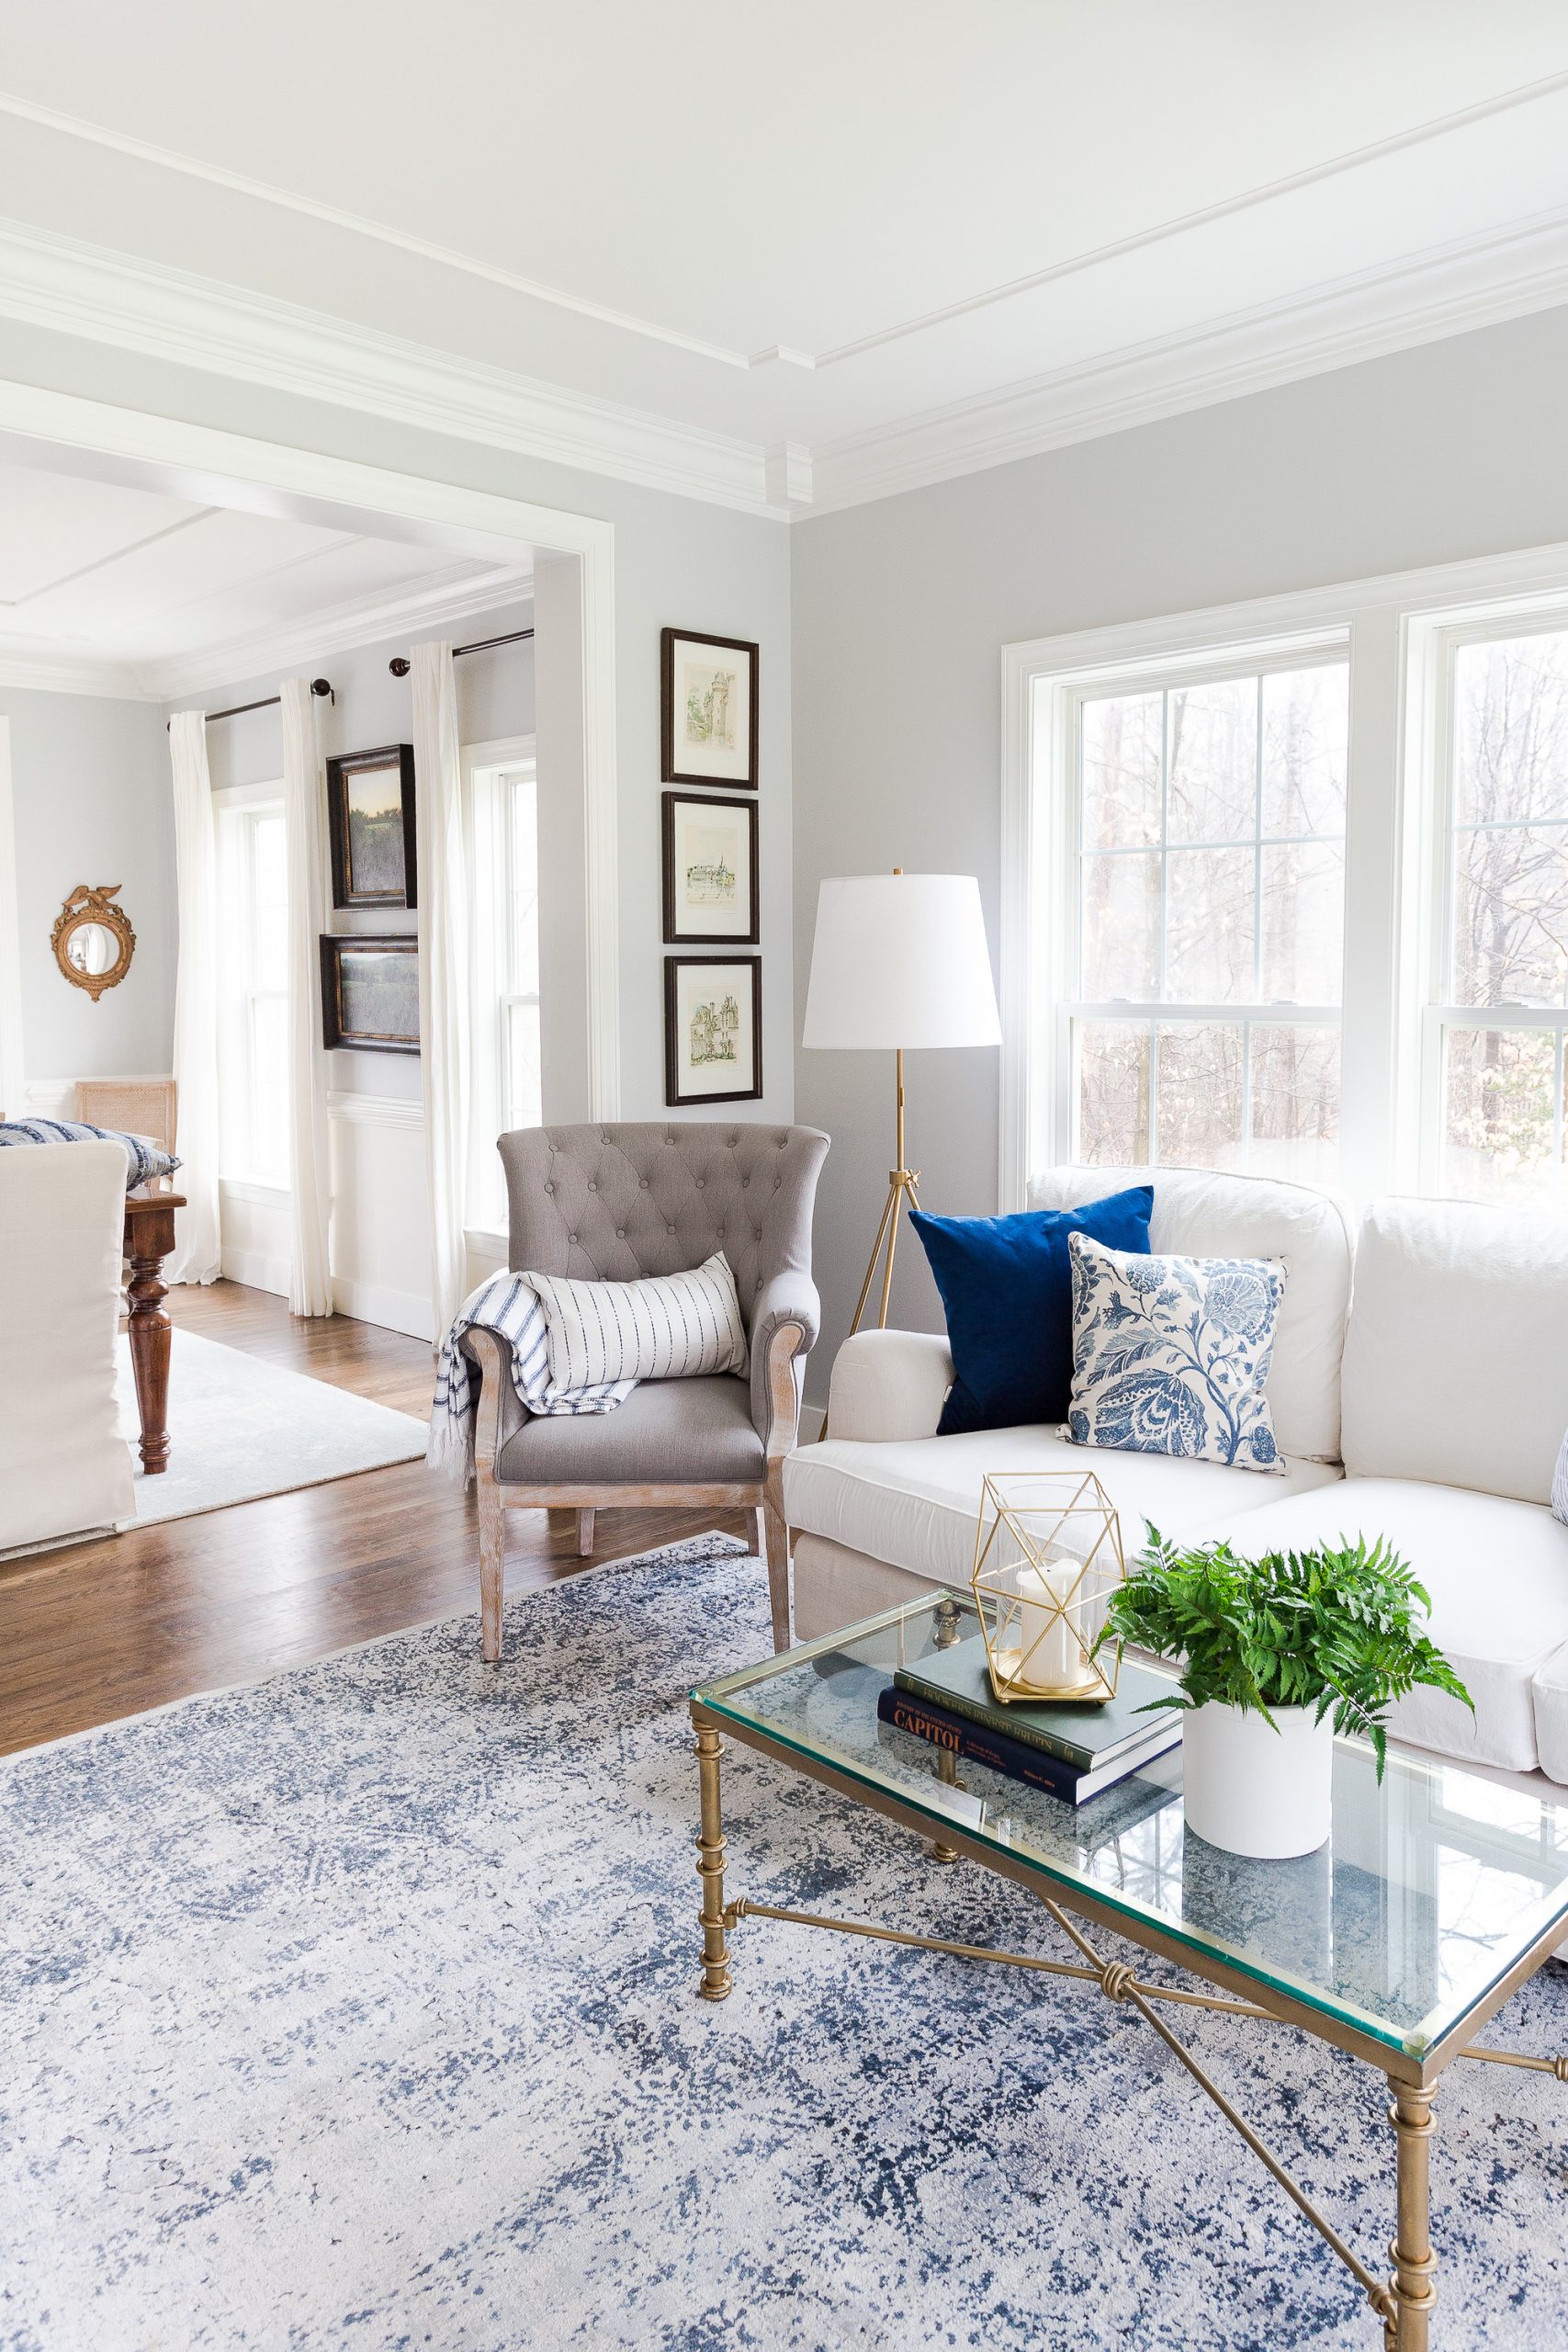
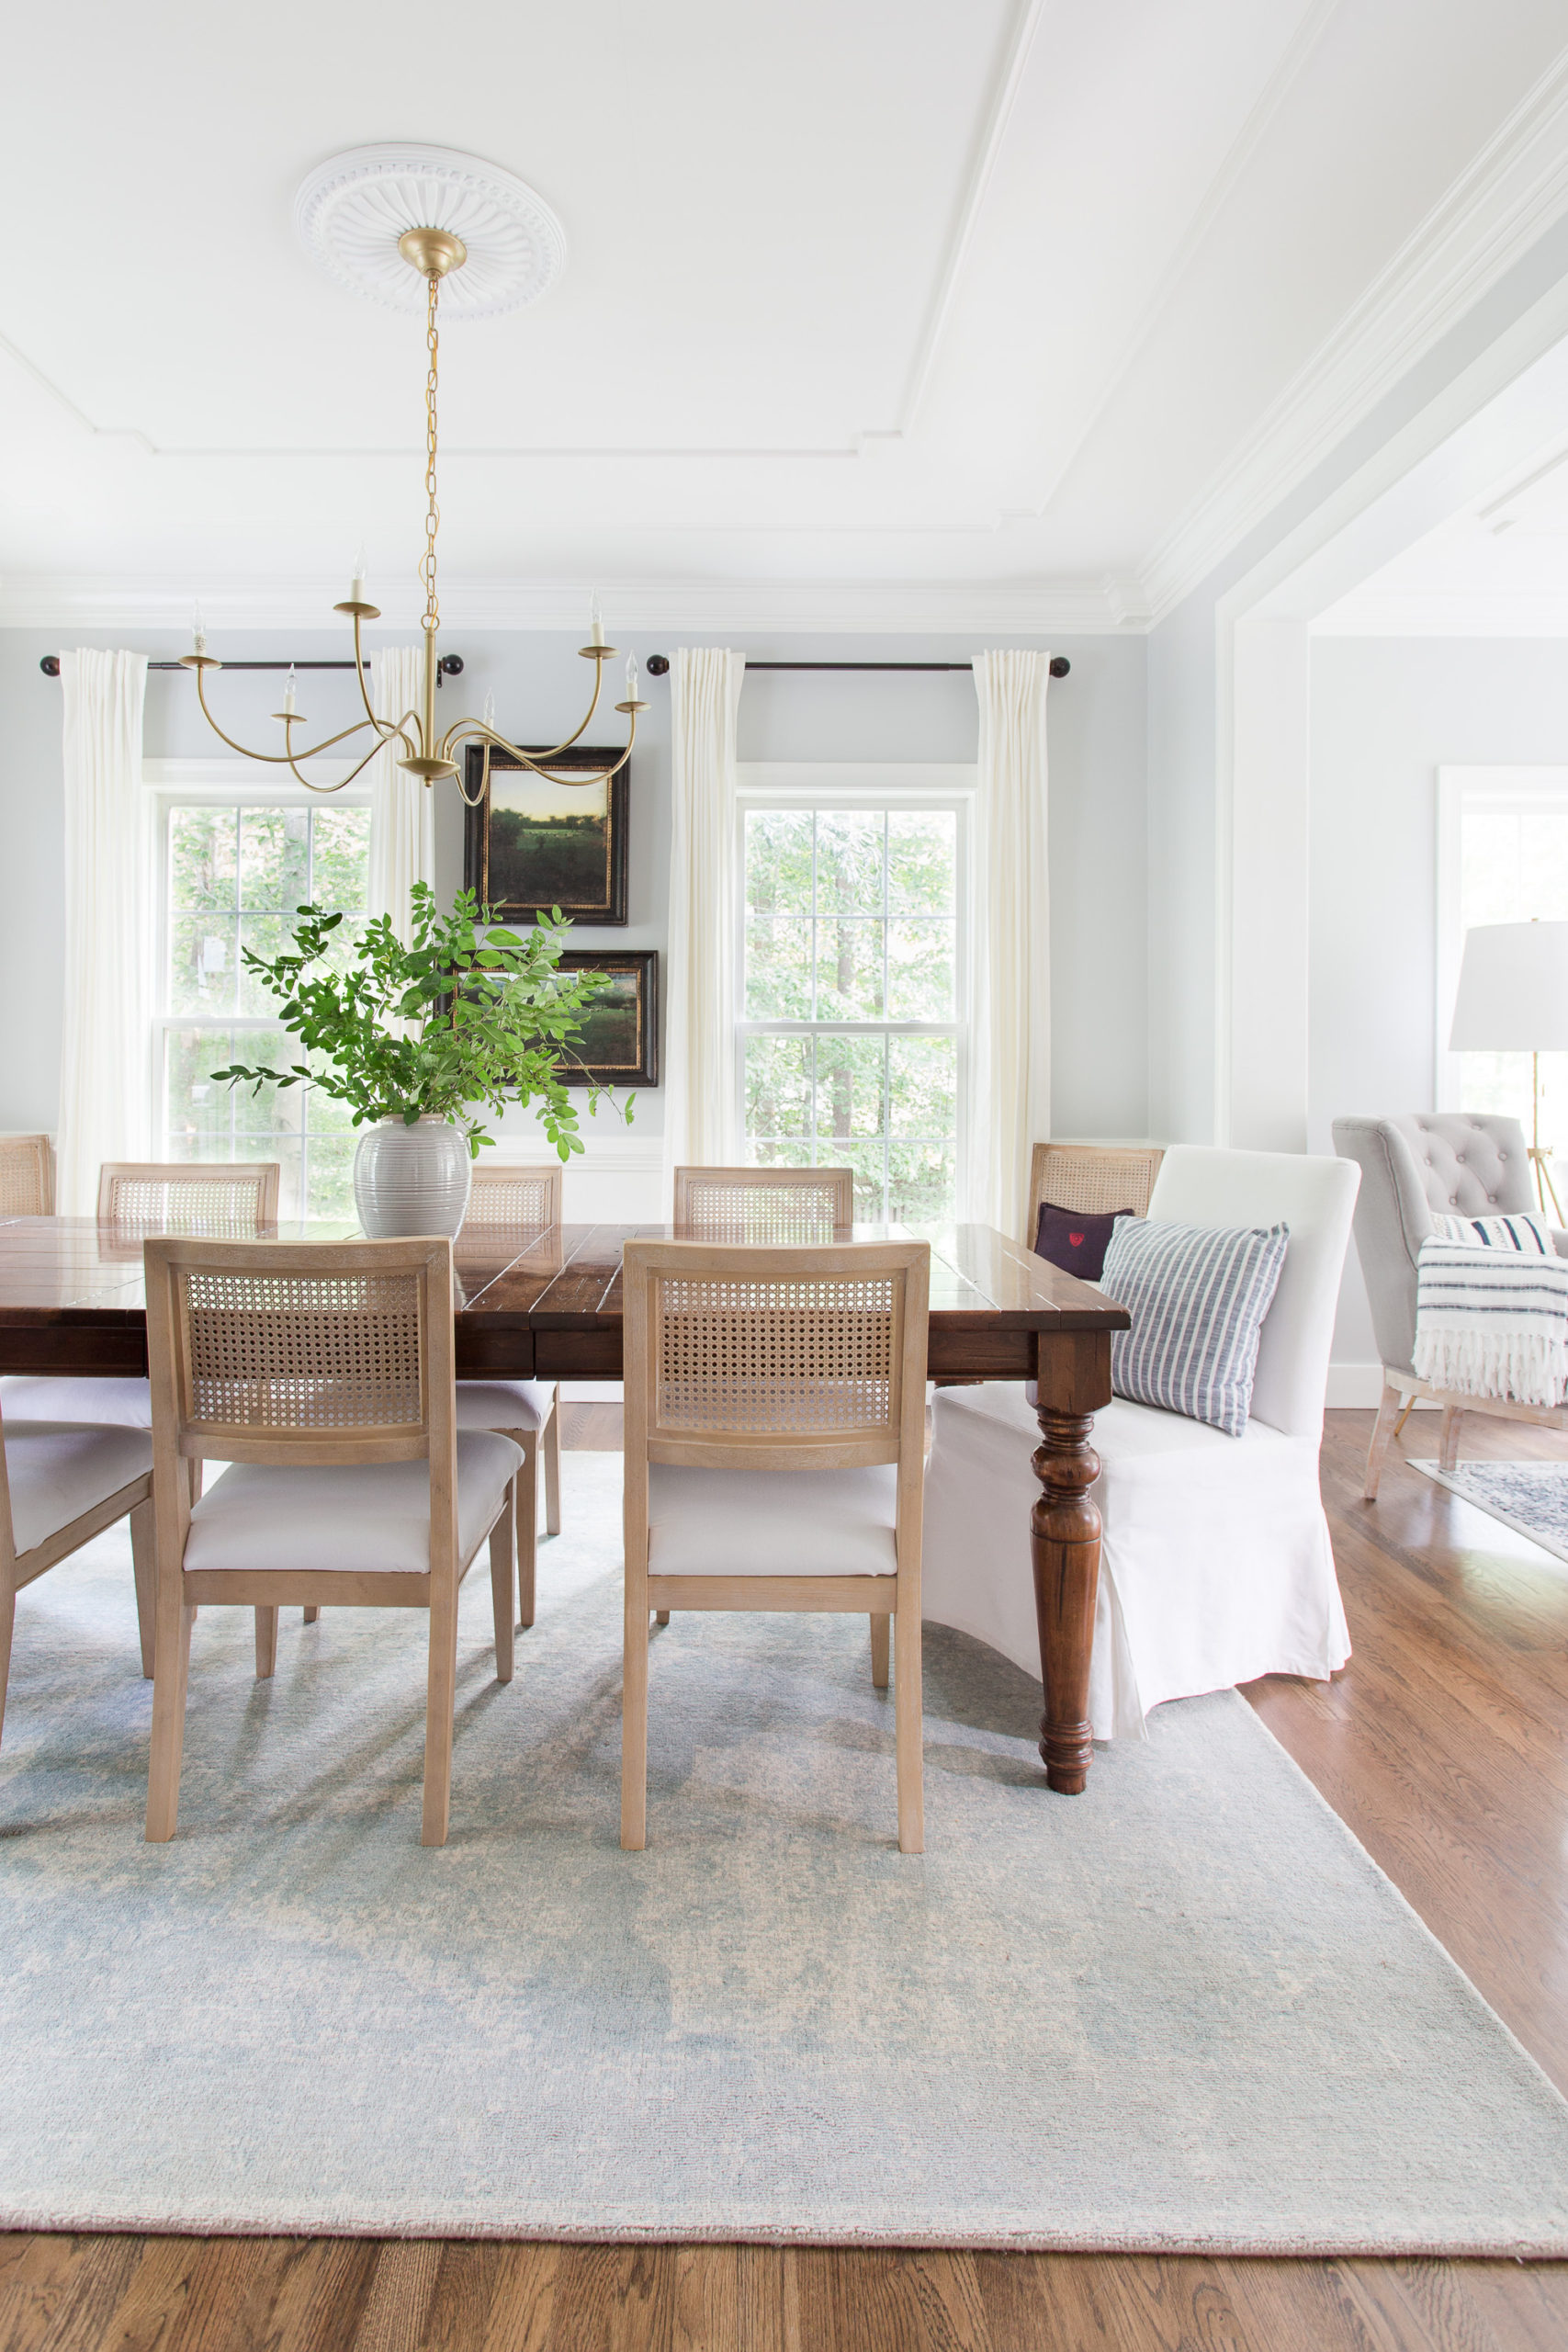
There is also chair rail, crown moulding, decorative casing around your windows and even thin moulding can be added to your ceiling such as in our dining room and living room. Adding trim to the ceiling adds elegance to a room and makes it stand out from the rest of the spaces. There is also shiplap, wainscoting and of course baseboards. Any and all of these mouldings are just the basics and can be elaborated upon or kept simple.
For this post we are discussing specifically picture frame moulding and how to plan, measure, install and finish picture frame moulding for any room of your house.
Why Add Picture Frame Moulding?
Picture frame molding is timeless and will never become outdated. I am constantly looking at historical homes and the trim, moulding and millwork that adorns each room for my inspiration. If you select design elements that have been around for hundreds of years you will not go wrong. You can always update rugs, pillow and curtains, but focus on timeless millwork for your walls and your space will always be in fashion. I see beautiful modern homes incorporating picture frame moulding all the time and rest assured, it will be in style for a long time to come.
How to Install Picture Frame Moulding
Supplies and Tools:
- PVC Base Cap Moulding or Wood Base Cap Moulding
- finishing nailer or finish nailer
- miter saw or miter saw
- laser level
- regular level
- caulk
- Plastic Wood filler or Wood Filler
- sanding block
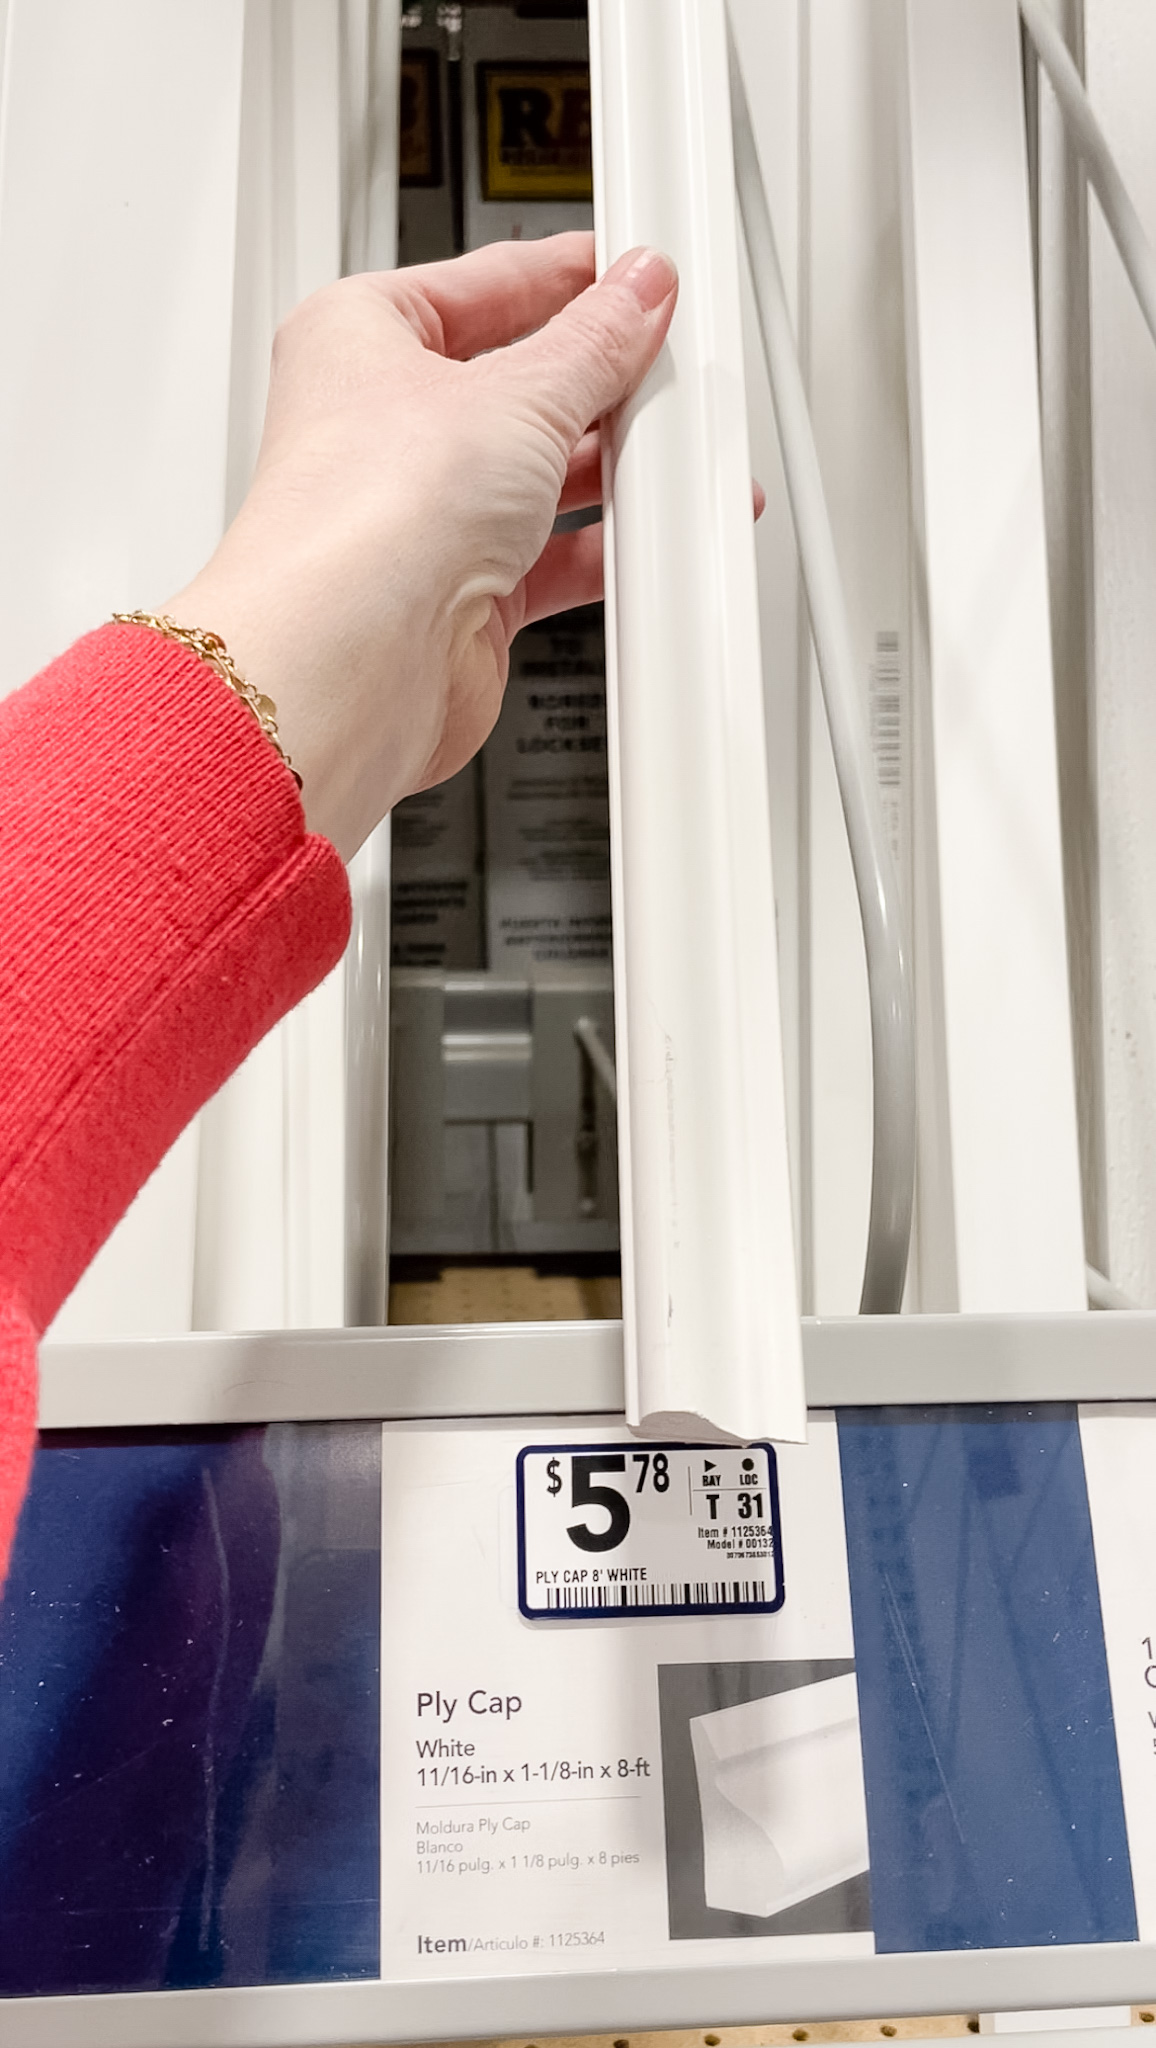
The price of this has increased since purchasing this in January 2022
1. Determine Moulding Layout
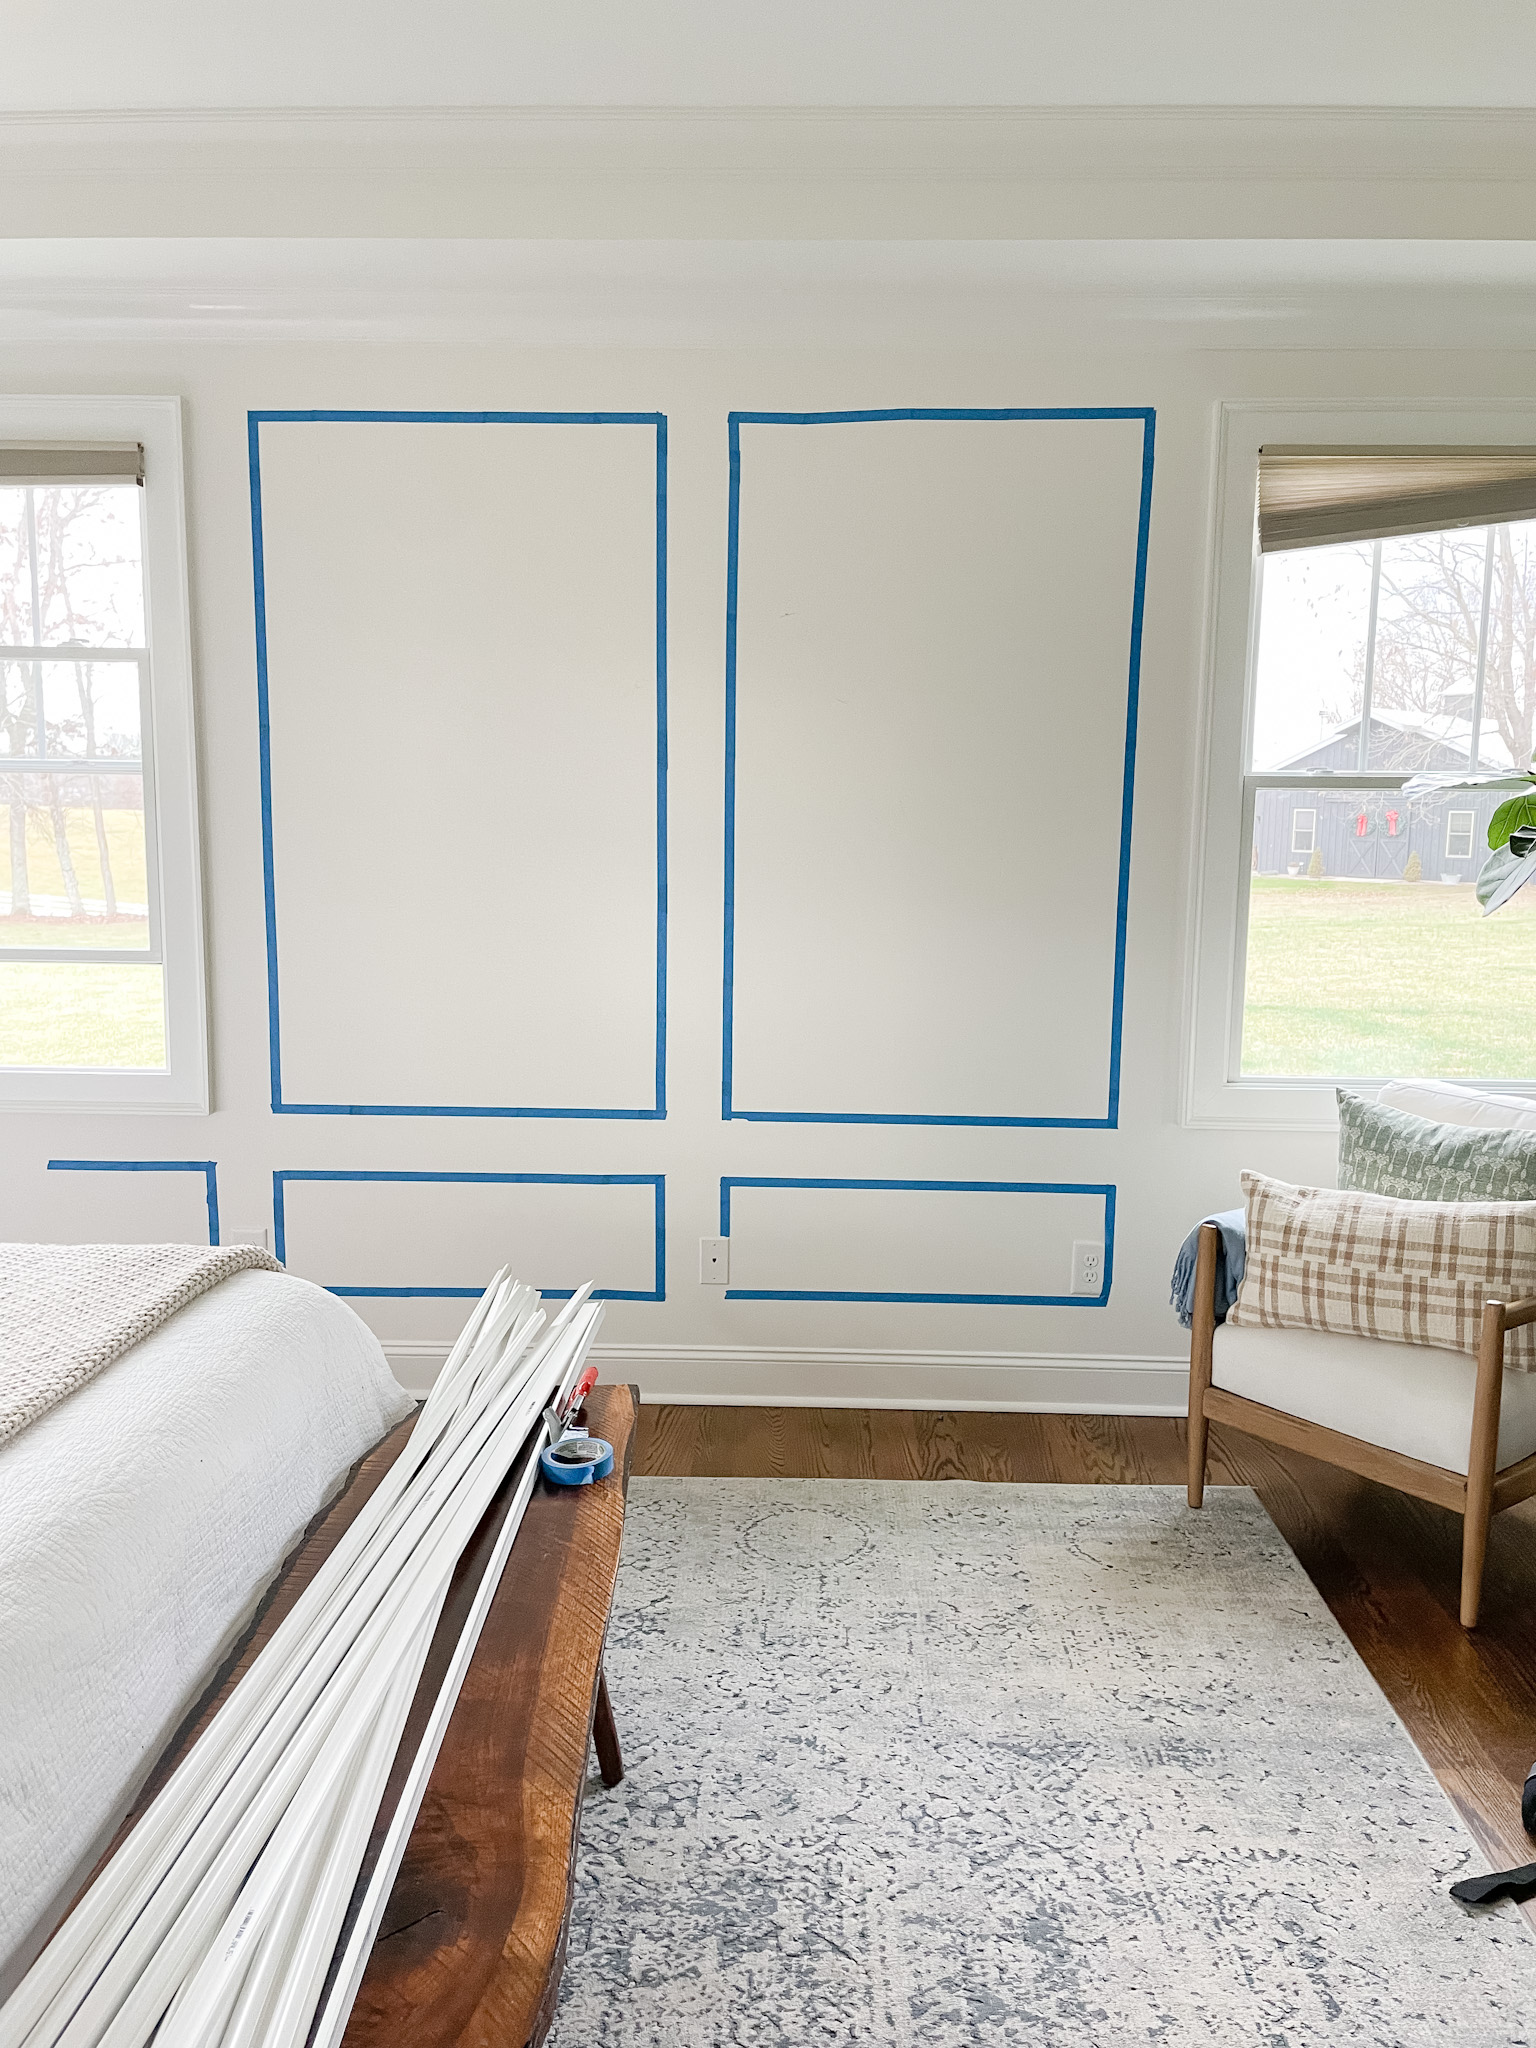
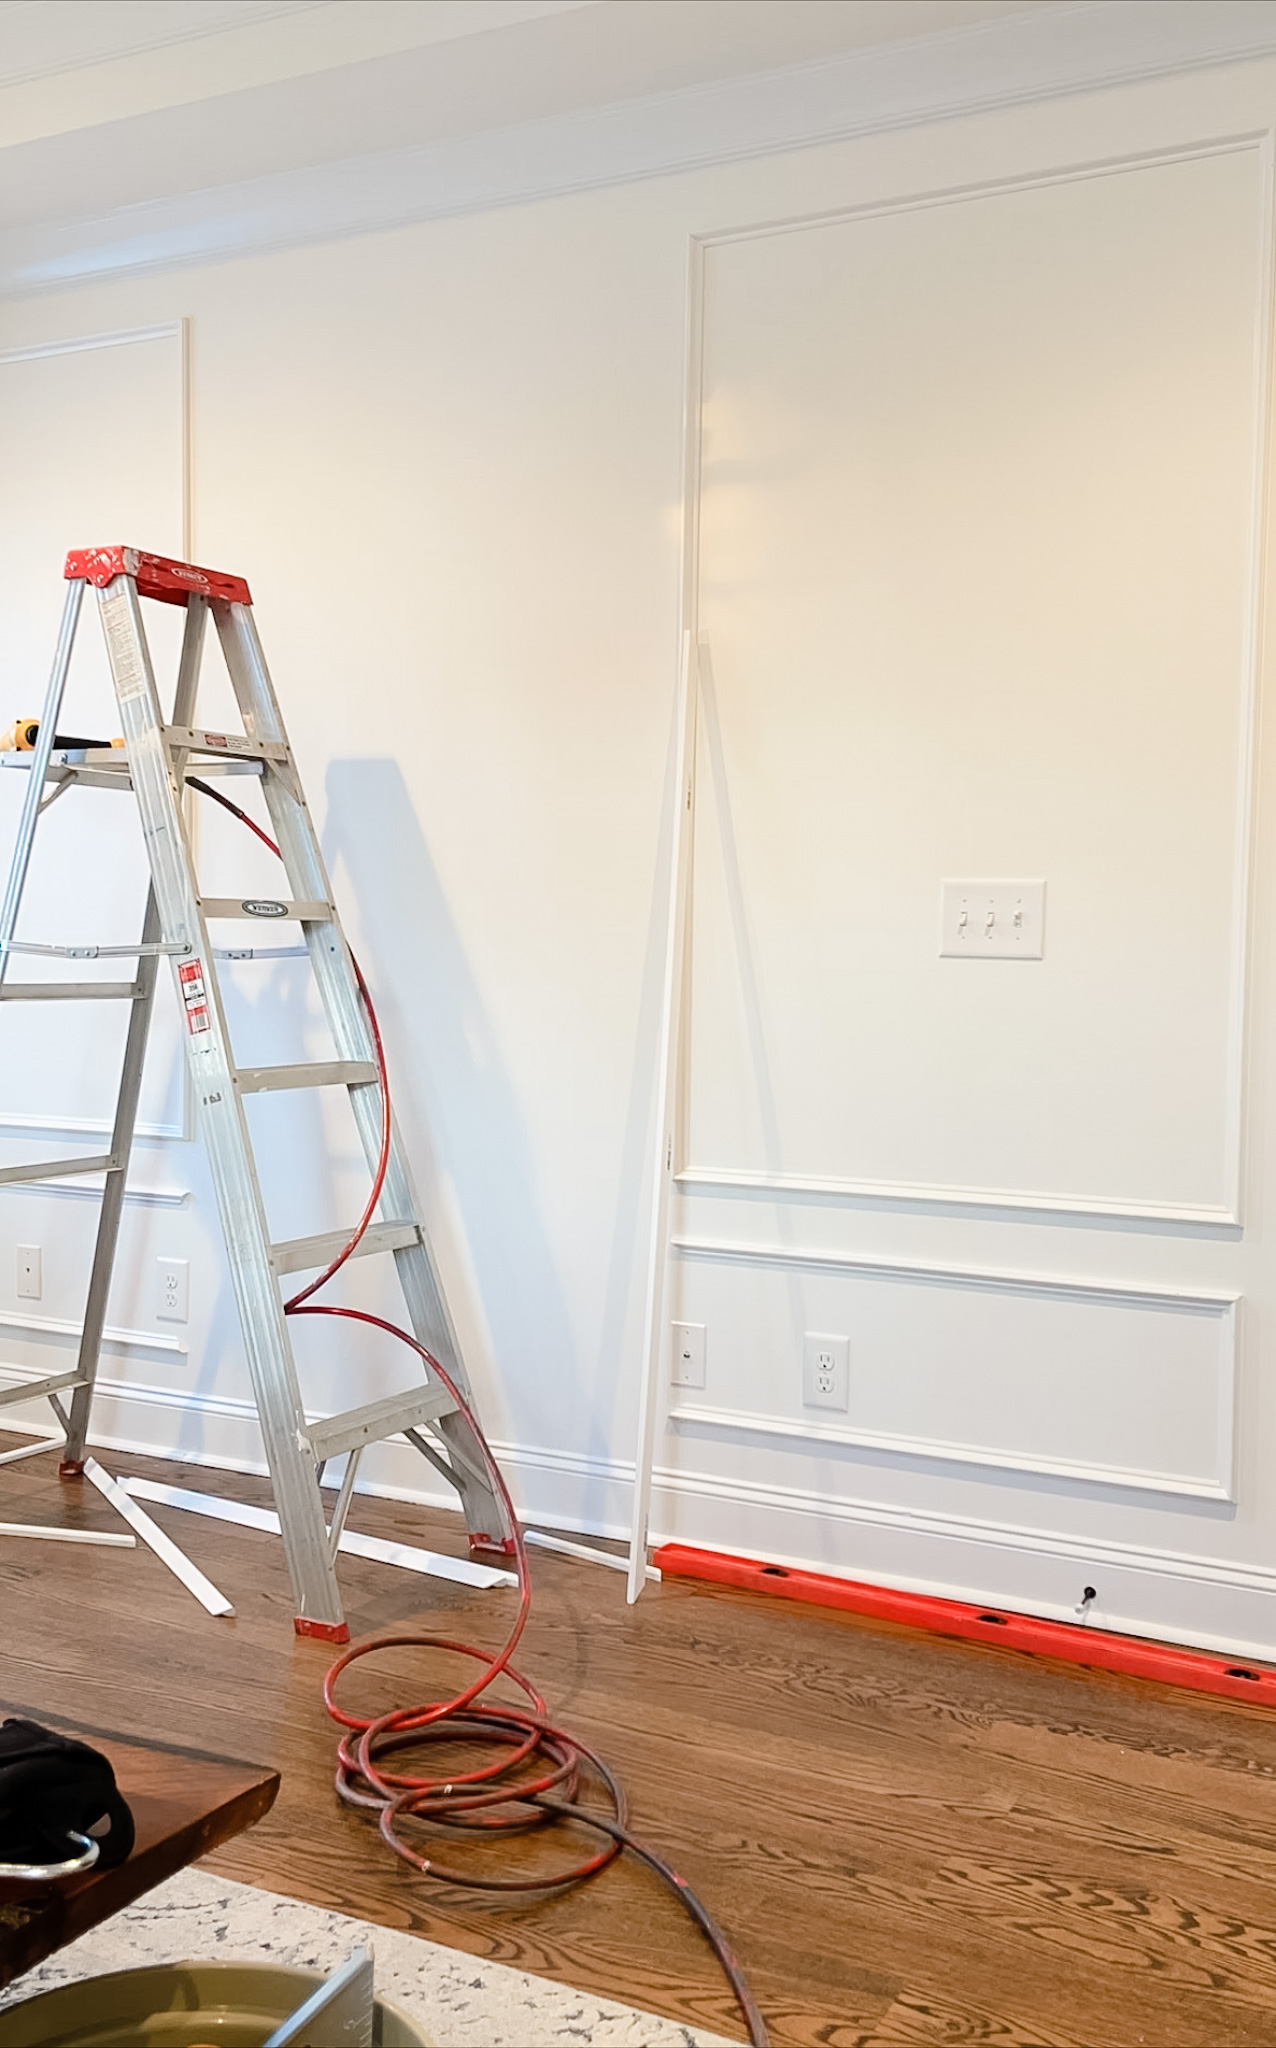
Planning is the most important step; in any project you must plan and then check your plan. I had to test different box sizes to determine my final overall desired design. Using painters tape was helpful in allowing me to make adjustments and get the look I was going for just right. Theses boxes weren’t exact but without a visual it’s difficult to figure out your final look and determine box size.
Using the tape will provide you with not only the size of the boxes but also show you how much space you want between each box. We have more chopped up walls than long walls in this space so it took a little while to finally figure out the final look for each wall that flowed with the other walls. That is why taping is super important.
2. Take Measurements
Take all the measurements of the walls that you plan to add moulding to:
- Measure the total length of the wall
- Measure from the top of the base boards to the bottom of the crown moulding or ceiling if you you do not have crown moulding
- Measure the space between the boxes (ours was 4″). You should have determined this in the step above during the planning stage.
3. Calculate Measurements
Now we have the wall measurements and the spacing measurement; we now need to determine how wide and tall our boxes will be.
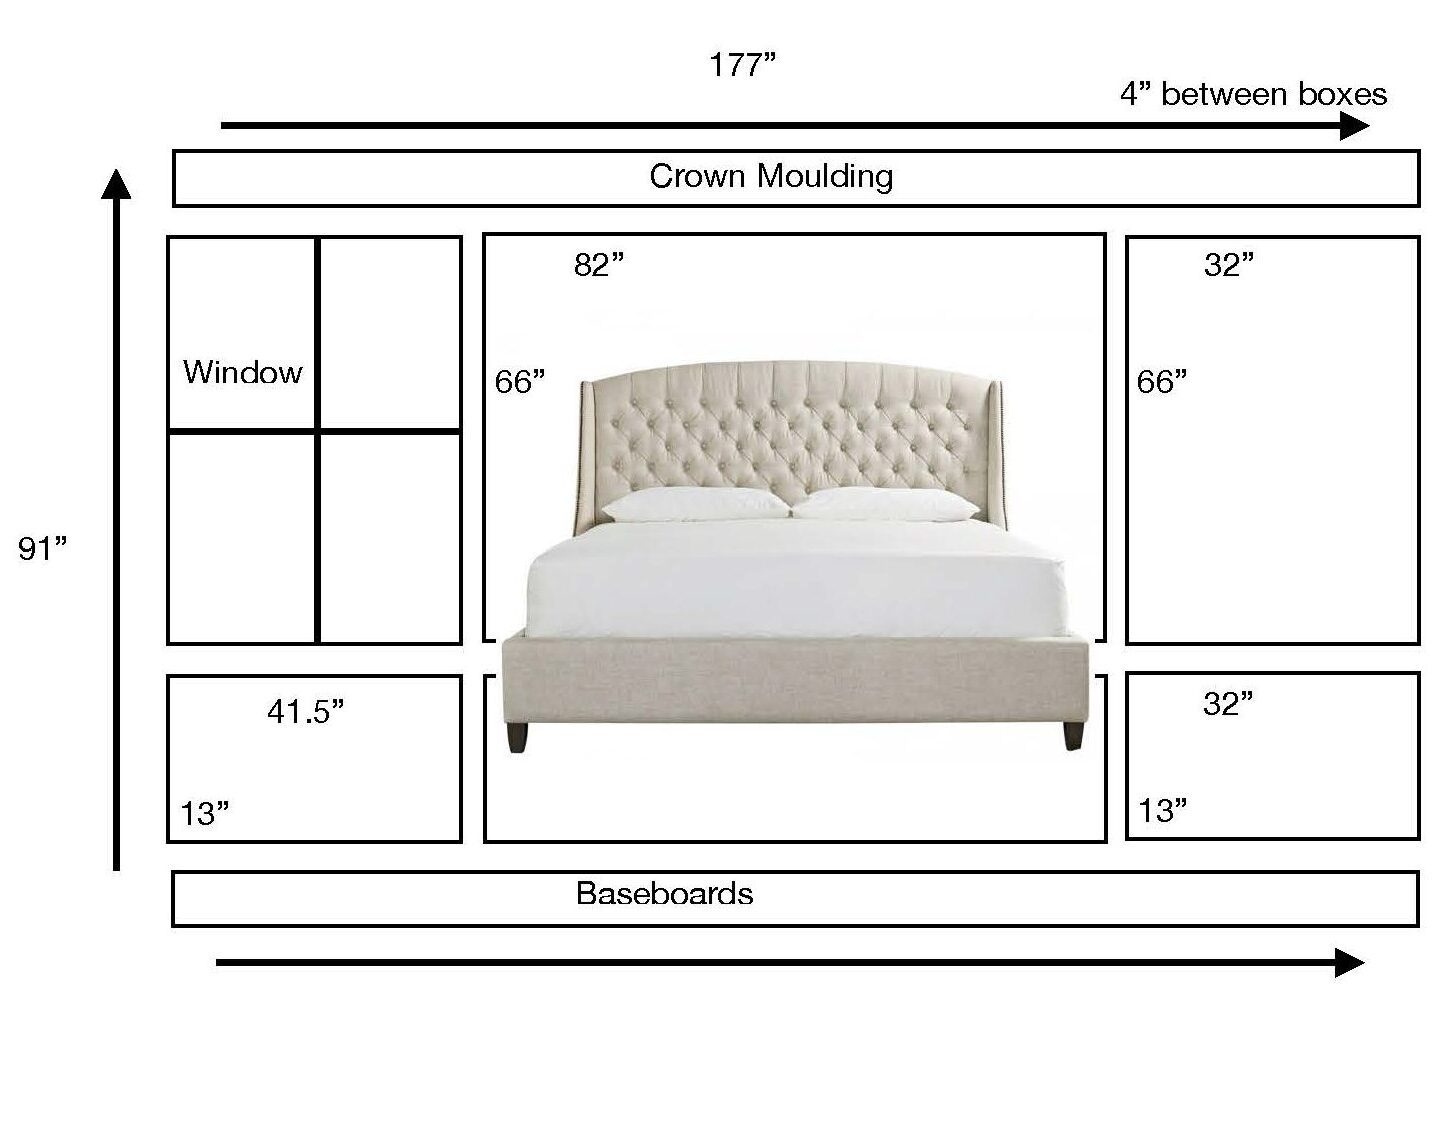
We ended up doing 4″ between the boxes, between the base of the crown moulding and from the top of the base boards. It was 4″ all the way around from every straight edge. Your spacing measurement might be different. I’ve seen picture frame moulding spacing anywhere from 3″ – 6″ and anywhere in between. This isn’t a set rule from what I have learned; however, you don’t want the space between the wall moulding too narrow or too wide.
How to Calculate the Box Size:
- Measure the total length of the wall, working one wall at a time. For this example I am going to use the wall in between the two windows – it was 91″ wide and from the top of the base board to the bottom of the crown moulding it was 91″ tall. Every wall was 91″ in height
- Calculate the space between picture frame boxes and the sides of the walls. 4″ + 3 (spaces) = 12
- Subtract the space between boxes to get the leftover space 91″-12″ = 79″ (79″ is what I have left to divide for the boxes)
- I wanted two boxes on this wall so I divided – 79″/ 2 boxes = 39.5″ Each box on this wall needs to be 39.5″ wide.
- Calculate the height the same way based on whether or not you will have one or two layers of boxes like we did.
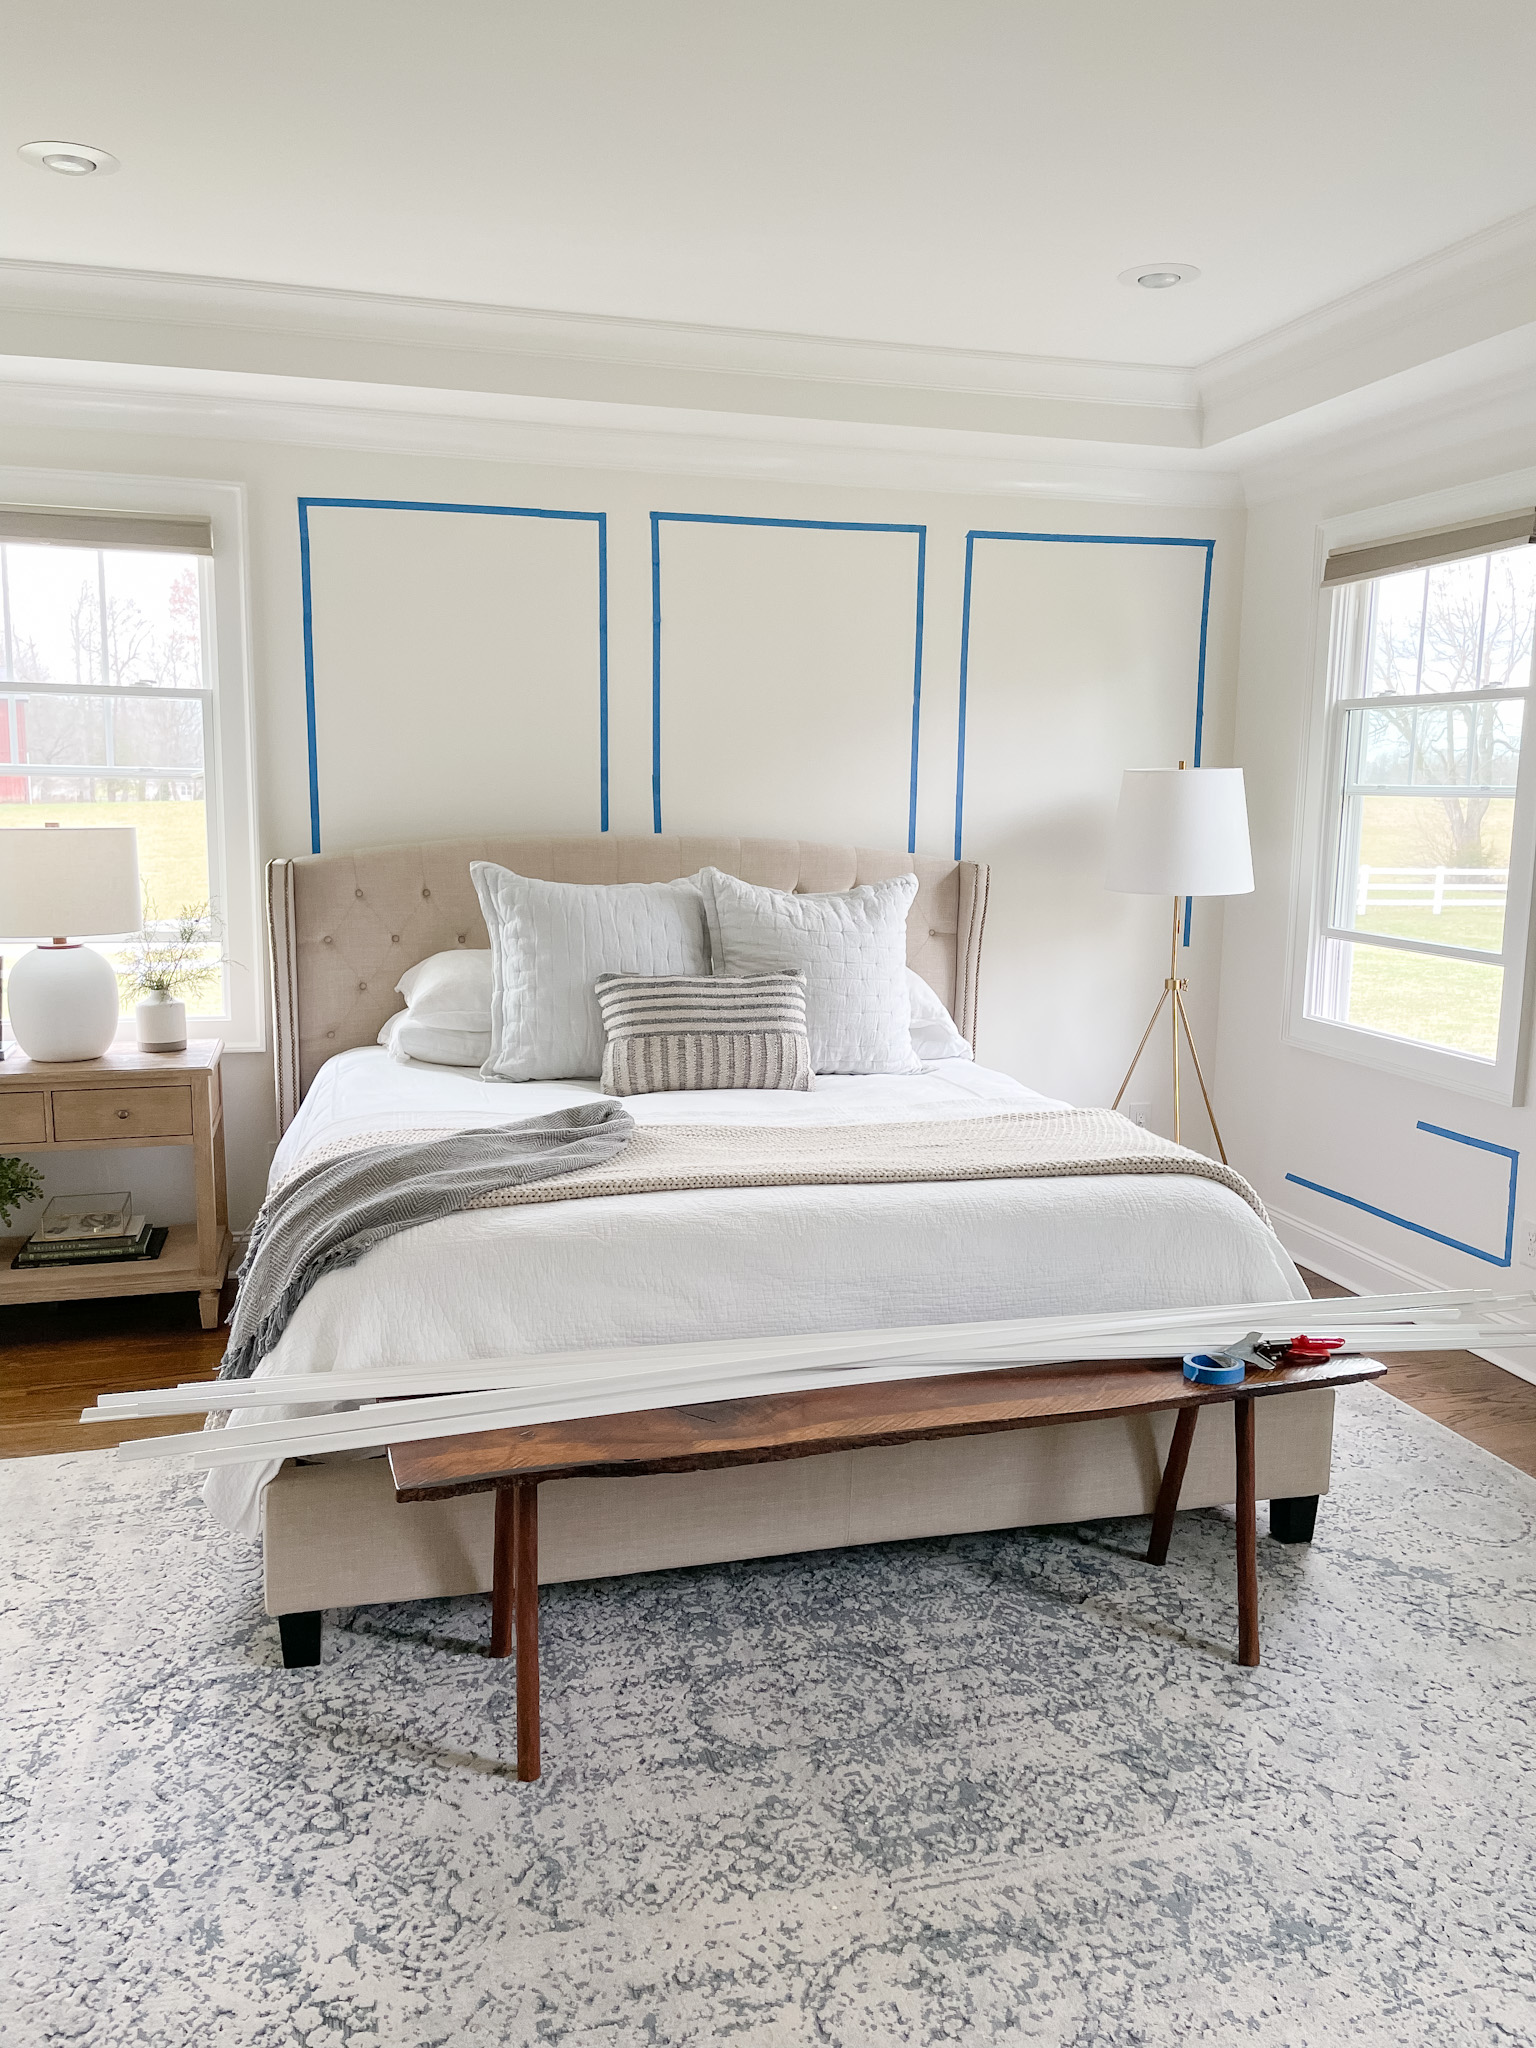
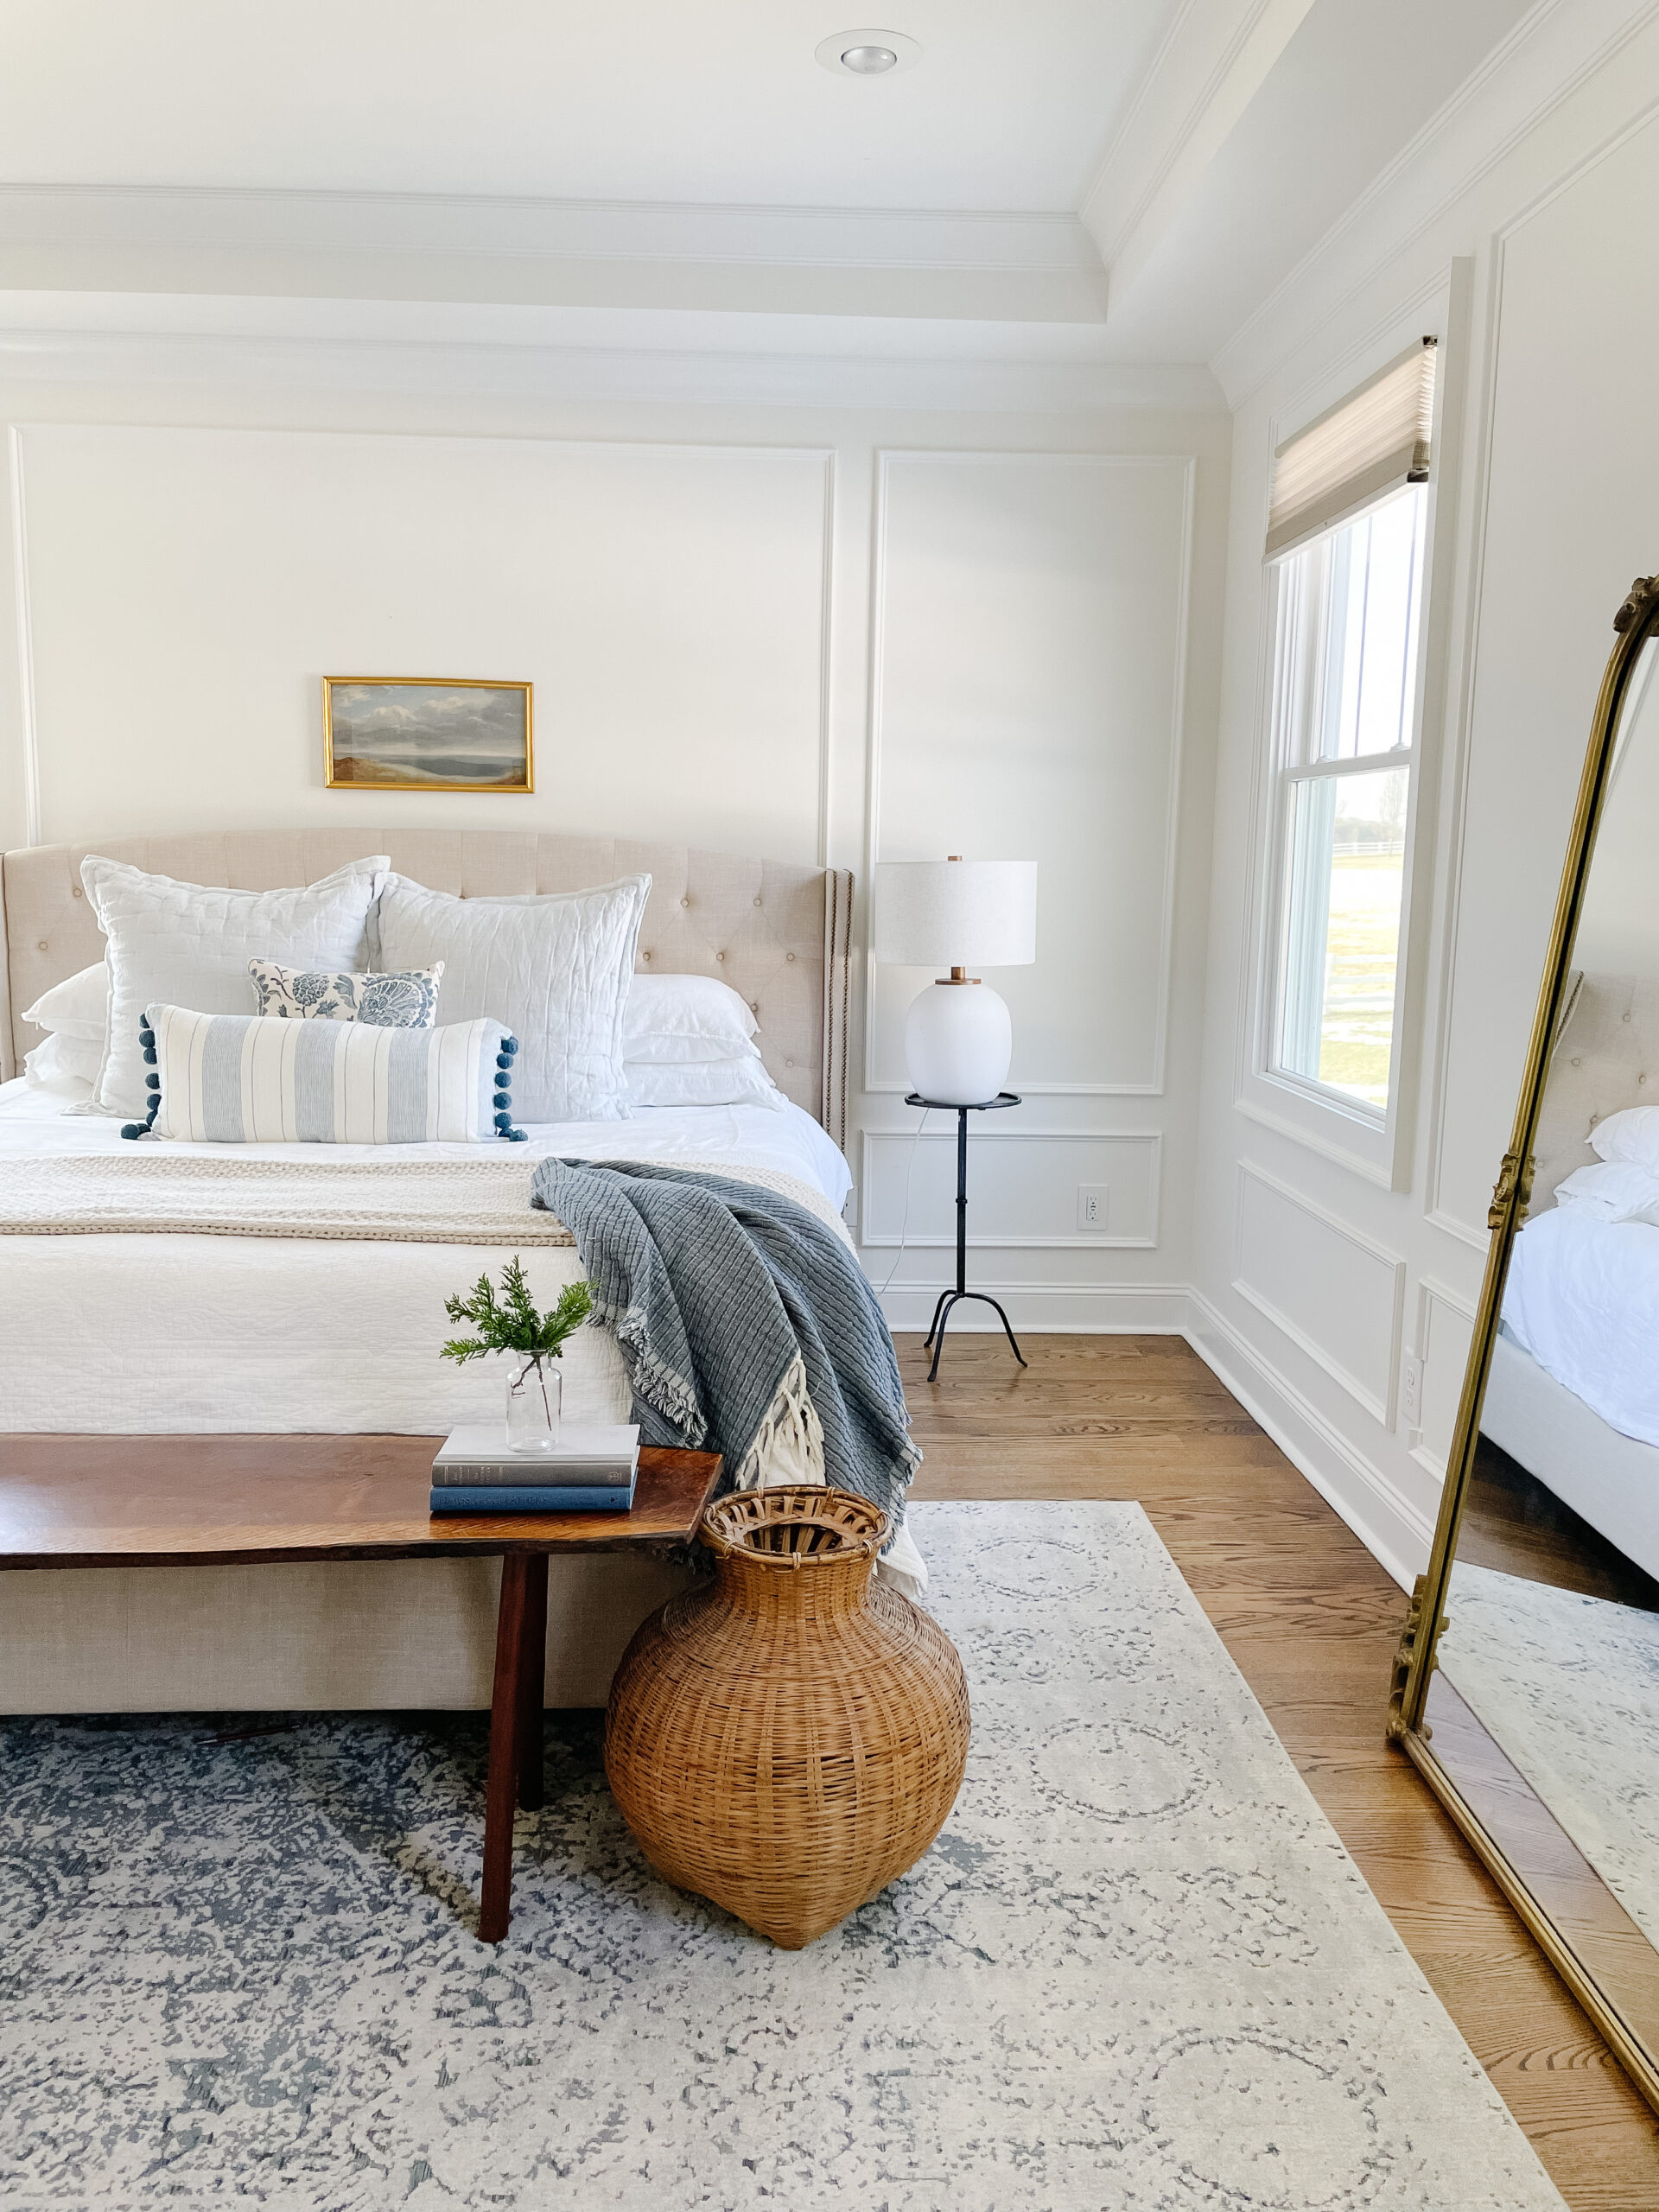
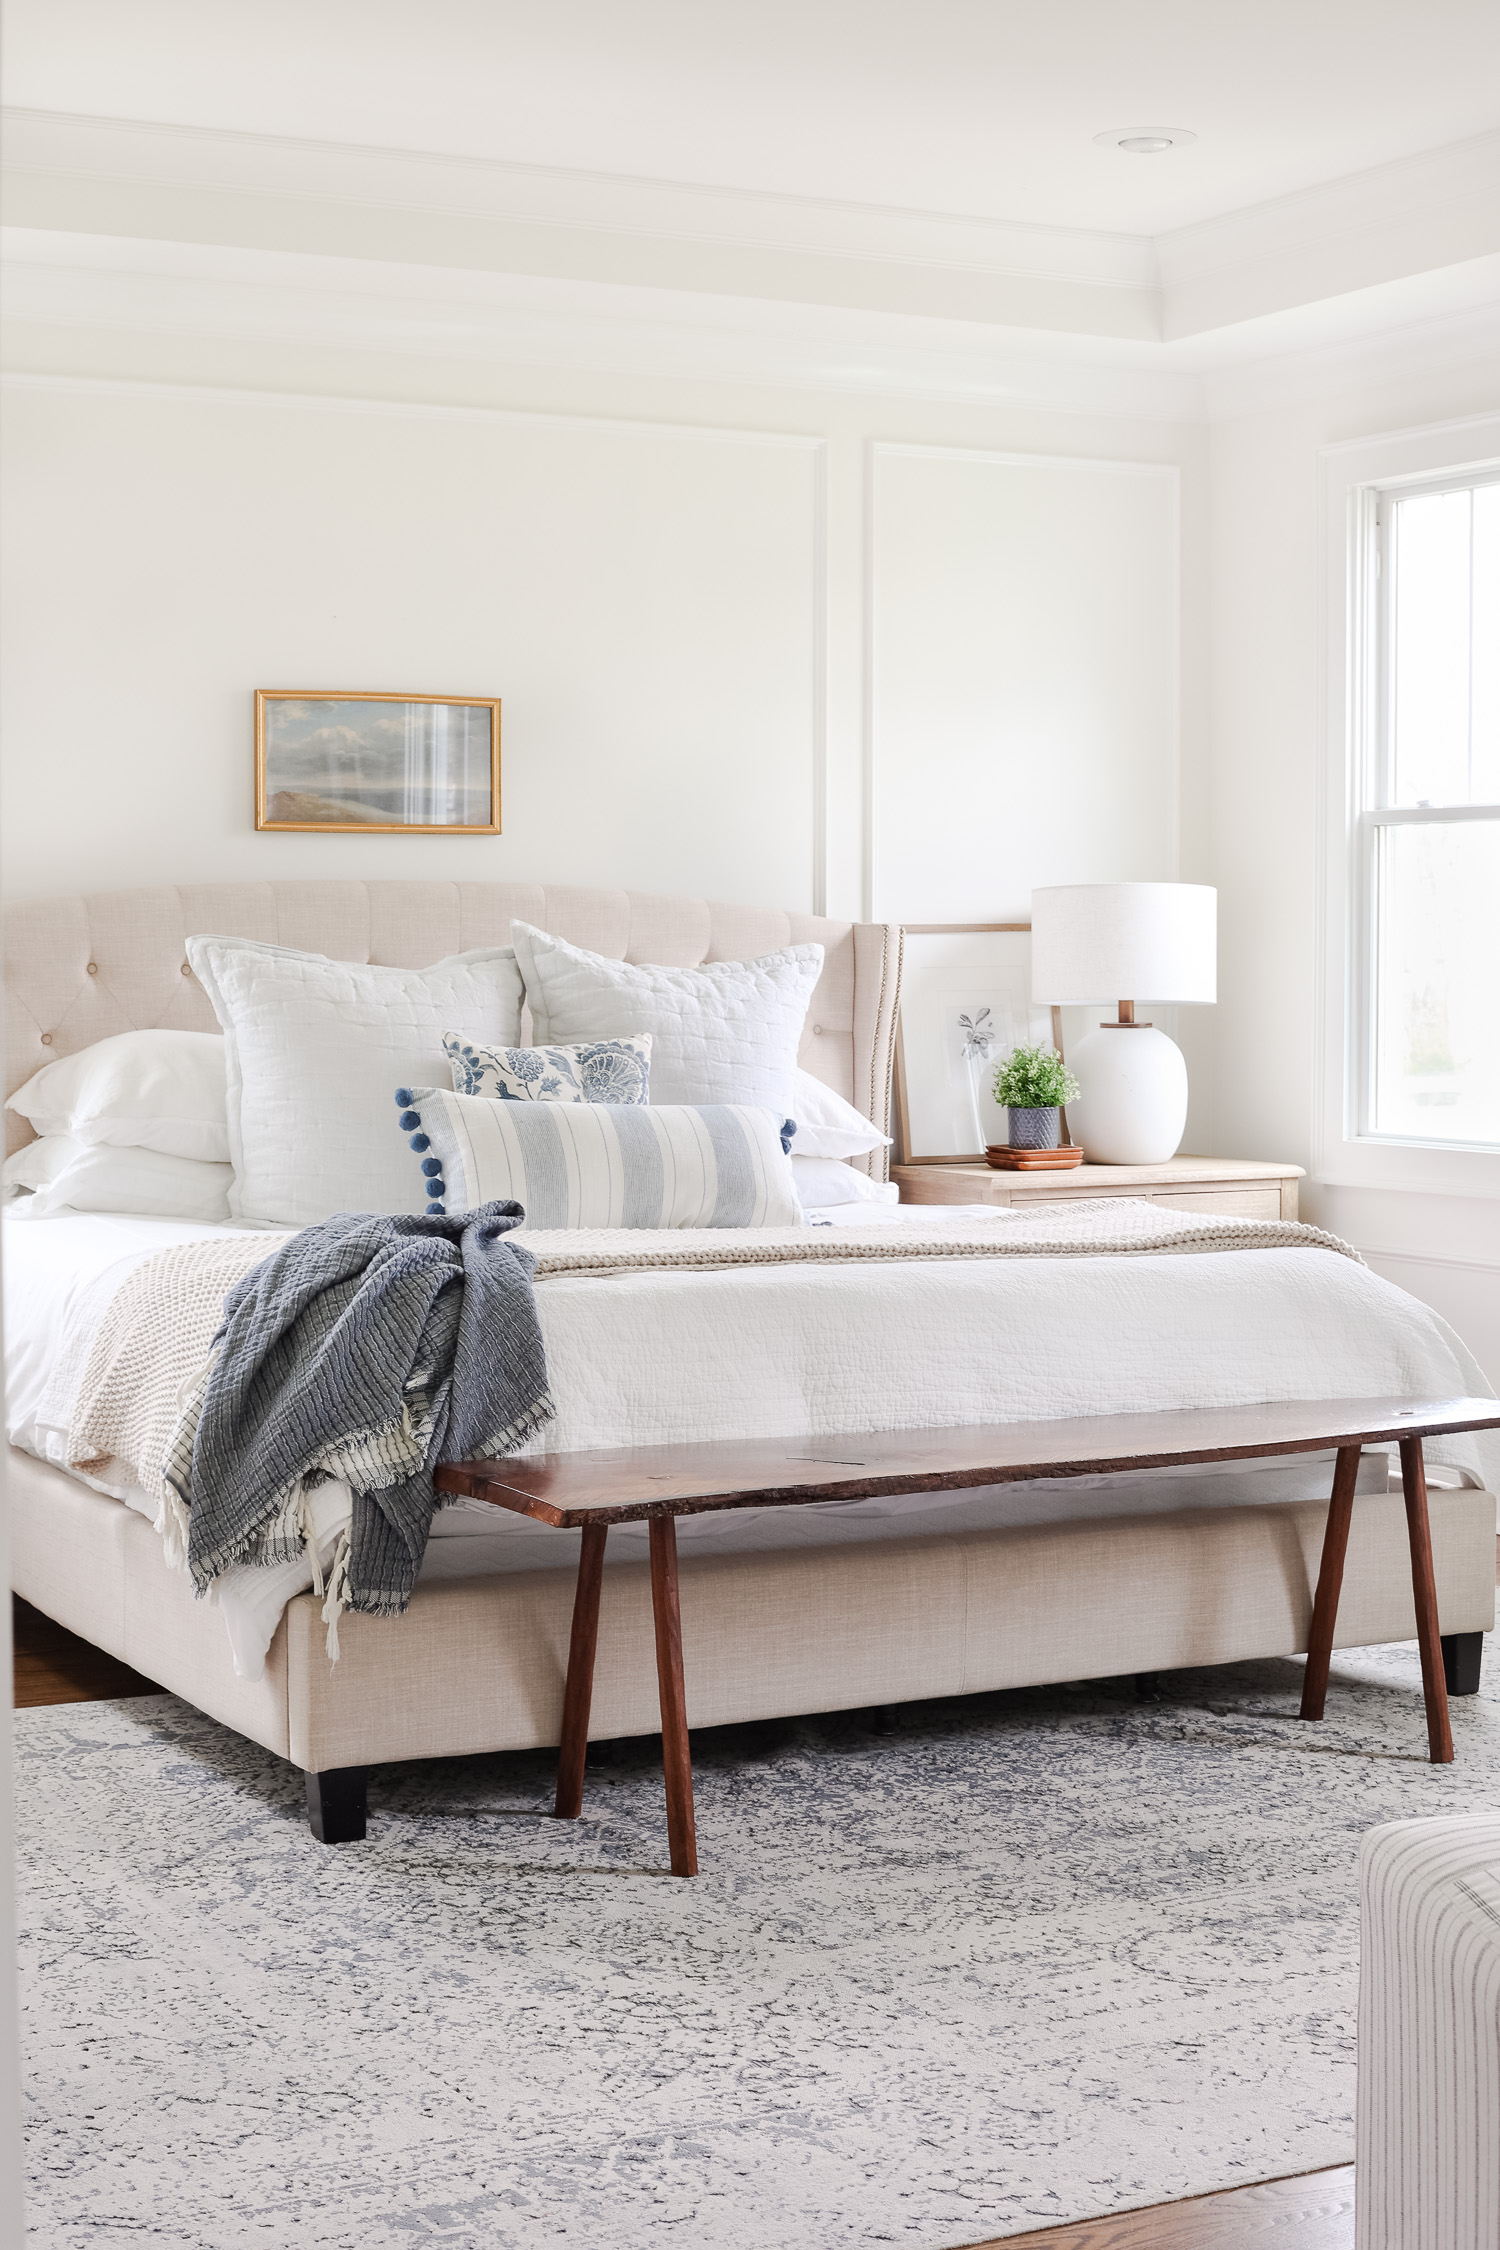
The bed wall only has one window (if you ever build a house don’t do this) and I played around with the moulding design a few times but in the end only did two picture boxes on this wall instead of the three you see taped off. I struggled with this wall longer than I wanted to but the one window just messed up the balance something horrible. It seems the builder designed the windows to look good from the outside of the house but not the inside. Not having a window on the other side of the bed drives me crazy, but I digress!
3. Paint the Walls
It’s easier to ensure your final paint job looks good by painting the walls the final color before adding moulding. Fill in any holes, sand and paint. Ensure the walls are completely prepped and ready for the moulding.
4. Determine Final Measurements
Once you have determined your final overall total measurements for each box you will need then take that total measurement to ensure you purchase the correct amount of trim for your project. Whatever you don’t cut you can take back and if you don’t purchase enough you can always go back for more. I bought a few extra pieces as I knew I would make cutting mistakes this being my first solo trim project.
We used PVC Base Cap Moulding instead of wood or MDF because of cost. I have an entire article about the benefits of using PVC moulding in case you want to learn more.
Steps to Install the Moulding
All the prep work is done and this is where it gets easier. Sure you still have quite a bit of work in front of you, but planning the moulding takes a good chunk of time. Now it’s the fun part…actually seeing your project come together and your hard work pay off.
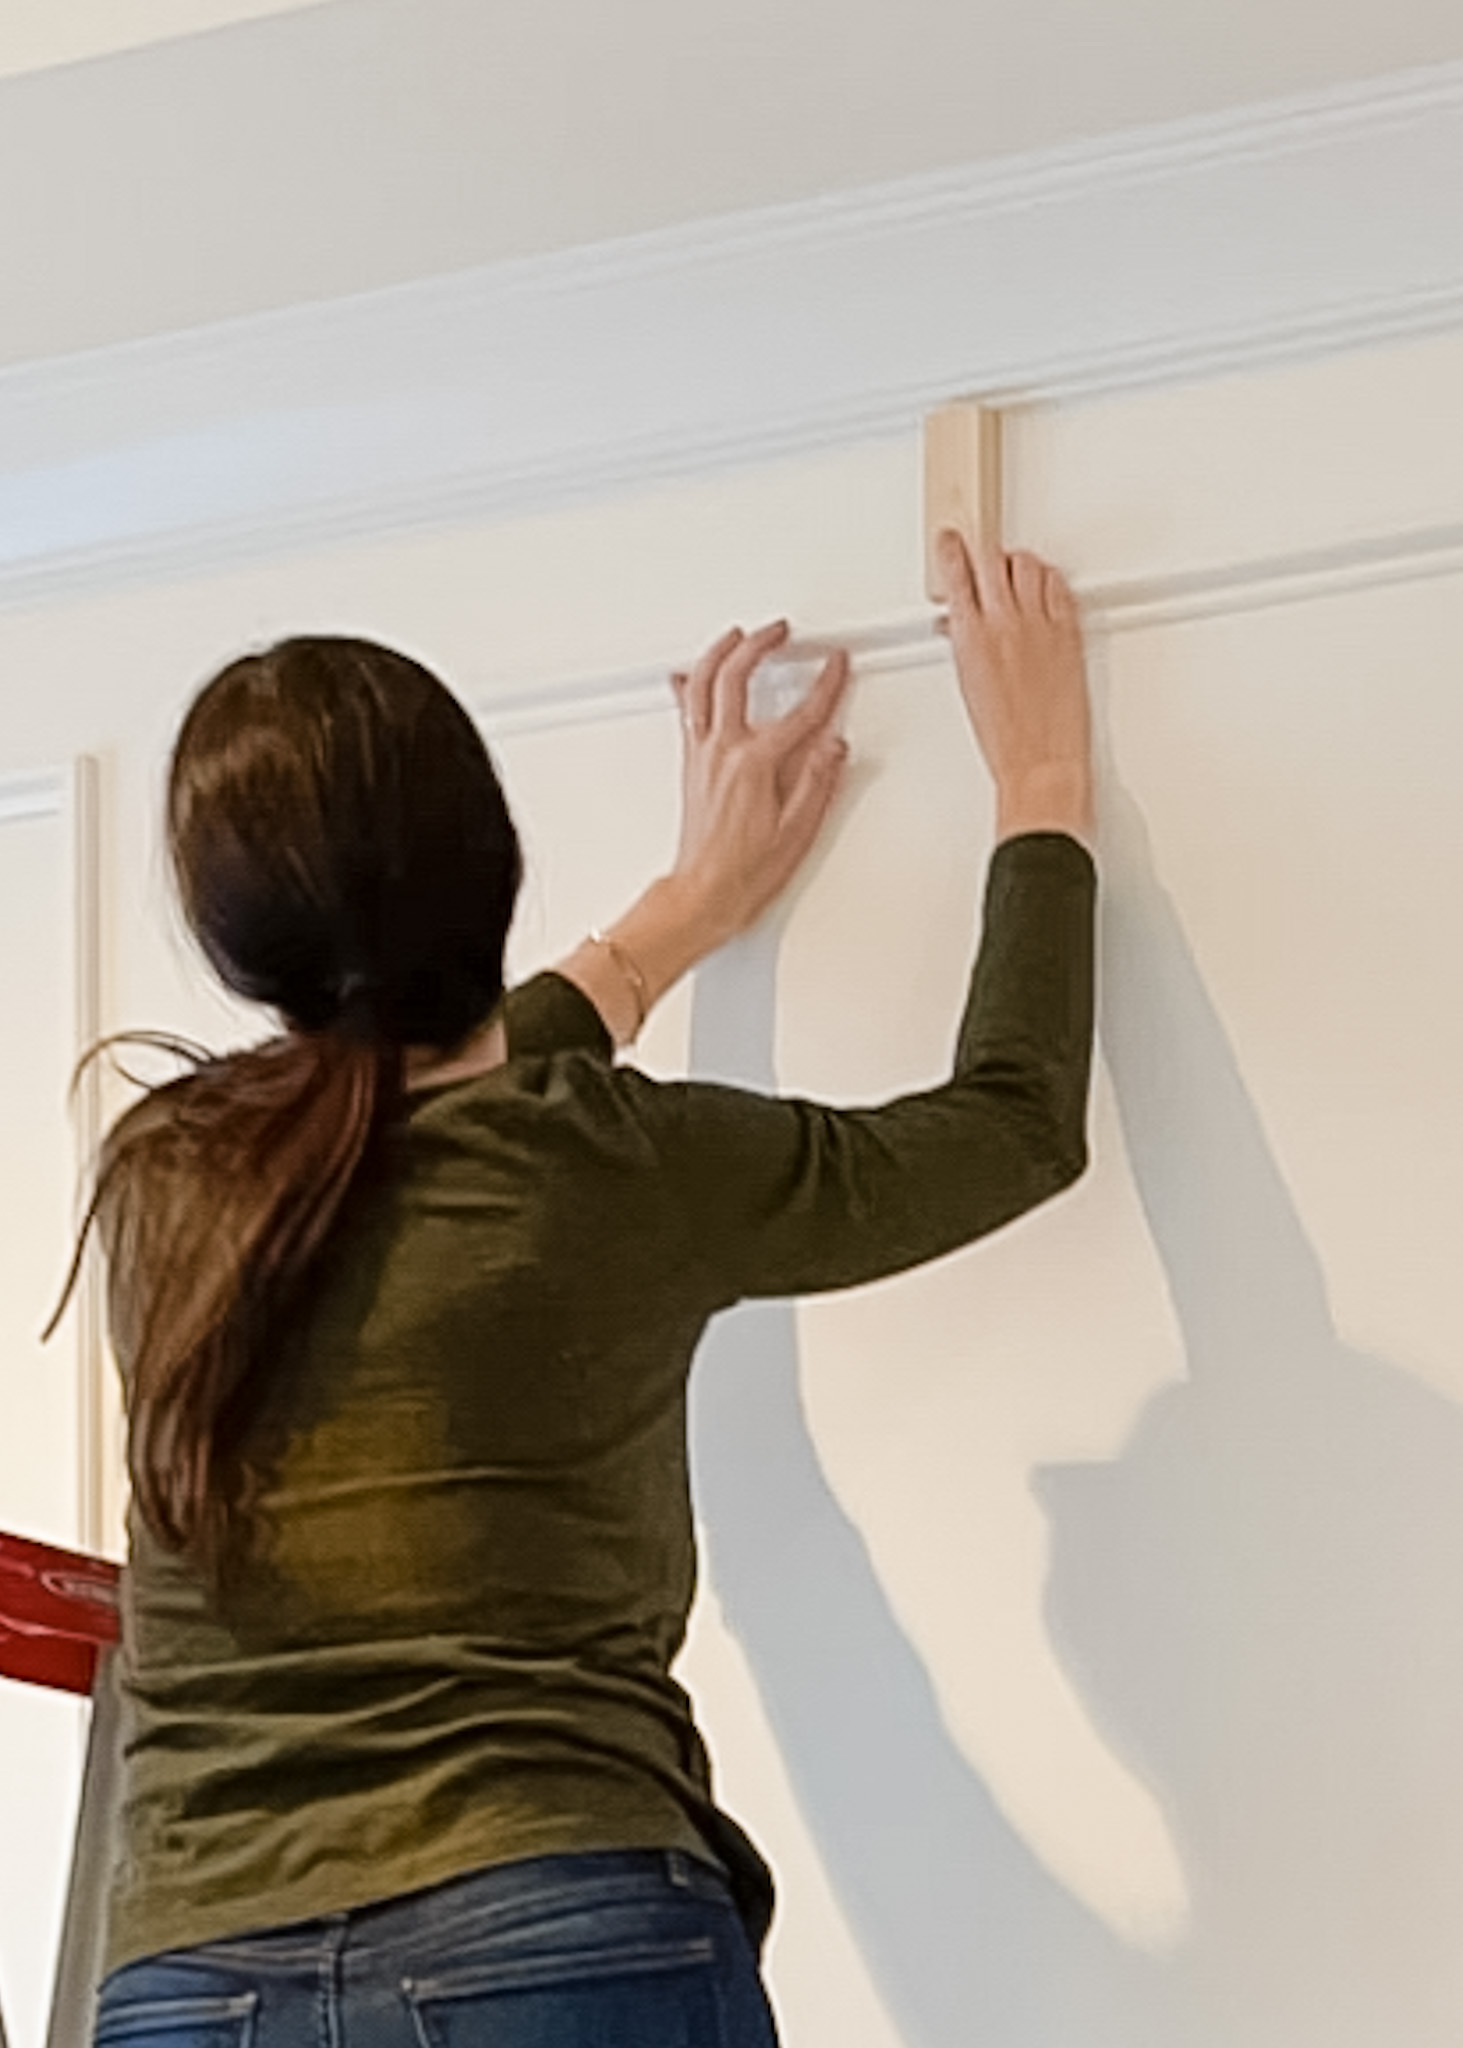
- Cut a piece of wood the size of your spacing so you can use this while you attach the moulding. For us this was 4″
- Working one box at at time, measure and cut your trim using your miter saw
- Working from the top of the box to the bottom add your trim pieces using a level and your pre-cut wood for even spacing
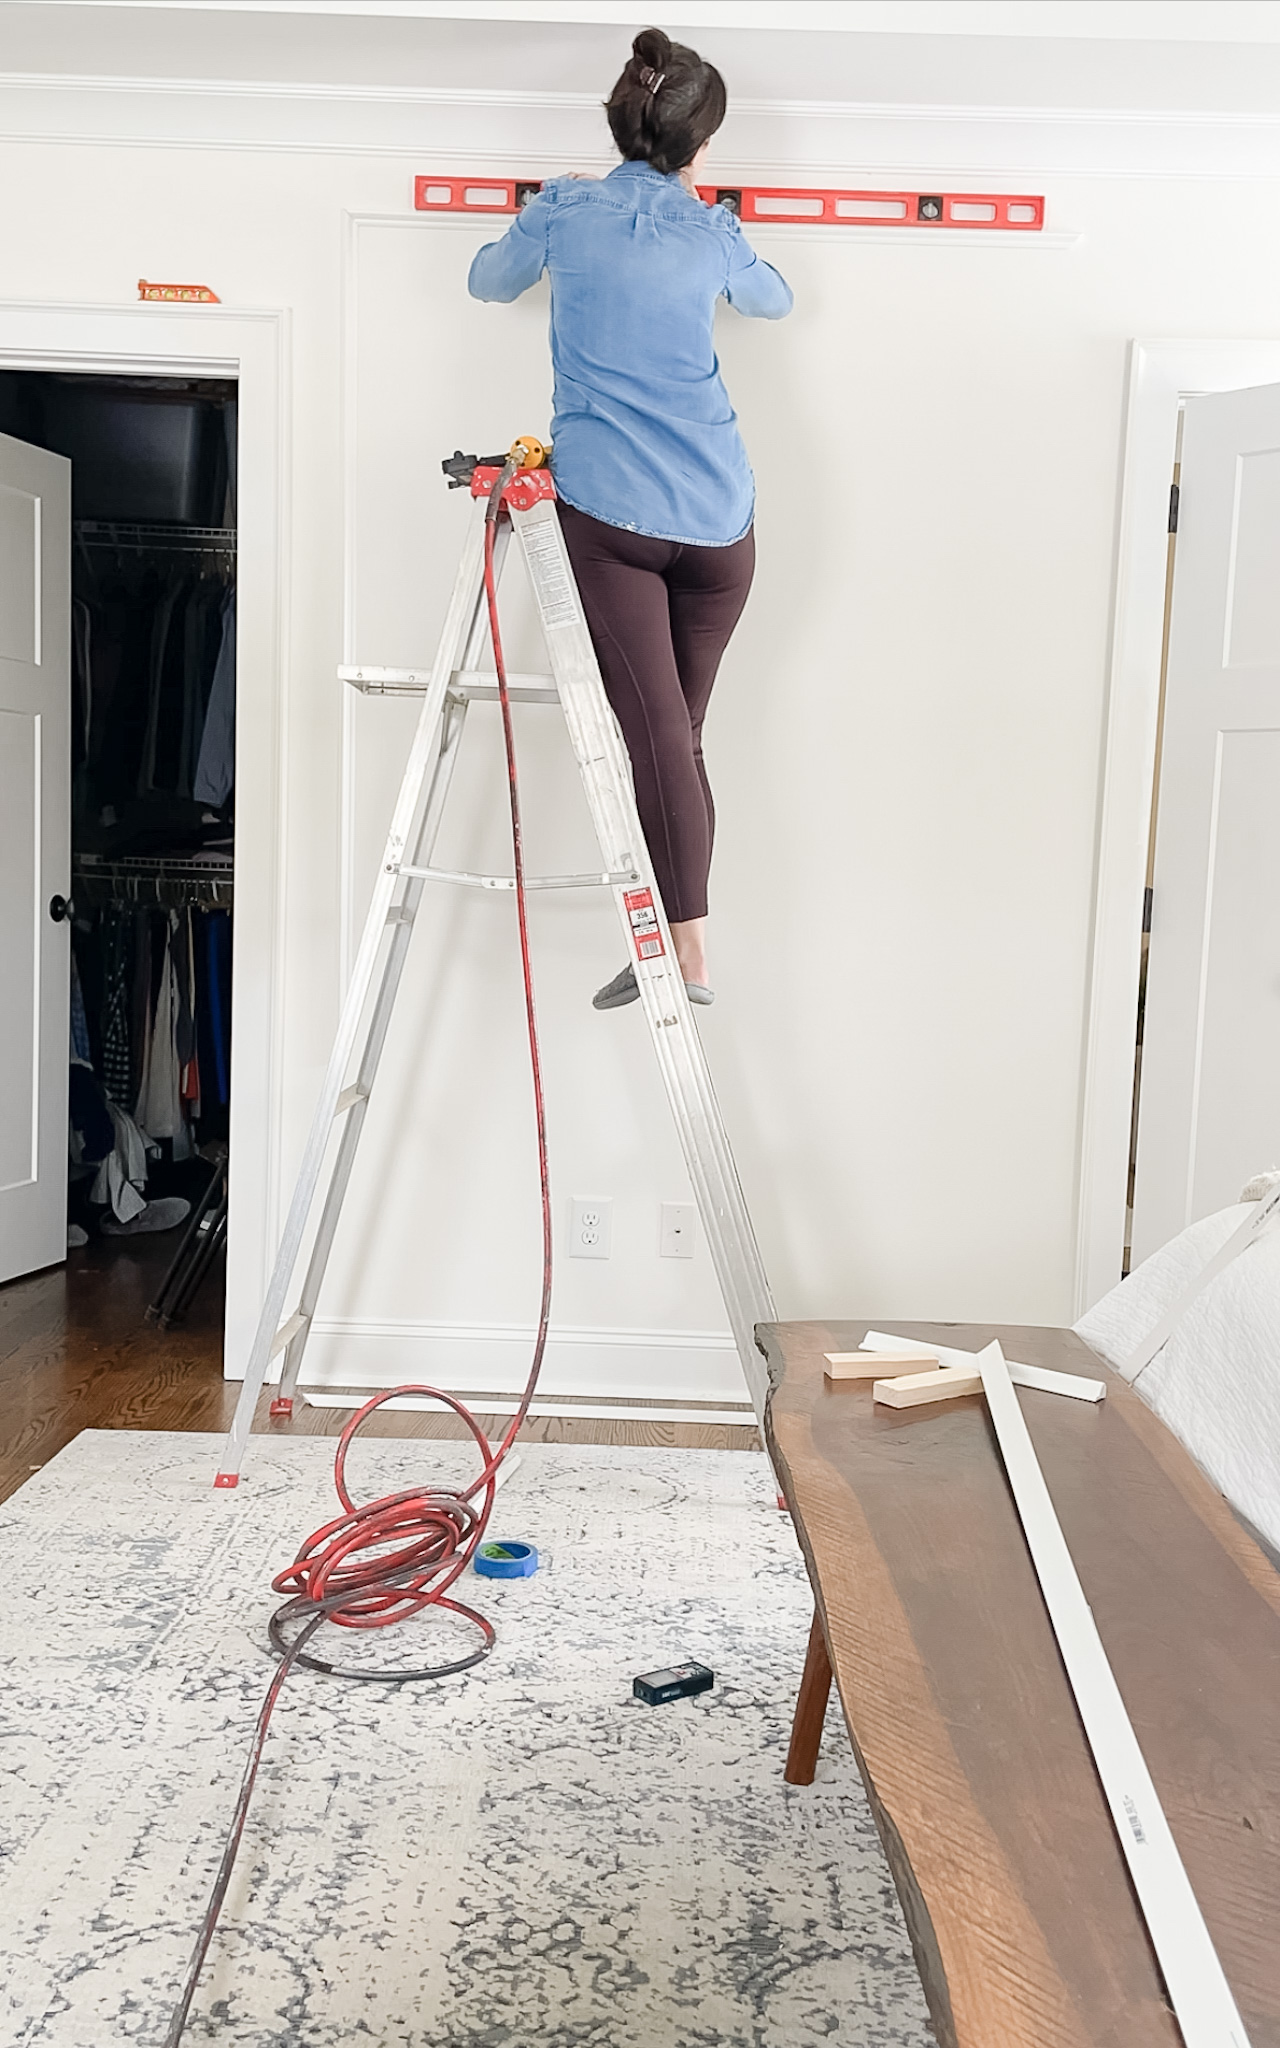
4. Install the left and right pieces, first nailing only at the top. Then, work your way down these side pieces using a level and nailing as you go
5. Install the bottom piece, using a level, nailing the middle first and then the sides
6. Using your nail gun attach the moulding to the wall
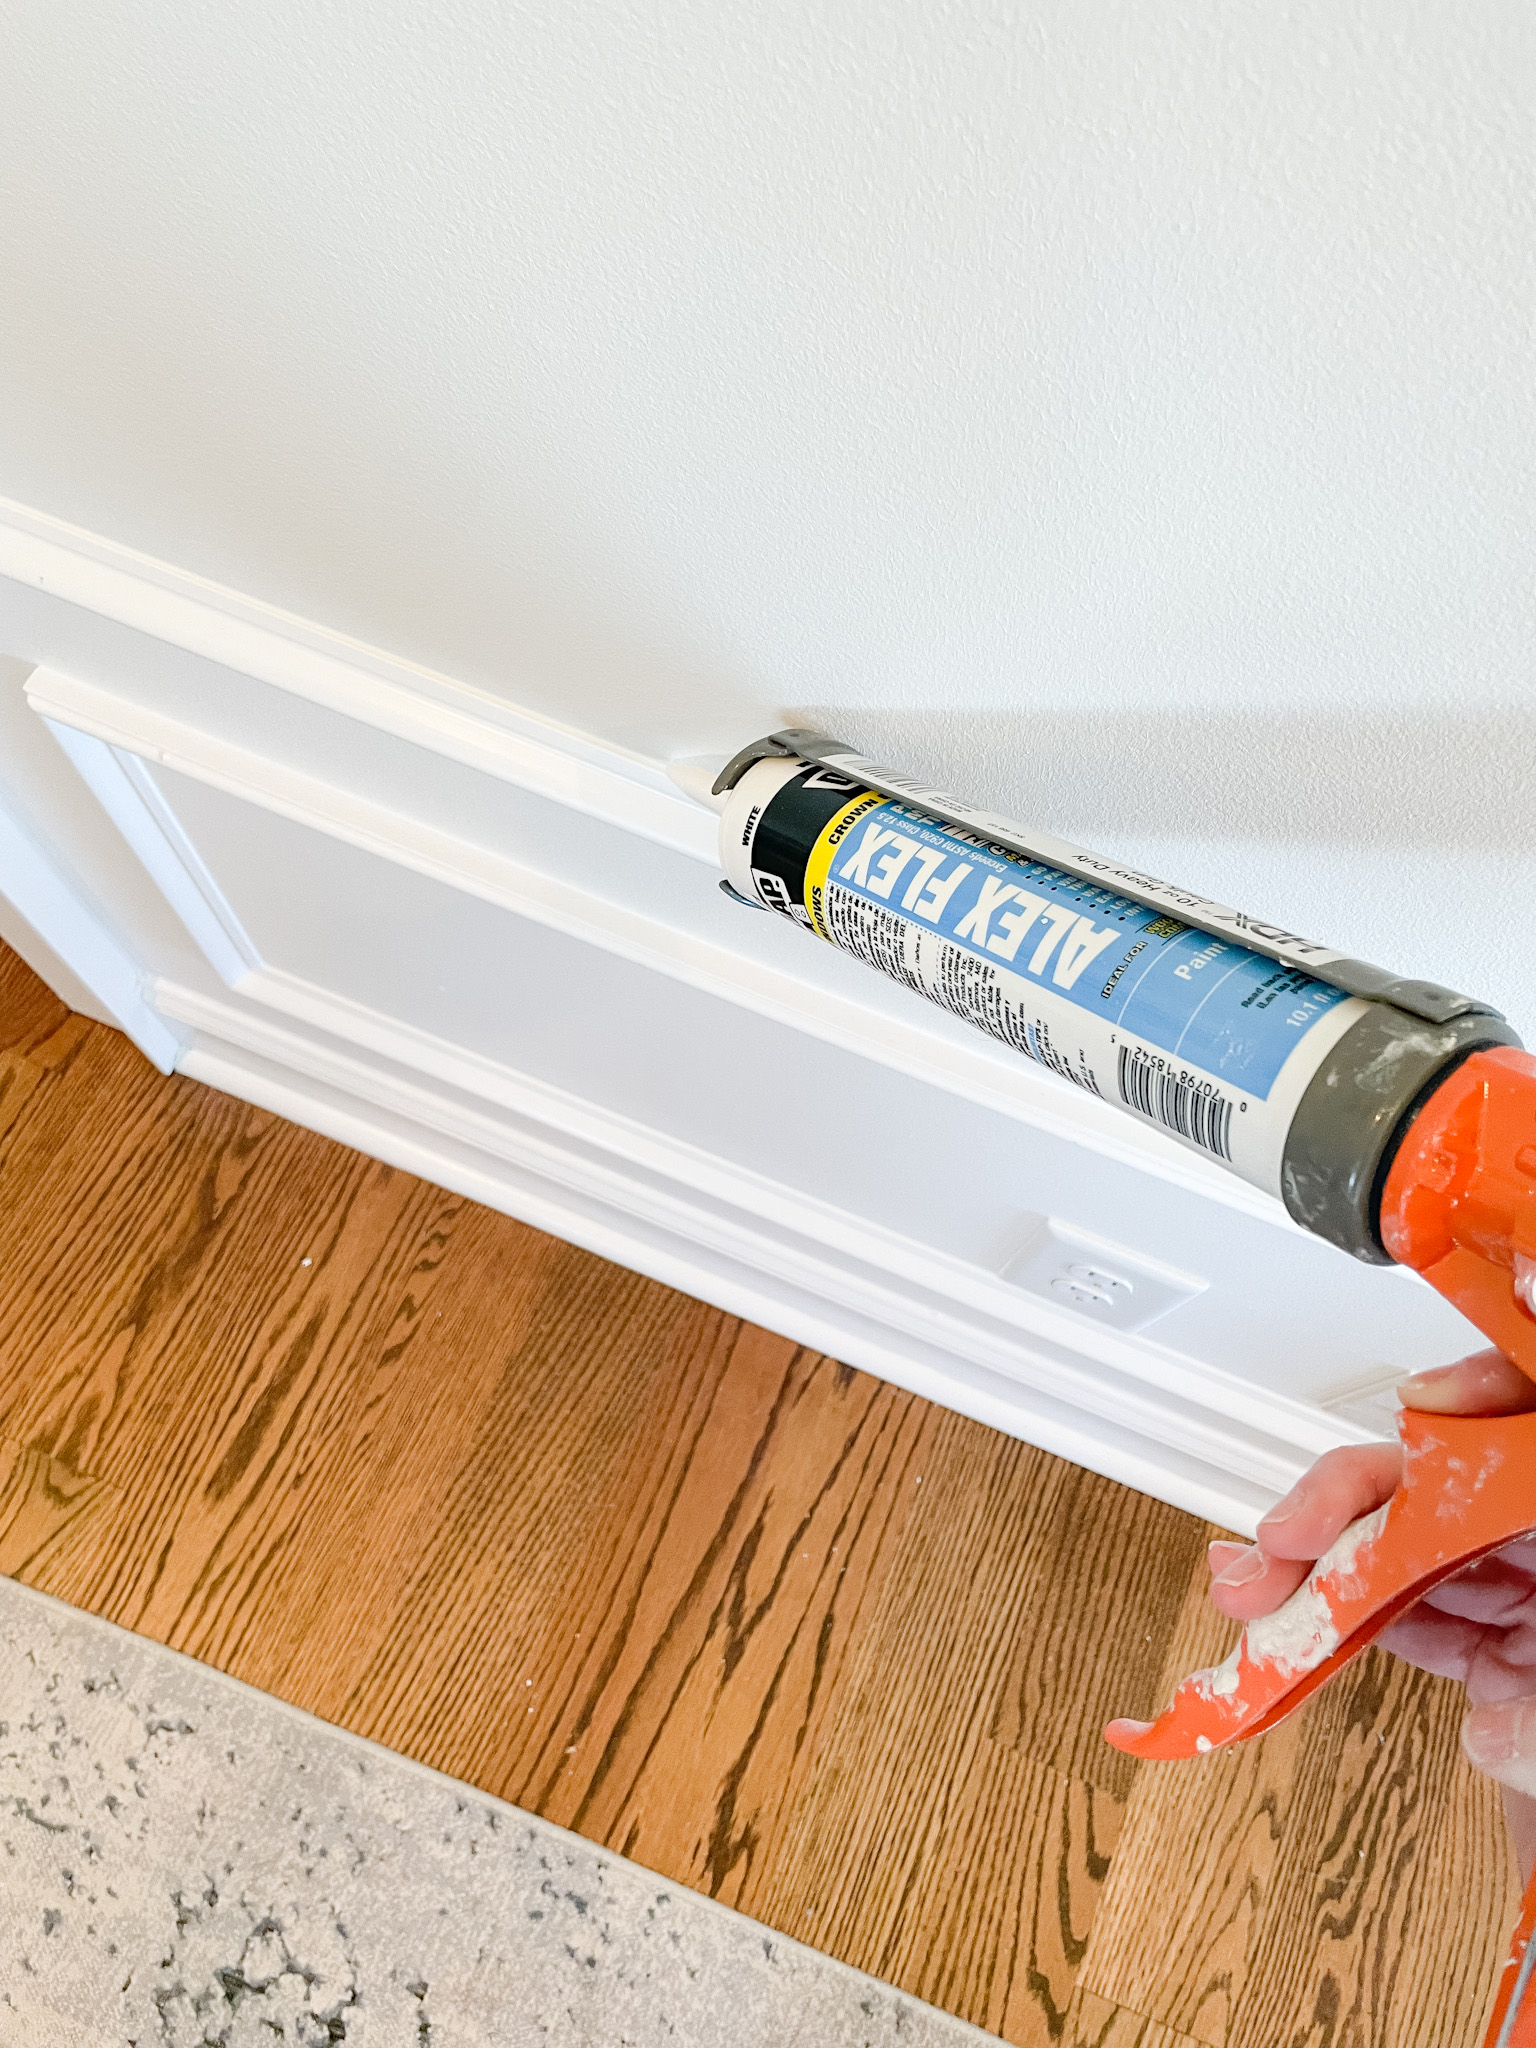
7. Caulk, fill the nail wholes, sand the filler and paint
Best Paint Sheen for Picture Moulding
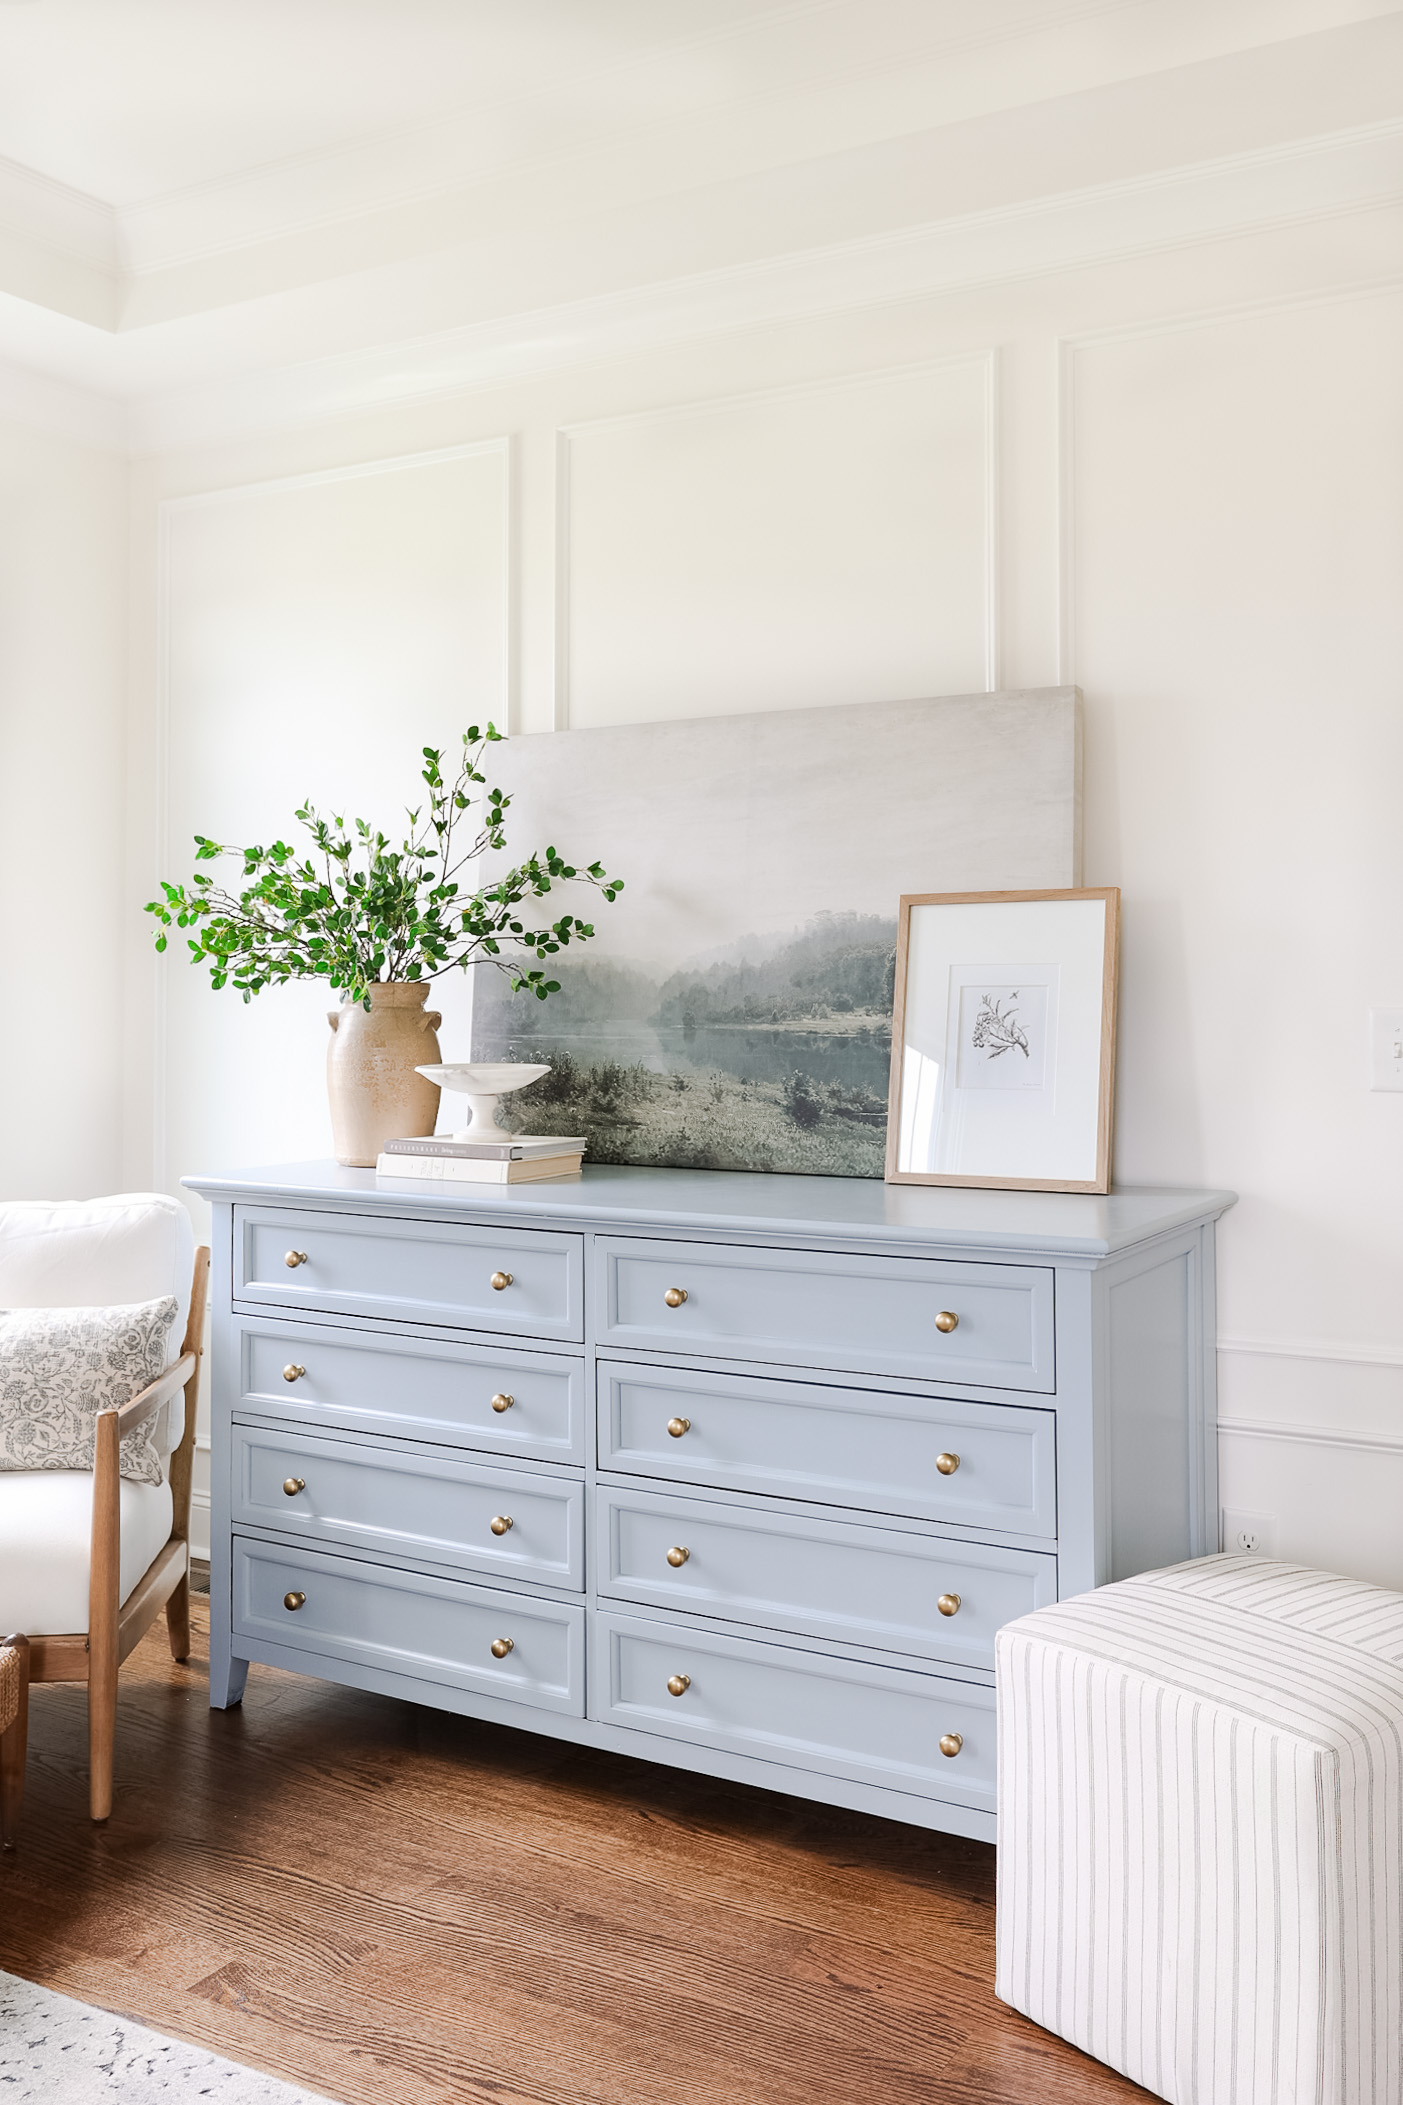
After all the work measuring, installing, caulking, filling and sanding you are ready to finally paint. Determining the paint sheen to use on your finished trim work is a personal choice. We used semi-gloss to go with the rest of the trim in the room such as the crown moulding and baseboards. The walls are eggshell with semi-gloss picture moulding but you can also paint the picture moulding the same sheen as the walls. I like my trim to normally be semi-gloss.
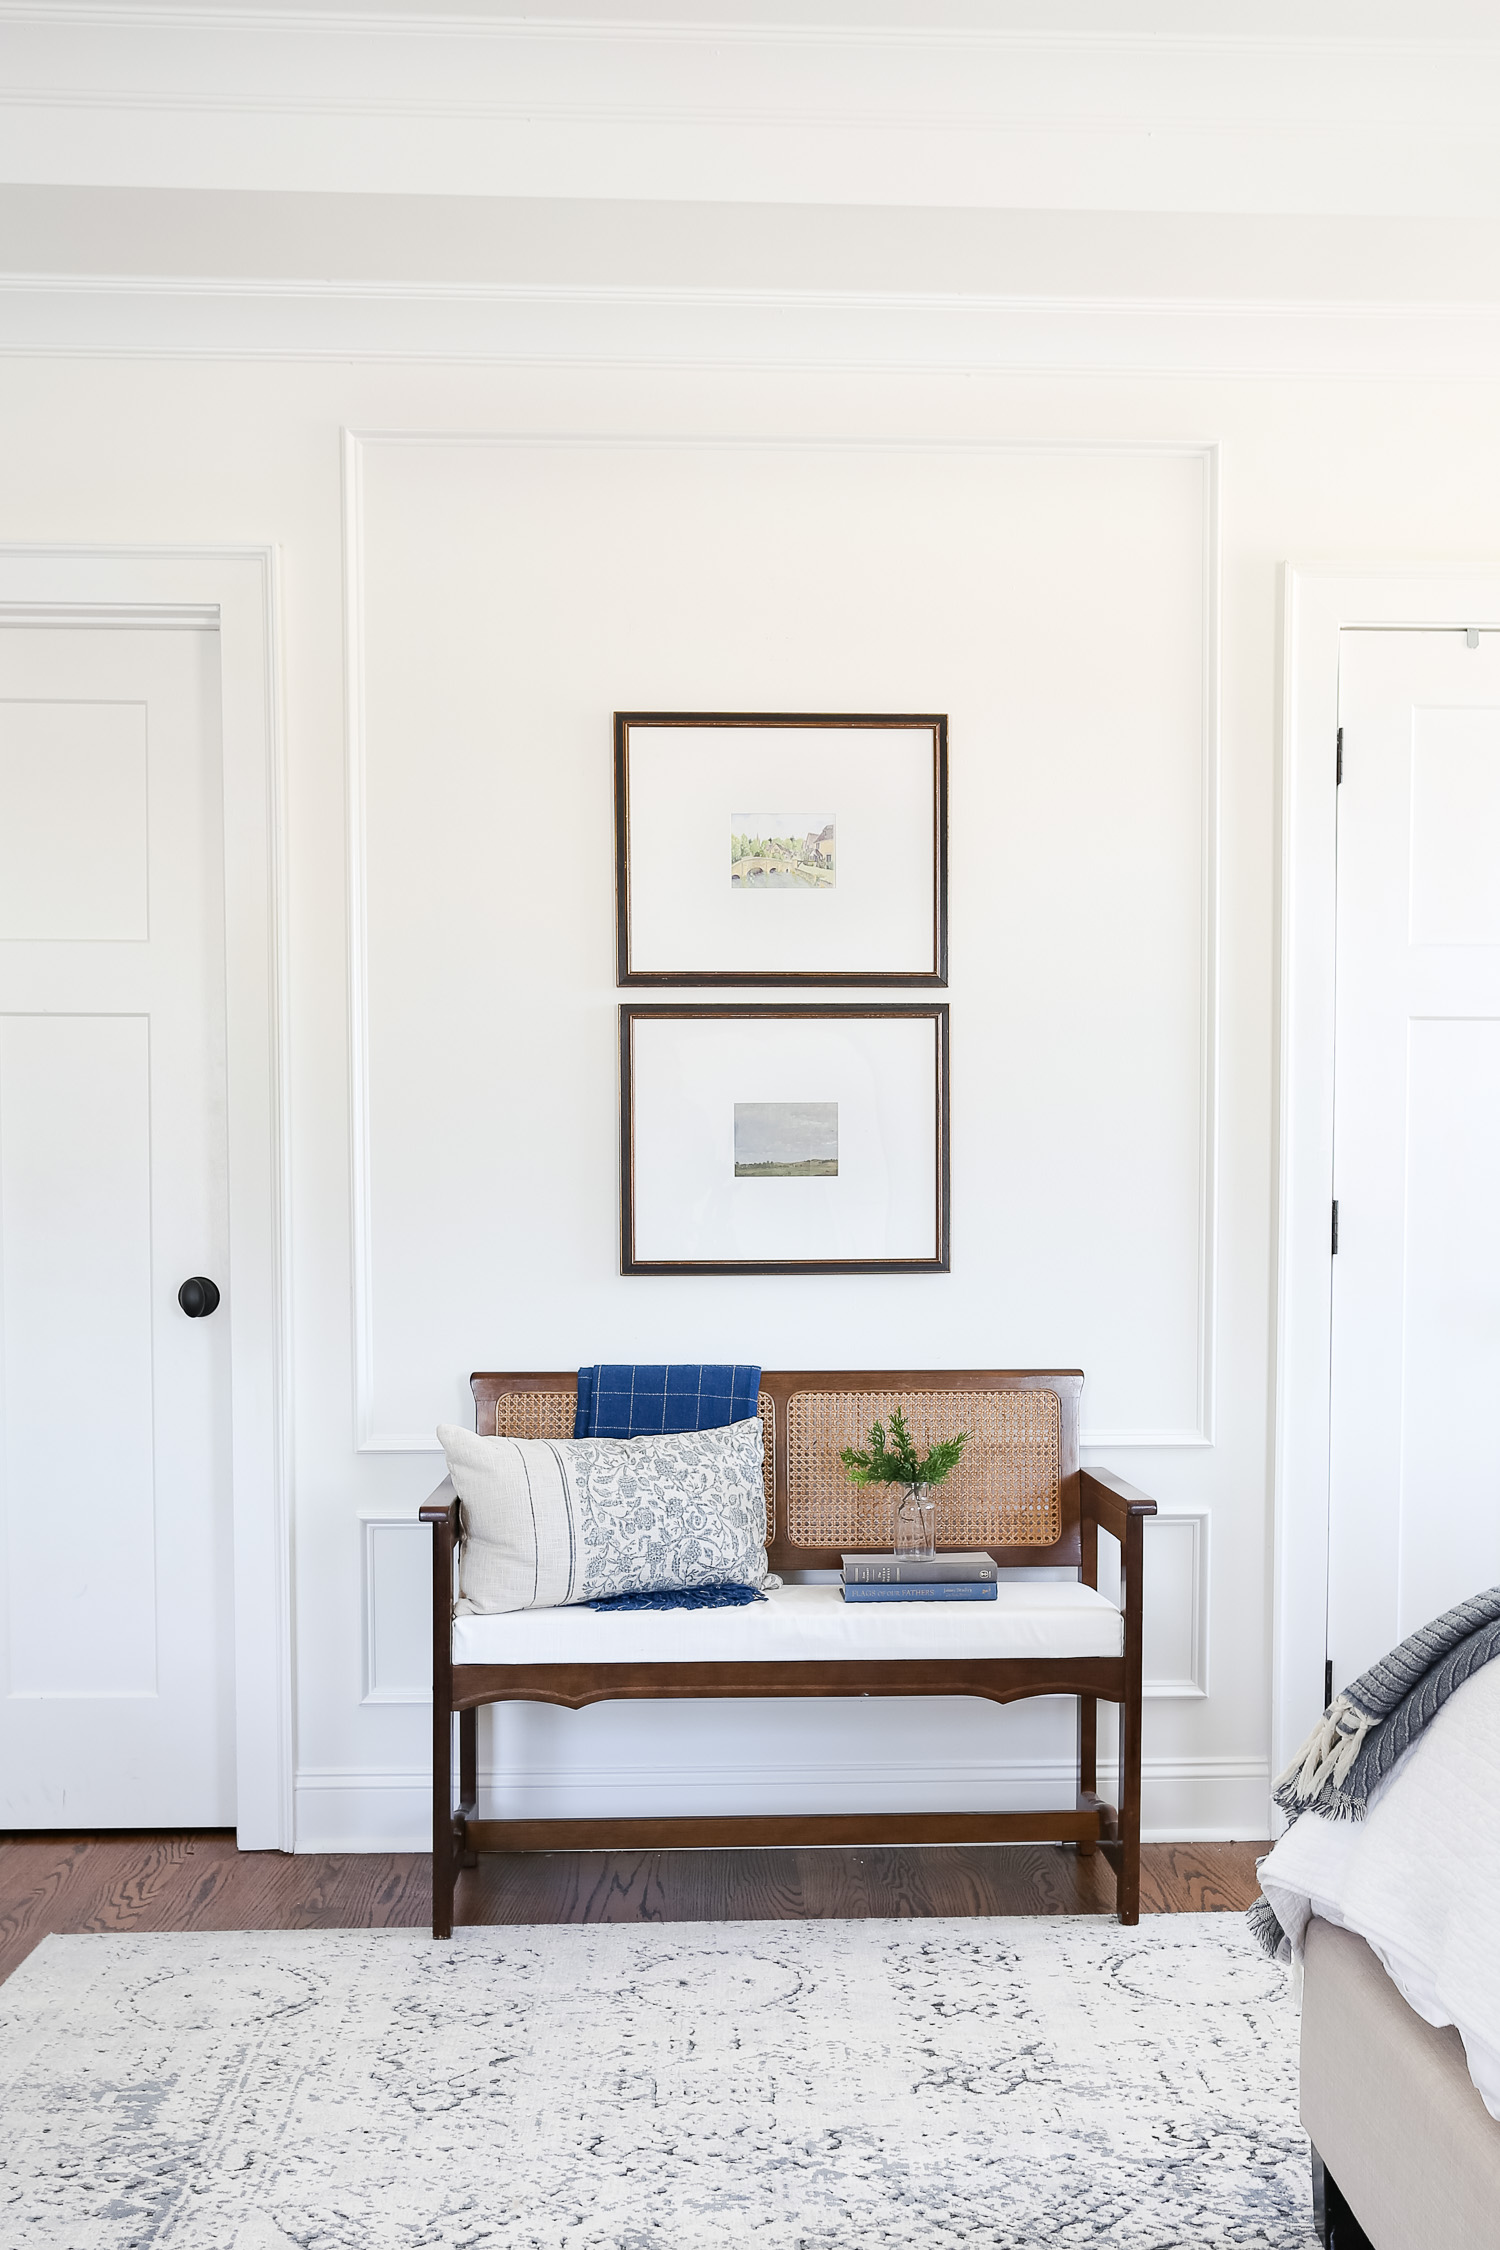
Final Thoughts on Picture Frame Moulding
I couldn’t be happier with the final results. The picture frame moulding added just enough pop to the room without being too much. Once I had a vision and plan in place it was off to the races getting the moulding installed. Take the time to plan exactly how you want it and you will not be disappointed with the end result. I love how wall trim and moulding adds character and charm to a home. Let me know if you have any questions below and I’d be happy to help answer any concerns or questions you might have.
RELATED DIY Decor POSTS:
- Five Easy Ways To Update Your Dining Room
- Feminine Home Office Design + Desk & Chair Ideas
- DIY Wood Closet Shelves
- Benefits of PVC Moulding
Picture Frame Moulding
Follow for home decor, DIY and to shop: Instagram | Pinterest | LiketoKnowit


What type of paint brush did u use to paint the molding ? I bought the pvc molding and trying to paint without leaving streak marks. Also have many coats did u have to do ?
Thank you
Hello! I used this brush from Lowes. I used this brush for everything and haven’t had issues with streak marks. https://rstyle.me/+br3P45ojOz9R7SlTY7HuWg
I did two coats in semi gloss and the first coat is tricky because the pvc is so smooth and slippery. The second coat will be easier.
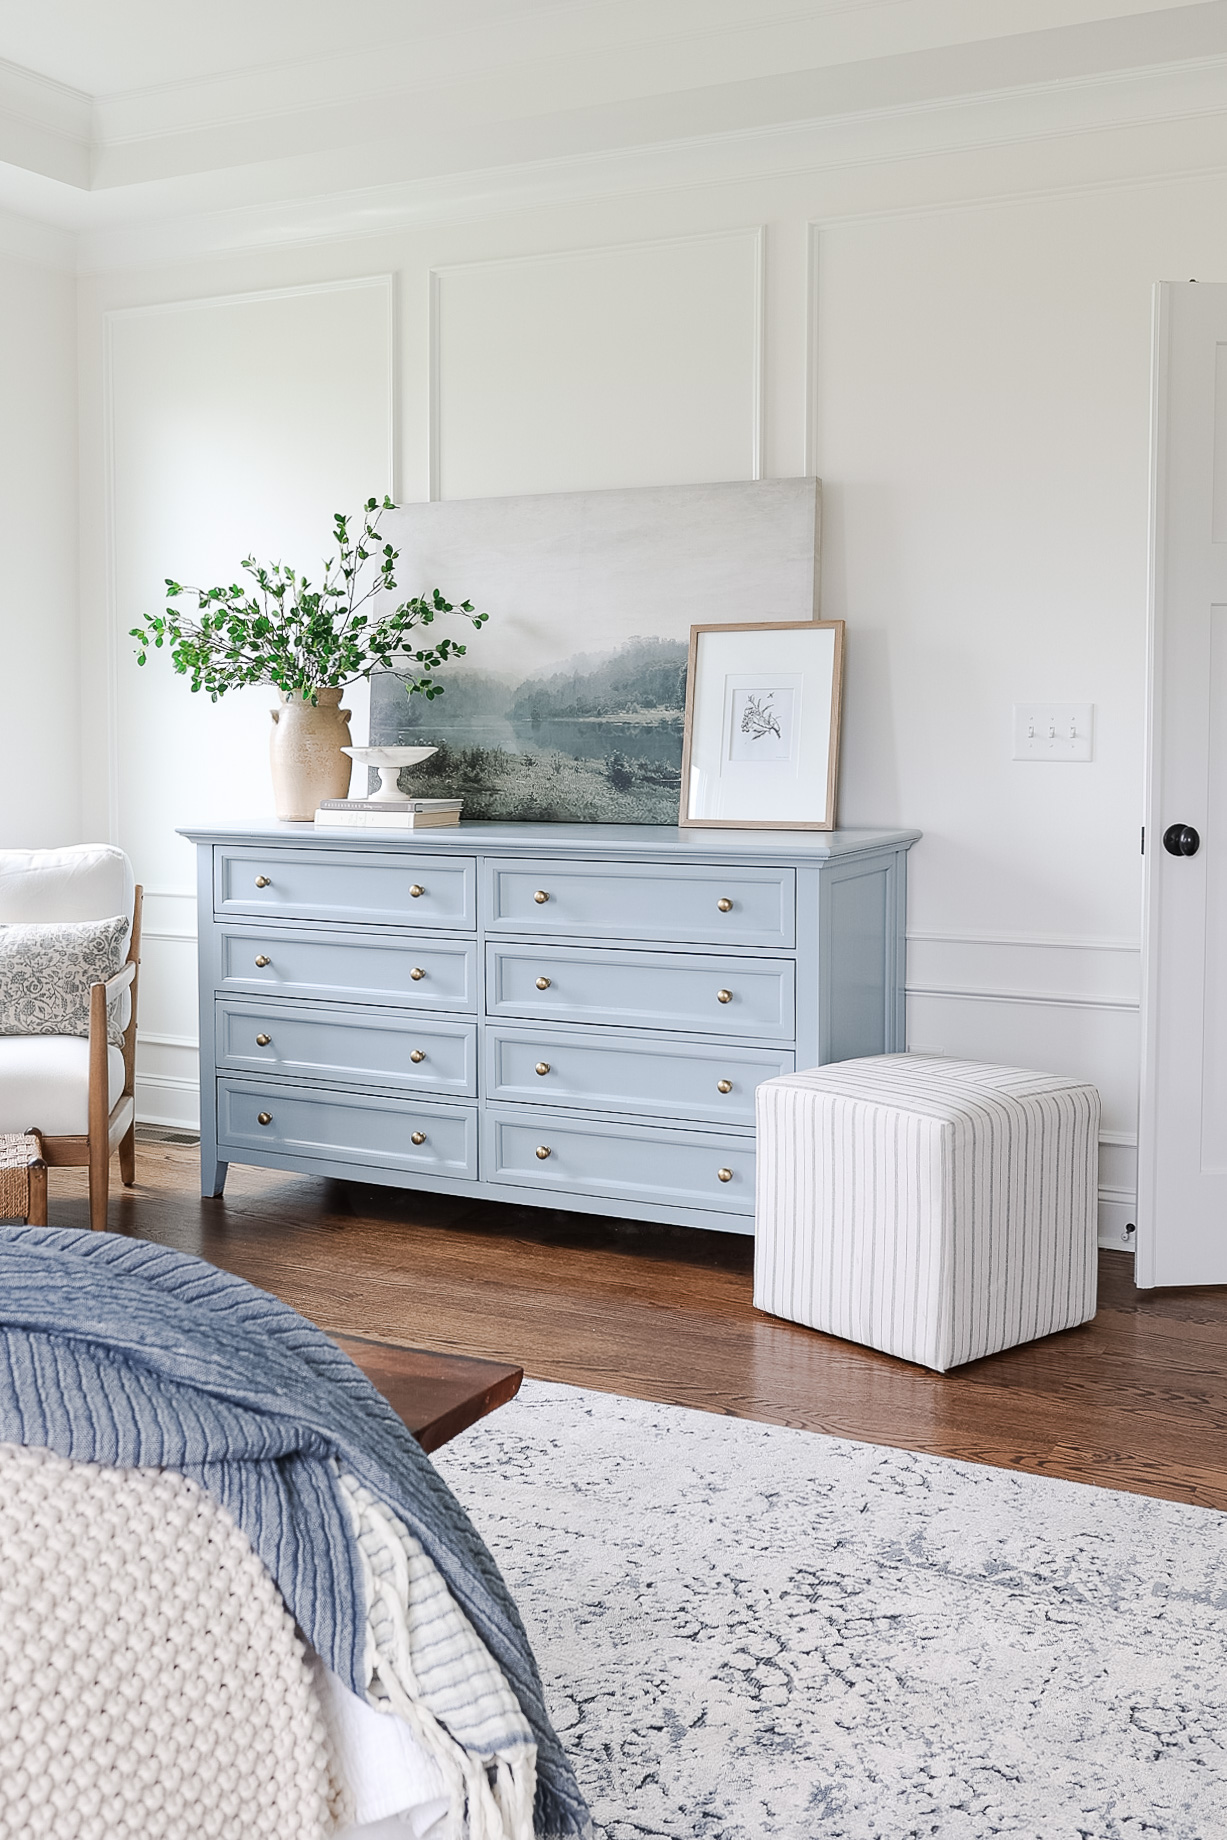
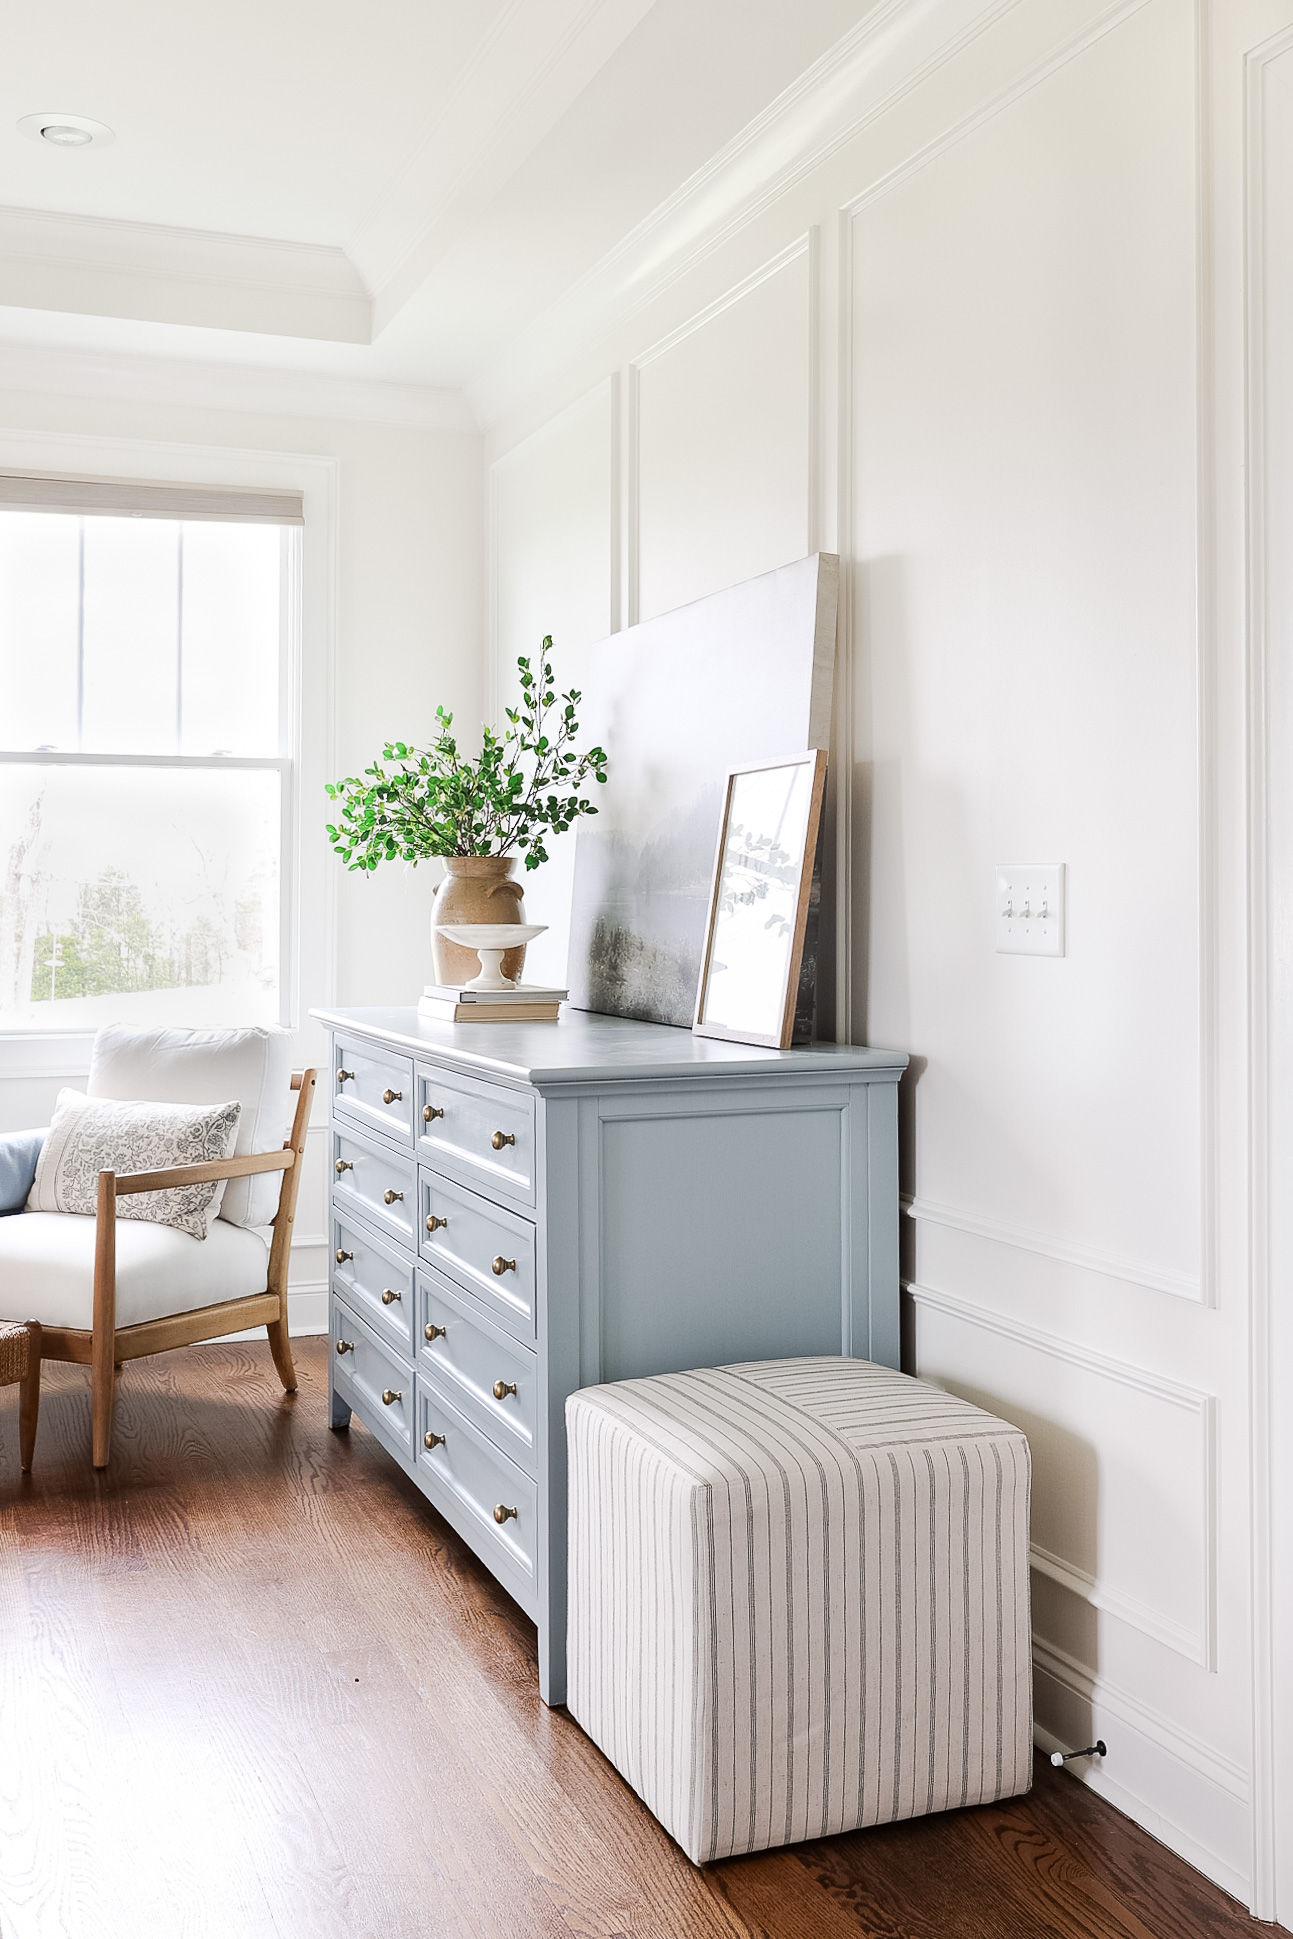
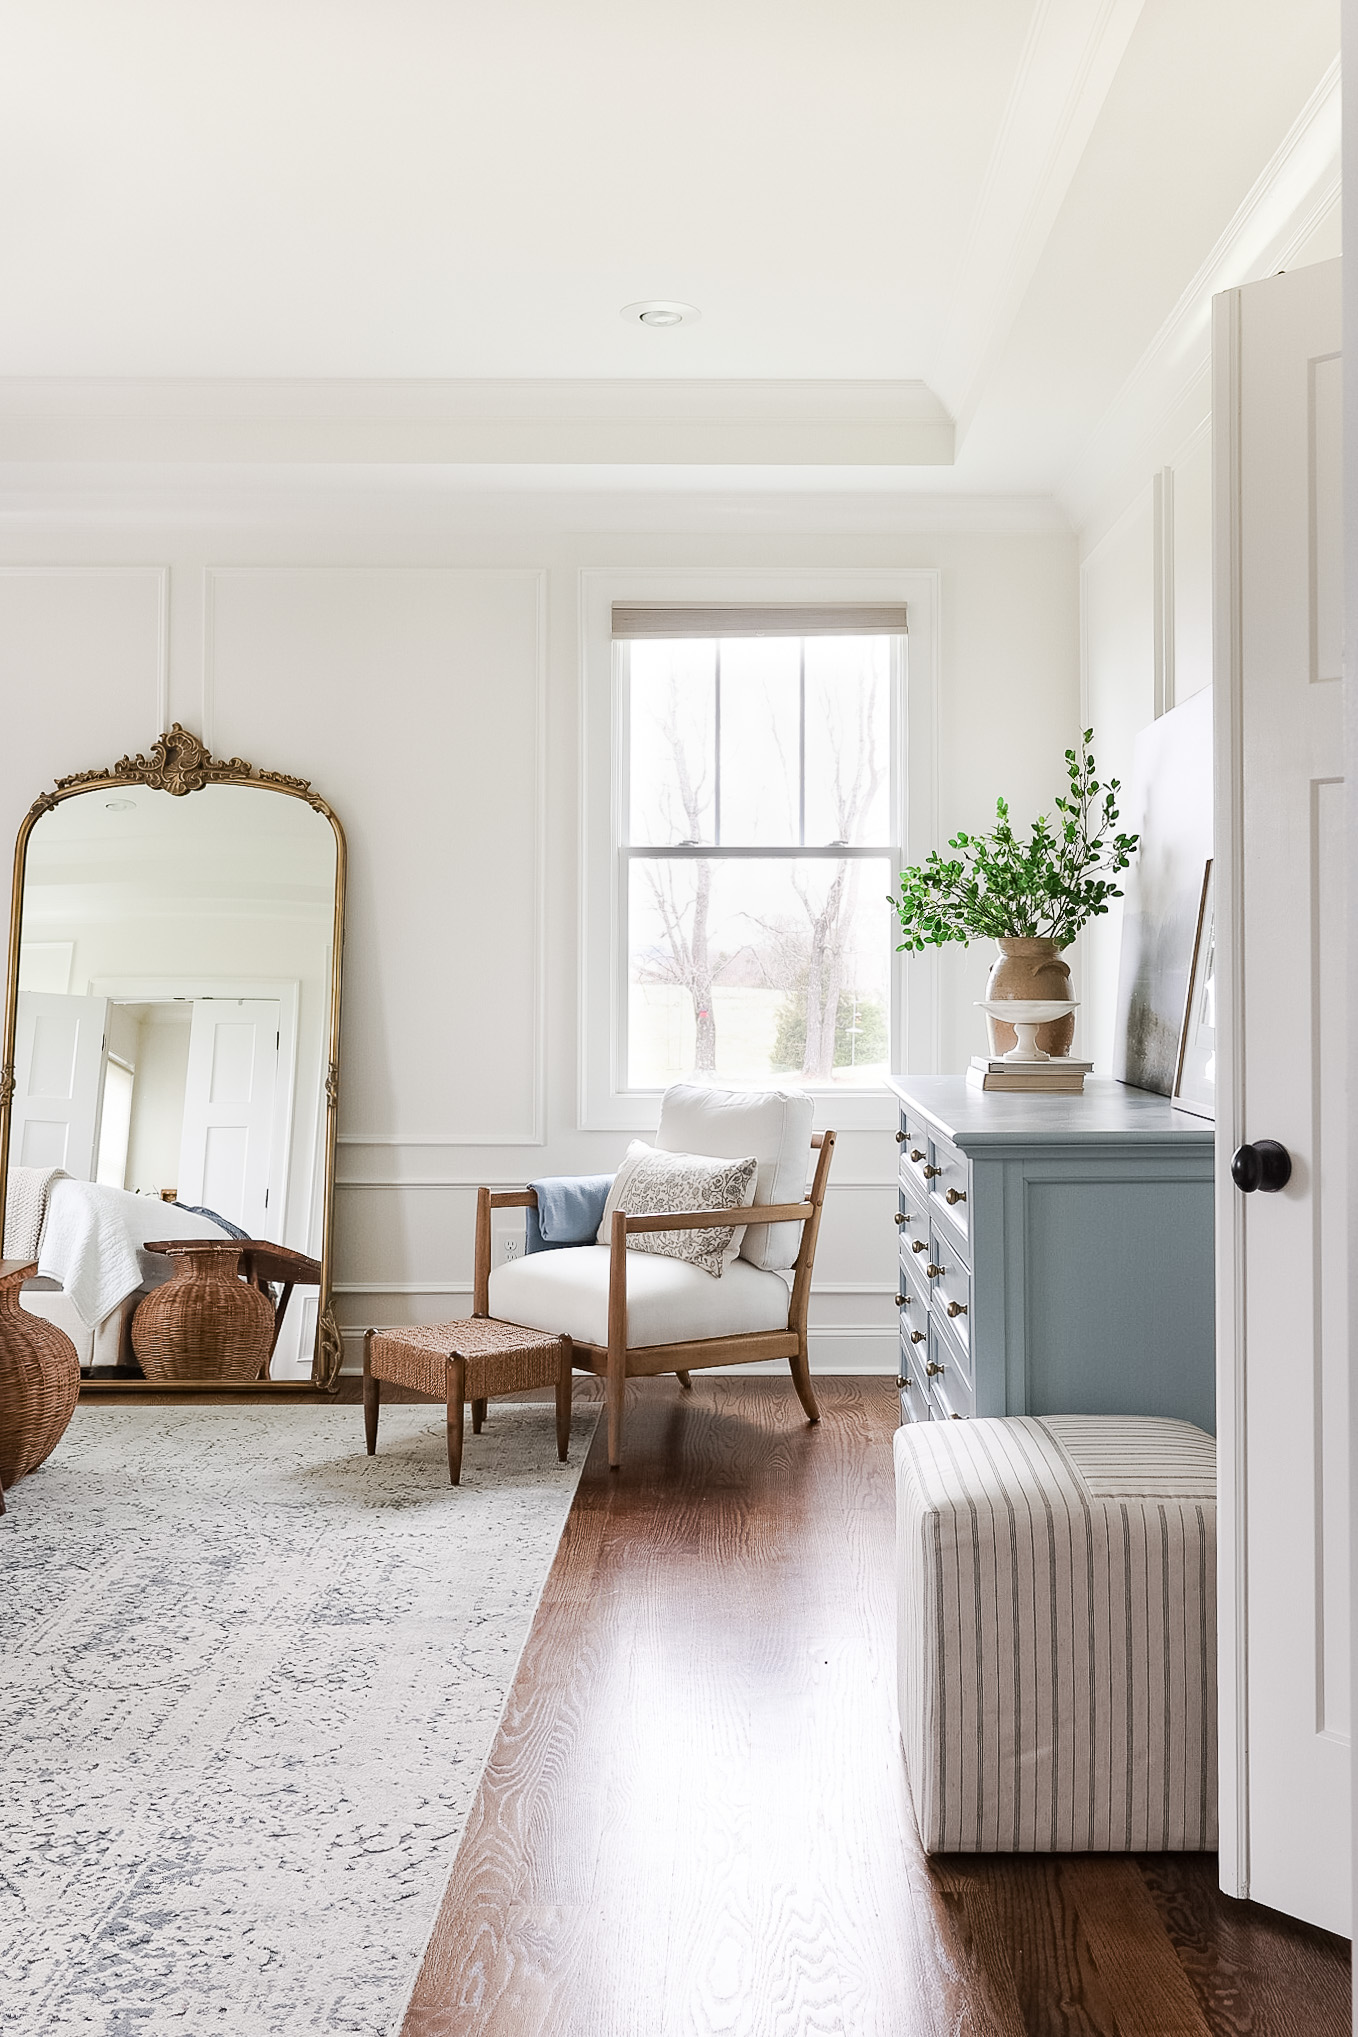
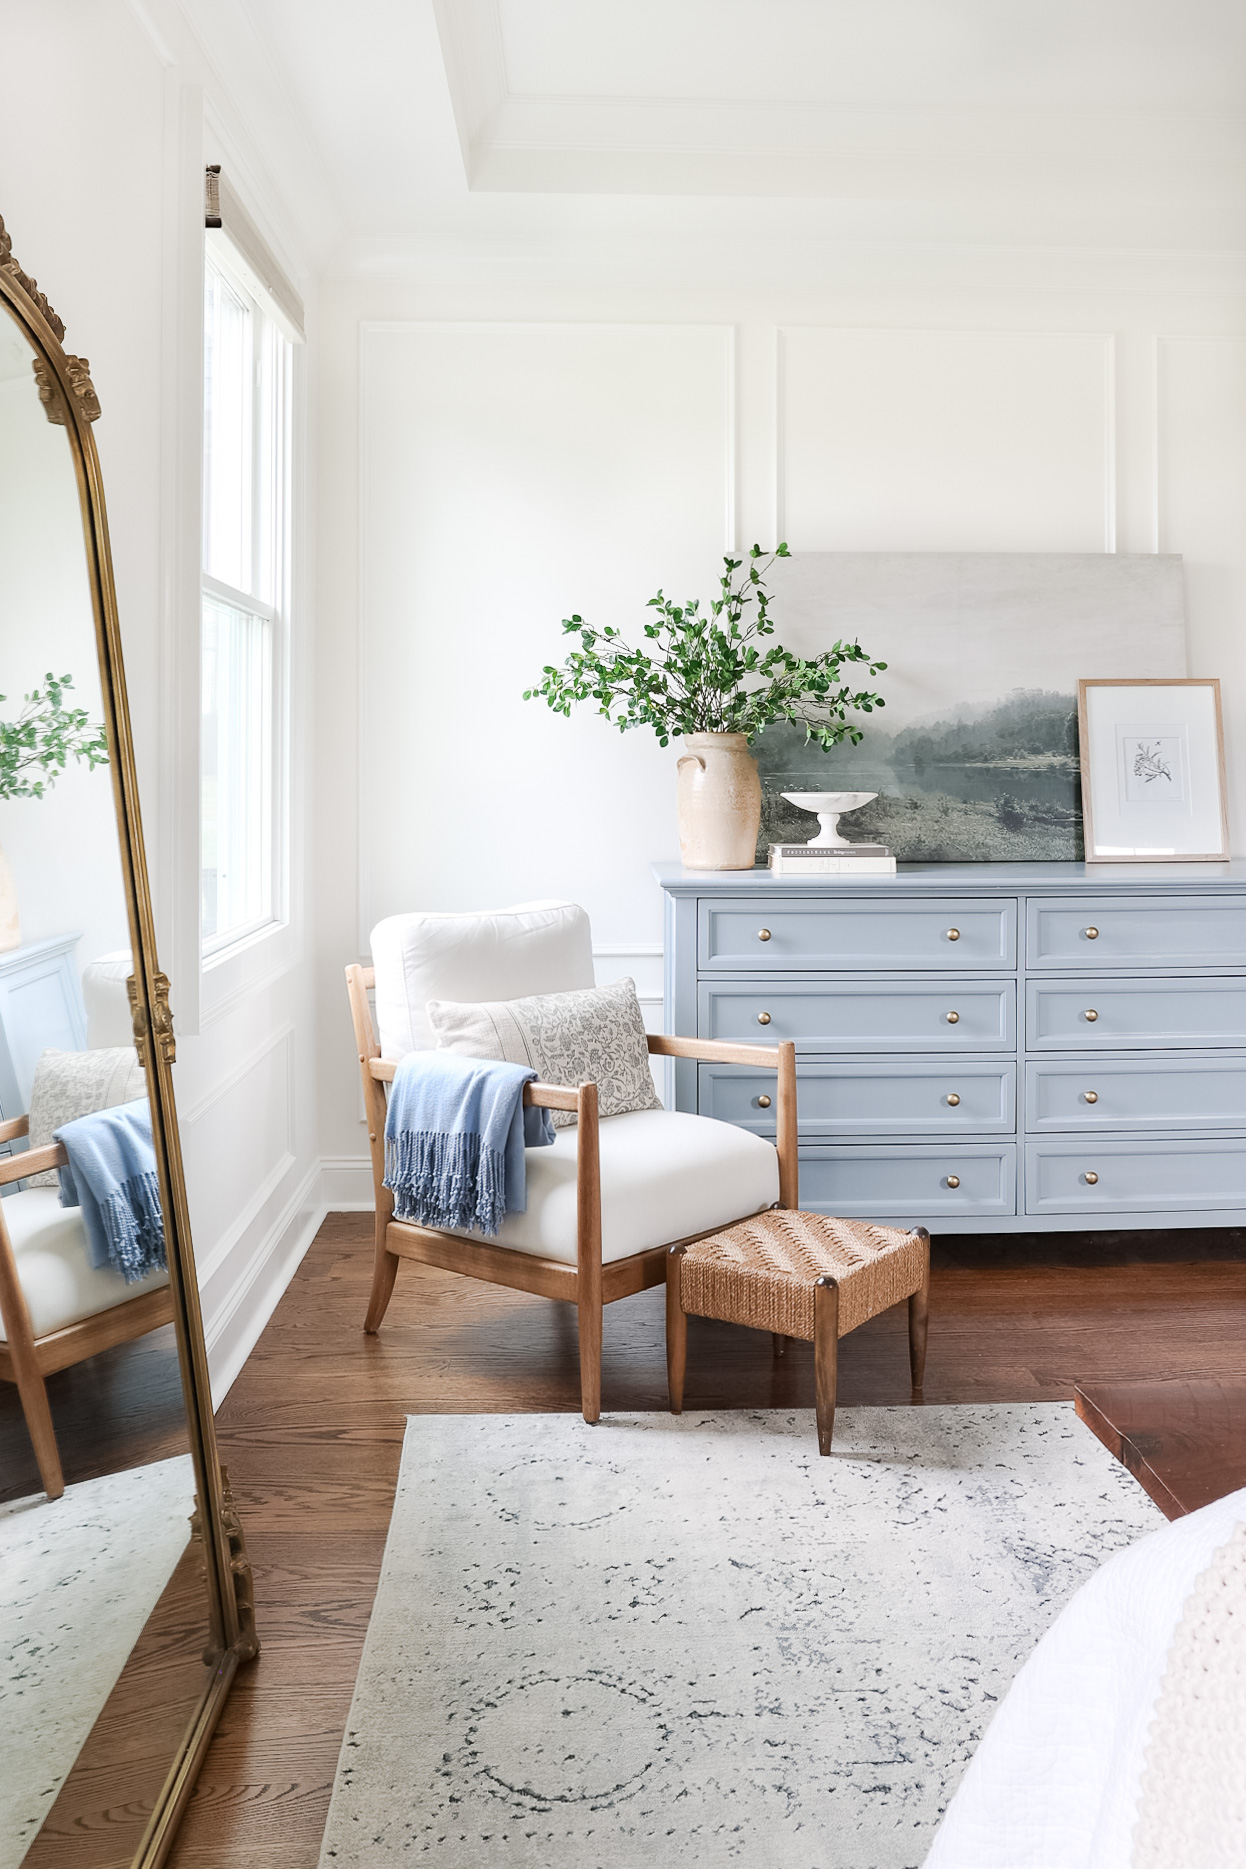
What white paint color is that on your walls and is your ceiling the same color? I love the blue dresser against the picture frame mounding and white walls. It looks beautiful!
Hello and thank you. The paint on the walls is BM White Dove and on the ceiling and trim. You can read more about BM White Dove. Benjamin Moore White Dove OC-17
This is really beautiful!. May I ask what paint color is the blue dresser?
Thank you. The color is SW Stardew and you can read all about it here. Sherwin Williams Stardew (SW 9138)
Hey there ! What are the height measurements for each box?
Could I send you a pic and would you please give me your advice as to how to add picture molding frames to my bedroom wall that also has 2 – 24” windows on either side of the bed?
Thank you in advance,
Patricia
I’m struggling with a layout due a doorway on the same wall as our bed. Loving your post here as it’s so nice to see another room made to work with the symmetry out (our house also focused on the exterior symmetry only..).
Is there any finished photos with the molding on the bed wall, I can’t find one that shows the window after it’s done. Thank you!
Hello. Did you paint the picture frame molding before installing or did you paint it after?
Hello Michelle, I painted it after I installed because I had to fill the nail holes.
Hello, do you have a link to your rug?