How to Build a Patio Swing Bed
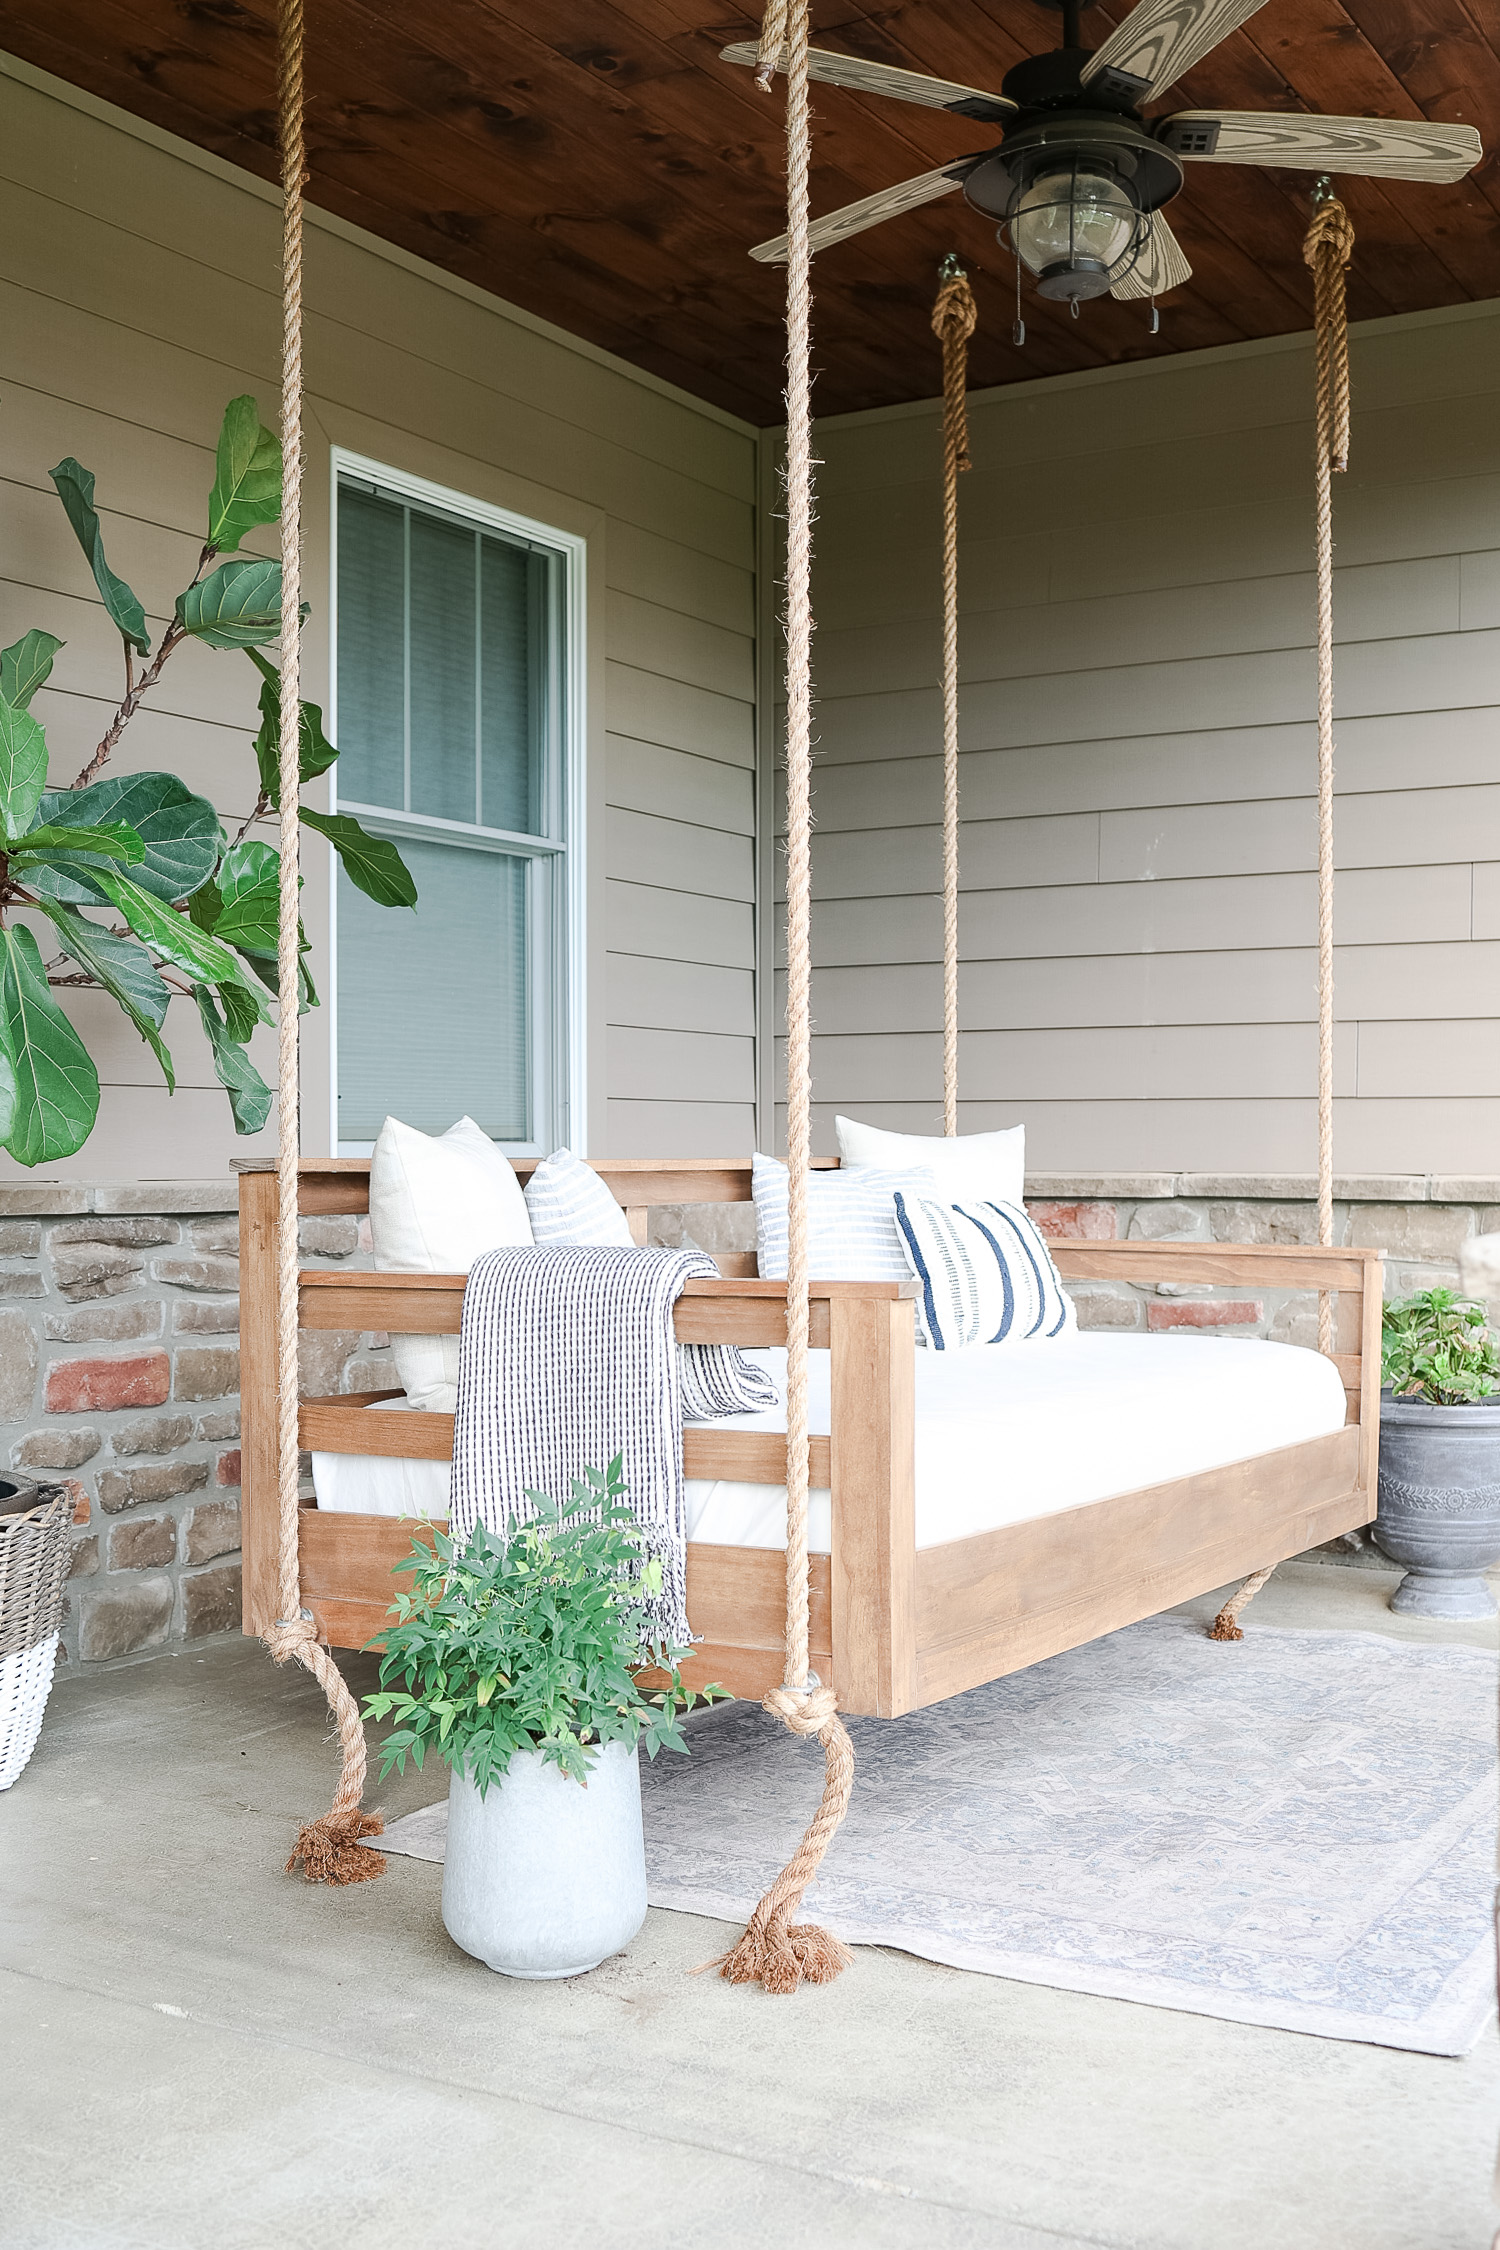
Make your outdoor space extra relaxing with a patio swing bed. Let me show you how to build a patio swing bed with this easy tutorial and some lessons learned. You can also read about Porch Swing Bed Mattress and Decor and How to Hang a Patio Swing Bed.
A patio swing or porch swing bed will transform your outdoor living area into your favorite space! Better yet, a porch swing bed is an amazing addition to any porch or patio because it offers so much versatility.
Disclosure: This post may contain affiliate links. As an Amazon Associate, I earn from qualifying purchases at no additional cost to you.
There is something about sitting on the front or back porch that I just love. I am an outdoor girl for sure and if I can chose to sit inside or out, the outdoors will always win. In our last house we built a basic patio swing that we built with pine, painted white and hung with 1″ sisal rope. I loved it and it hung under our deck. When we moved we left it with that house as it was part of the space and seemed to just belong there.


Be sure to check out How to Hang a Patio Swing Bed and Porch Swing Bed Mattress and Decor
Why a Porch Swing Bed?
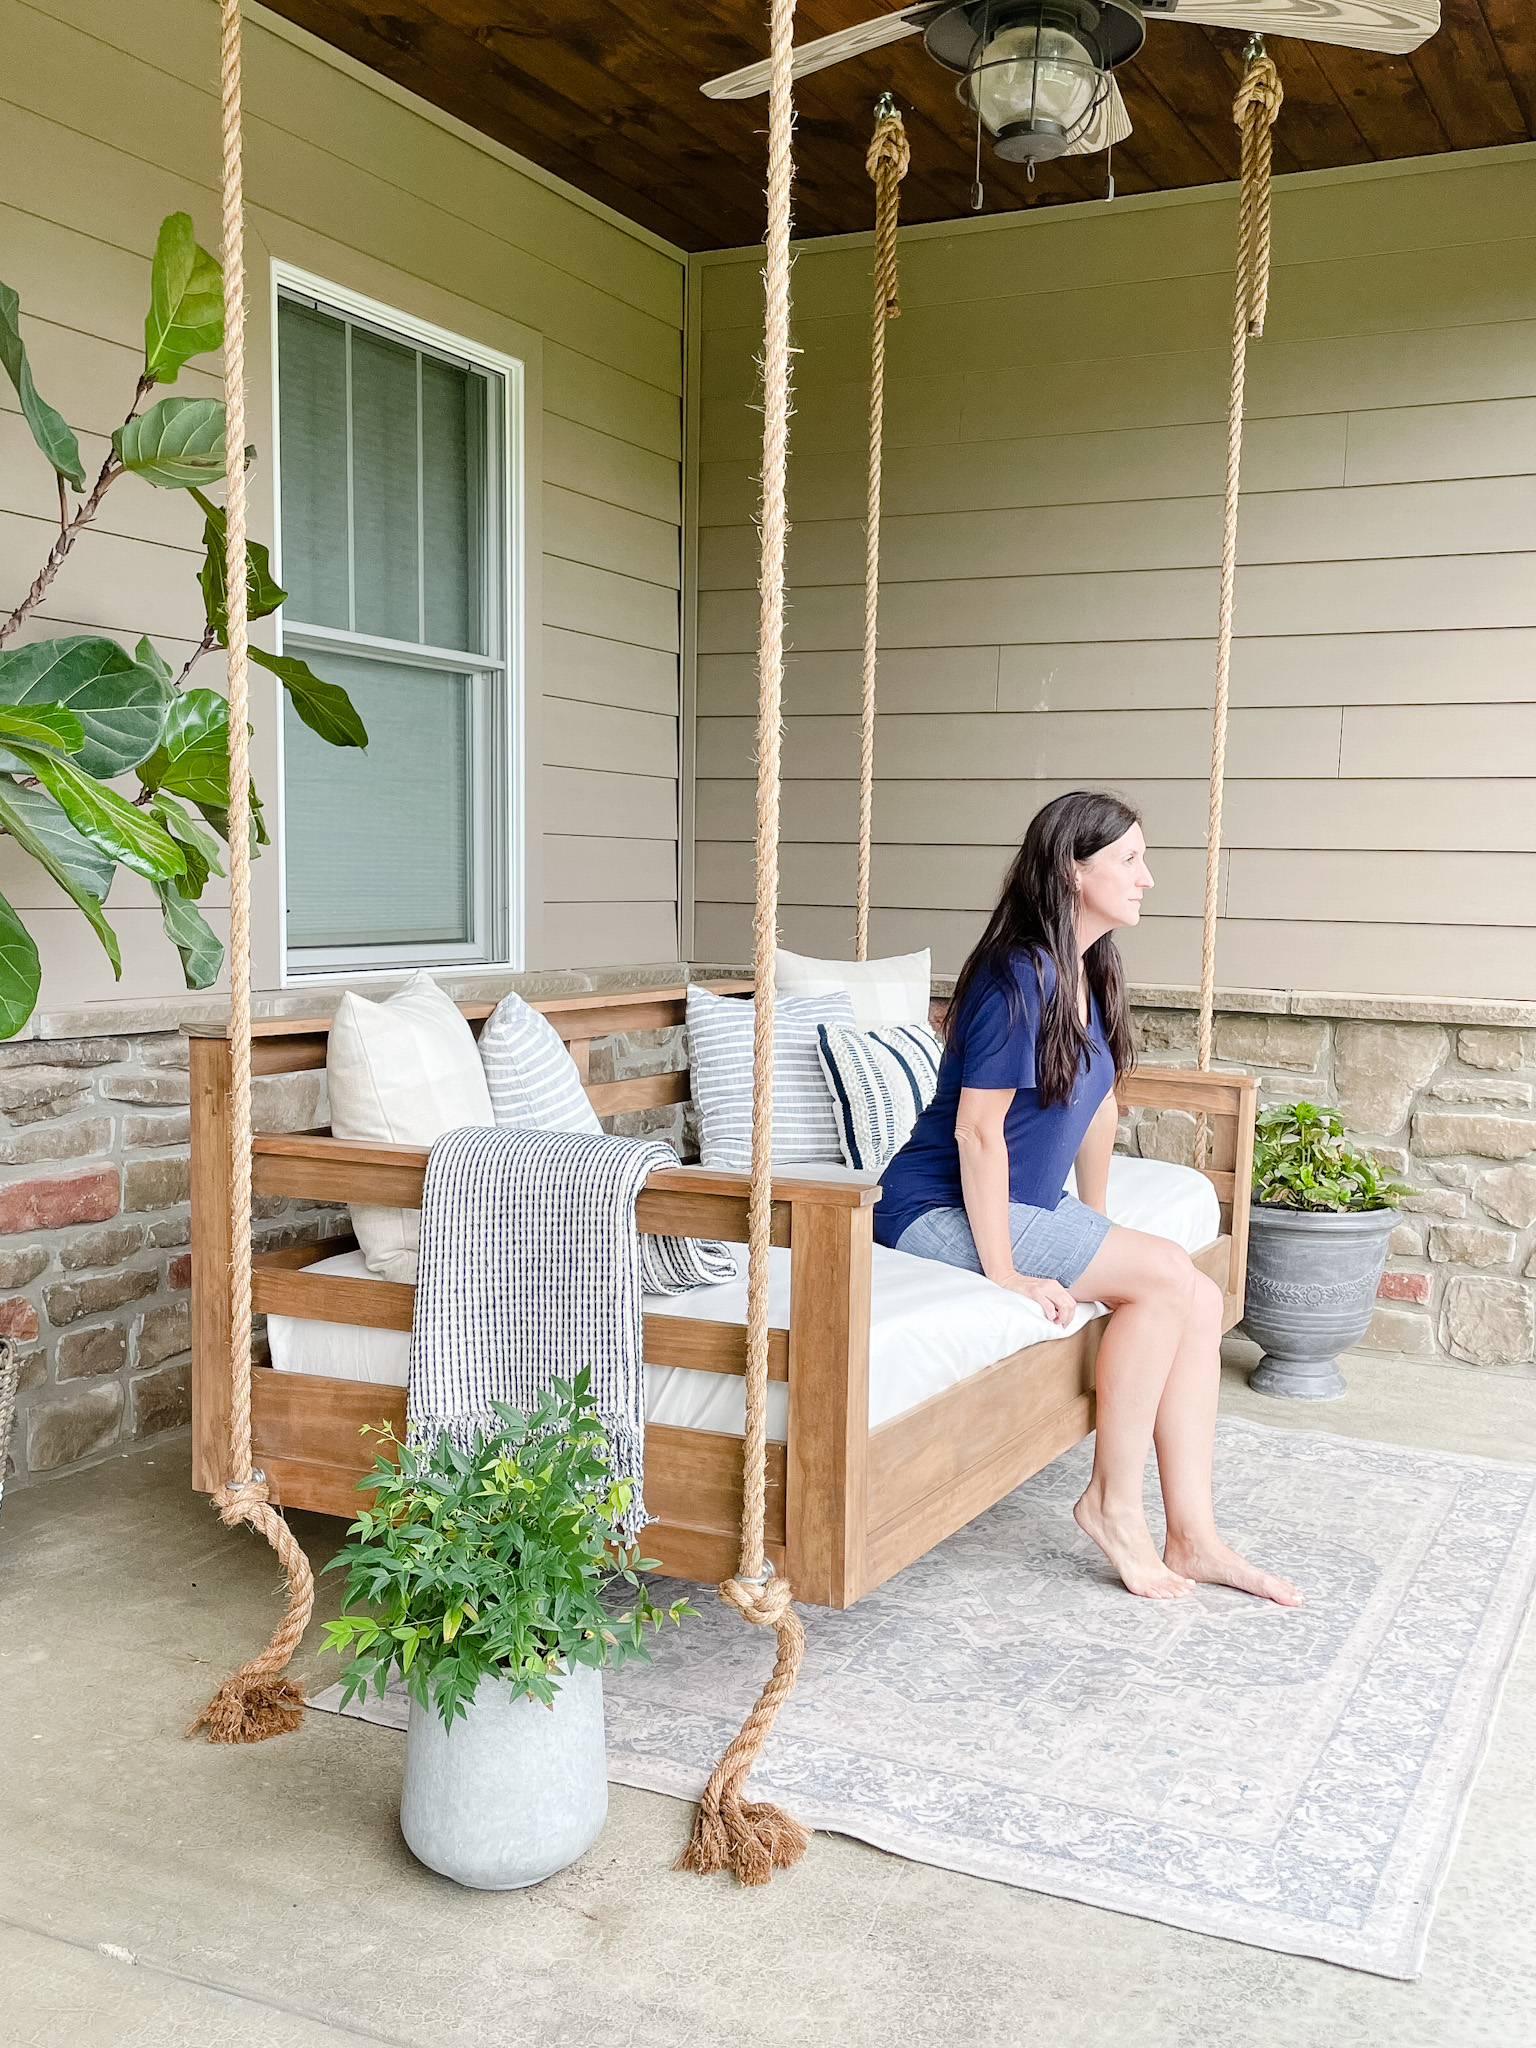
A patio swing bed has always been on my wish list. After we built the wooden patio swing that we hung under our deck at our previous home, I knew when we moved I wanted to make a bed size swing. It’s versatile because people can sit on it together or it’s great for an individual for an outdoor afternoon nap. The outdoor swing bed serves a dual purpose. Plus it’s a showstopper on the porch for sure. It really is a gorgeous addition to any porch.
Patio Swing Bed Sizes
You can make a patio swing bed about any size you want. From a crib size mattress to a queen size. For the sake of this tutorial I am showing you how to make a twin size patio swing. Any standard twin size mattress will fit this swing. I like this size because as I mentioned above it’s versatile and not too big.
Cost of a Porch Swing Bed
Since a bed swing was on my wishlist I began searching for the right one for the porch of our Tennessee home. Well…let me tell you…I was in for a shock! They are not an inexpensive piece of furniture. They are the price of a nice sofa ranging in price from $1400-$2200 and then some and that does not include the cushion, cushion cover or hanging materials. It’s just the swing. (For reference; my pricing is for a twin size mattress swing)
I didn’t want to spend that on an outdoor bed swing and figured I could build it for a lot less and sure enough we did. Now, this was not an inexpensive venture because there are many elements that go into a patio swing bed; not just the wood to build it.
Even though I built it for $300 I still had to add a mattress, rope to hang it, eye screws, bolts, etc. It did add up but I completed the entire project for well under the minimum price I found for just a swing.
- Wood: $300
- Twin Mattress: $185
- Eye Bolts/washers: $60
- Shackles: $45
- Rope: $92
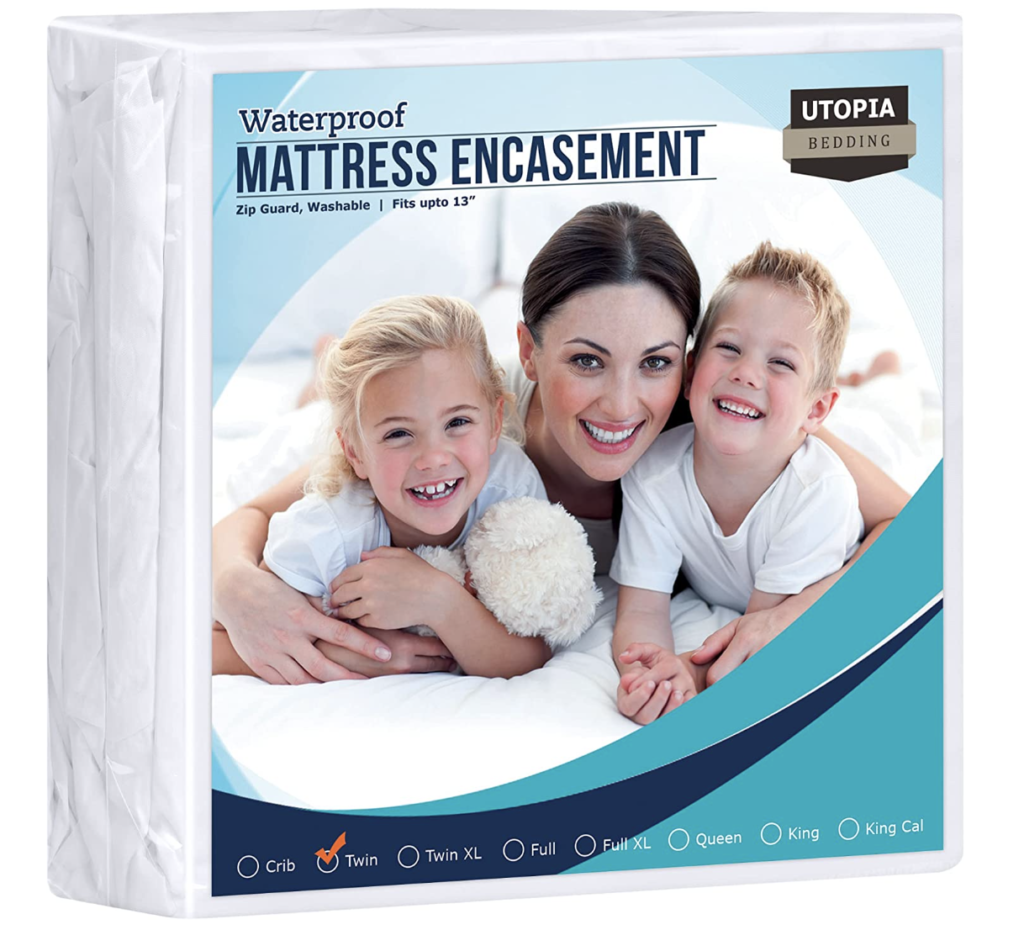
- Mattress Protector: $32
- Sheet: $8
- Total: About $725

Patio Swing Bed Plans
I did not create this plan, but used the plans from Plank and Pillow that can be purchased here. In this post I will break down how we built it and the tools and supplies we used plus how we made it our own. I think it always helps to see DIY’s or things being built by everyday people who are learning and accomplishing. Again…you can do this too just like us!
I highly recommend purchasing the plans because it breaks everything down for you in easy to follow instructions. They cost $15 and so worth it. This is not an advertisement for their plans and I make no money on the sale of the plans but I do recommend them especially if you are newer to building projects.
Gather Tools and Supplies
I hope I have convinced you to build a bed swing. If I can build this with my 14-year old son all by ourselves…then so can you. We aren’t exactly carpenters, but I am in the process of learning how to build. This was a fun, rewarding project; one you can do alone or with someone. In the end you will have a lovely swing that is useable for many years to come. And better yet…if you tell people you made it they are quite impressed at your handiwork.
We purchased all our wood at Lowe’s Home Improvement as well as the finishing nails. You could also purchase your wood at Home Depot or a local mill if you have one available.
Check every board you buy to ensure it is as straight as possible before adding it to your cart. We purchased all our wood and cut it to measure in one day.

Tools:
- Finish Nailer
- Tape Measurer
- Wood Glue
- Wood Filler
- Miter Saw
- Sand Paper or an orbital sander (I needed to use both)
- 1 1/4″ Finish Nails
- 2″ Finish Nails
Supplies:
- 3 pieces of 1x8x8′ prime pine
- 12 pieces of 1x3x8′ prime pine
- 1 piece of 1x4x8′ prime pine
- 2 pieces of 2x 3x 8′ framing lumber
- 1 piece of 2x4x8′ framing lumber
- 4 pieces of 1x6x8′knotty pine
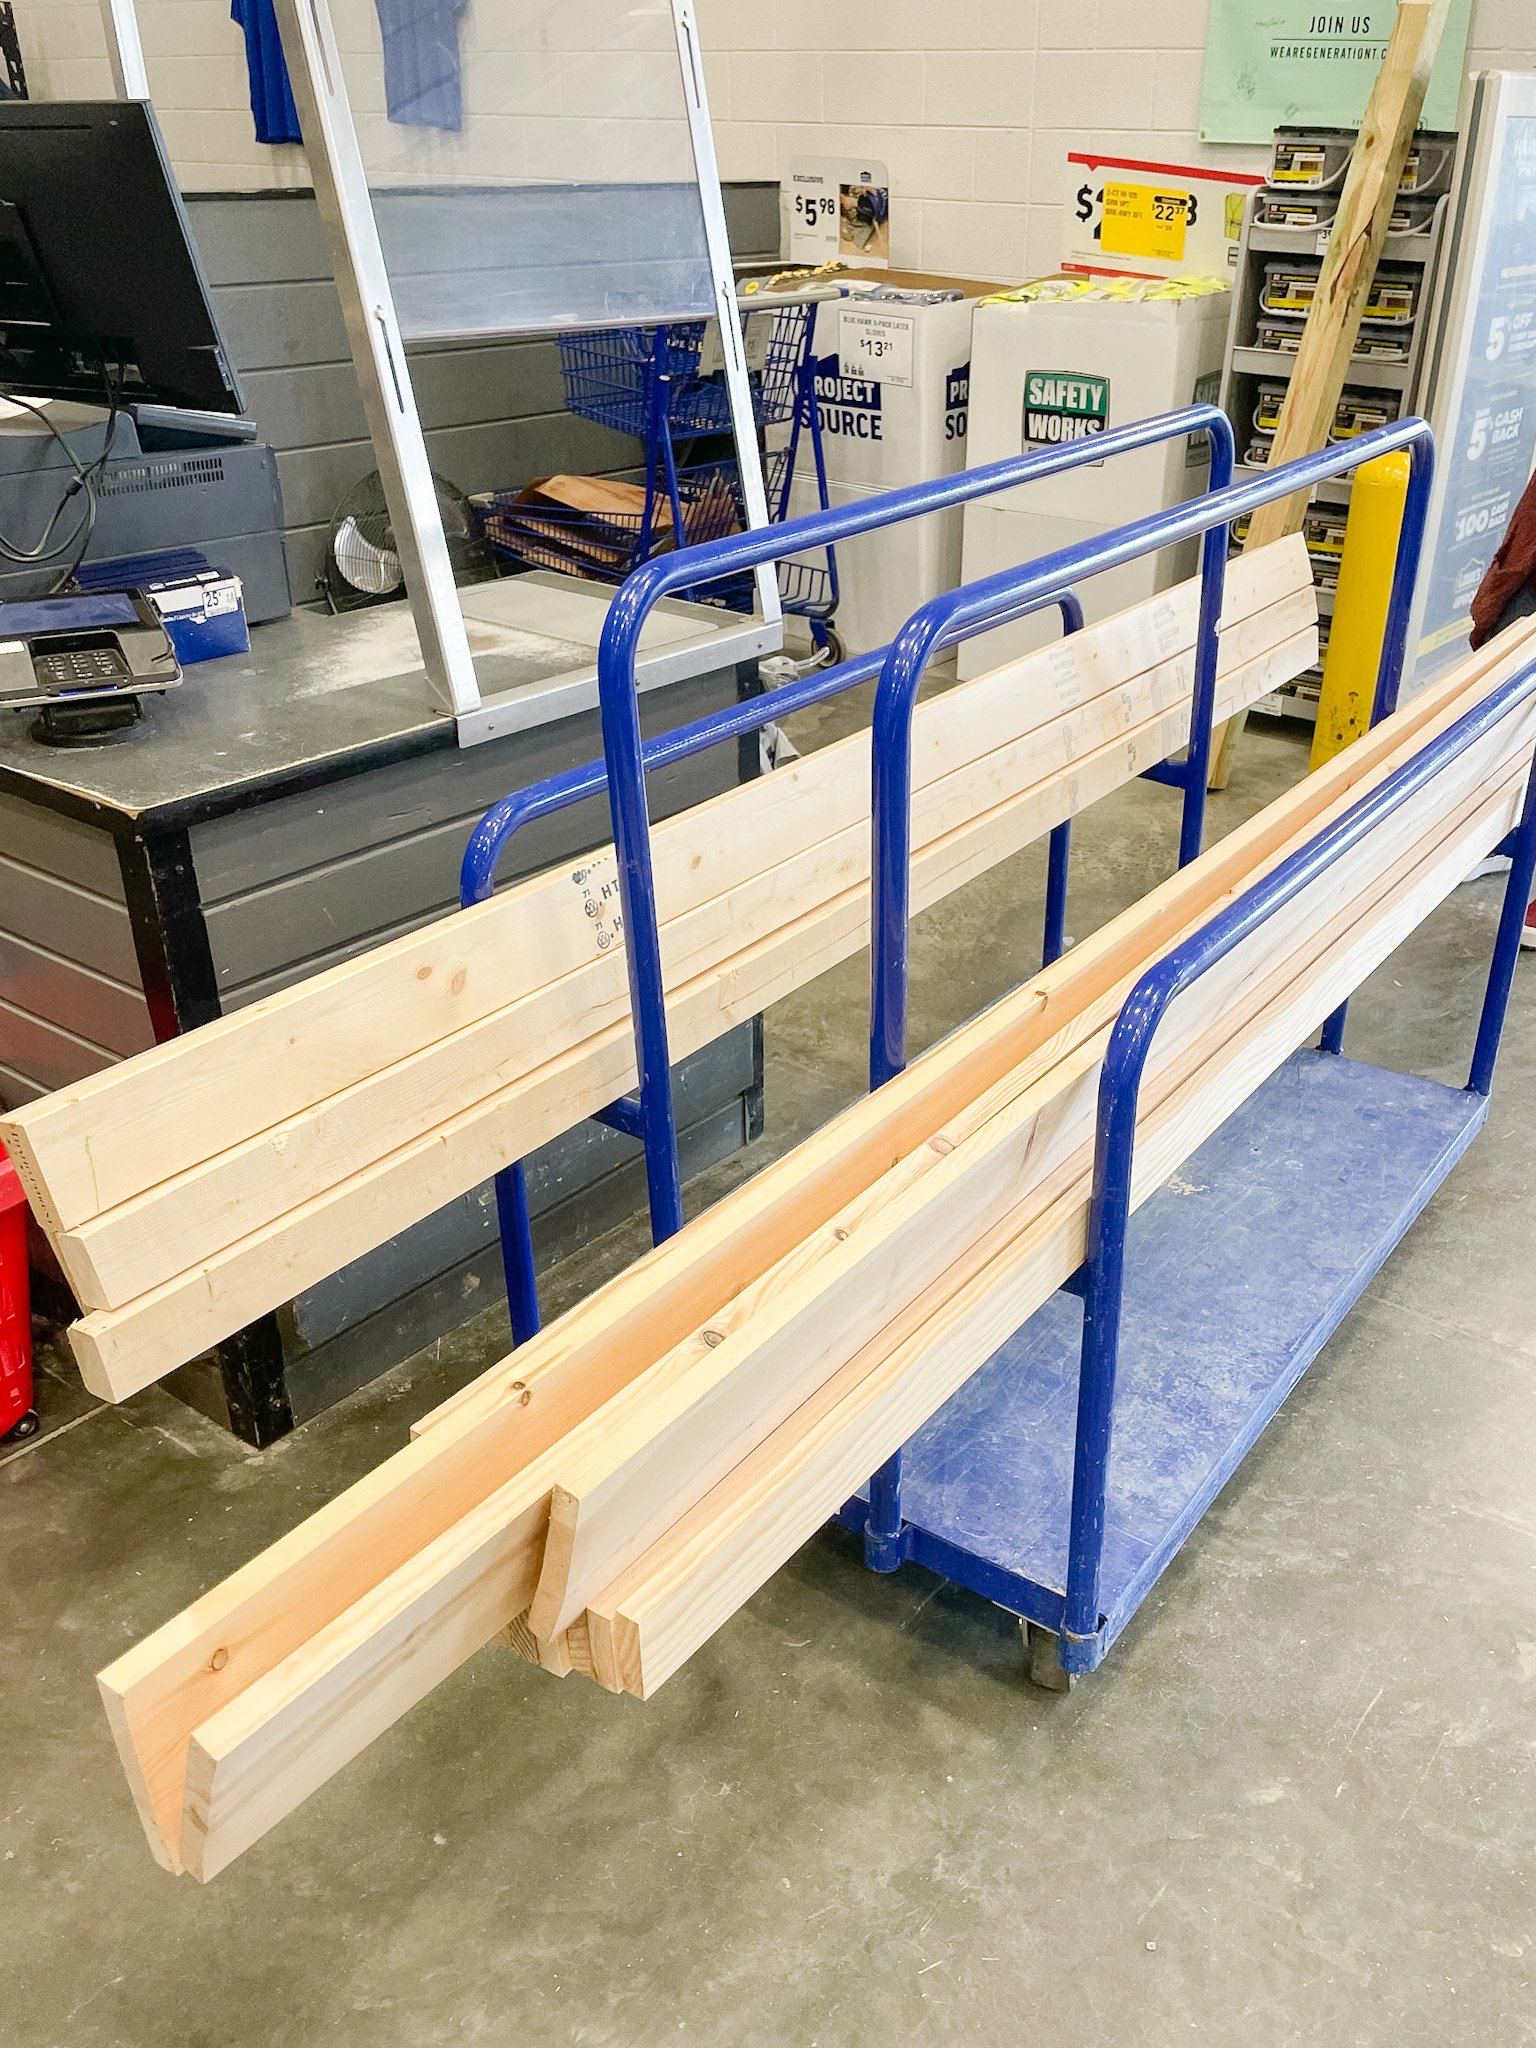
Wood and nails cost $300. We already had wood glue, wood filler, the saw, nailer and sandpaper. The cost of wood might be lower or higher depending on regions and wood prices as they are fluctuating constantly.
Let’s Get Building
1. Build the Frame of the Porch Swing
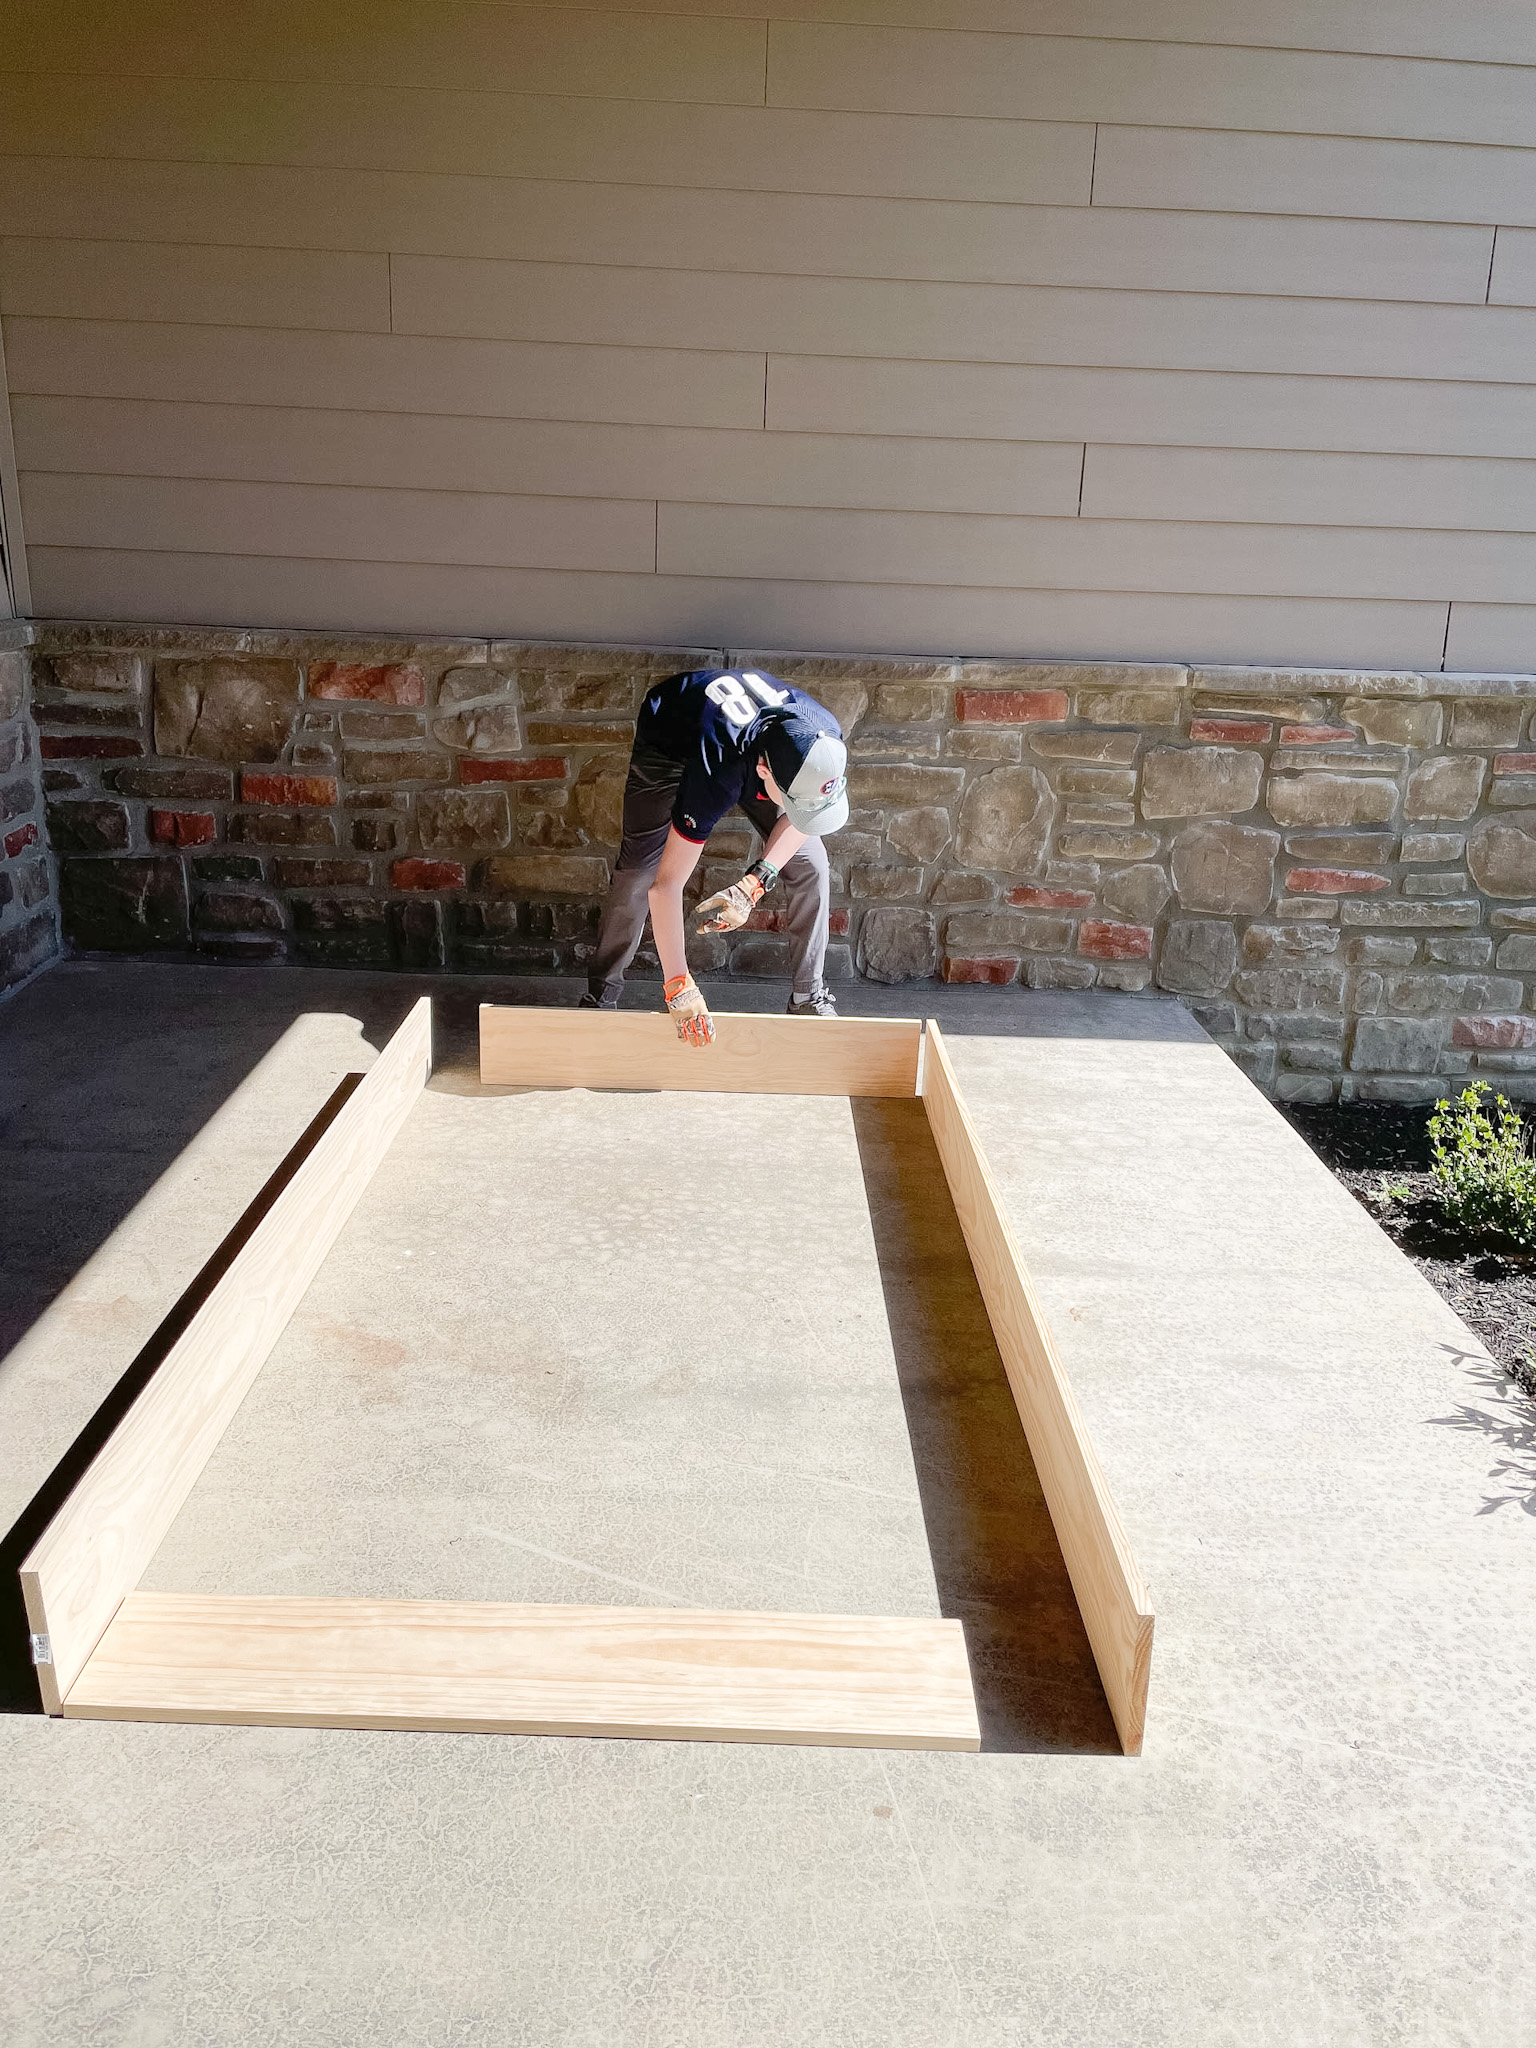
At this point in time we don’t have access to our future workshop so we built it right in place on the patio.
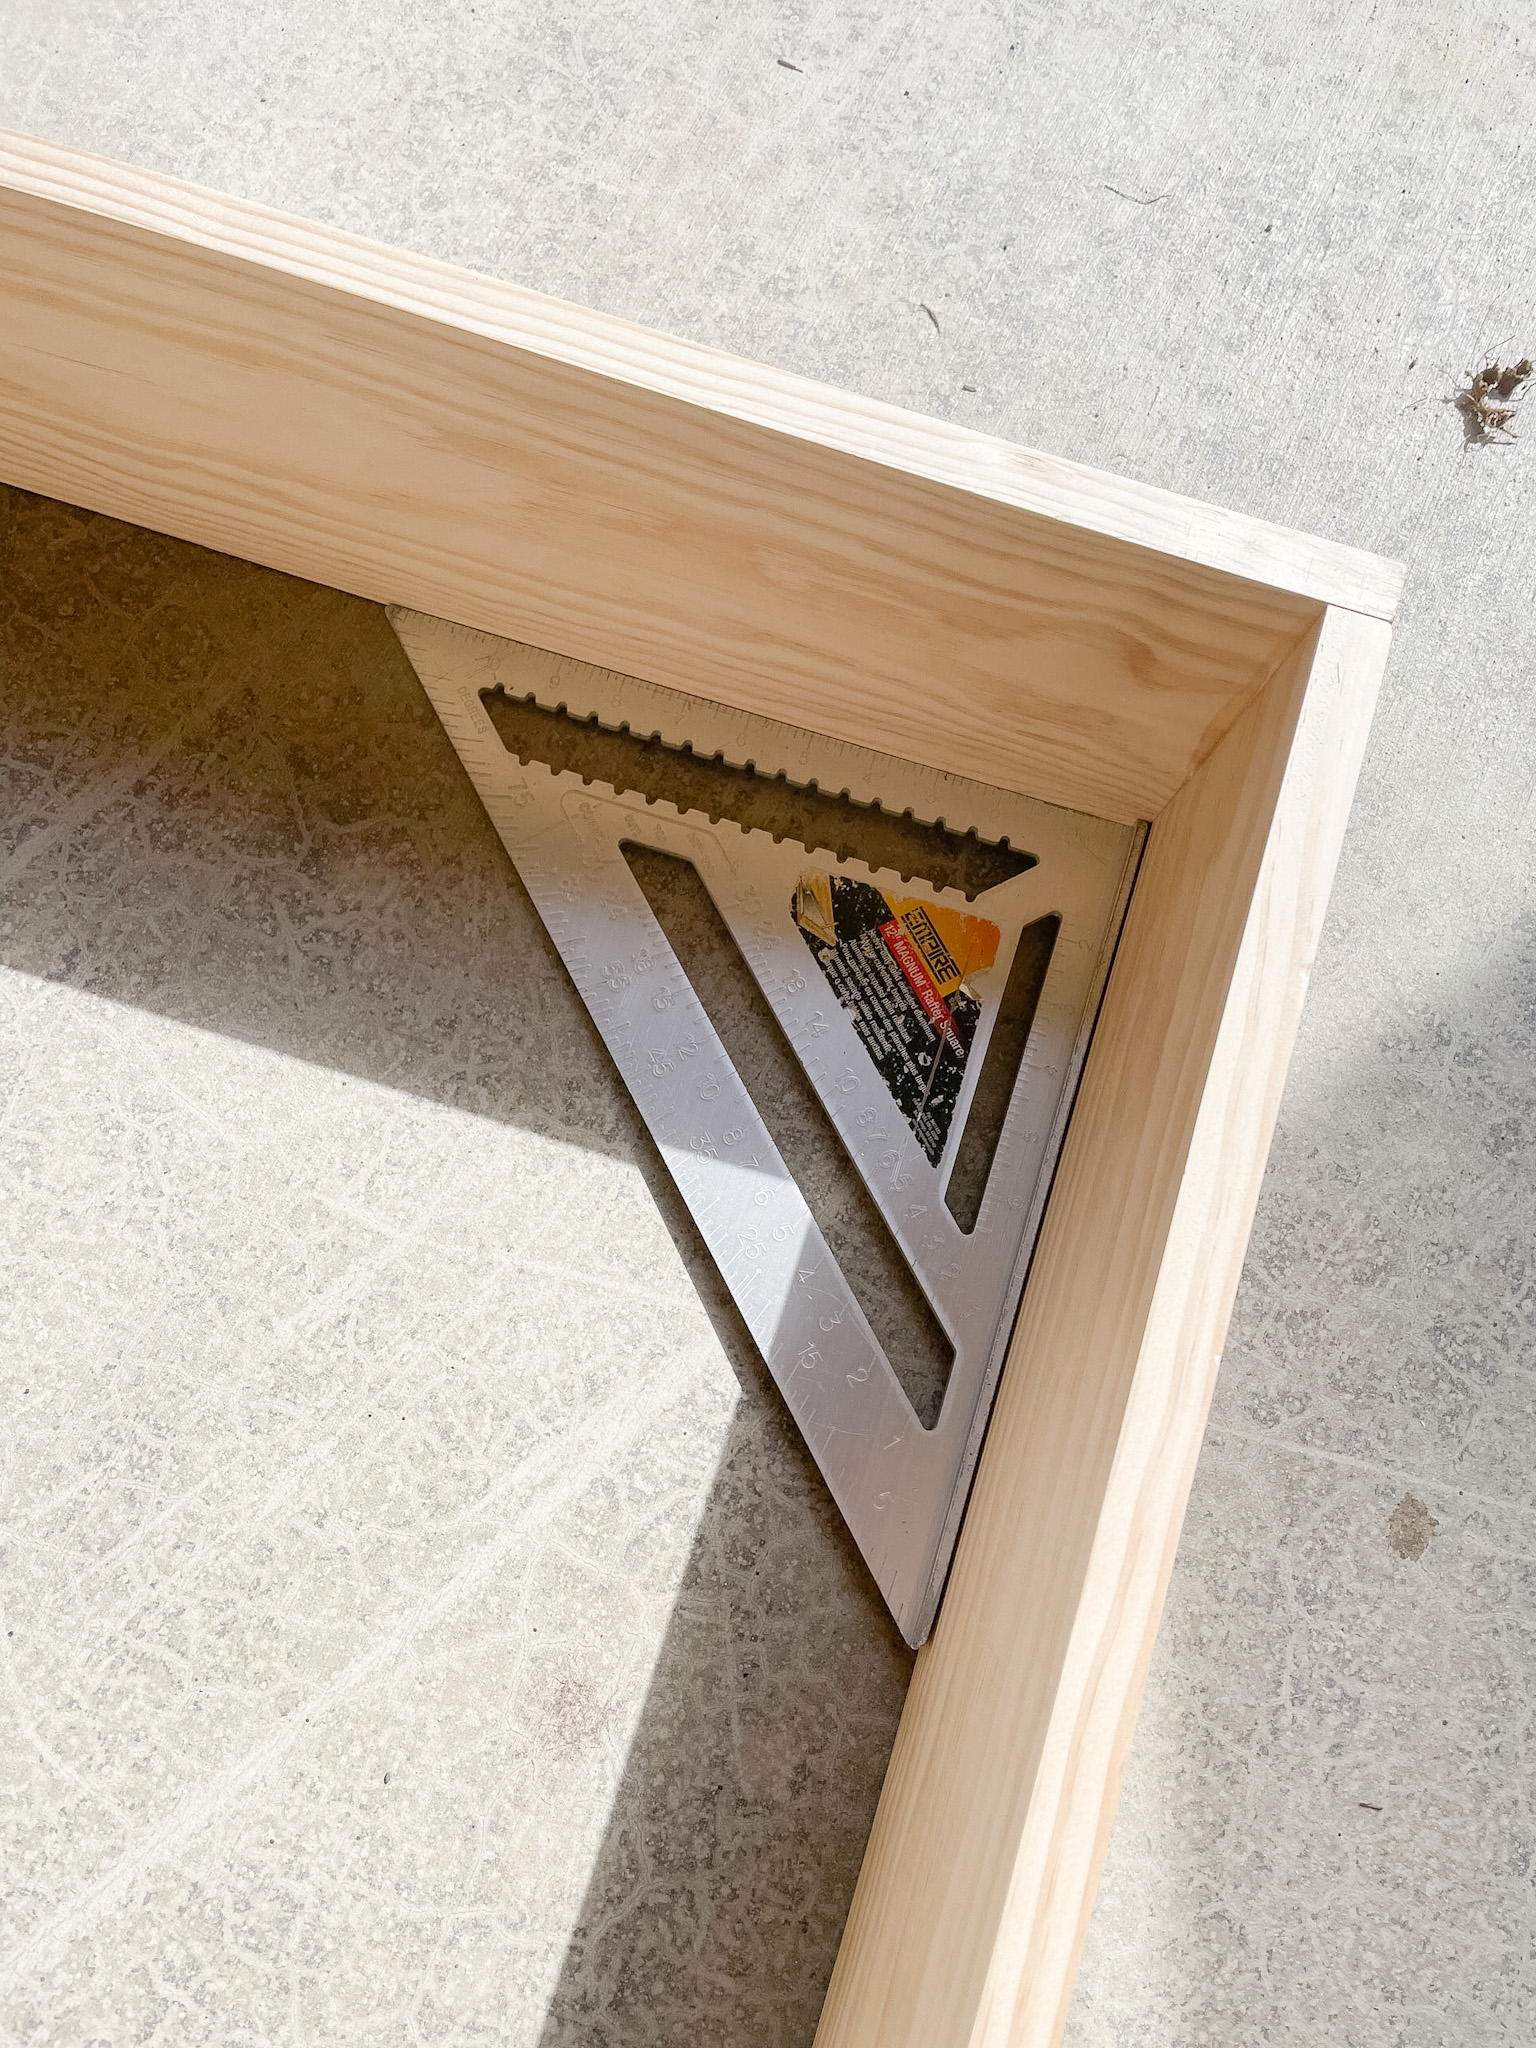
Using 2″ finishing nails, build the main bed frame using the 1×8’s. Ensuring that your corners are square before nailing them together.
Cut 2 77″ boards and 2 39″ boards for your frame.
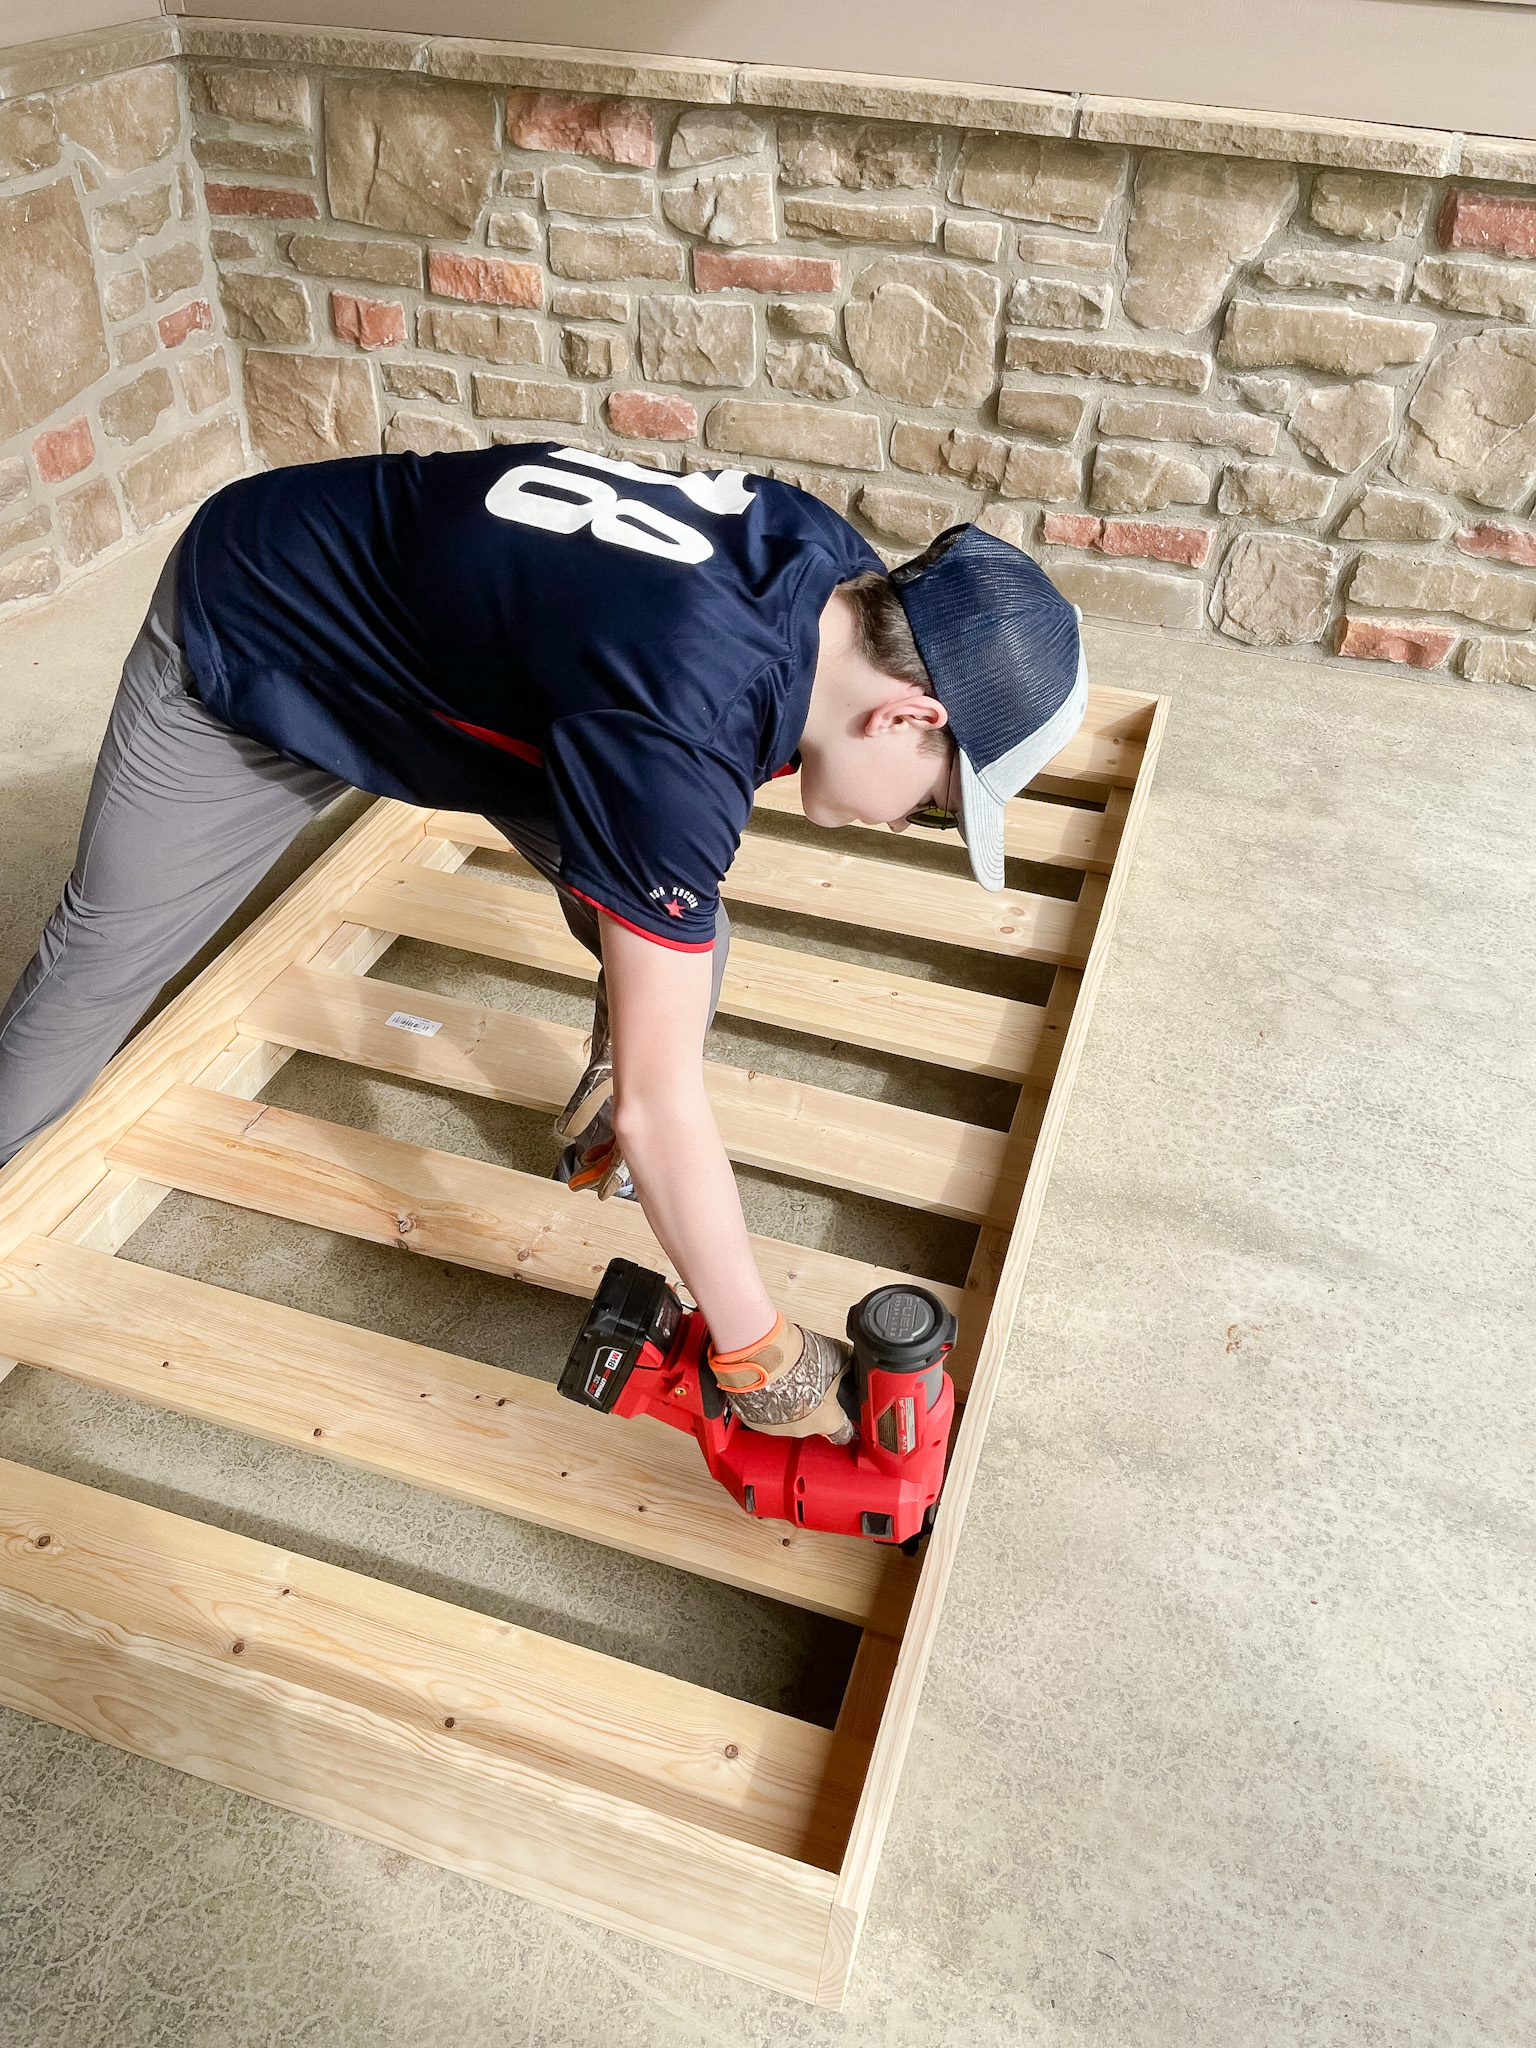
You will need something to nail the bed slats to so next we added an inner frame. We also need extra support in the outside portion of the frame so we can hang the swing.
Here we used 2×4’s and 2×3’s for the inner frame. The 2×4’s create the support for the bed slats and also for the extra support for the eye screws. Use 2″ nails and make sure the the bottom of the 2×4’s are lined up with the bottom of the frame.
Cut 2 72 1/2″ boards using the 2×3’s and cut 2 39″ boards using the 2×4’s.
The sides of the frames we used the 2×4’s and the front and back of the frame we used the 2×3’s.

Using your 1×6 knotty pine, cut 8 39″ boards. These will serve as the slats for the mattress. You will need to nail them in place spacing them evenly apart along the frame.

Build the Posts to Support the Rails
You will need to build 4 posts – one for each corner of the swing to support the rails.
Using your 1×3’s create an “L” shape post. The front posts are 20″ tall and the back two posts are 26 3/8″. Each post is made from two pieces so you will need 4 20″ 1×3’s and 4 26 3/8″ 1×3’s.
To form an “L” shape place a strip of glue on one edge and glue them together ensuring that your edges line up. Nail the pieces together with 2″ nails.
Once your posts are made you can attach them to each corner of the wood swing with 1 1/4″ nails.
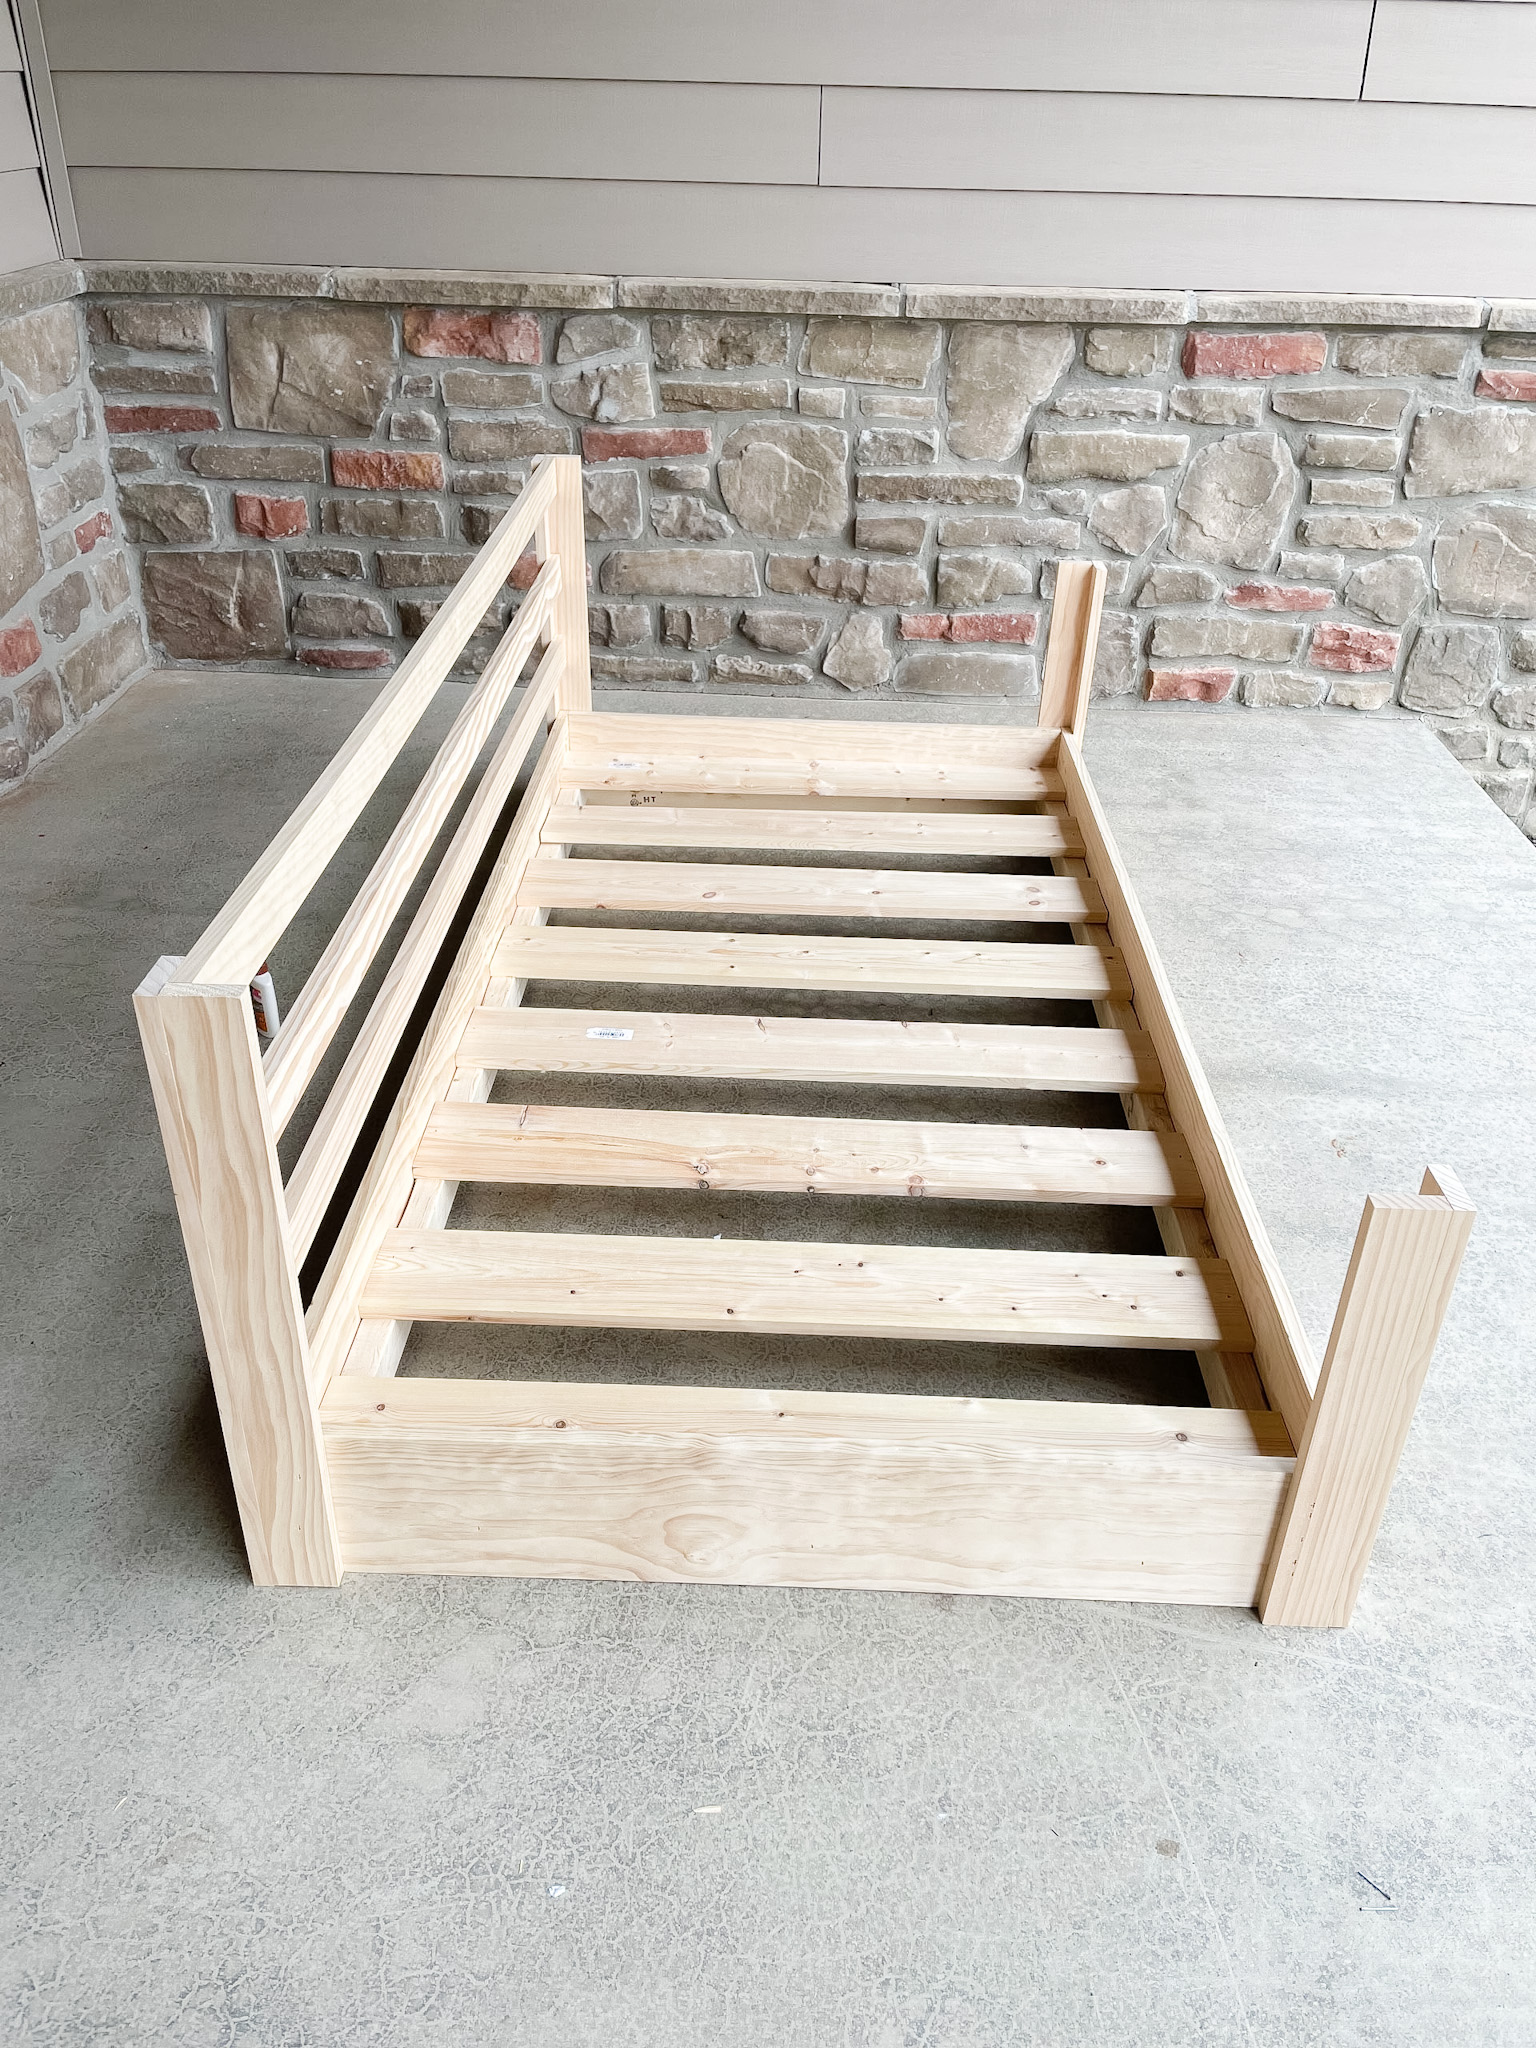
Add the Rails
After all four posts were in place, we were ready for the rails. The rails run horizontally across the back of the swing and the sides. Attach the back rails and then attach the side rails. There is also a support post that runs along the back side center of the back rails.
The armrest pieces required a little extra cutting. Using a piece of 1×3 for each armrest, cut the wood to length and then using a jigsaw you will need to notch out a section to fit around the back post as the plans show.
After I finished these cuts, I nailed them to complete the armrest. Using the remaining 1×3’s we added the trim on all four sides along the bottom of the swing using 1 1/4″ nails. This gave it a nice finished look.
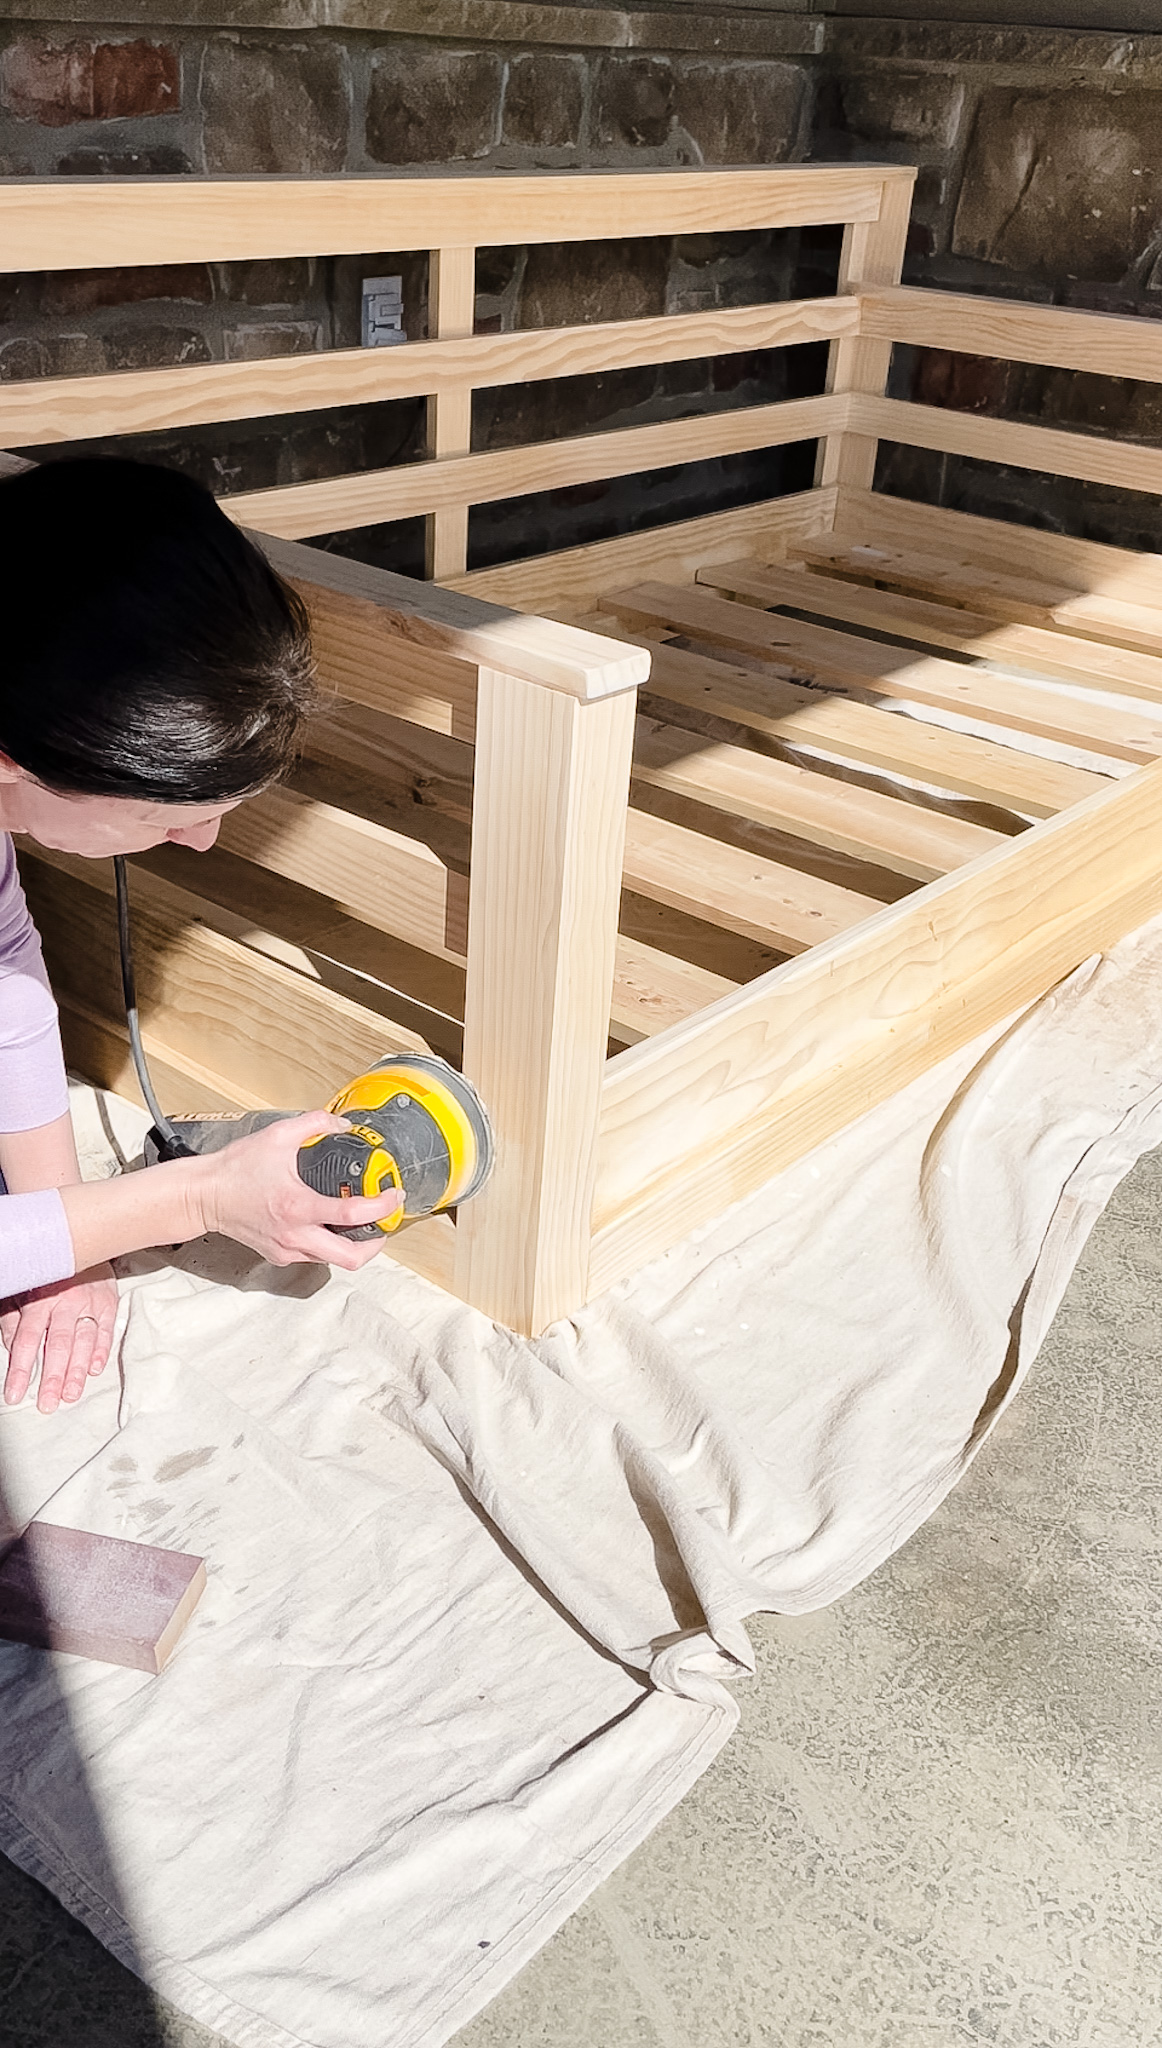
Finishing the Bed Swing
You can finish your patio bed swing anyway you like. Paint, stain, leave unfinished but with a protective coating. The possibilities are endless and the end design is up to you.
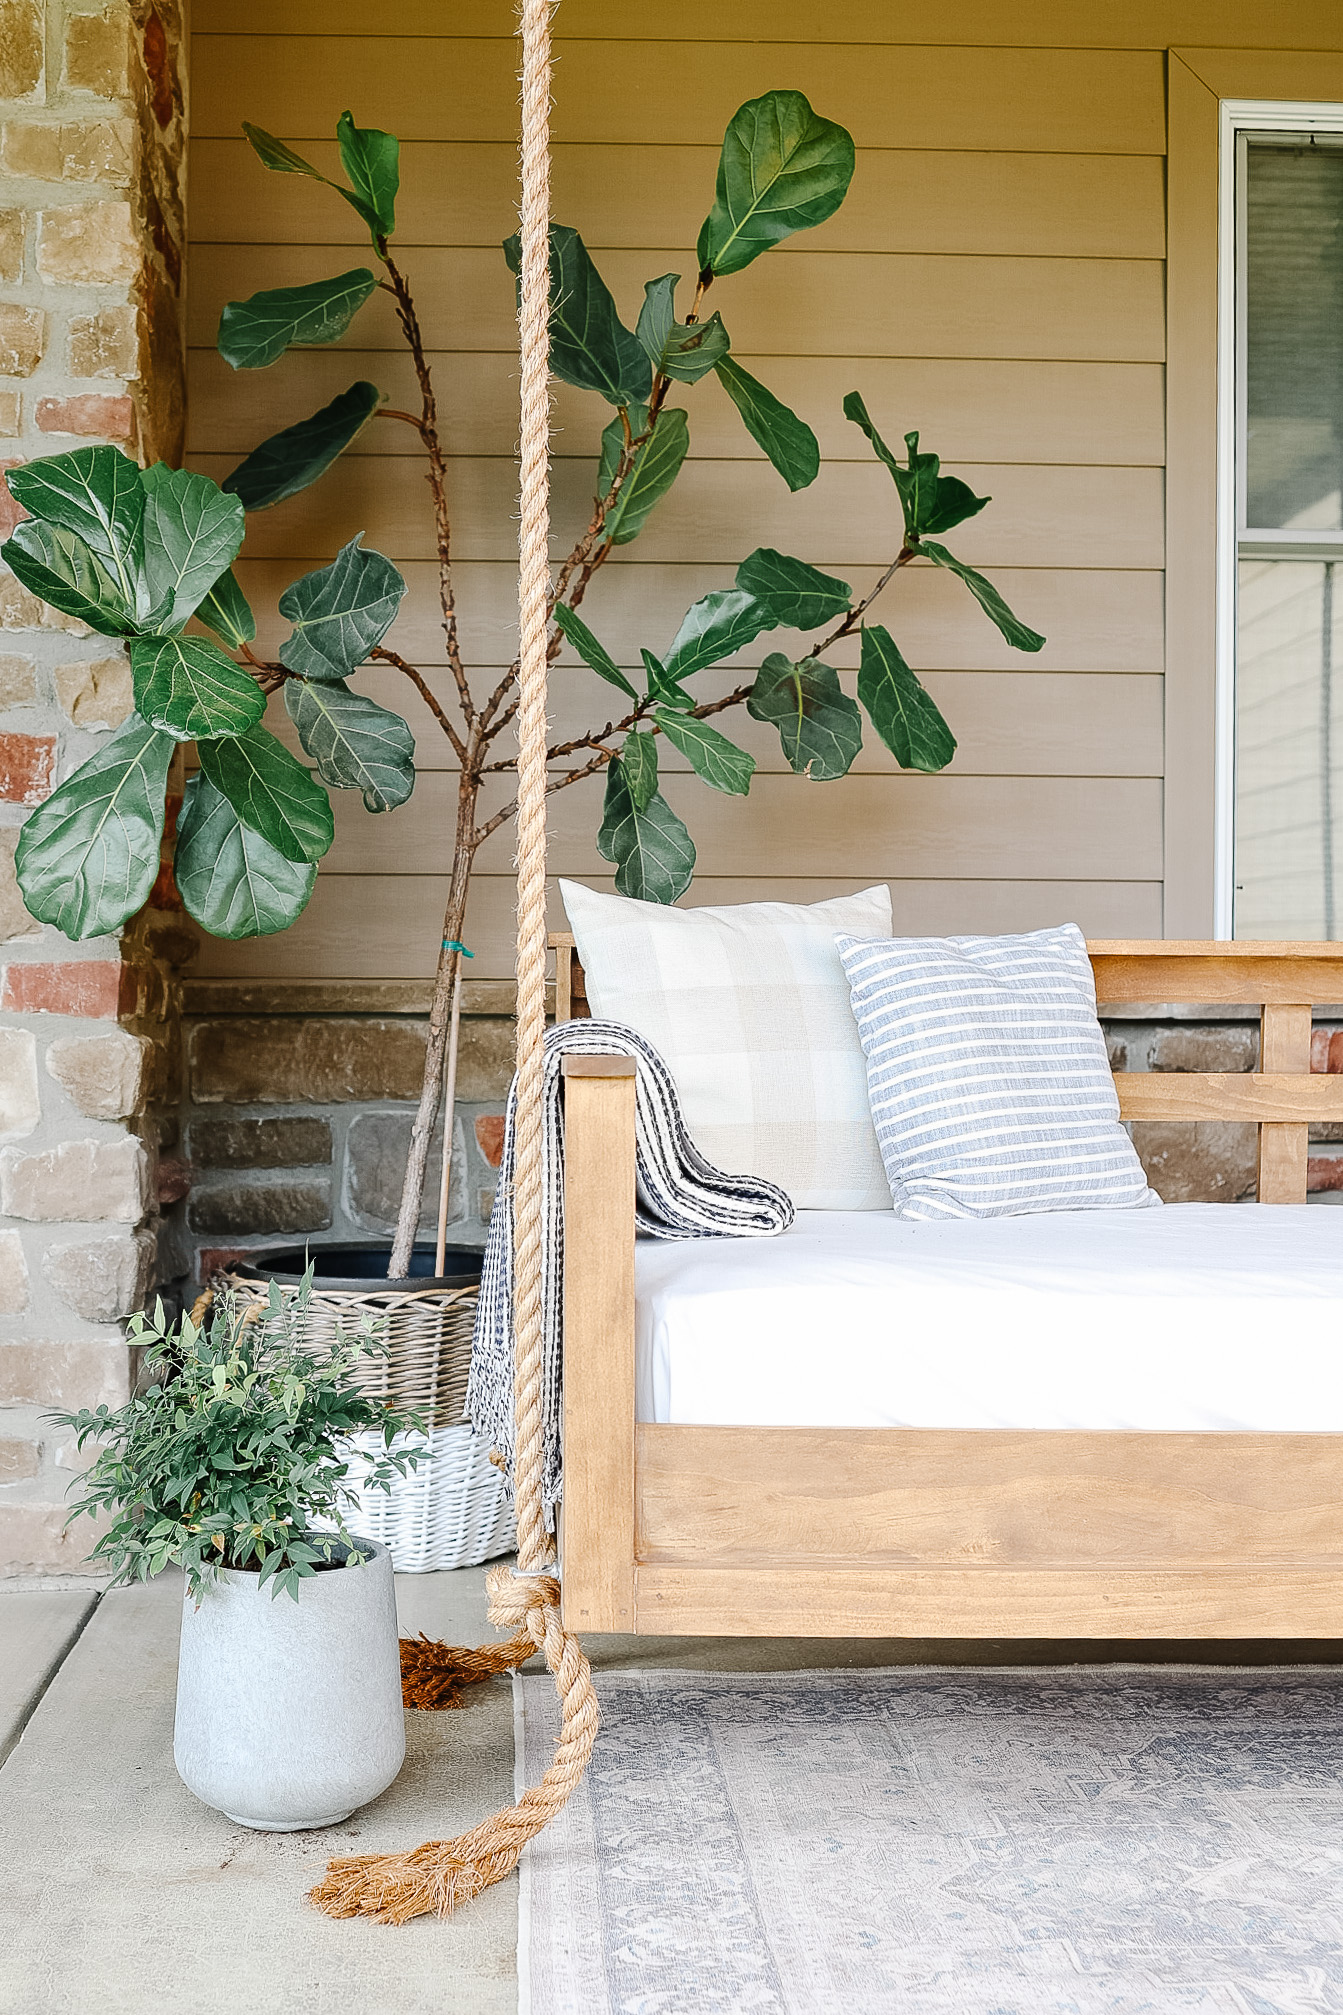
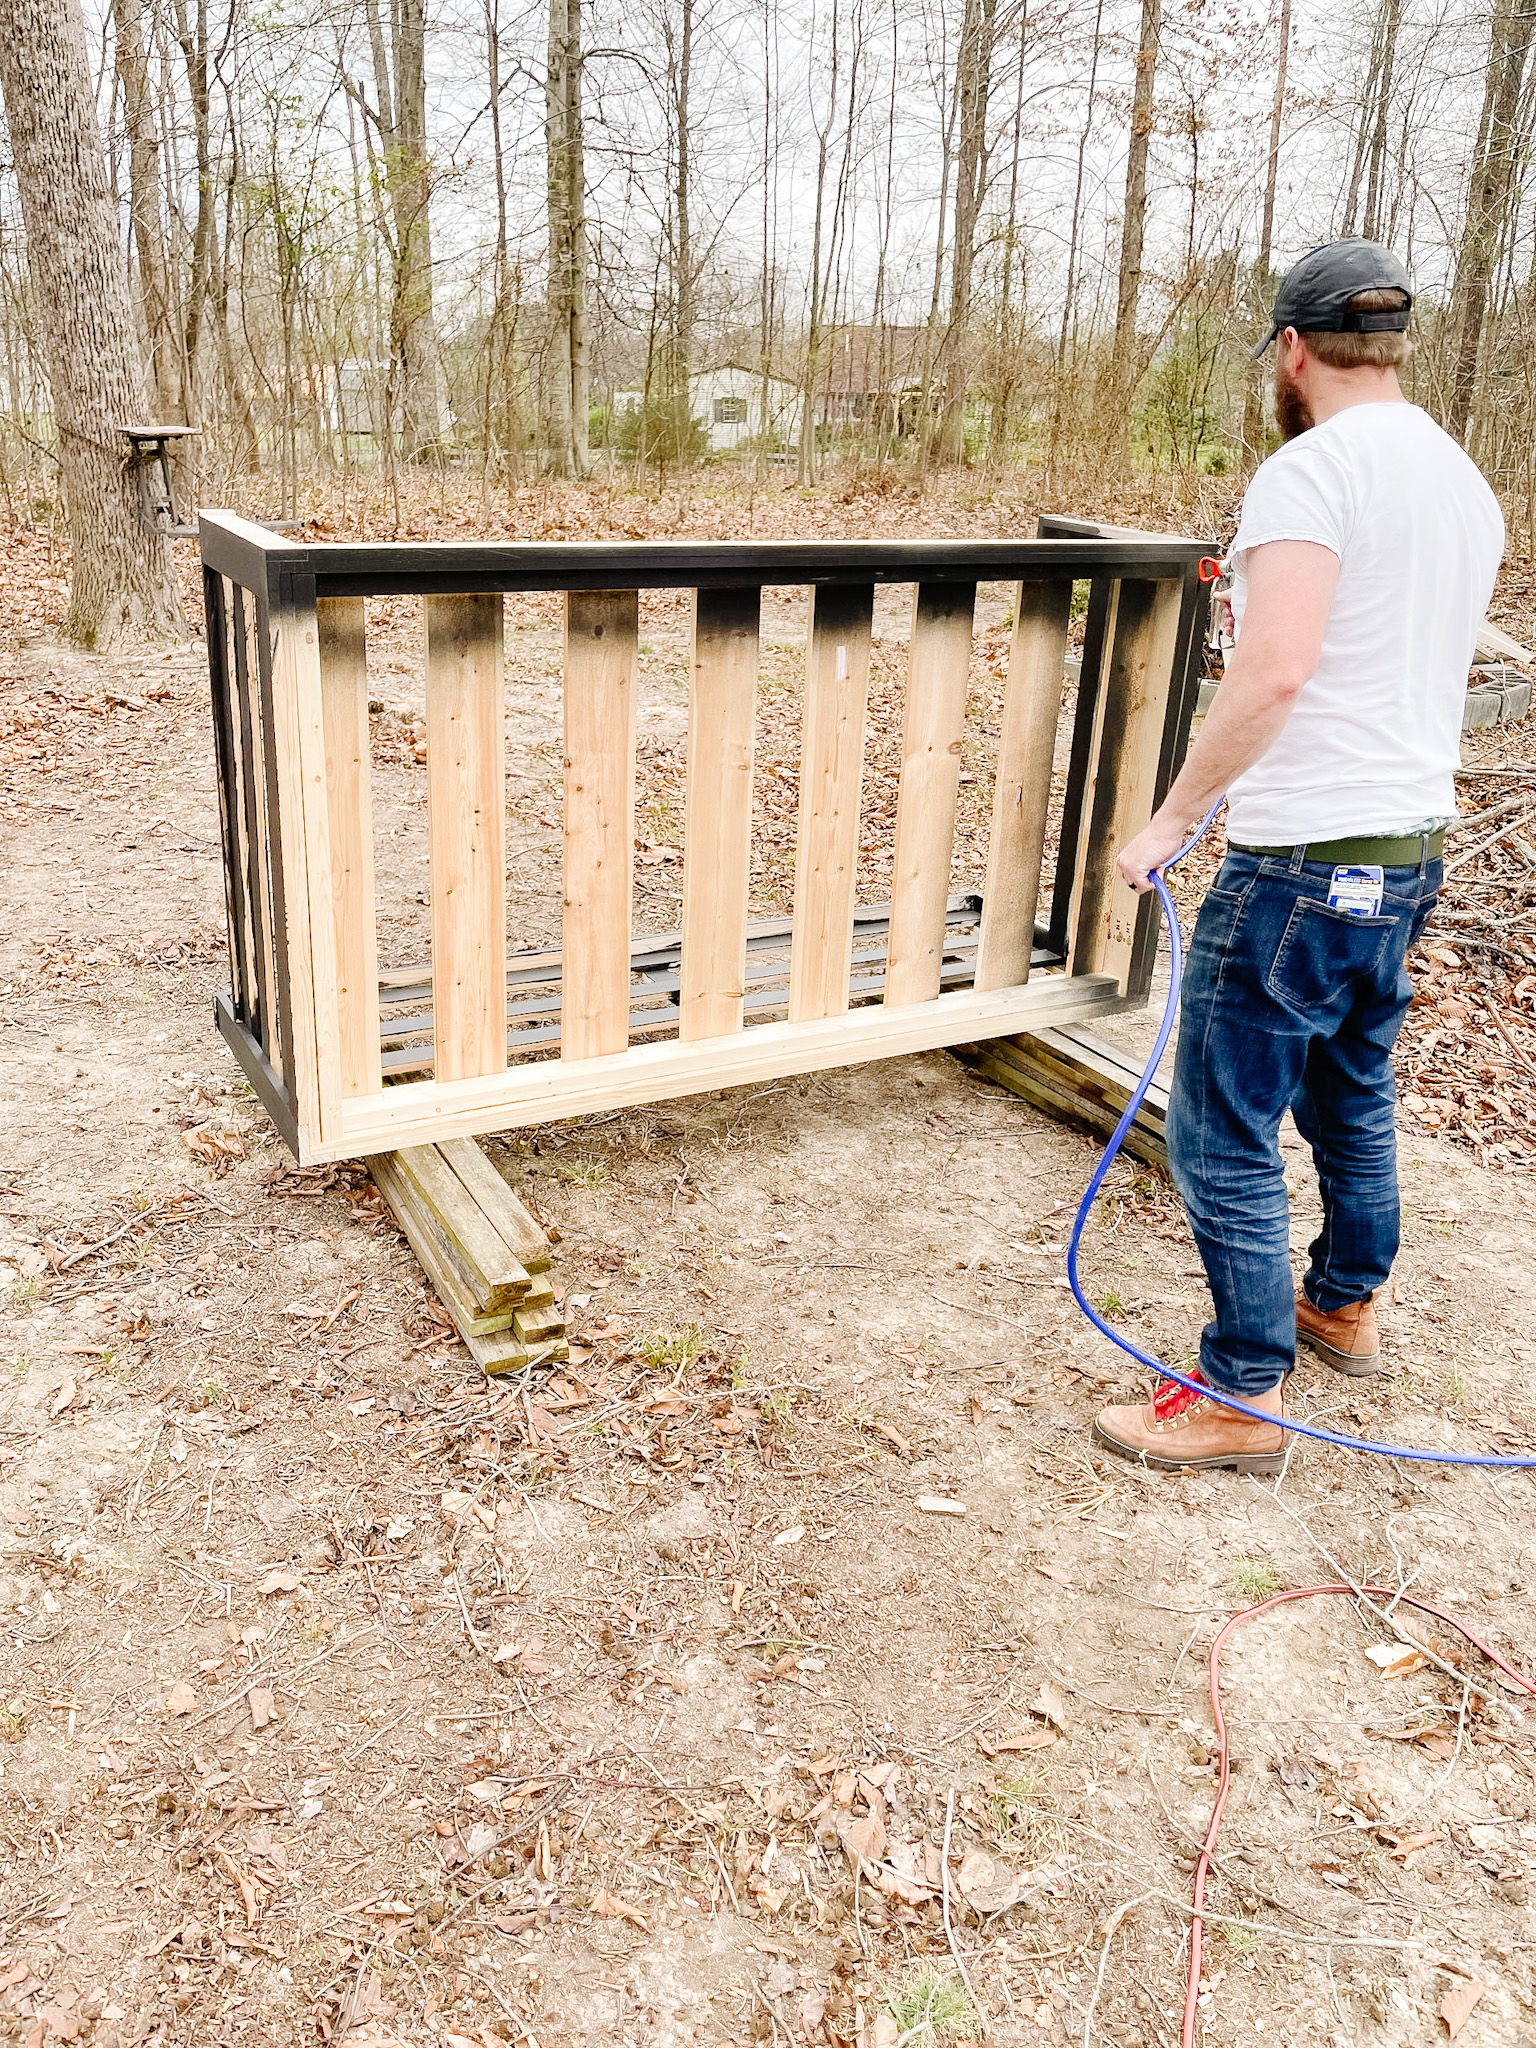
I filled all the holes with wood putty and sanded everything down with fine sandpaper. To ensure the hand rails didn’t have any splinters, I rounded the corners with fine sandpaper. We had leftover exterior stain that we had used on our barn and decided to use the same color on the swing to help tie in the main house with the barn.
We used two coats of the stain and applied it with a paint sprayer. Our swing is under a covered patio and won’t be in direct contact with rain, but humidity and the mist from rain will play a factor. Ensure whatever you stain or paint the swing with is suitable for exterior projects. Keeping your new built patio swing in good condition means it will last you for as long as you want.
Our swing hangs under a covered patio and doesn’t really get wet unless we have a very heavy, driving windy rain. If your swing is exposed to the elements you will want to at least do a clear coat of urethane if nothing else. I highly recommend ensuring your wood is protected even if it is not exposed as humidity and sun can also be hard on wood.
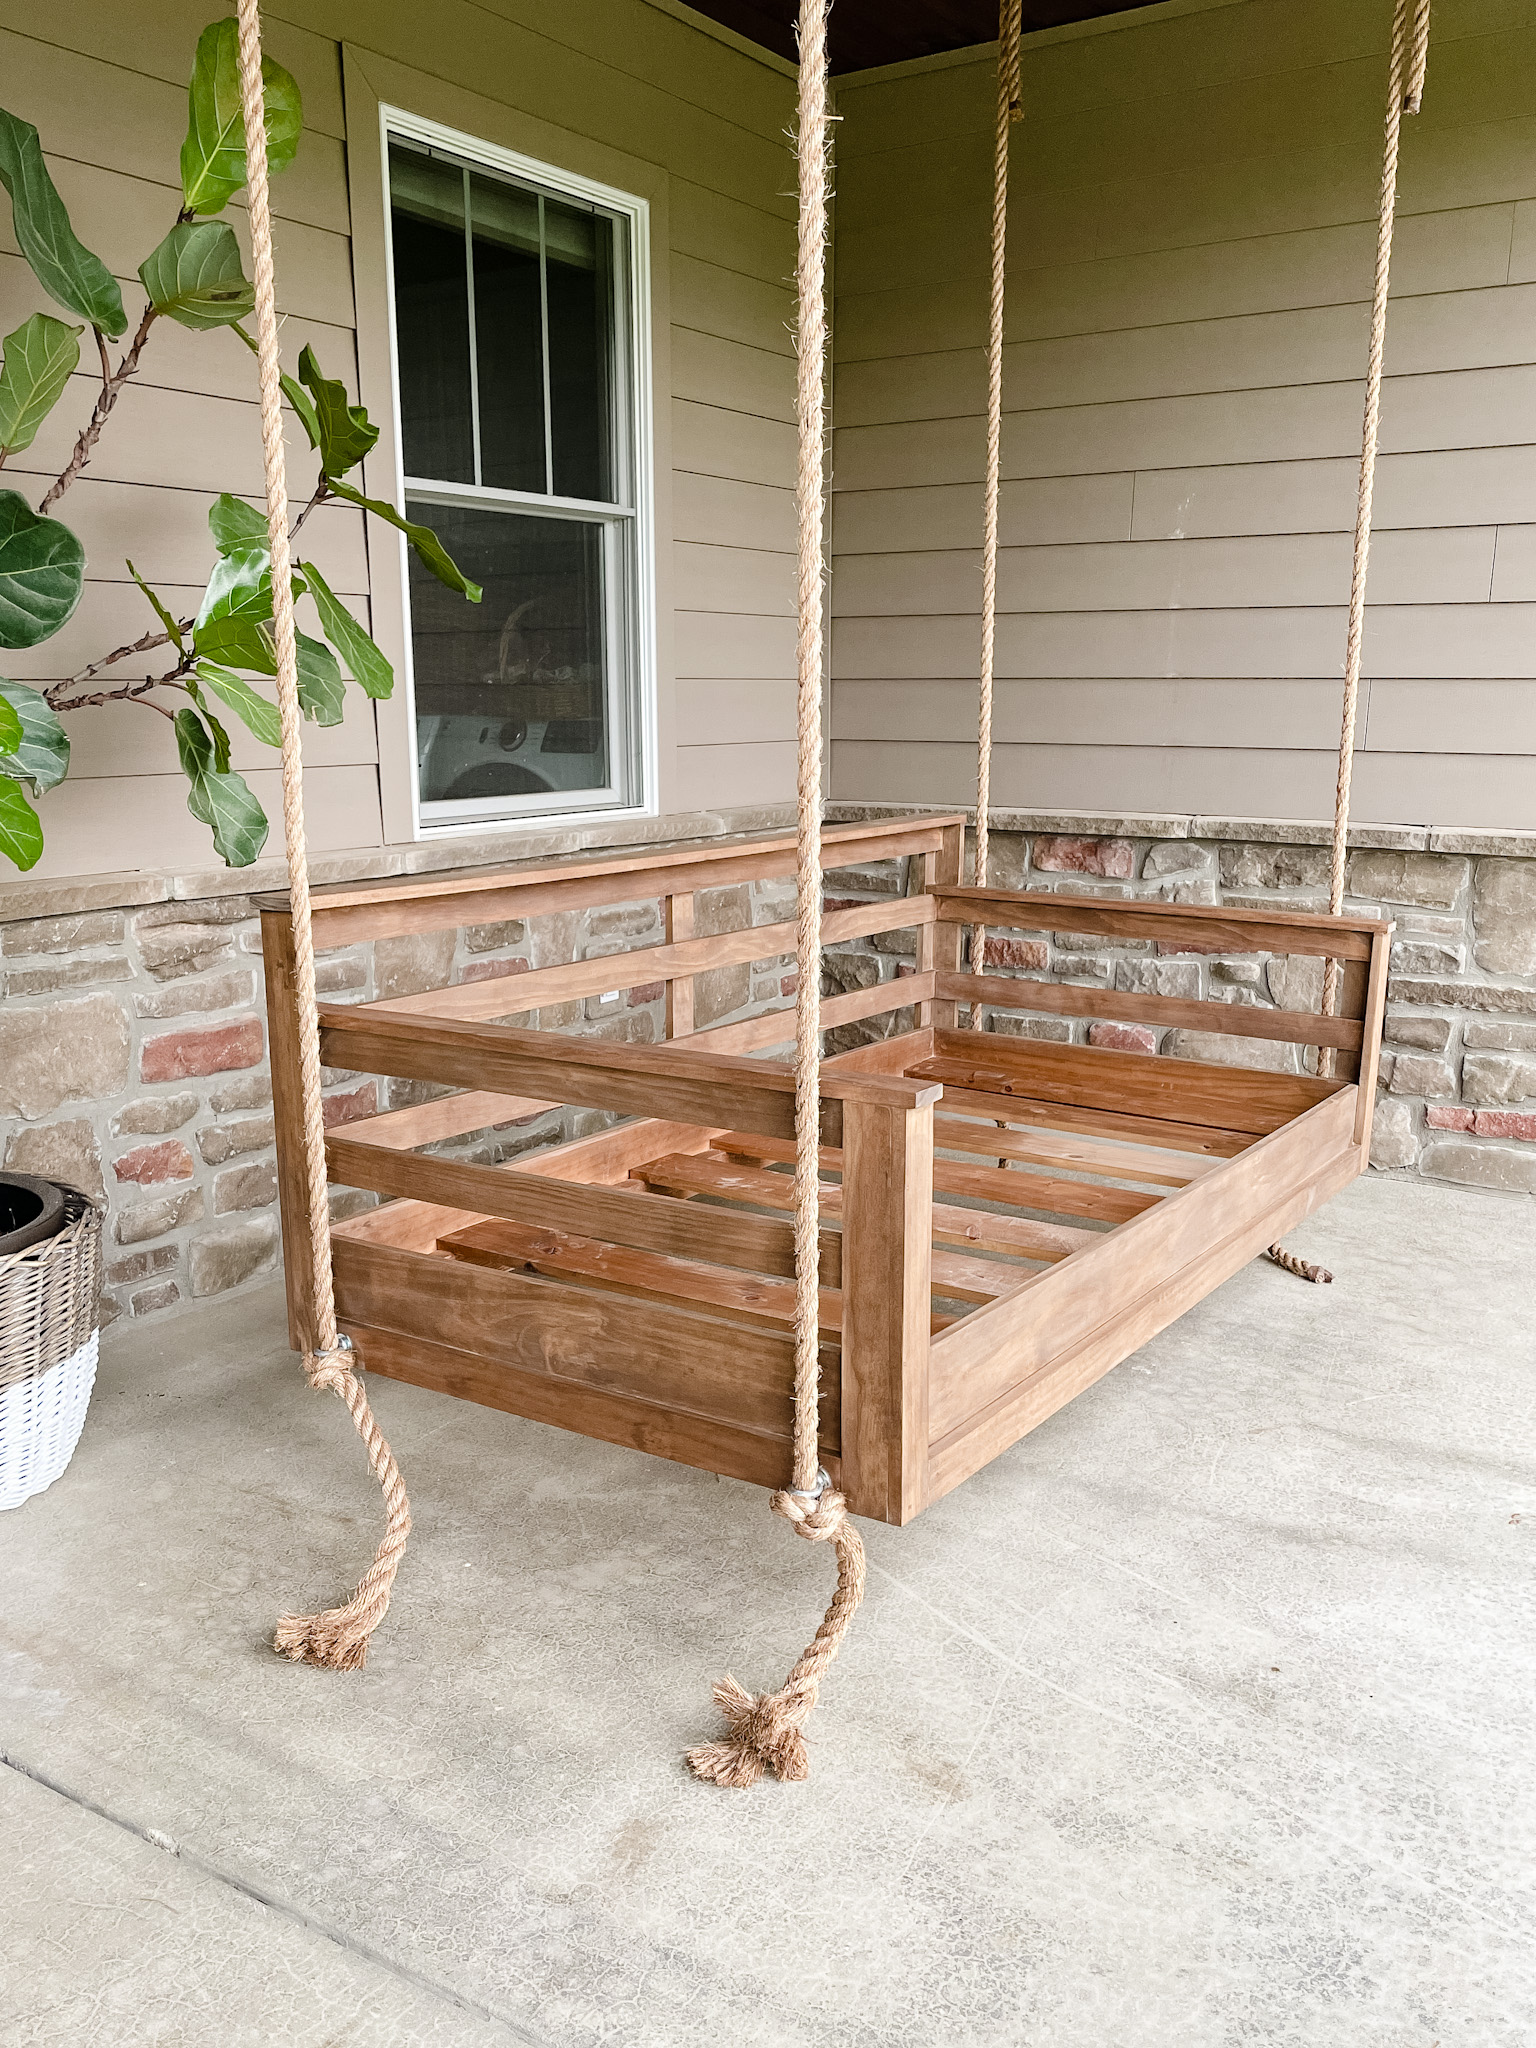
I originally hung the swing with the black stain but then didn’t really like it on the patio so we built another one and stained it more of a wood tone. We will move the black one down to the barn enclosed patio because the black will go nicely with the wood walls down there.
As soon as the black stained swing was hung I knew it wasn’t going to work for me; it felt so harsh and not the look I was going for.
Check out these other posts:
Easy DIY Coffee Table
How to Paint a Brick Fireplace
How to Make a Fake Tree
Patio Swing Bed Wood Stain
As I stated, I made two swing beds. The first one I made we painted it the same color as the barn exterior; a charcoal black, but once I hung it I didn’t like it in the space.
Instead of sanding down the entire swing and staining, I made another one. The black one will look great in the barn front covered patio.
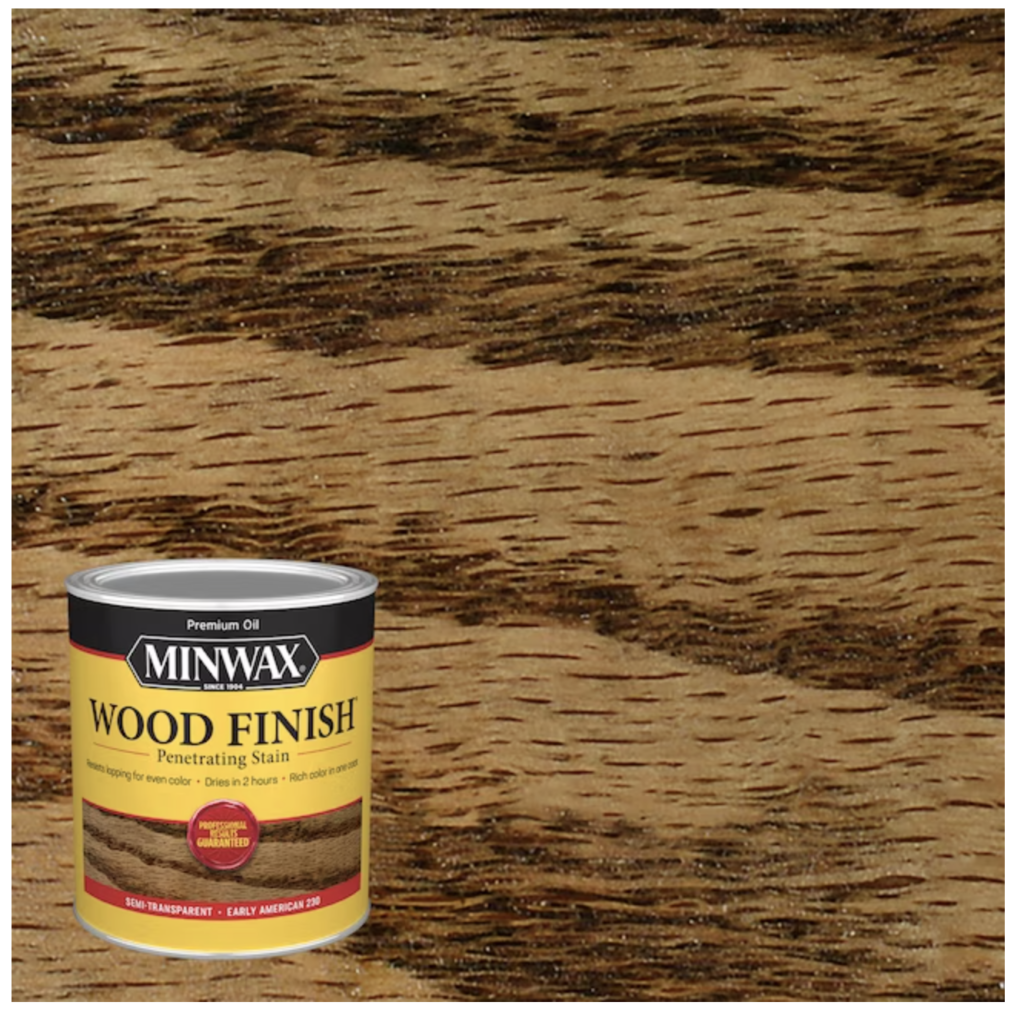
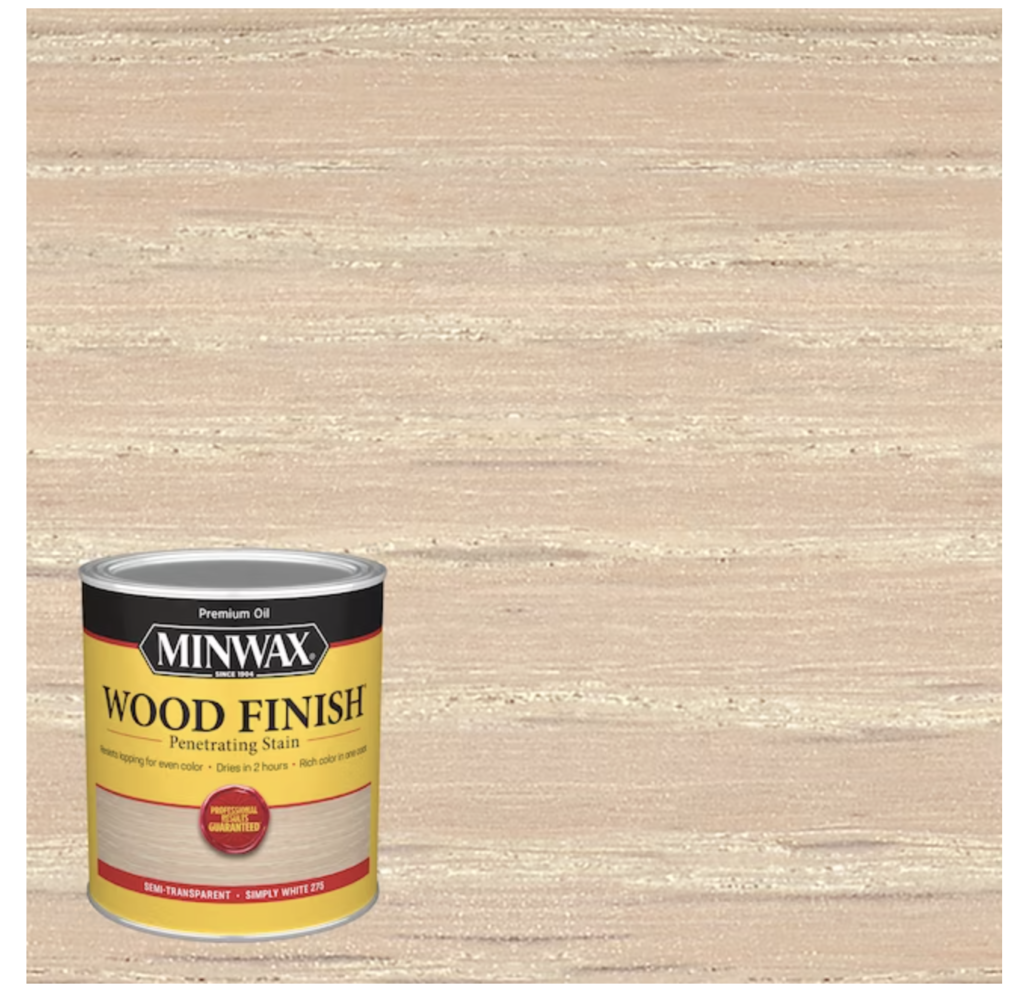
I used a blend of two stains from Minwax to give it a more blended stain finish. Sometimes I find just using one off-the-shelf stain color lacks dimension.
How to Stain a Patio Swing

Rope for Patio Swing
The plans for this patio swing used 3/4″ rope, but for me it looked too skinny and I wanted something more beefy looking. Instead I opted for the 1″ rope from Home Depot and it’s not inexpensive. At $1.65 per foot your cost can add up depending on how high your ceilings are and how much extra rope you like to dangle. We purchased the 75 foot spool which in the end saved us some money and we didn’t have to worry about coming up short.
Check out these other posts:
How to Hang a Patio Swing Bed

Porch Swing Mattress and Cover
Since this swing holds a twin mattress, I needed to cover it in a way that would protect the mattress. Even though the swing is under a covered patio, when it rains the front potion of the patio still gets wet. I also wanted to protect the mattress from dirt, bugs, dust and water without spending a fortune.
You can purchase twin size mattress patio covers, but they can be costly and since I wasn’t trying to break the bank on this I used a mattress cover and a twin fitted sheet. I just purchased an entire twi set.


Amazon Storefront
Follow my Amazon Storefront to find more looks for less and all our finds!
What I Learned from Building a Porch Bed Swing
Unless you know what you are doing grab the plans as they will help tremendously. No sense in reinventing the wheel, but you can make the building and final product your own with finish, rope or chain, decor and how you hang the swing.
- Use enough nails to ensure the swing is sturdy; I felt like we needed more nails than maybe they used in their plan build.
- When putting the swing together pay attention to boards and how they look. I’m picky about my boards and might chose to use a board for a back portion or turn the board inward so it’s not seen. (not important if you are painting it)
- When using your nail gun have the nails going into the wood with the grain of the wood especially if you are going to stain the patio swing. It sounds simple but it does make a difference.
- Before you stain use a pre-stain to ensure your finished application is not blotchy. Pine is known for a blotchy finish without a pre-stain. I wish I would have used this as I had blotchy issues and I chose not to use the pre-stain like I have on other projects.
Cost Saving Tip: If you are going to paint your swing you could use knotty pine instead of premium pine.

Final Thoughts on Our Outdoor Bed Swing
If I could rate how easy this project was I would say it was easy. I think the hardest part for me was deciding on the finish color of the swing as I was torn with black, wood finish or a creamy white. It’s the little things that can hold me up…Ahh! As long as you have some type of plans; it’s like following a recipe and a great project for beginners like us. It gave me the confidence to try other building projects. You do need to either have or get basic building tools such as a miter saw and finishing nailer.
Not only was the porch bed swing a wonderful addition to our front porch, but my son and I had fun building it together. We built it in two days; one day we purchased the wood and cut it and the next day we assembled it. All in all it probably took us around ten hours to complete and we weren’t moving super fast, but taking our time to ensure we were doing everything correctly.

Follow for home decor, DIY and to shop: Instagram | Pinterest | LiketoKnowit


We love the porch swing you created and we are currently working on our very own! Thank you for sharing your experience. What pre stain do you recommend? I love the color of your stain. What did you use? How many coats? Thanks so much!
Hi! I love the color of this swing! Would you mind sharing which stain(s) you used to get it this beautiful color! Thanks!
Hello Caitlin! Thank you for reaching out. I used Minwax Early American and Simply White. Usually layer the white on first; follow dry times and then follow with the Early American. I don’t allow the stain to sit long; I usually wipe off quickly after coating. You can always darken if need be. Another combo to try is simply white with provincial; that is what I did with the coffee table I made. Easy DIY Coffee Table
Hello Caitlin! Thank you for reaching out. I used Minwax Early American and Simply White. Usually layer the white on first; follow dry times and then follow with the Early American. I don’t allow the stain to sit long; I usually wipe off quickly after coating. You can always darken if need be. Another combo to try is simply white with provincial; that is what I did with the coffee table I made. Easy DIY Coffee Table
I also followed the Minwax Spare Urethane to protect the wood. This was three coats. I also used the minwax pre-stain.
Hi Amy! Where did you get your cushions from?
What accessories did you use to hang the swing?
Hello. If you look at this post is explains how we hung the swing. https://www.amelialawrencestyle.com/how-to-hang-a-patio-swing-bed/
Hi! I didn’t see a link to the mattress you used for this swing bed. I am wondering if it’s 8in or 10 inches thick? Thank you for sharing. I love this way this turned out!
Hello Anne! I used a 10″ mattress and you can read about how I outfitted the patio swing bed in this post. I share about how to protect the mattress, the sheet I used, mattress and decor. https://www.amelialawrencestyle.com/porch-swing-bed-mattress-and-decor/ Hope that helps. Thanks for reaching out.
Hey, I am looking into building this and following your instructions. I am in gathering my materials phase. What do I need a Jigsaw for — I don’t own one of these. What part of building the swing did ya’ll use it for?
Thanks,
Brandy Rutland
Hello! Thank you for reaching out! I love this swing and have built two. You don’t need a jigsaw; I might have added it to the tool list by mistake; it happens. I have one of these swings on my home front porch and another on the enclosed porch of our barndominium and love them. Everyone who visits can’t wait to use it. Have fun building it.
Thanks so much for your post. We followed your instructions and out swing bed turned out great!
Oh, wow! that is awesome. Makes my day to know that you built one.
Hi! Where did you purchase the plans for this swing?
Listed in post. https://plankandpillow.com/porch-swing-bed-plan-1-a/
Love the porch swing! Could you tell me the amount of clearance you left behind your porch bed swing? Our space looks similar and I want to make sure I’ve got room for it to swing! Thanks!
Swing looks amazing! Could you tell me how high off the ground you set your swing? Thanks in advance for your reply.
Where did you get your rocking chairs?