Easy DIY Coffee Table
Make this easy DIY coffee table with basic supplies from the hardware store. Easy enough for a beginner and stain it any shade to match your decor.
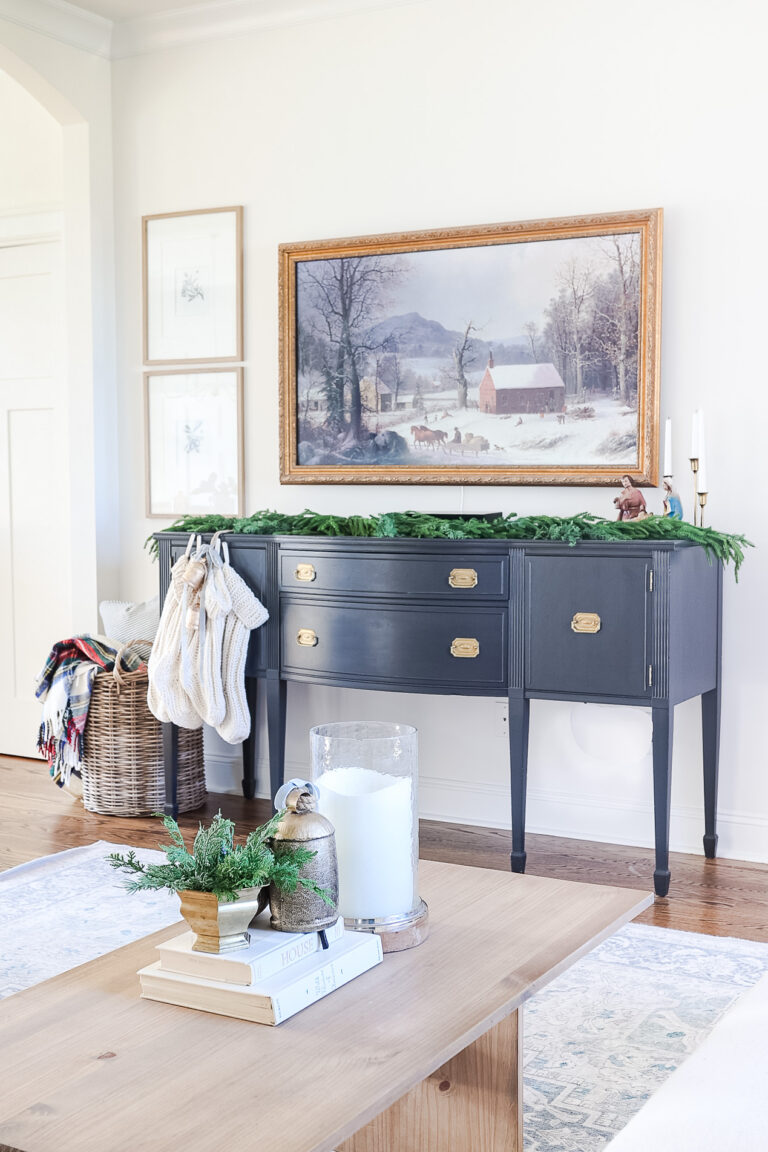
I needed a new coffee table for our home as the living room here is smaller than our previous home. Everything I looked at was so expensive or the lesser expensive coffee tables looked and felt cheap. Enter the DIY idea to make my own coffee table. With a few simple tools this is an easy piece to make. I used two different stains to achieve my desired shade and it came out just as I had planned.
Affiliate links are provided below. Please see my full disclosure.
Learn how to make a DIY tree for any room of your house with this DIY Tree Tutorial.
Disclaimer: I am not a professional carpenter; just sharing something I made. There may be a better method and perhaps not all the proper terms were used. I am sharing from one beginner DIYer to another.
Supplies Needed for DIY Coffee Table
- Wood glue
- Minwax Pre-stain
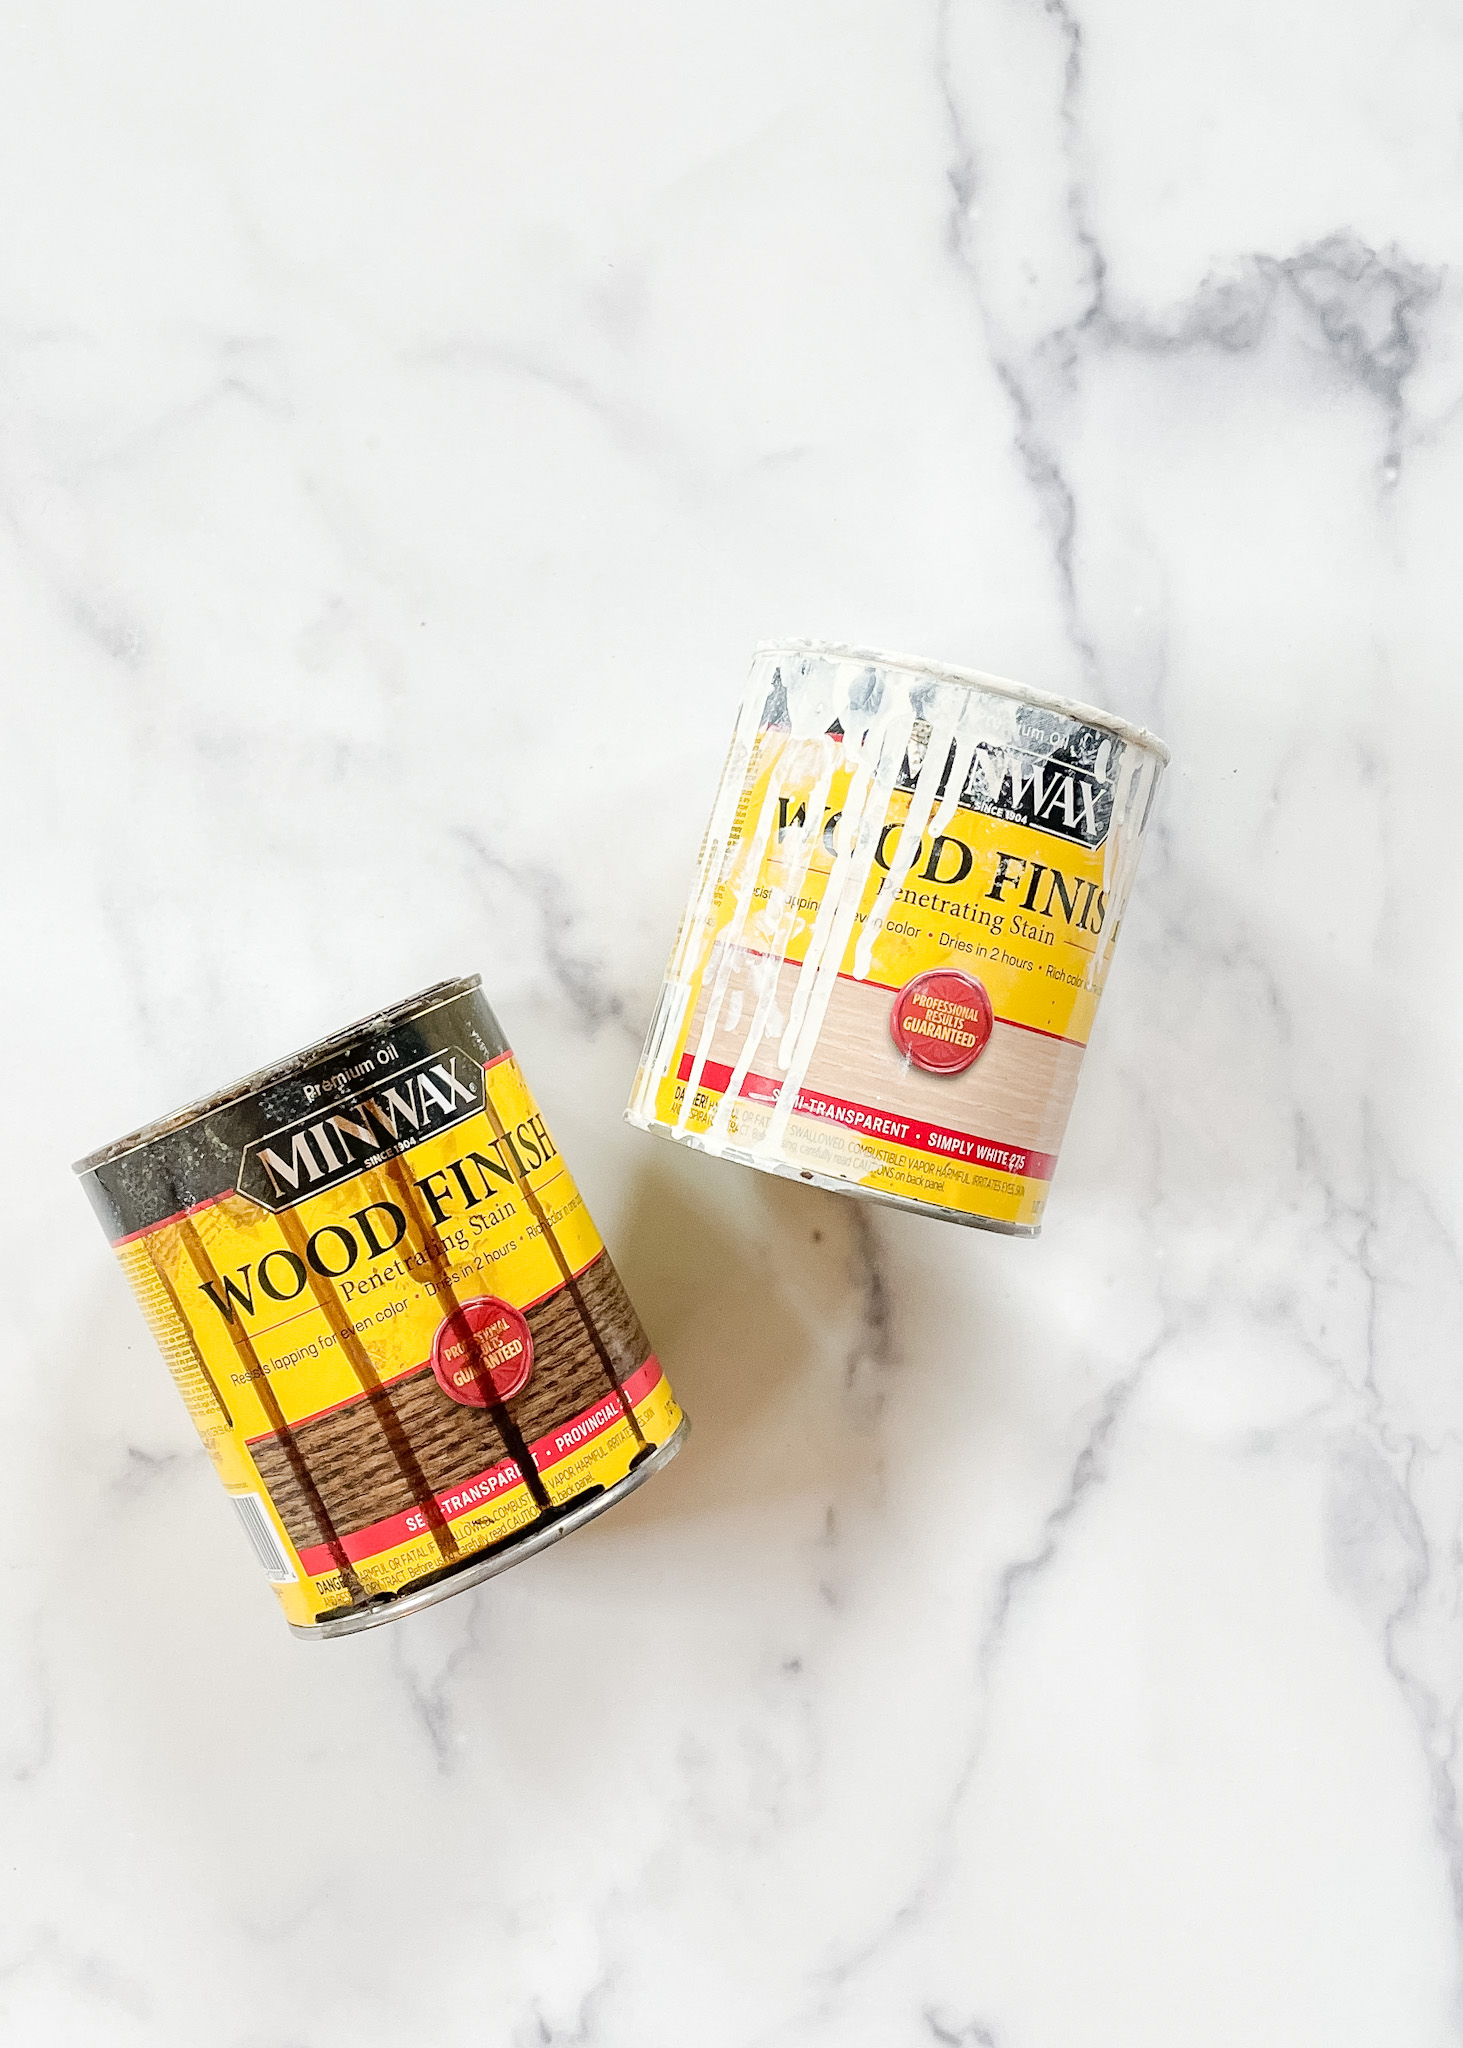
- Simply White Minwax wood stain
- Minwax Provincial wood stain (you can use any color you like)
- 220 grit sand paper or 220 grit sanding block
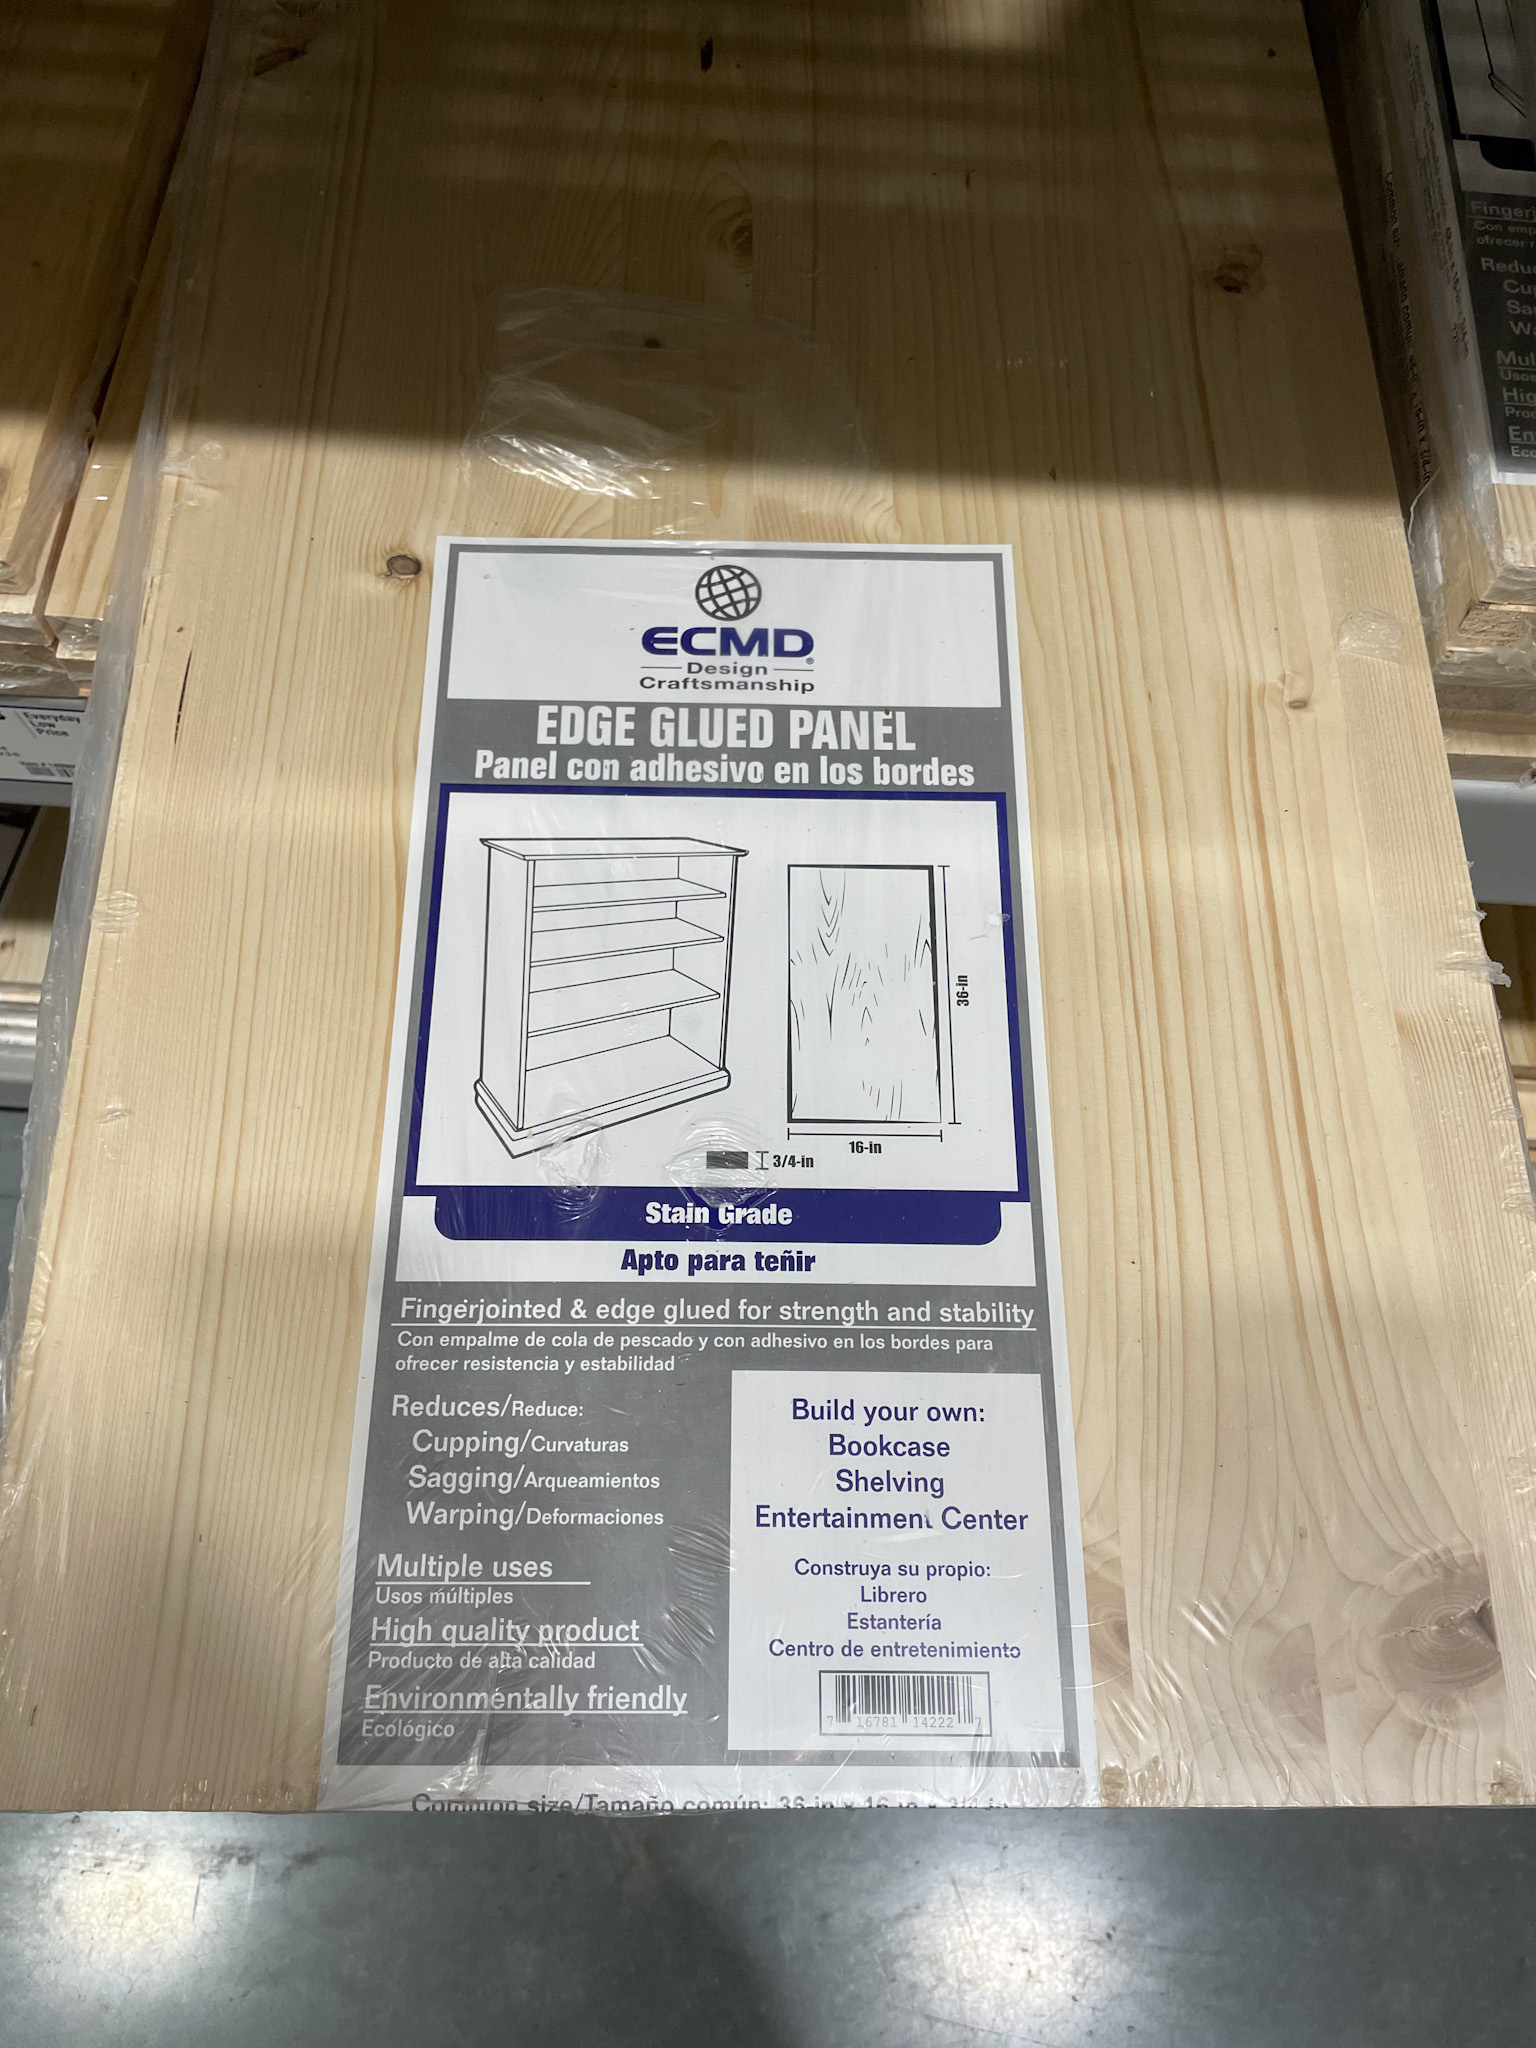
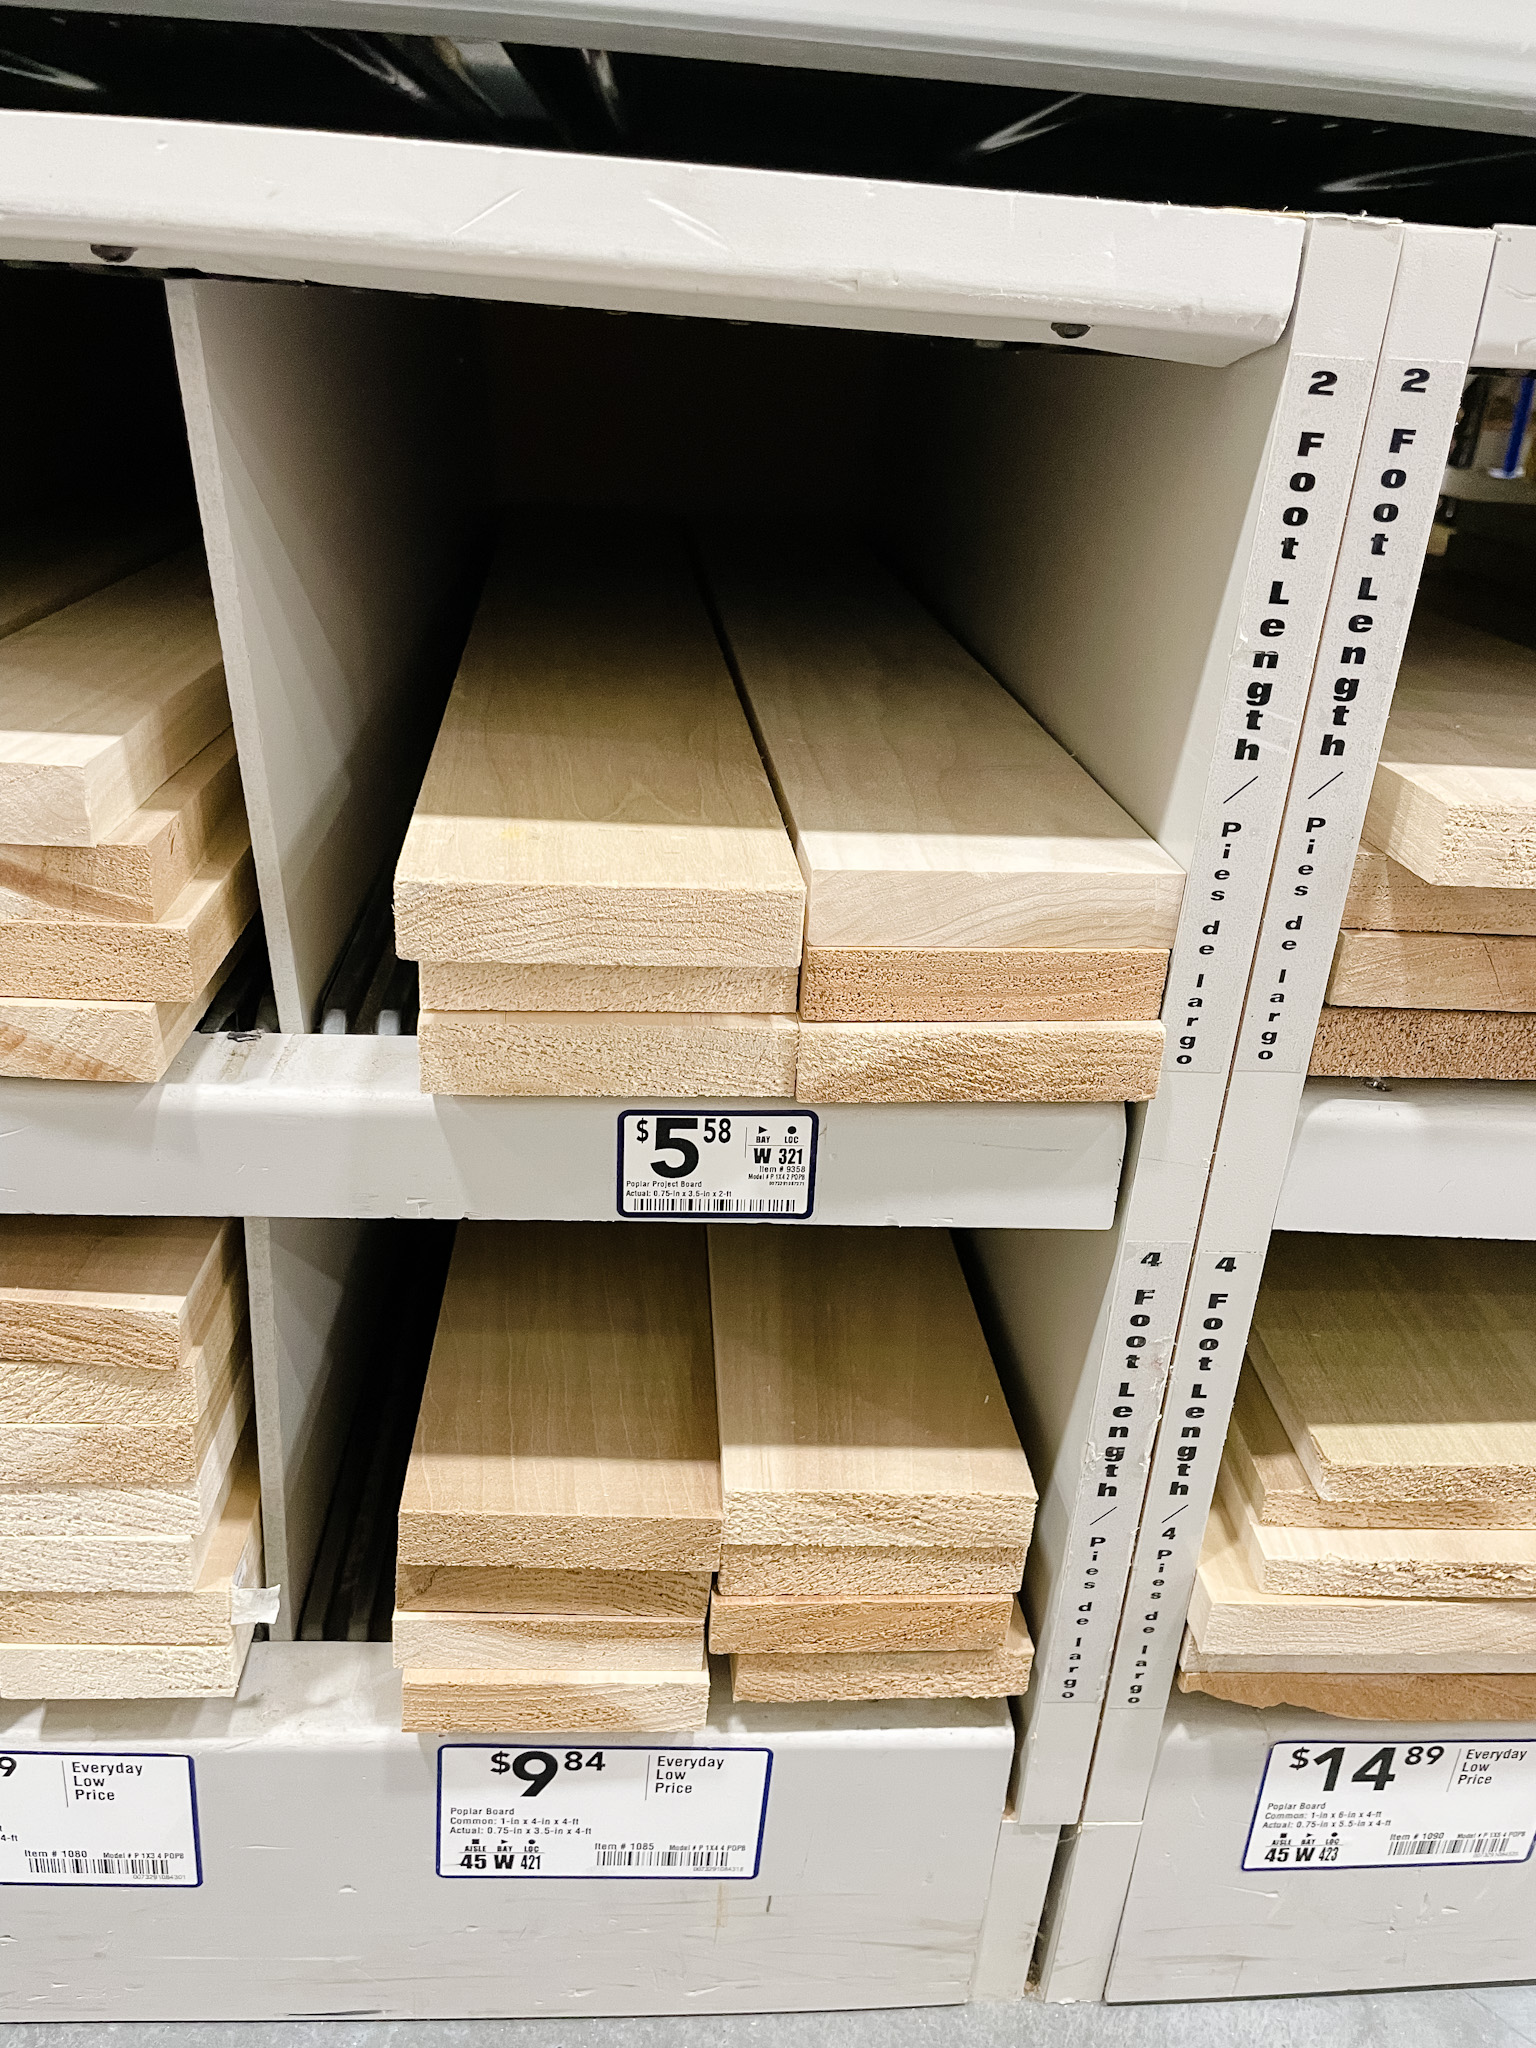
- 16″ x 36″ Bookcase Shelving
- 24″ x 48″ Bookcase Shelving
- 1 x 4 x 4 Poplar Board
- Pocket Hole screws

Tools Needed for DIY Coffee Table
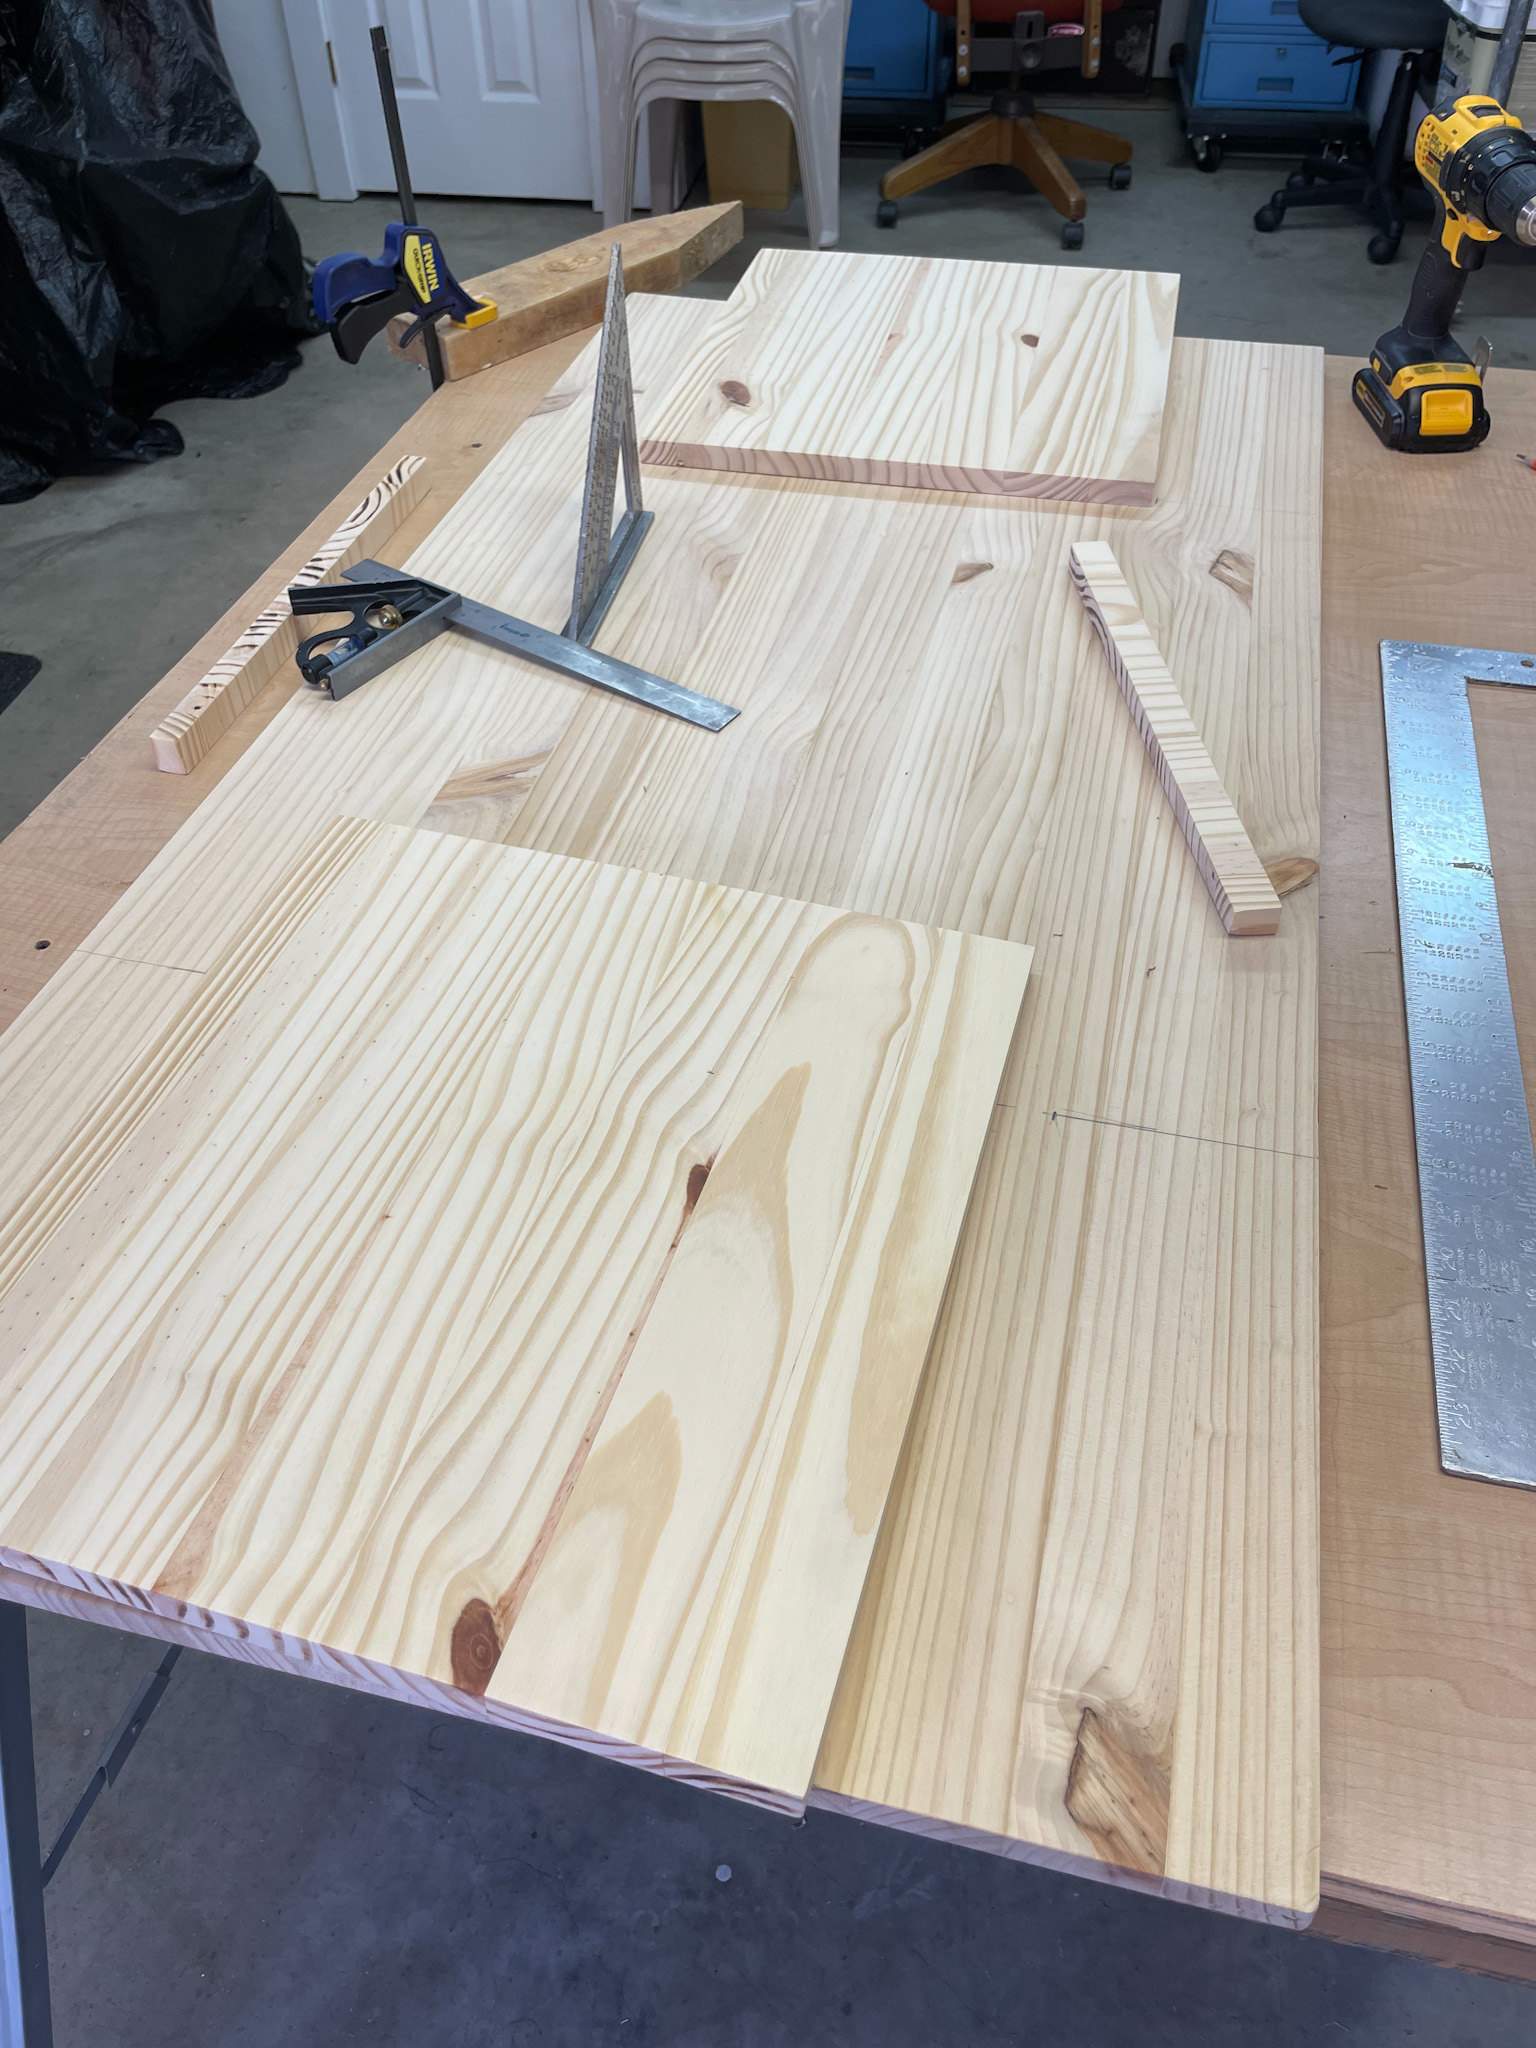
Cut Wood for DIY Coffee Table
- Take the 16 x 36 board and make two 15″ cuts – You want to be left with two 15″ boards for the legs
- Cut the 1 x 4 x 4 to 32″ long
- The 24 x 48 will remain uncut for the top of the table.

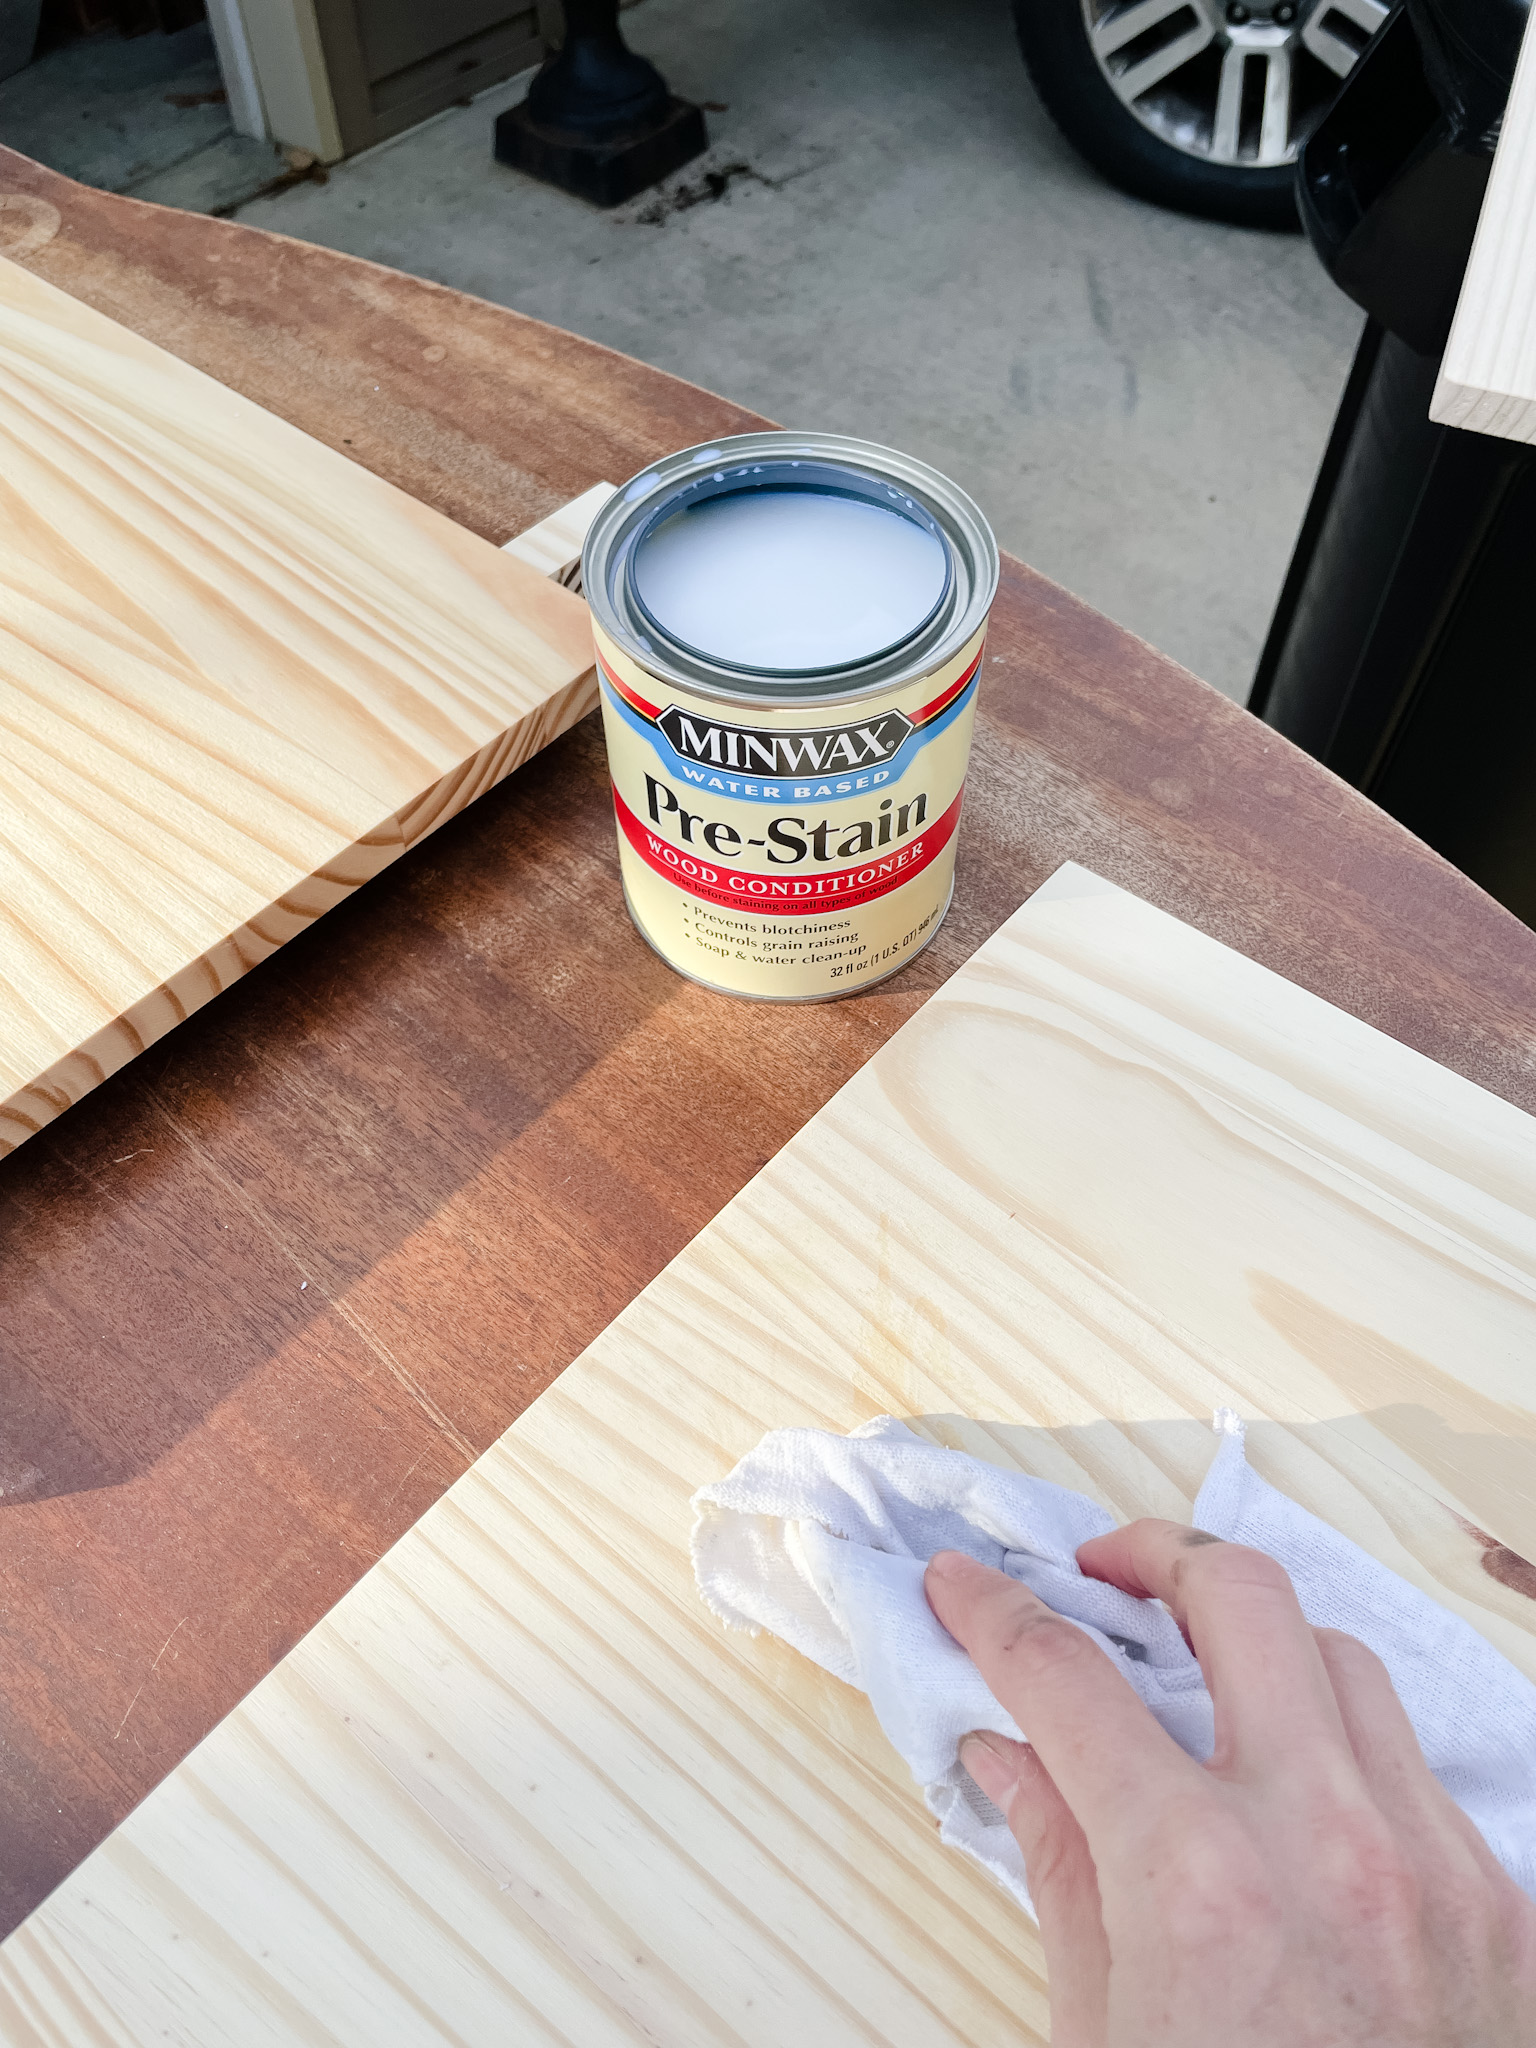
Sand and Pre-Stain the Wood
It’s way easier to sand each piece before the table is assembled. Since this wood is ready for bookshelves it’s not rough and heavily course; using a 220-grit sandpaper is all you need to ensure this is smooth and ready for stain. I love my orbital sander to complete the job, but you can sand it by hand using a sanding block as well.

Once the pieces were cut and sanded I went ahead and pre-stained the wood using Minmax Wood Conditioner. You can skip this step but on other wood projects I have NOT used pre-stain and it resulted in a blotchy stain/finish job. A few extra minutes to pre-stain will ensure your final stain has a smooth finish.
Assemble DIY Coffee Table
At this point you should have two boards for your legs/support, one board for the top of the table and one board as the brace.
Position Table Legs
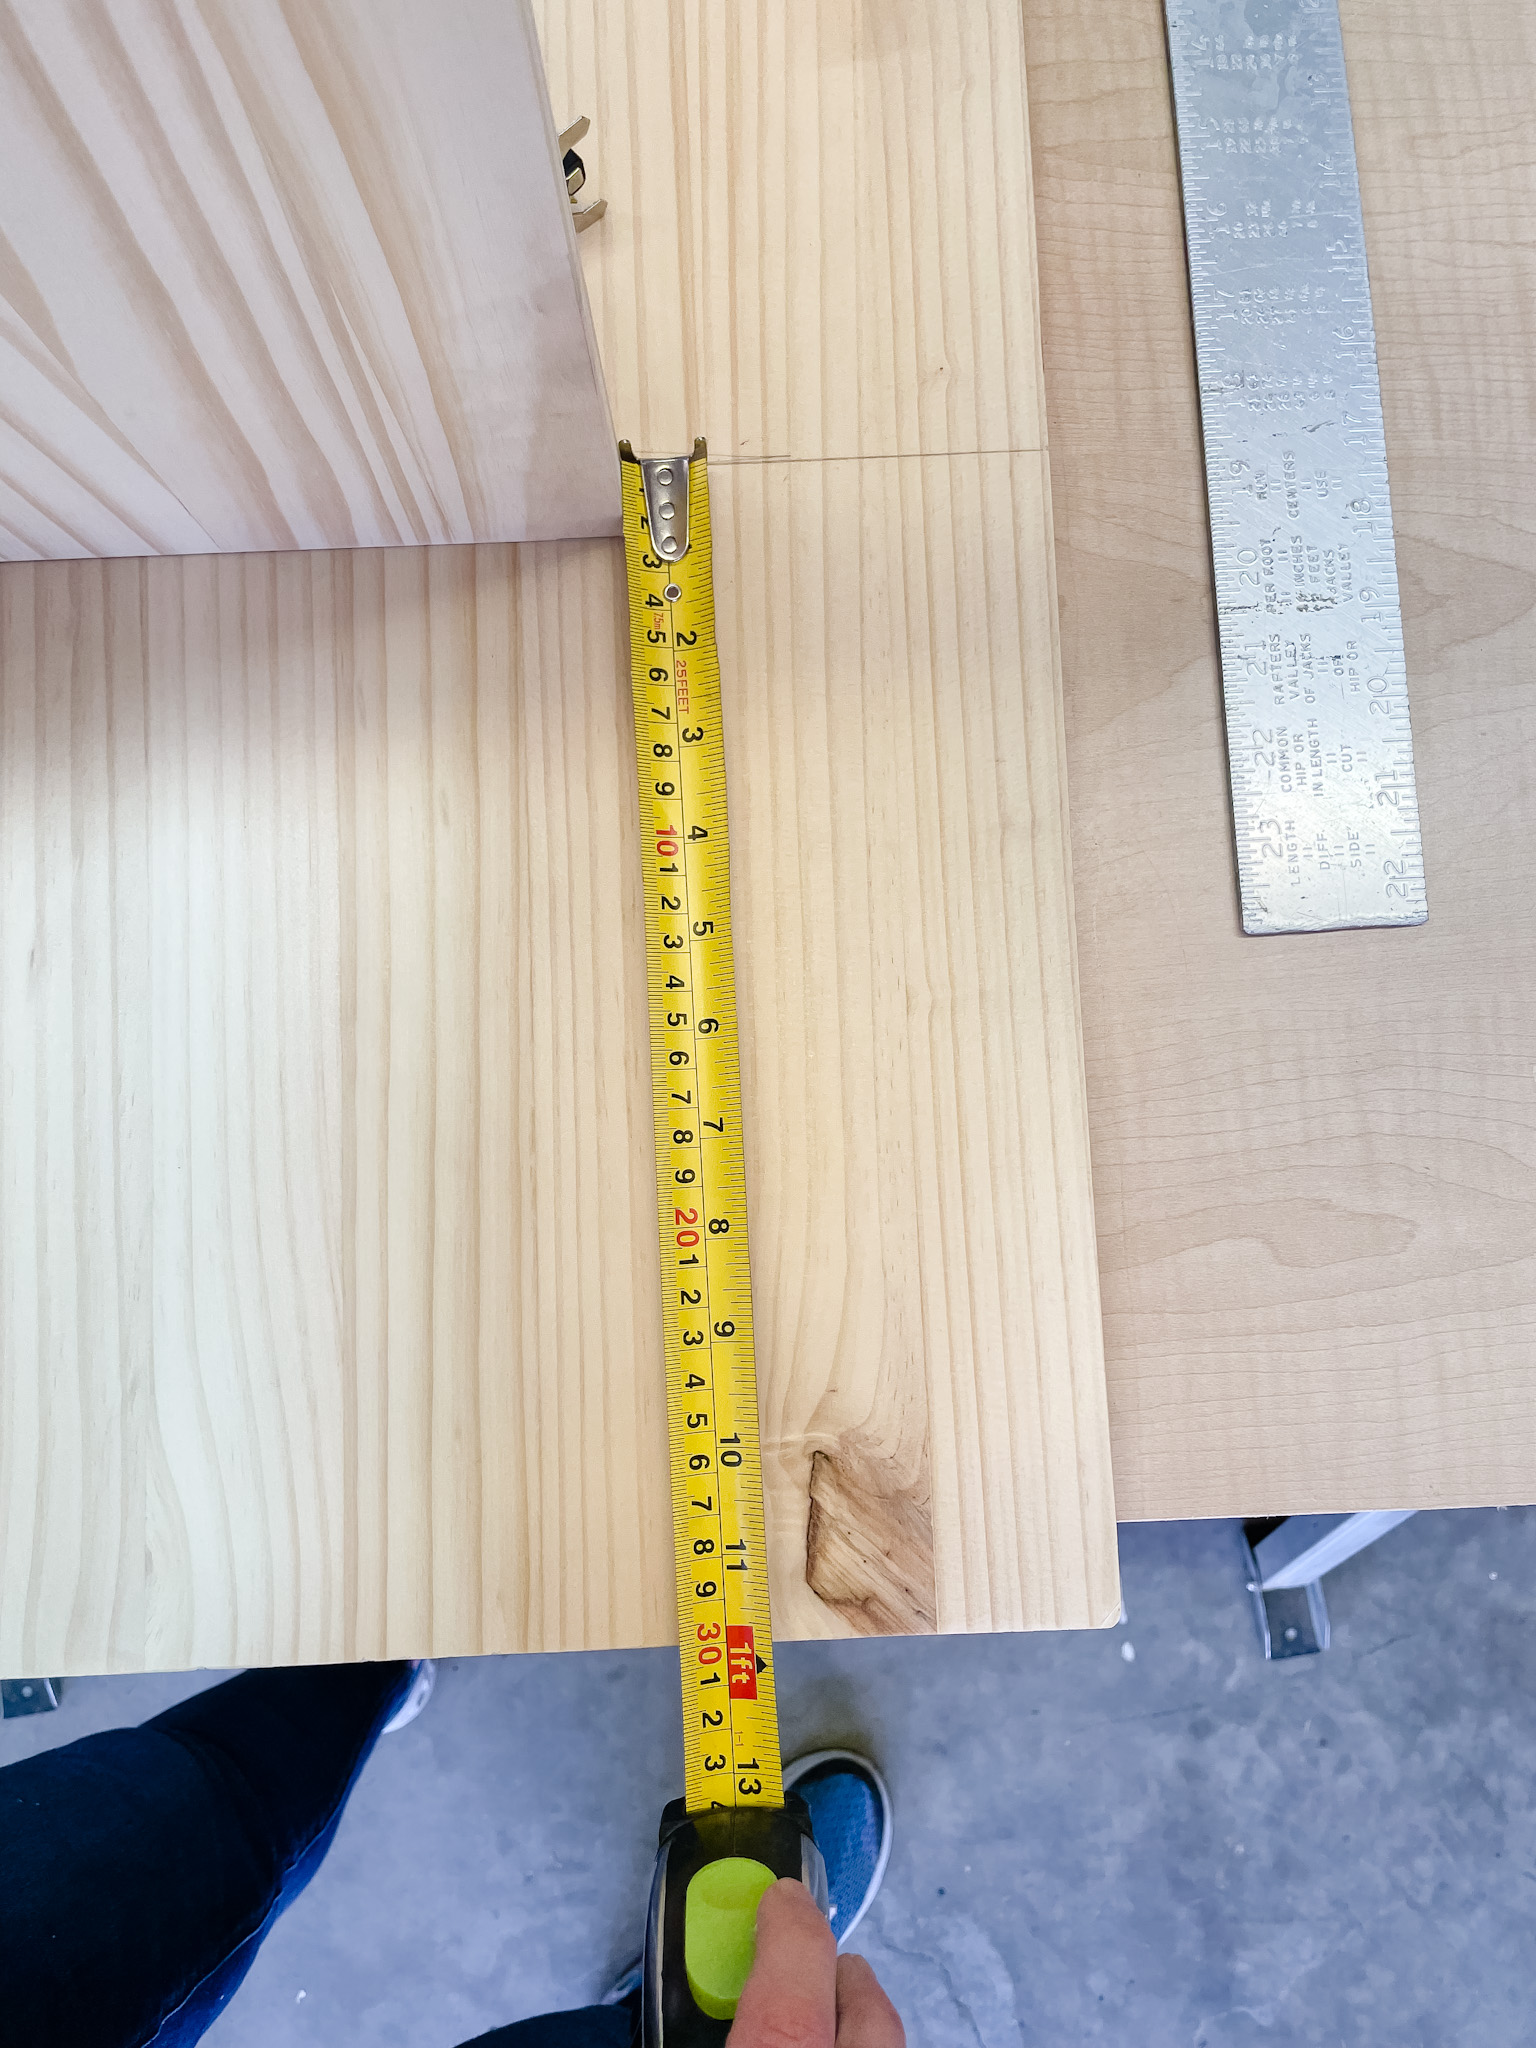
Mark 12″ from the edge of the board on both sides. This is where you will place your leg boards for the base of the table.
Mark and Cut Leg Openings
- Mark each leg halfway at 7.5″ for the support board to come through.
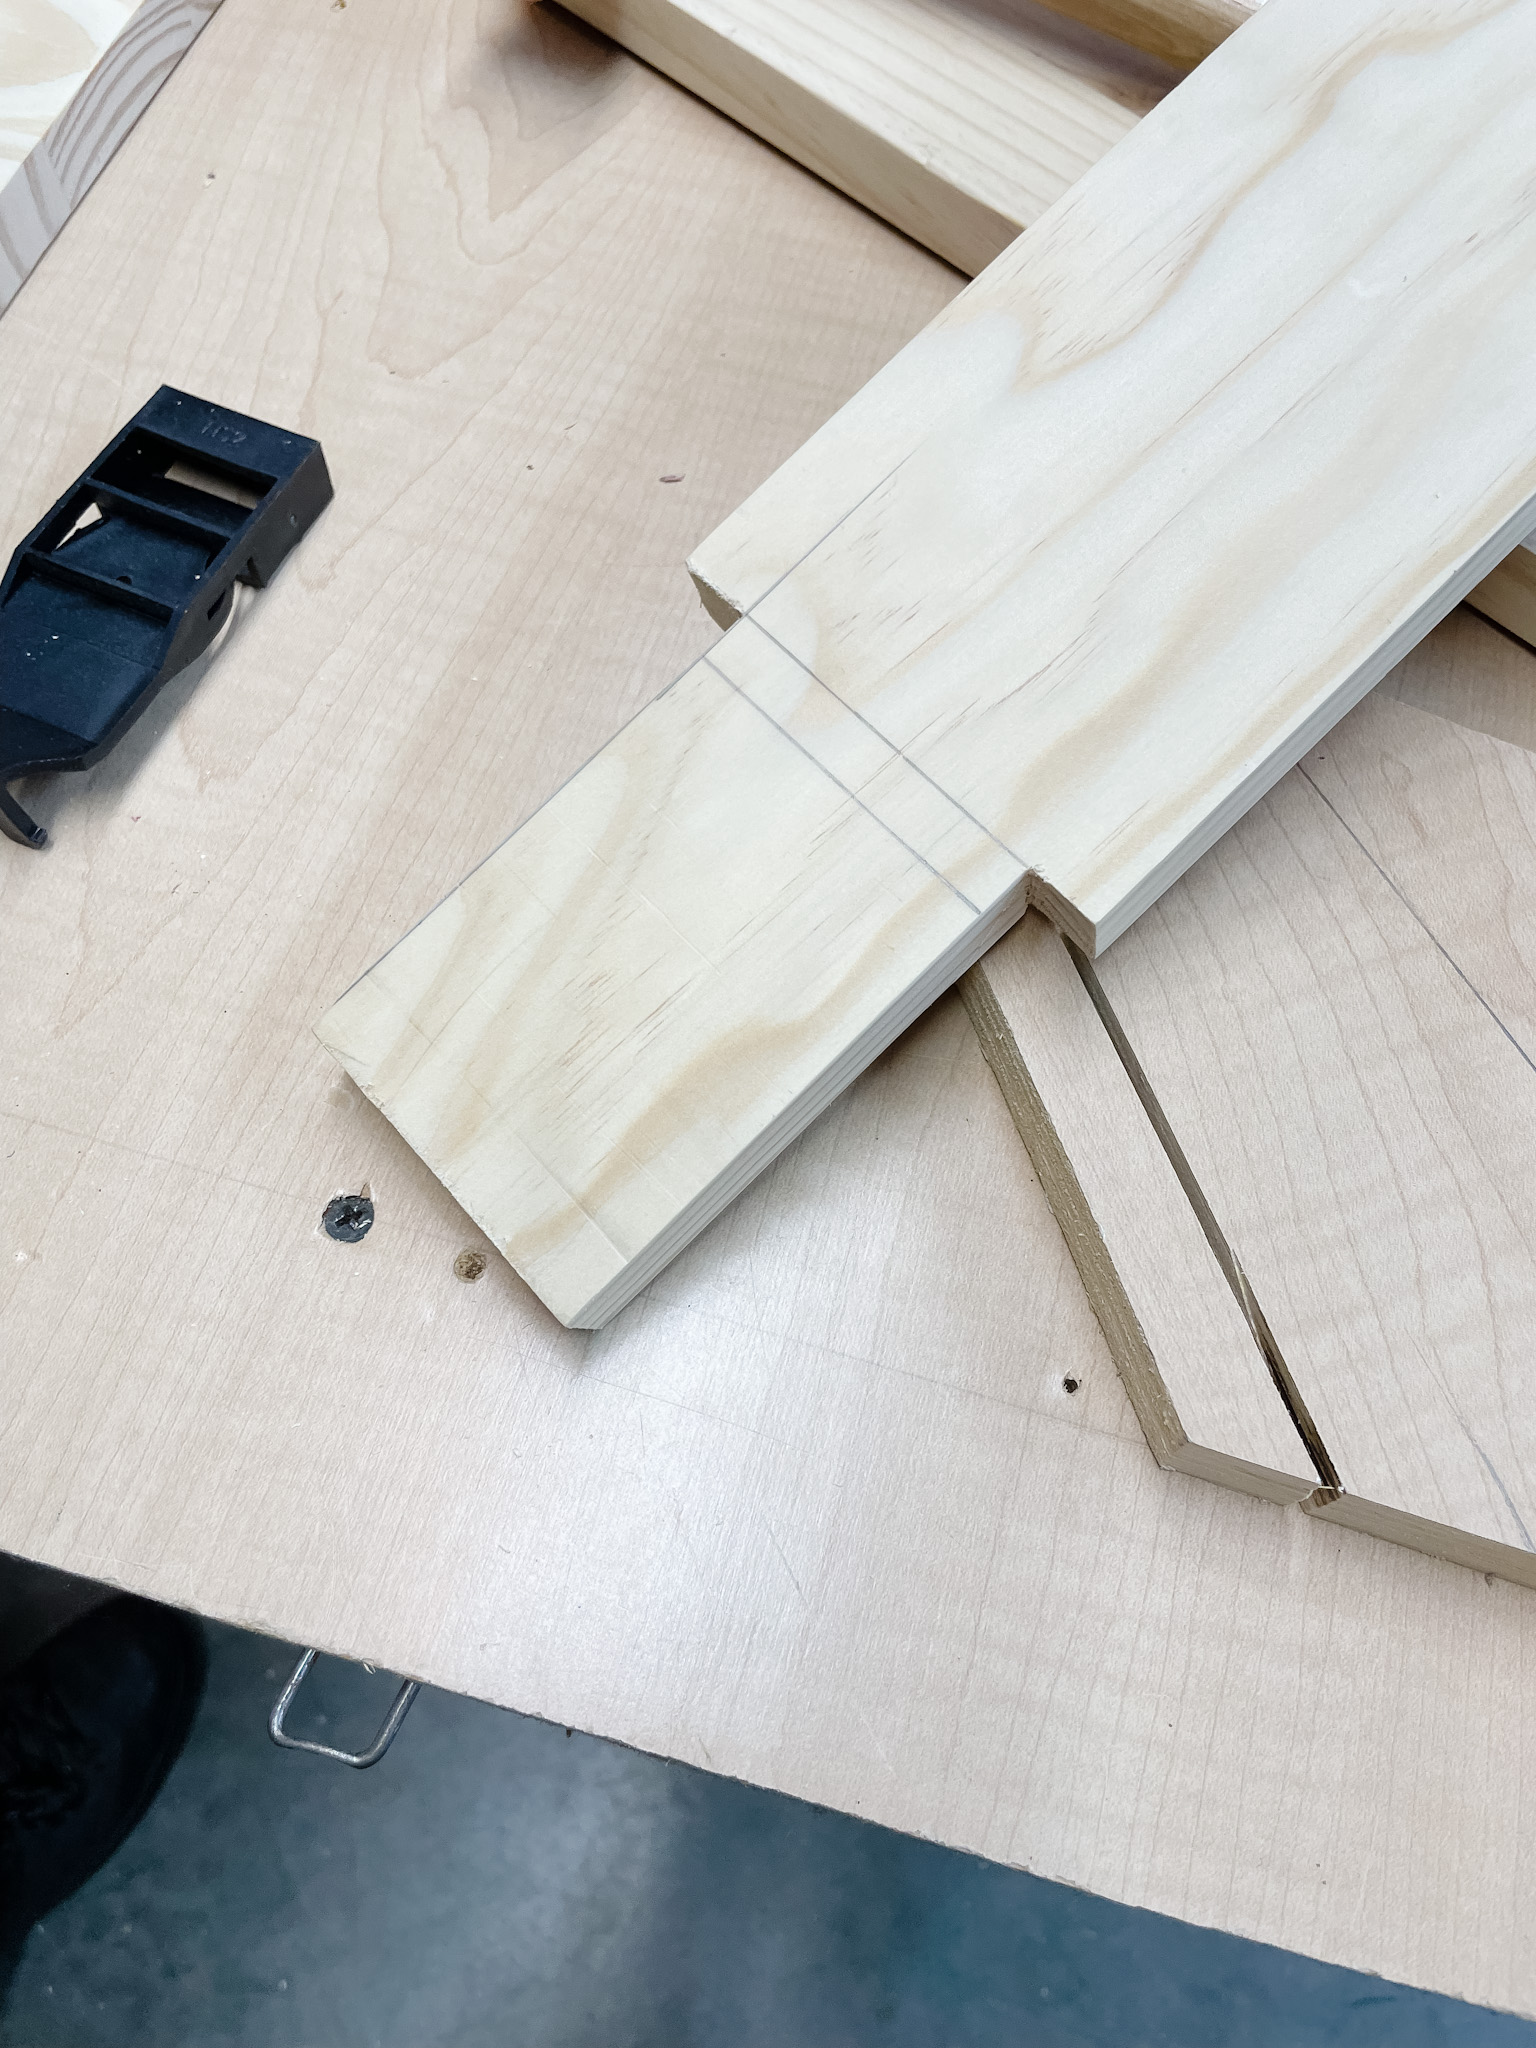
- Once you have your center draw a rectangle for your support board.

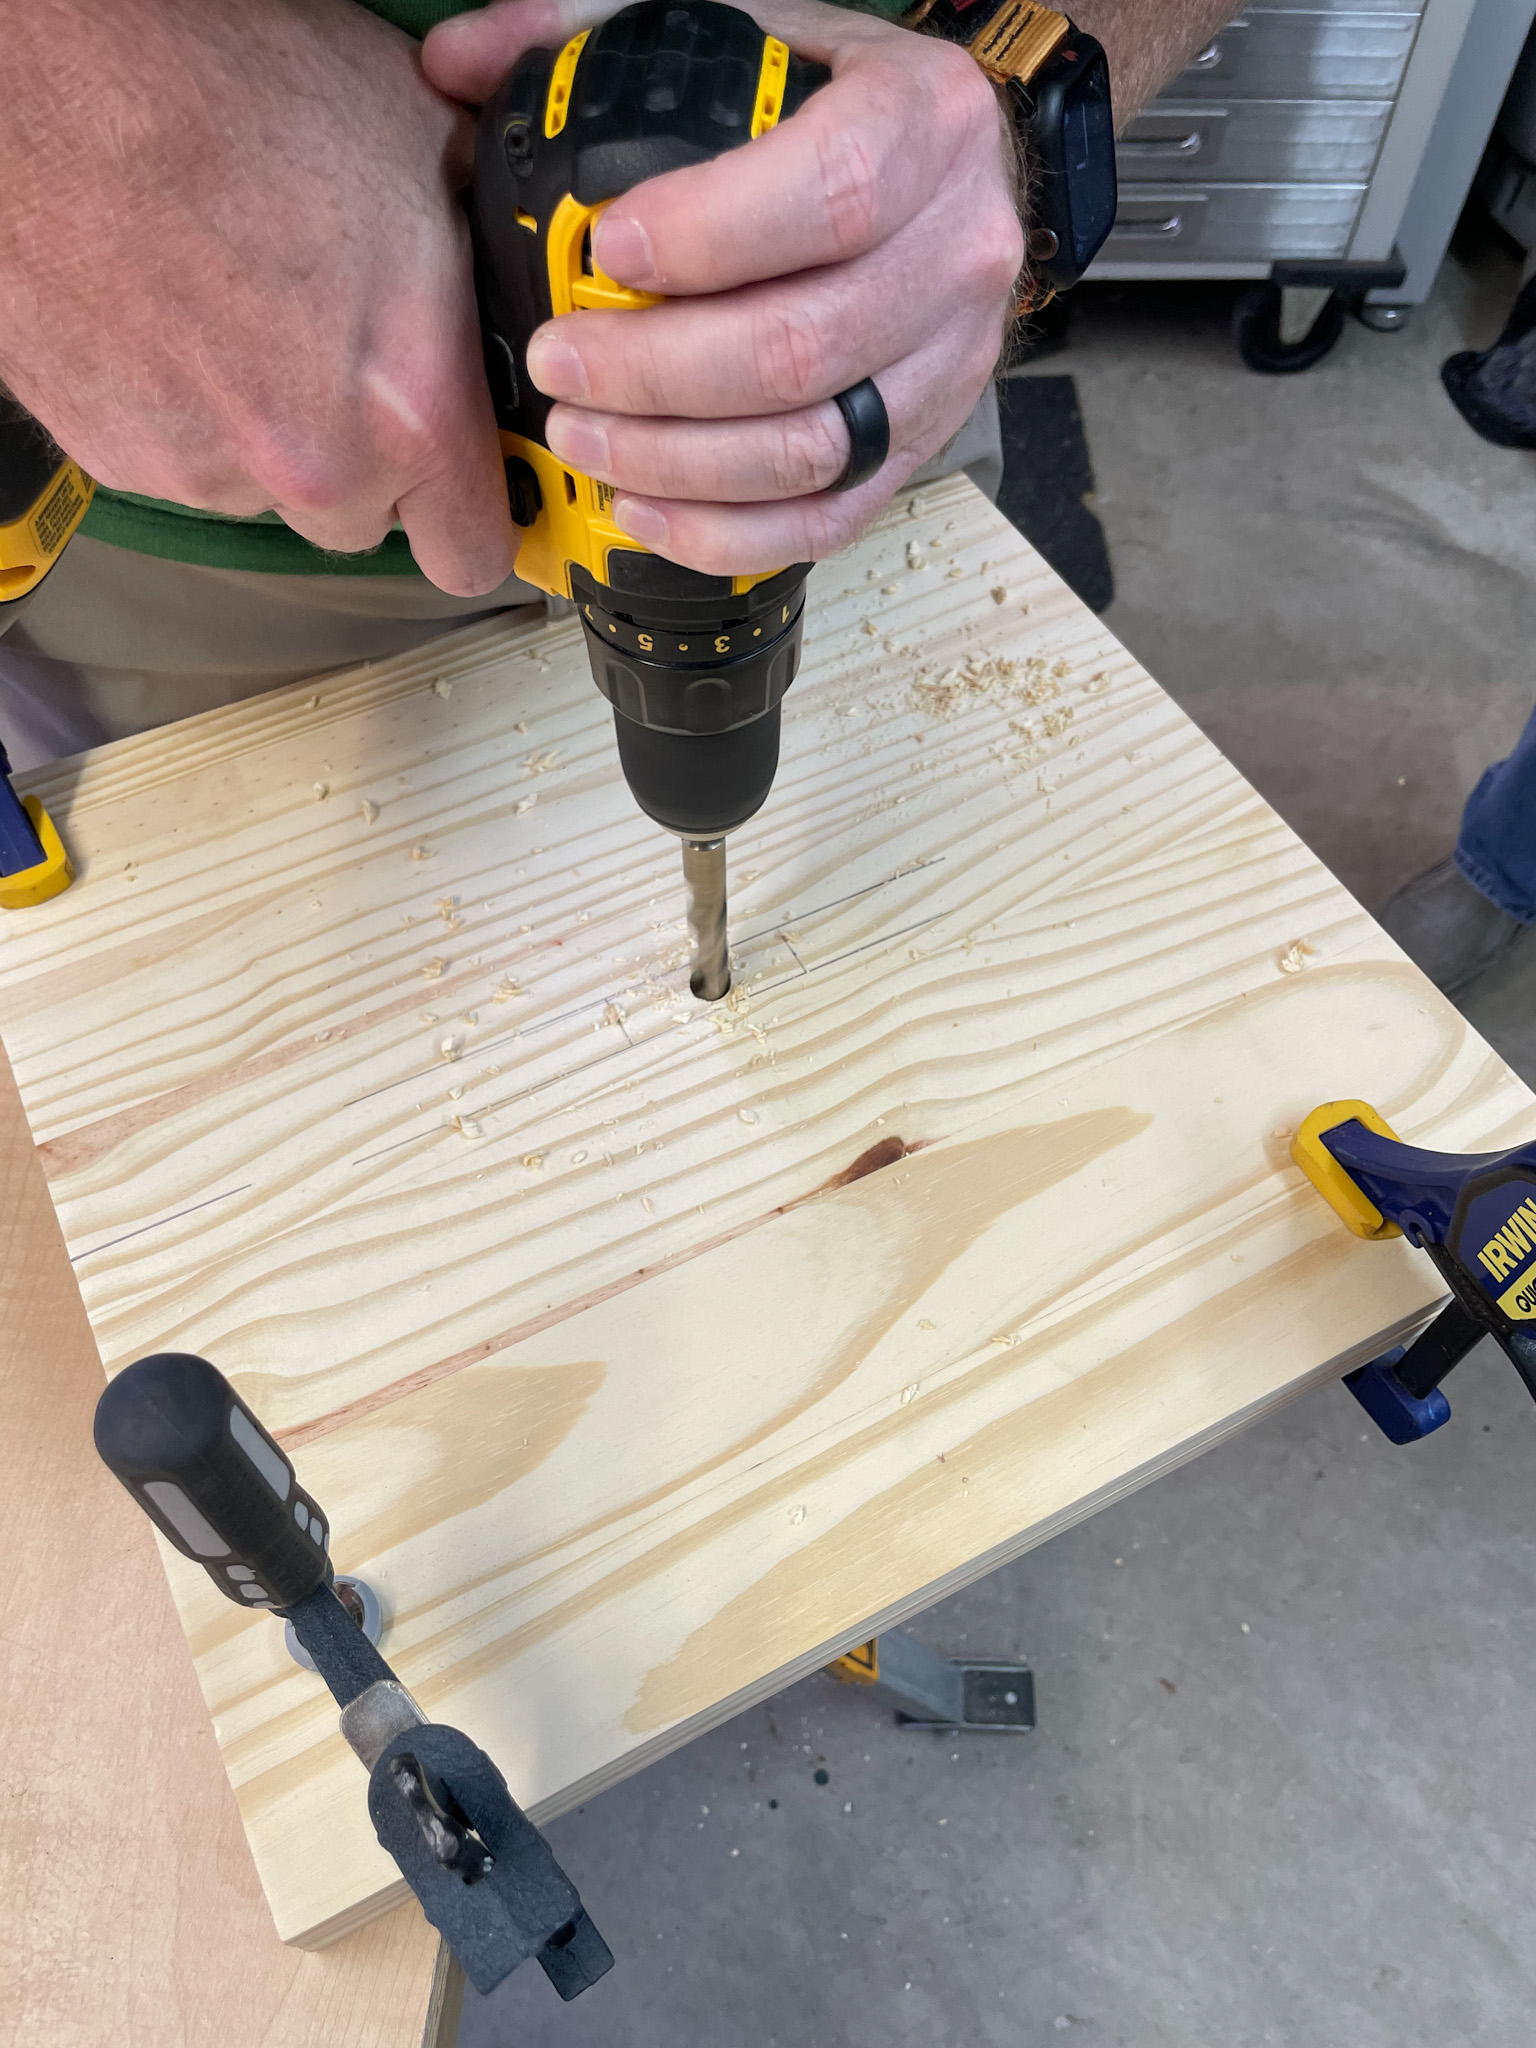
3. Using a large drill bit drill a circle through the center for the access point to cut out the rectangle.
4. Using a skill saw cut out the rectangle to each marked corner from the circle outward.

5. Using a chisel; clear out the rectangle for nice smooth edges being careful not to split the wood.

6. Cut 1 x 4 inch on each side of your support board. This is your 1 x 4 x 4 that has been cut down to 32″ that will slide into your base to support the table.
Save the wood you just cut off as you will need them for the pegs that hold the support board into the table legs on either side.
7. Using the same method as above; use your drill and large bit to drill a whole through the board. Using the skill saw cut into the corners from the center to cut out a rectangle.
Using the chisel; chisel out each rectangle for the pegs. Careful not to over chisel or the pegs will be too loose.

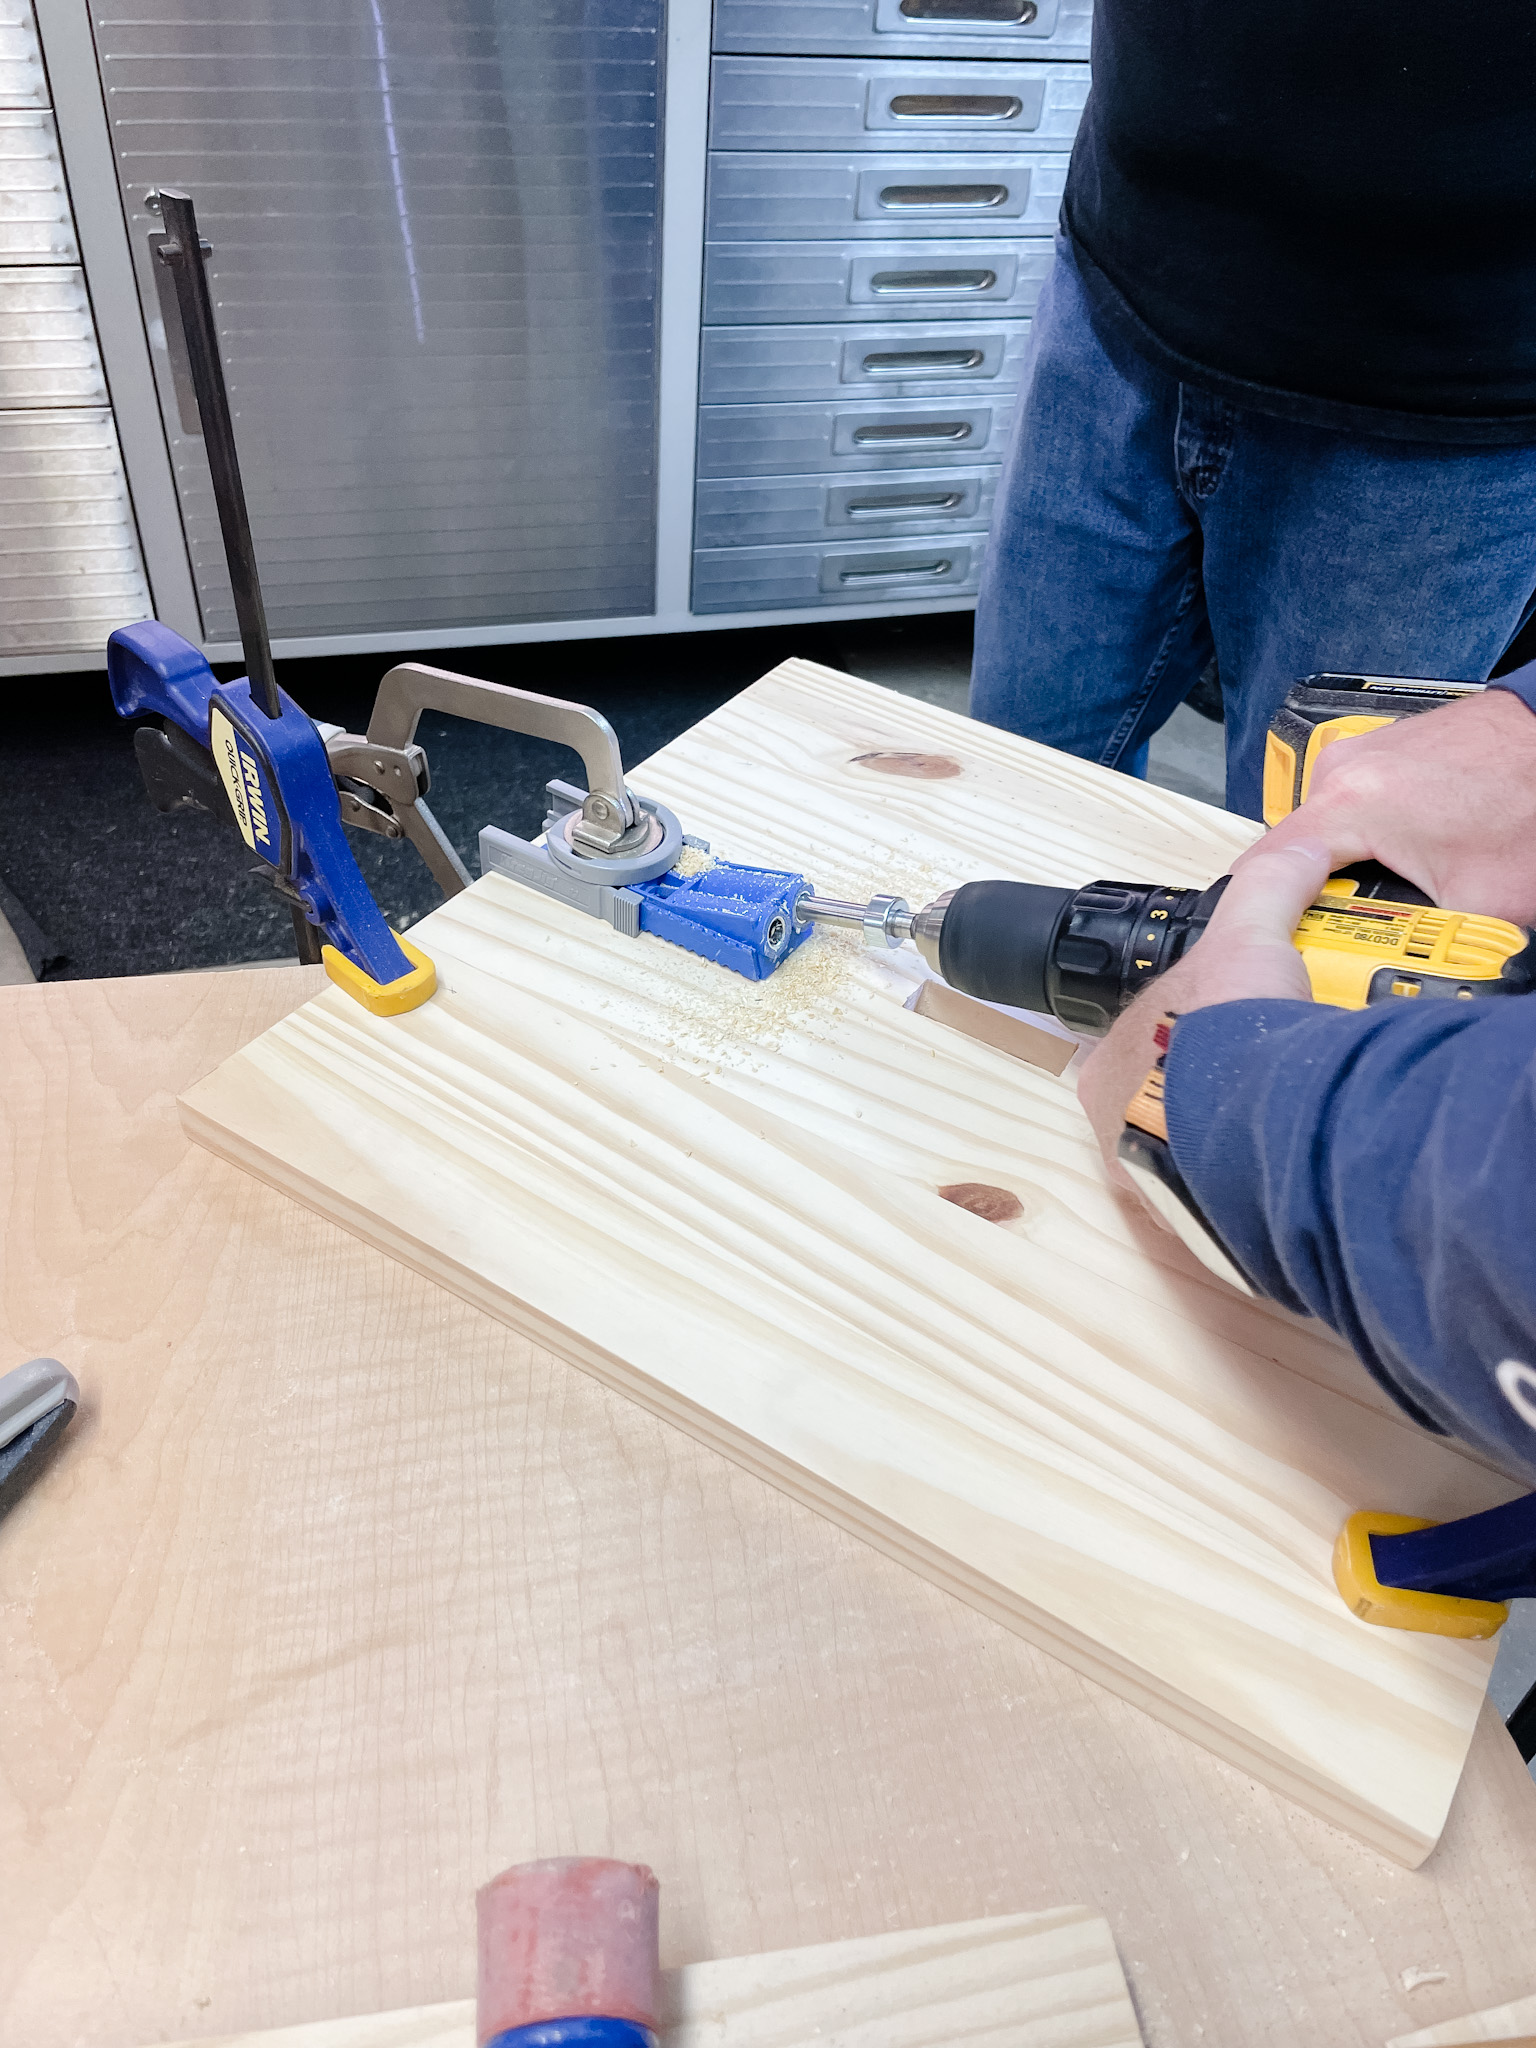
8. Using your Kreg Jig drill your inset screw wholes to attach the table top to the base legs.
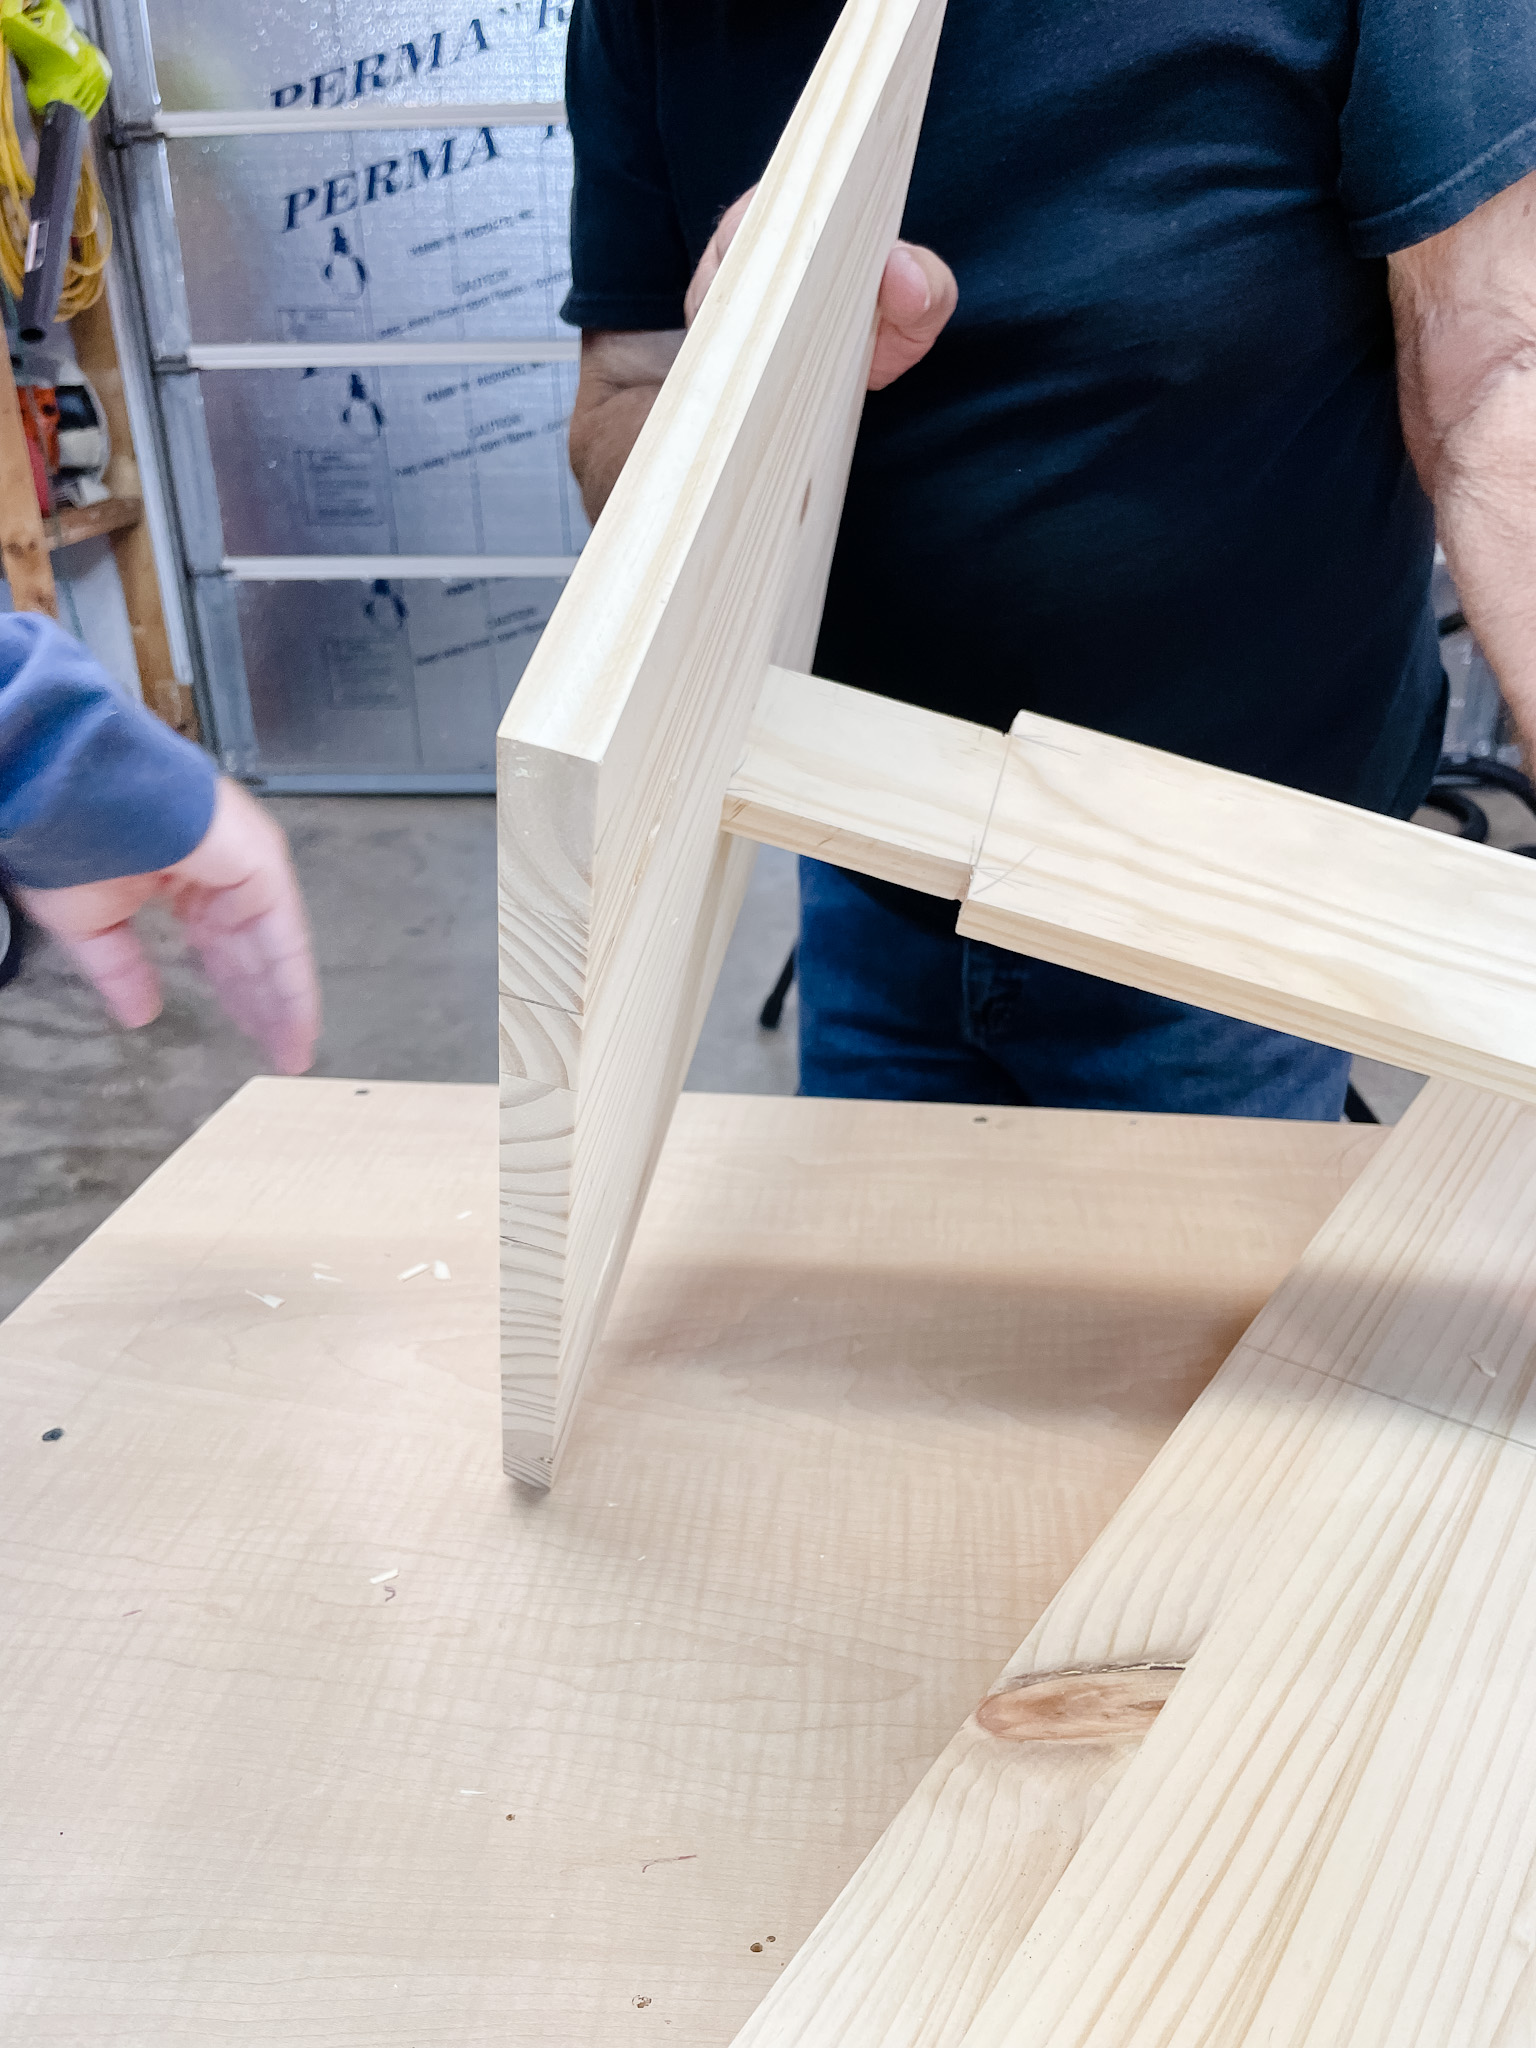
9. Insert the support base into each of the support legs. You will push the support through the support legs as much as possible and then using a rubber mallet hammer the support leg into the support beam.
This should be tight and little difficult to get to join together. You want them to be nice and secure.
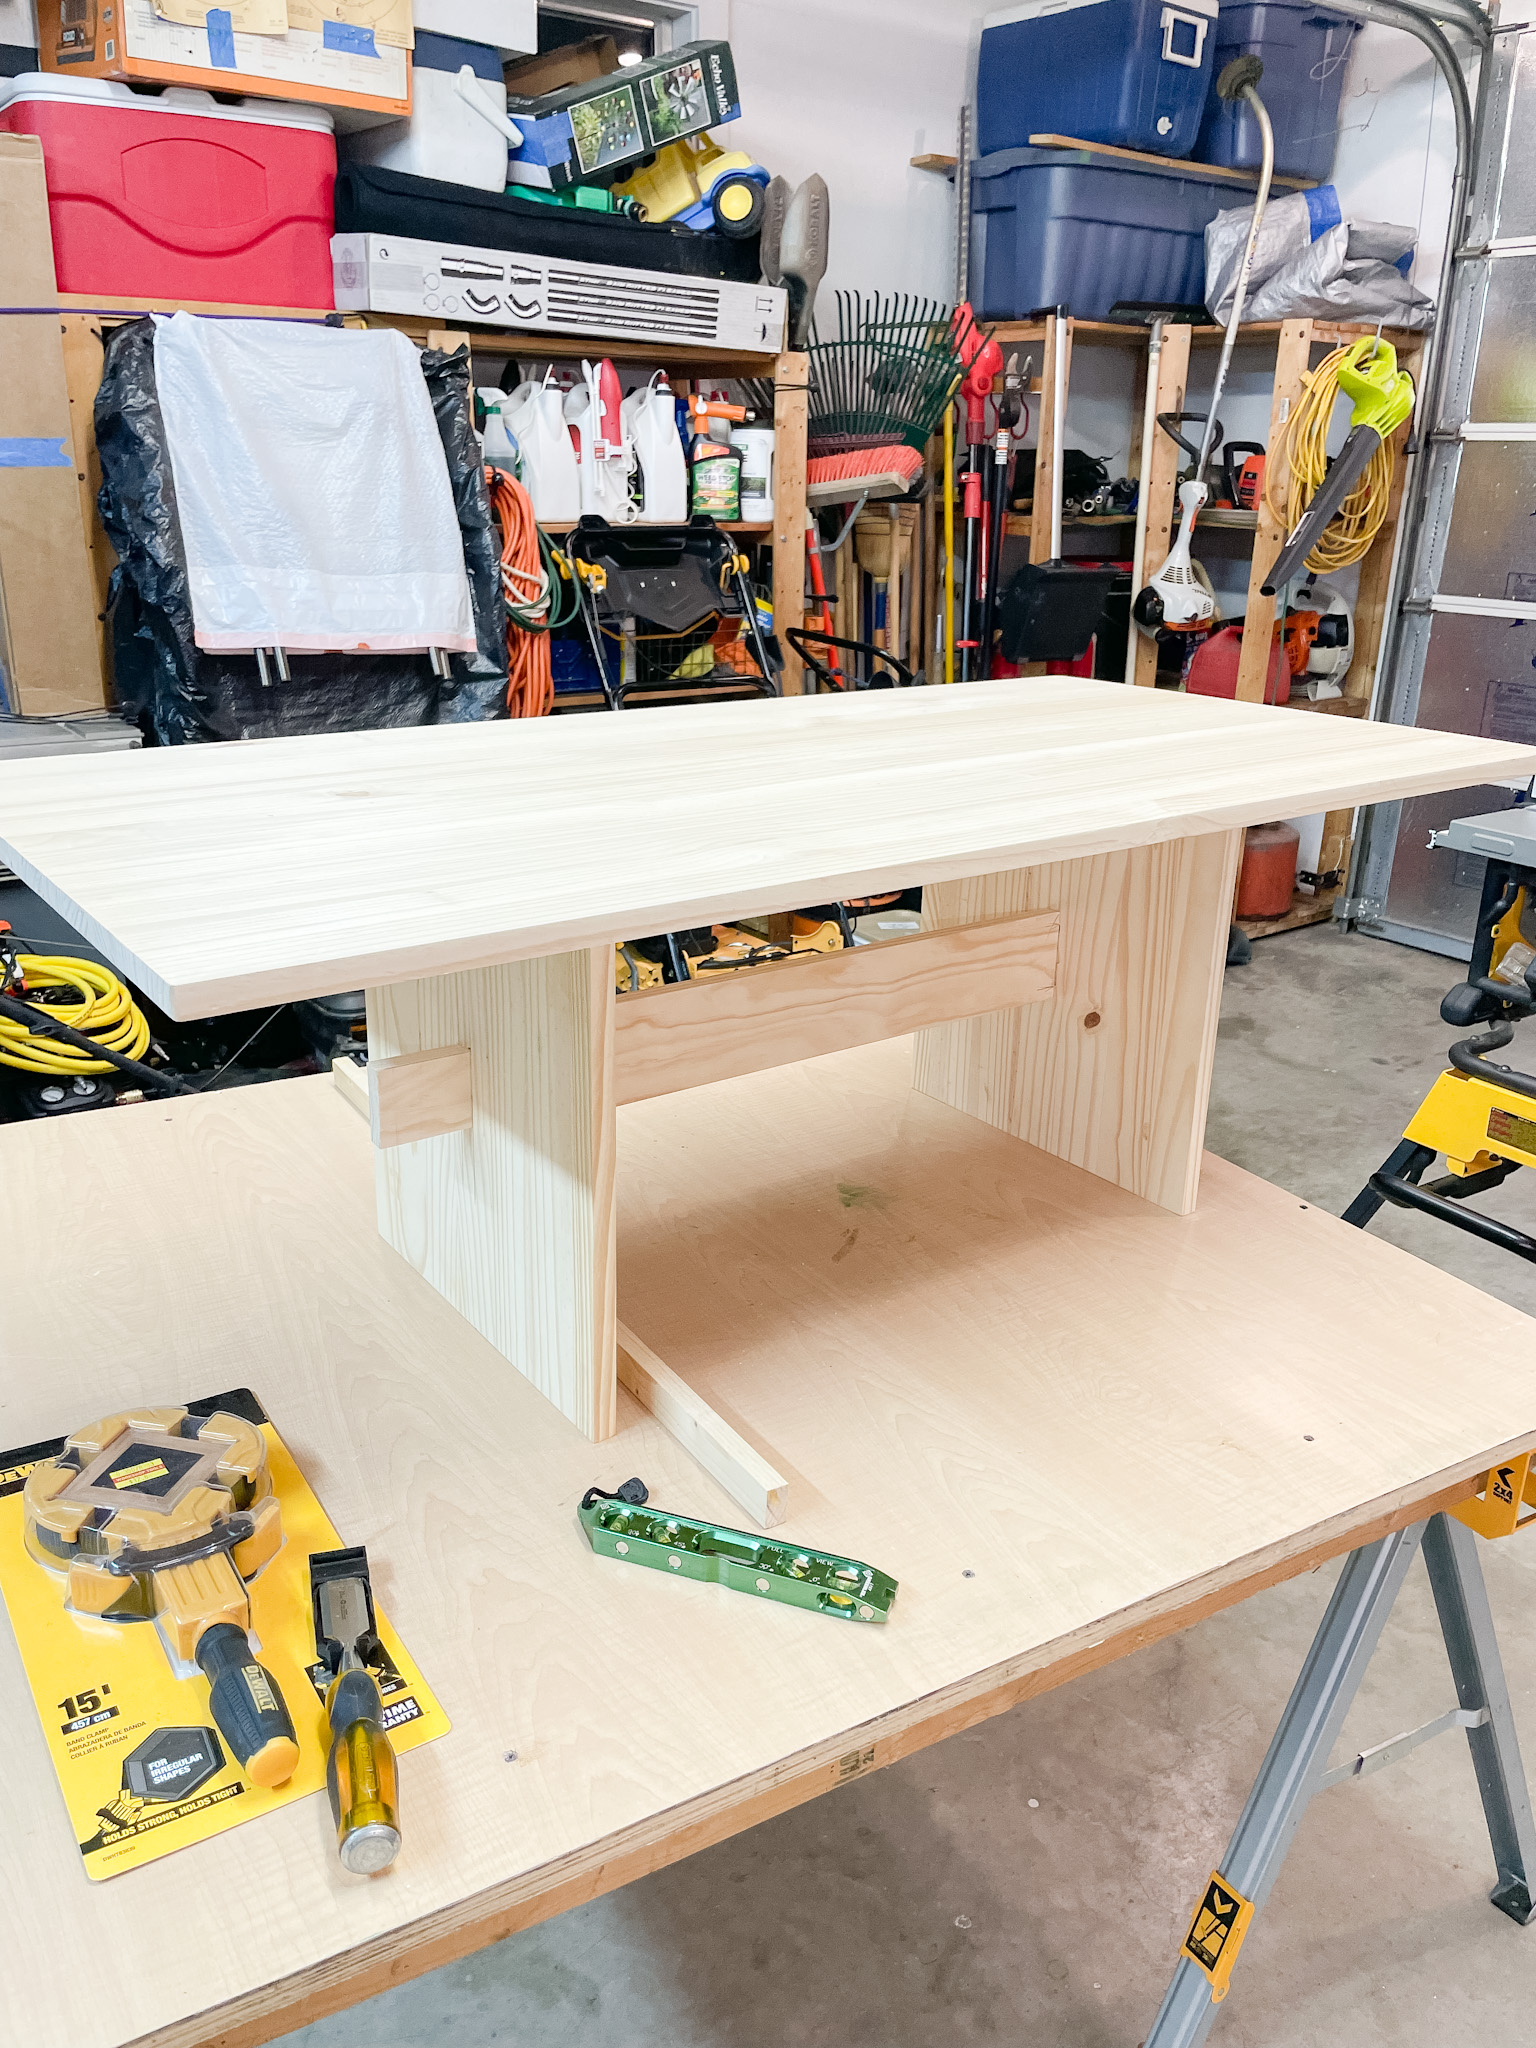
10. After your legs and the support beam are put together you will then add the table top to the base. You must build the base before you add the top.
Line up your legs where you previously marked your 12″ place on the table top. Line up with a square edge.

11. Using your pocket screws drill them into the previously drilled wholes that you used the Kreg Jig for. Each support leg will have two screws; one for each side.

Finish Your DIY Coffee Table
Now that your table has been built it’s time to finish with any stain or paint of your choosing.
I sanded and pre-stained/wood conditioned the wood once the wood was cut prior to assembling it. To achieve a custom, blended stain I first stained the wood with Minwax Simply White Stain and then with Minwax Provincial Stain on top. This achieved a color that had some dimension to it and took away the orange undertones as well.

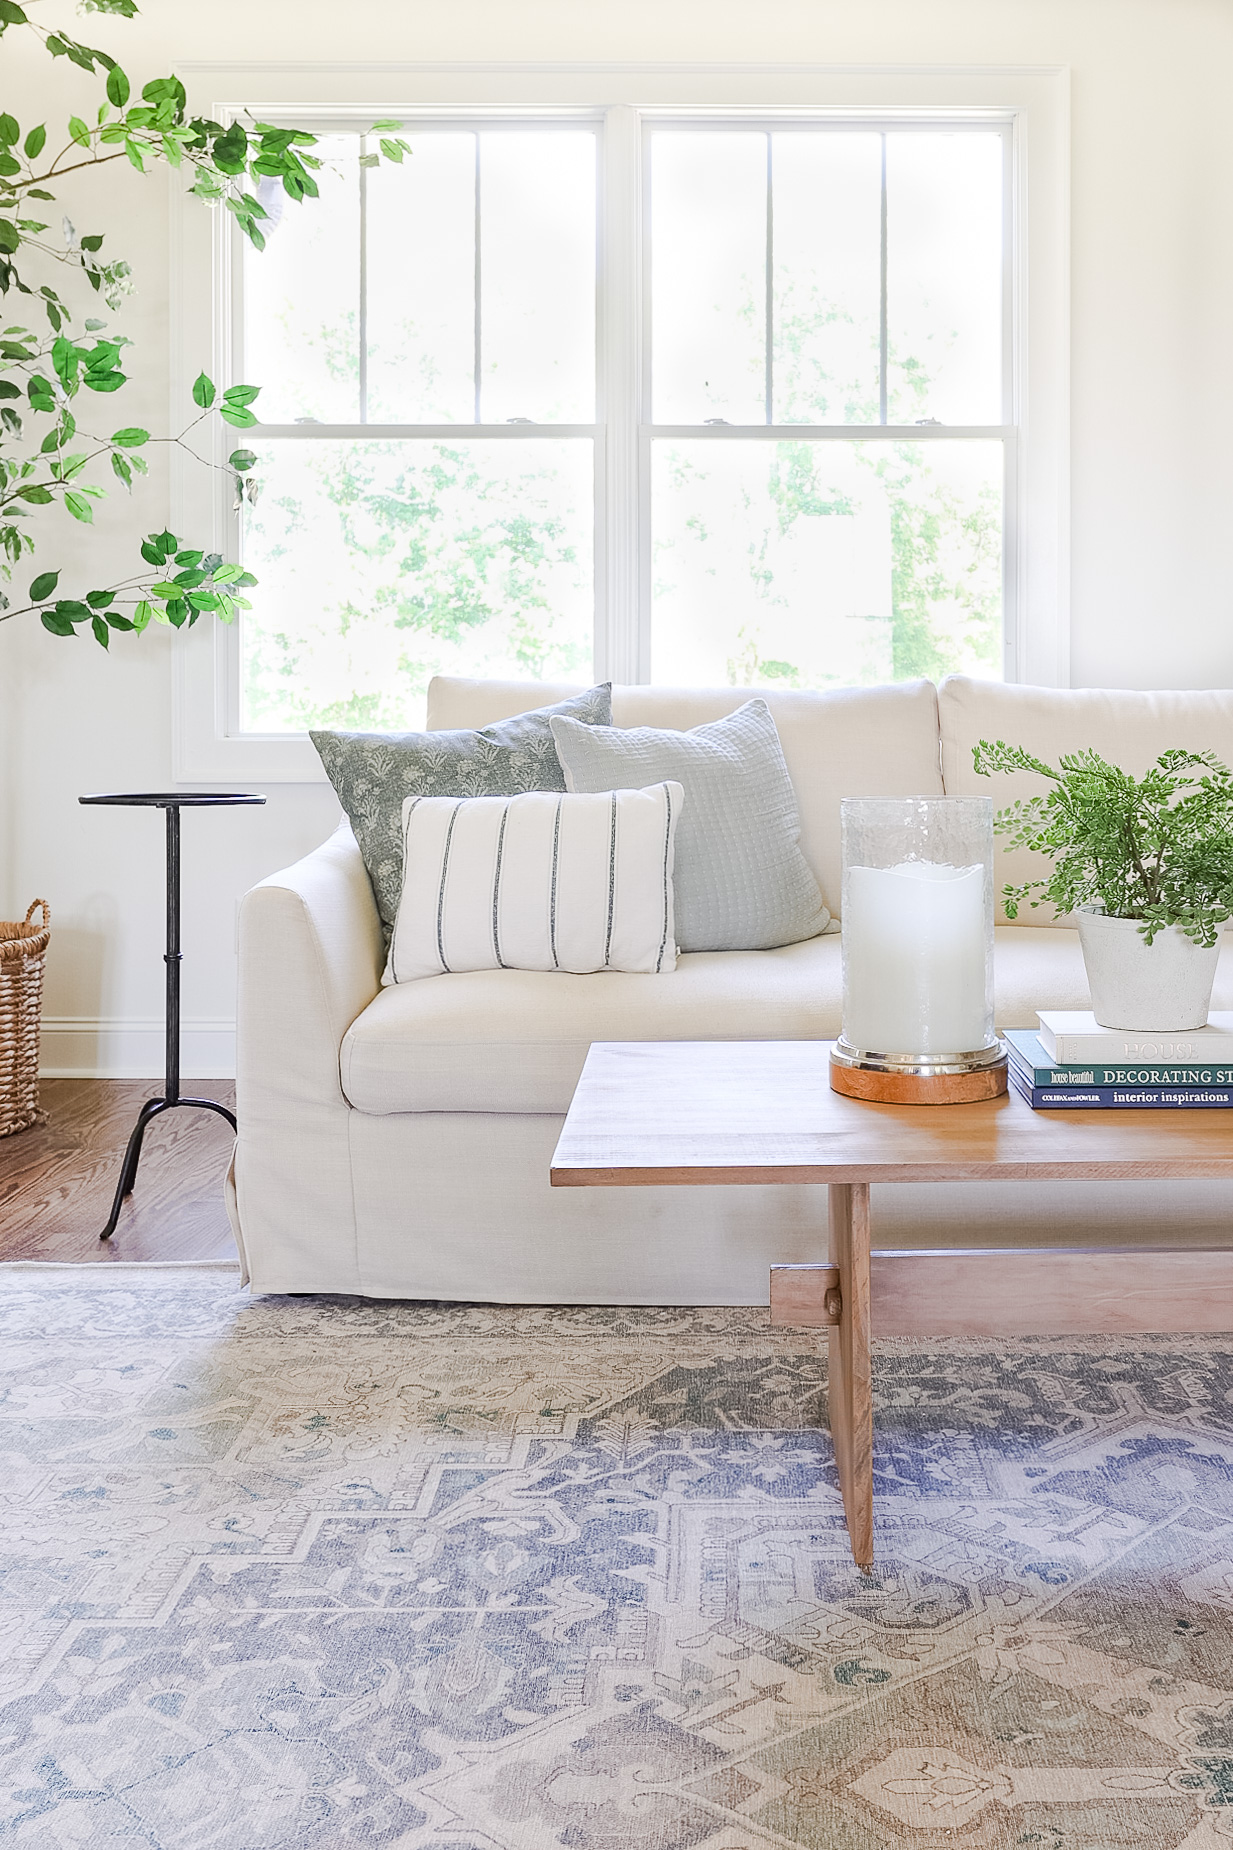
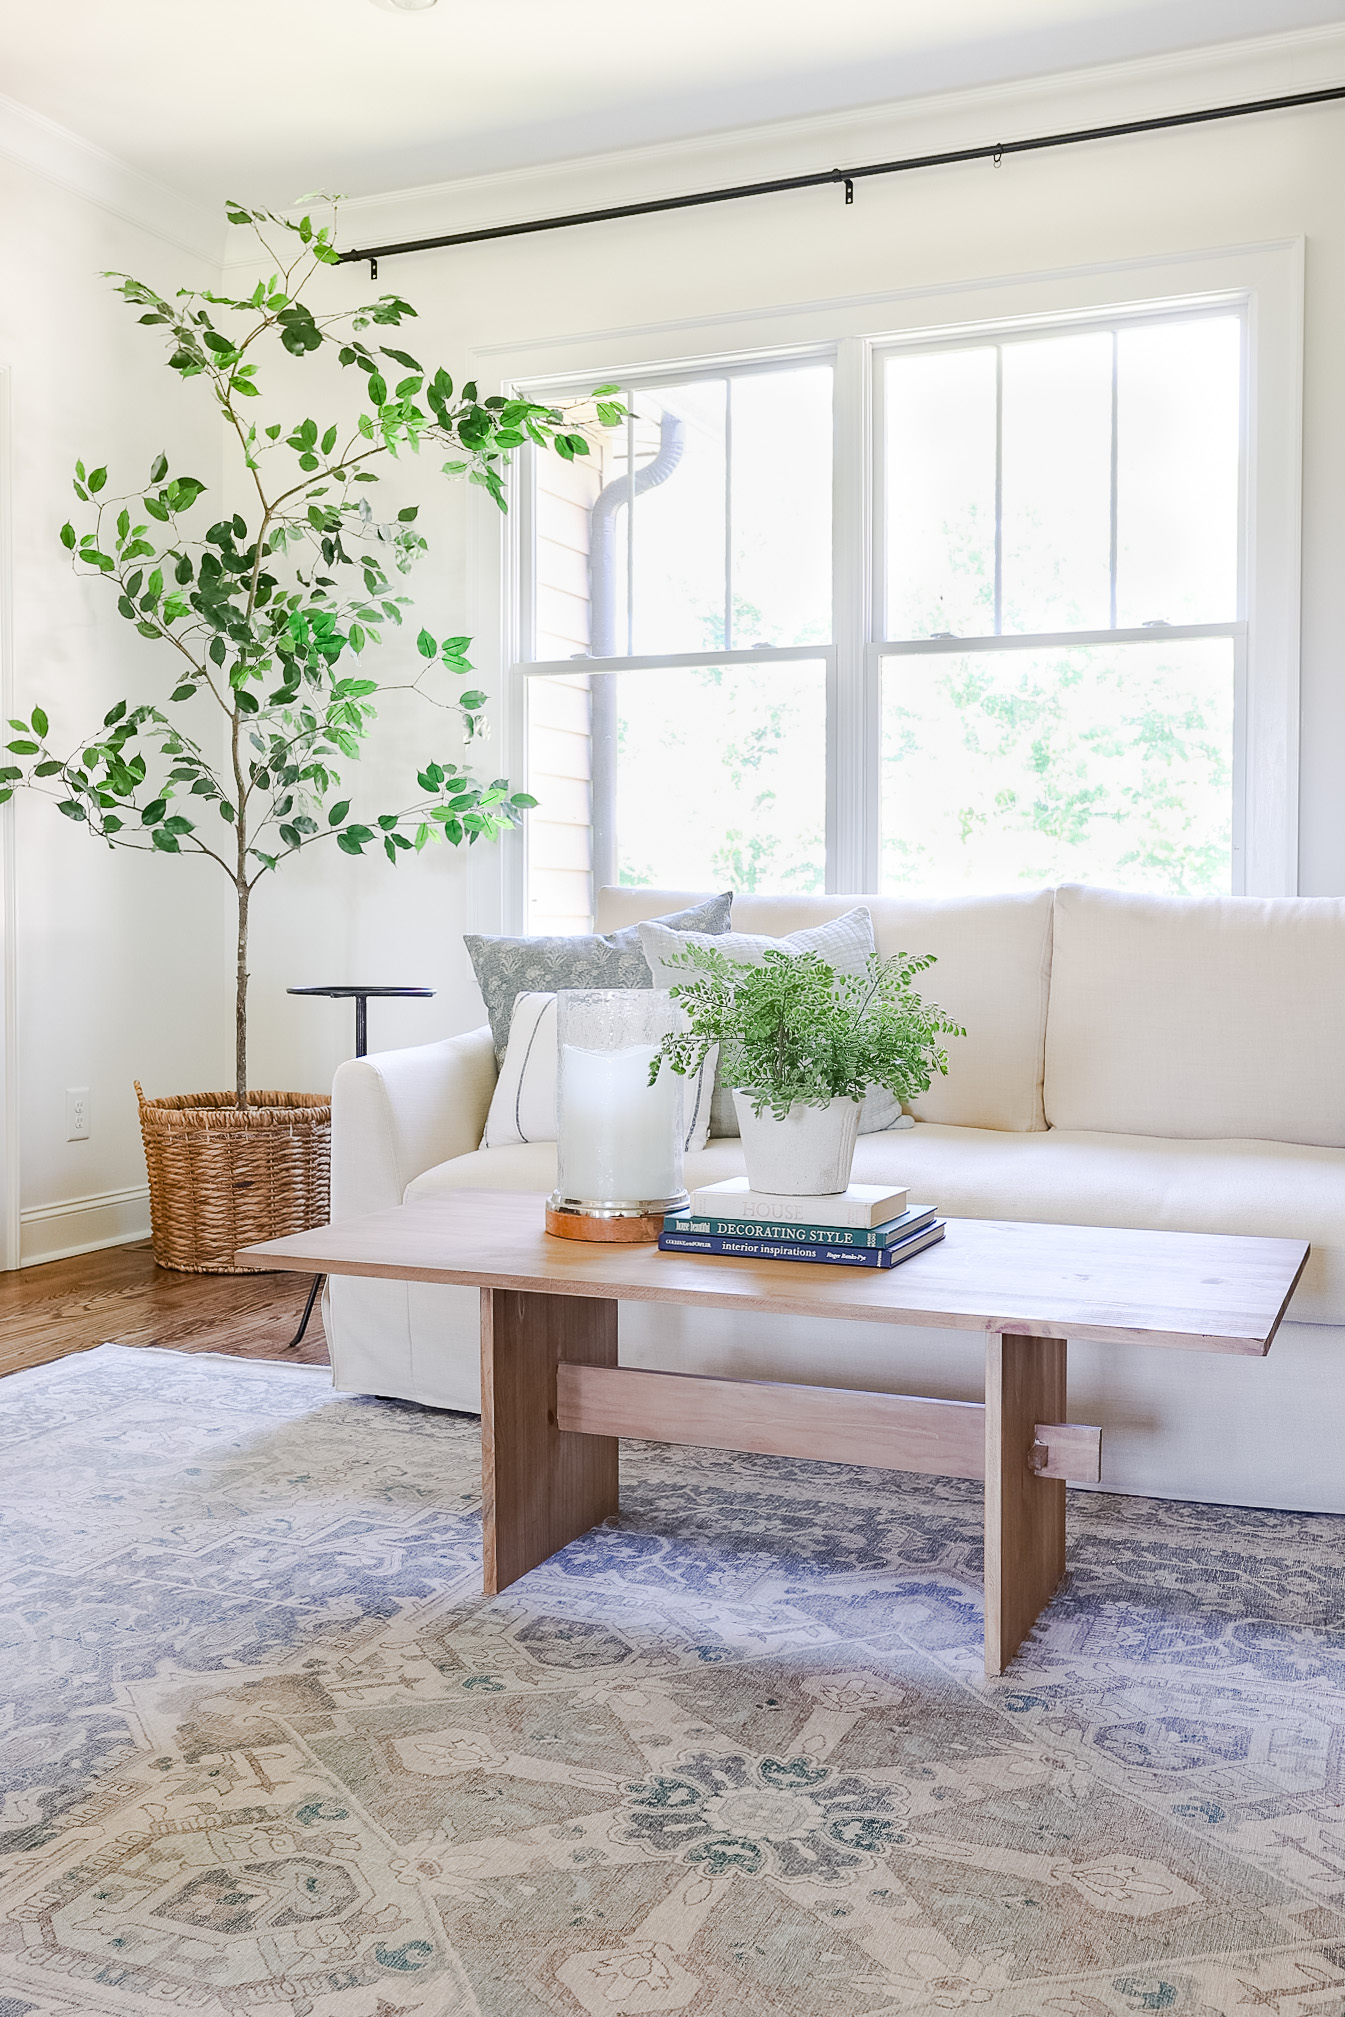
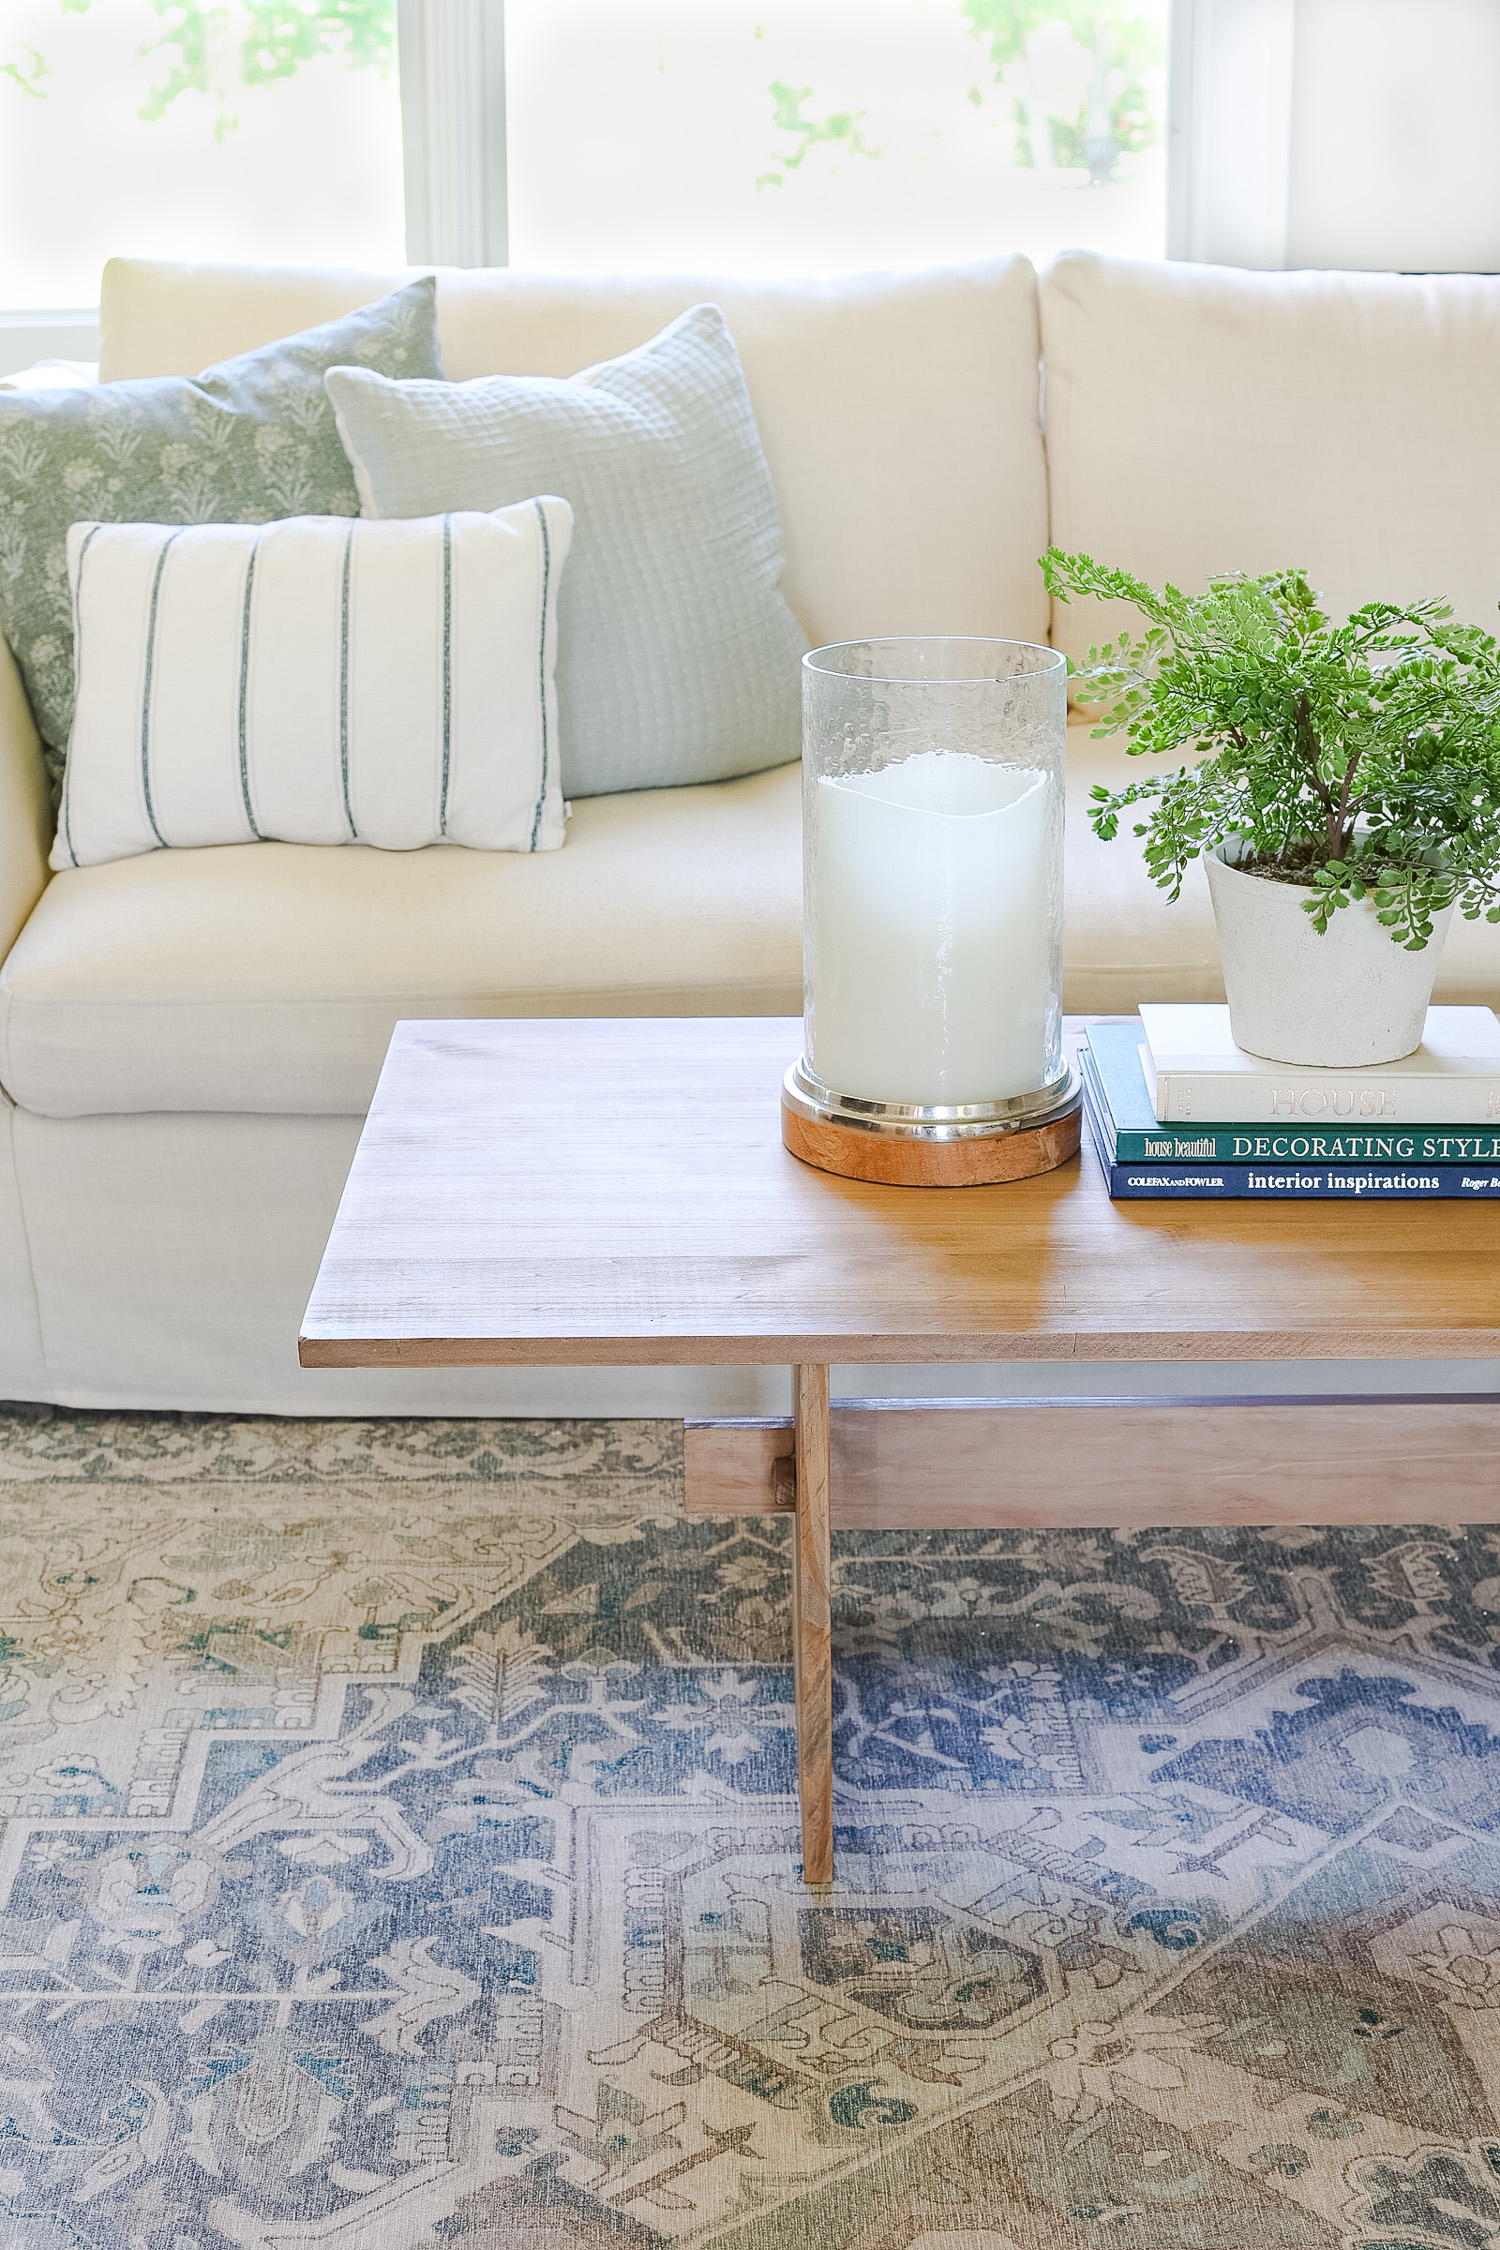
Done…a simple coffee table with a few boards, screws and stain and it’s complete.
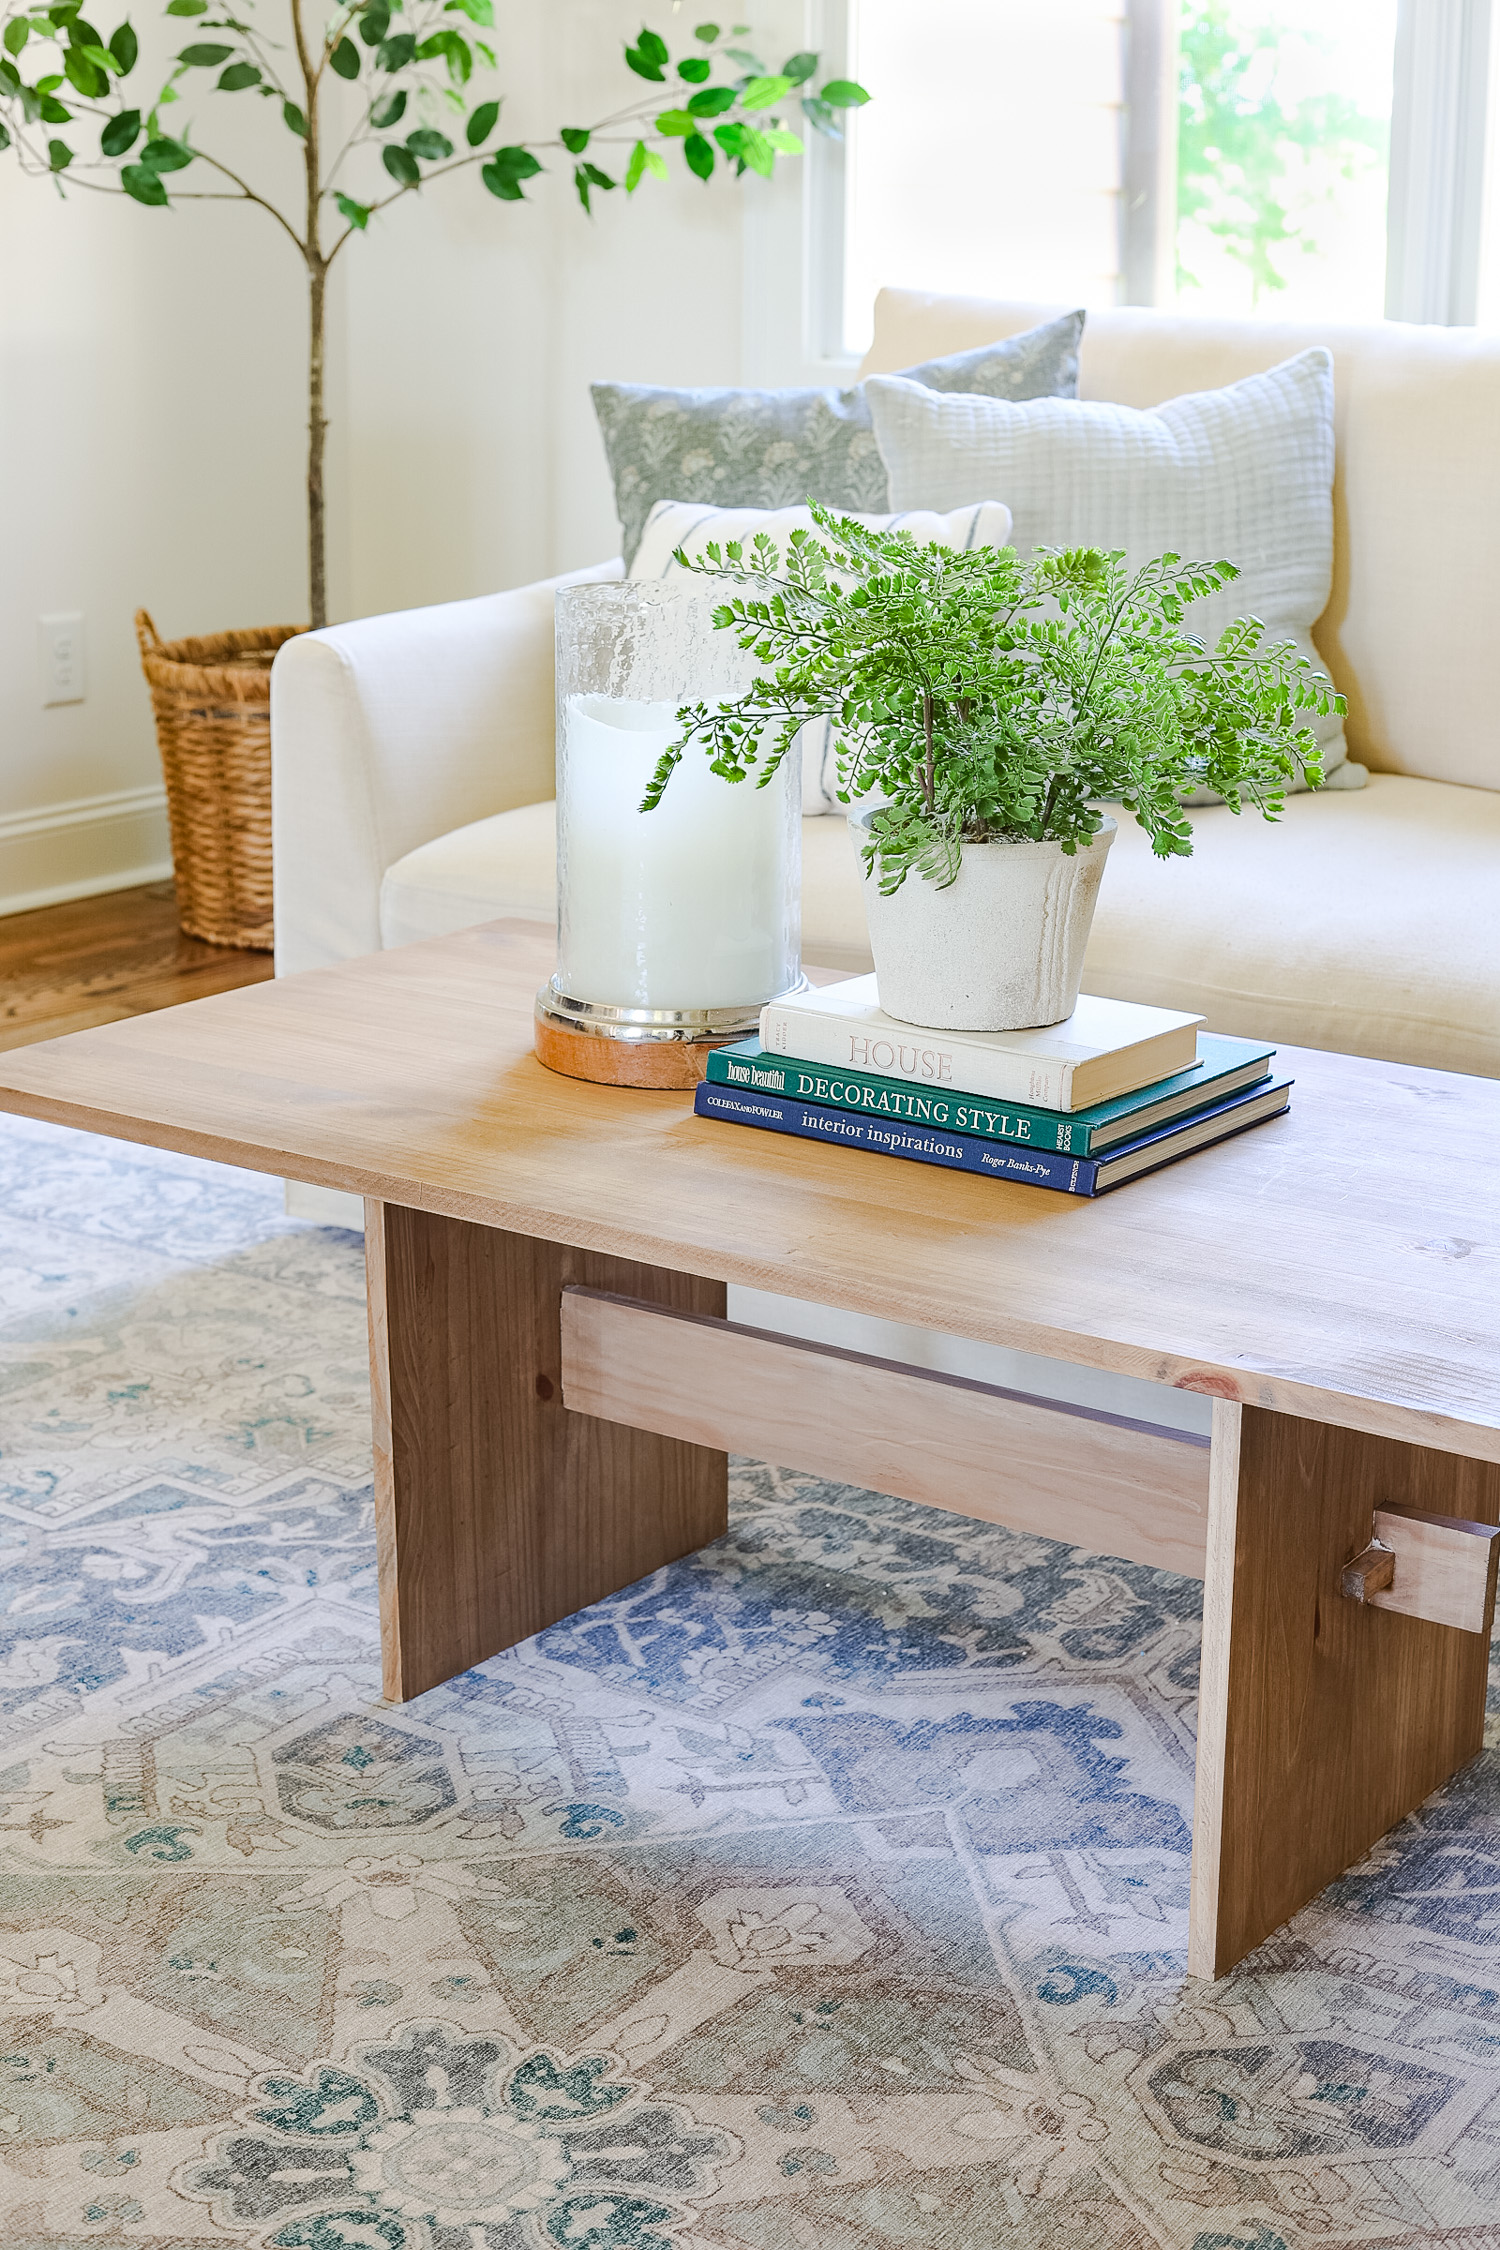
Enjoy Your DIY Coffee Table
There you have it…two boards, a 1 x4, some screws, stain and you have a simple table for your living or family room. It’s simple, but for now it works and looks good in our space. This can also be moved to another space either in the barn or the sunroom eventually.

RELATED DIY POSTS:
- How to Make a Fake Tree
- DIY Wood Weathered Vase
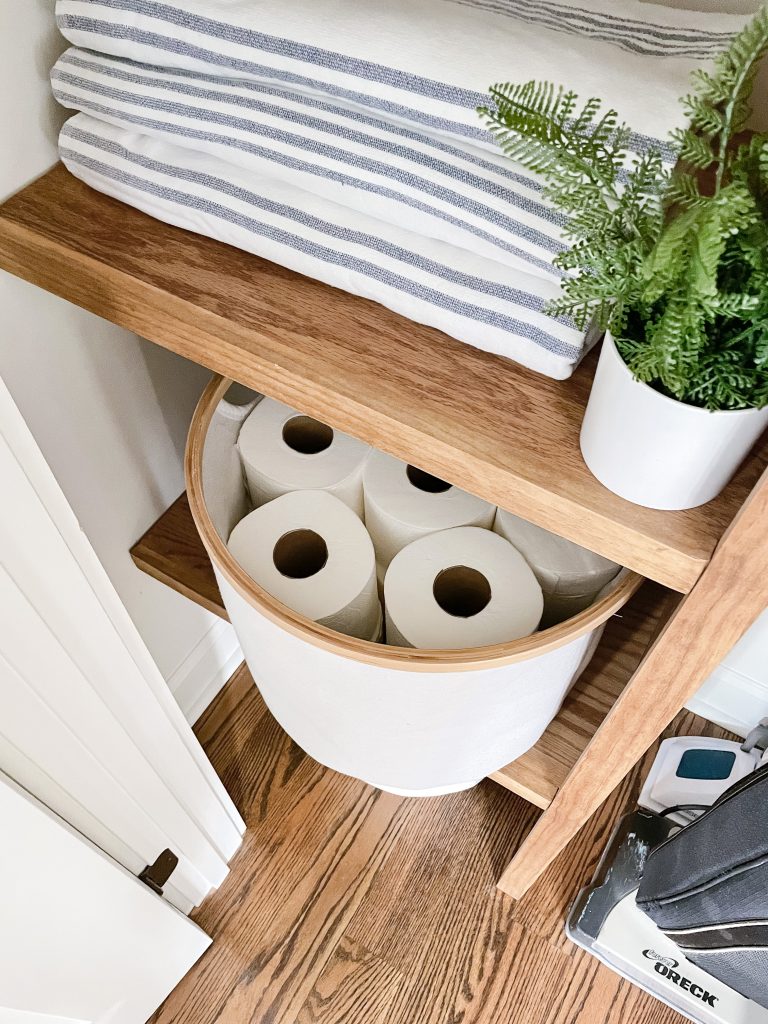
- DIY Wood Closet Shelves
- How to Paint a Brick Fireplace
Easy DIY Coffee Table
Follow for home decor, DIY and to shop: Instagram | Pinterest | LiketoKnowit