Effortless Cedar Raised Garden Beds
Cedar raised garden beds are a beautiful, low-maintenance way to begin a garden. These Eartheasy cedar raised beds can be built in a weekend.
Many people think that the fall season is the end of the garden season. Well, that couldn’t be further from the truth. Now is the time to plant direct sow seeds and other seedlings for a great harvest before winter. If you are considering a garden; I suggest raised beds and these cedar raised beds from Eartheasy are amazing.
Disclaimer: This post is sponsored by Eartheasy but all thoughts and opinions are my own.
If building cedar raised beds on your own seems like a daunting task; I hear ya. We considered building our own, but we struggled with knowing where to source quality cedar, creating building plans, cutting, assembling, etc. Eartheasy’s Natural Raised Cedar Beds were the perfect solution to my goals as an new gardener.
As a new gardener, you are already overwhelmed with so much that you are trying to learn. Why add one more thing to figure out? Grab these raised cedar beds and you’ll be up and gardening in no time.
The Garden Spot
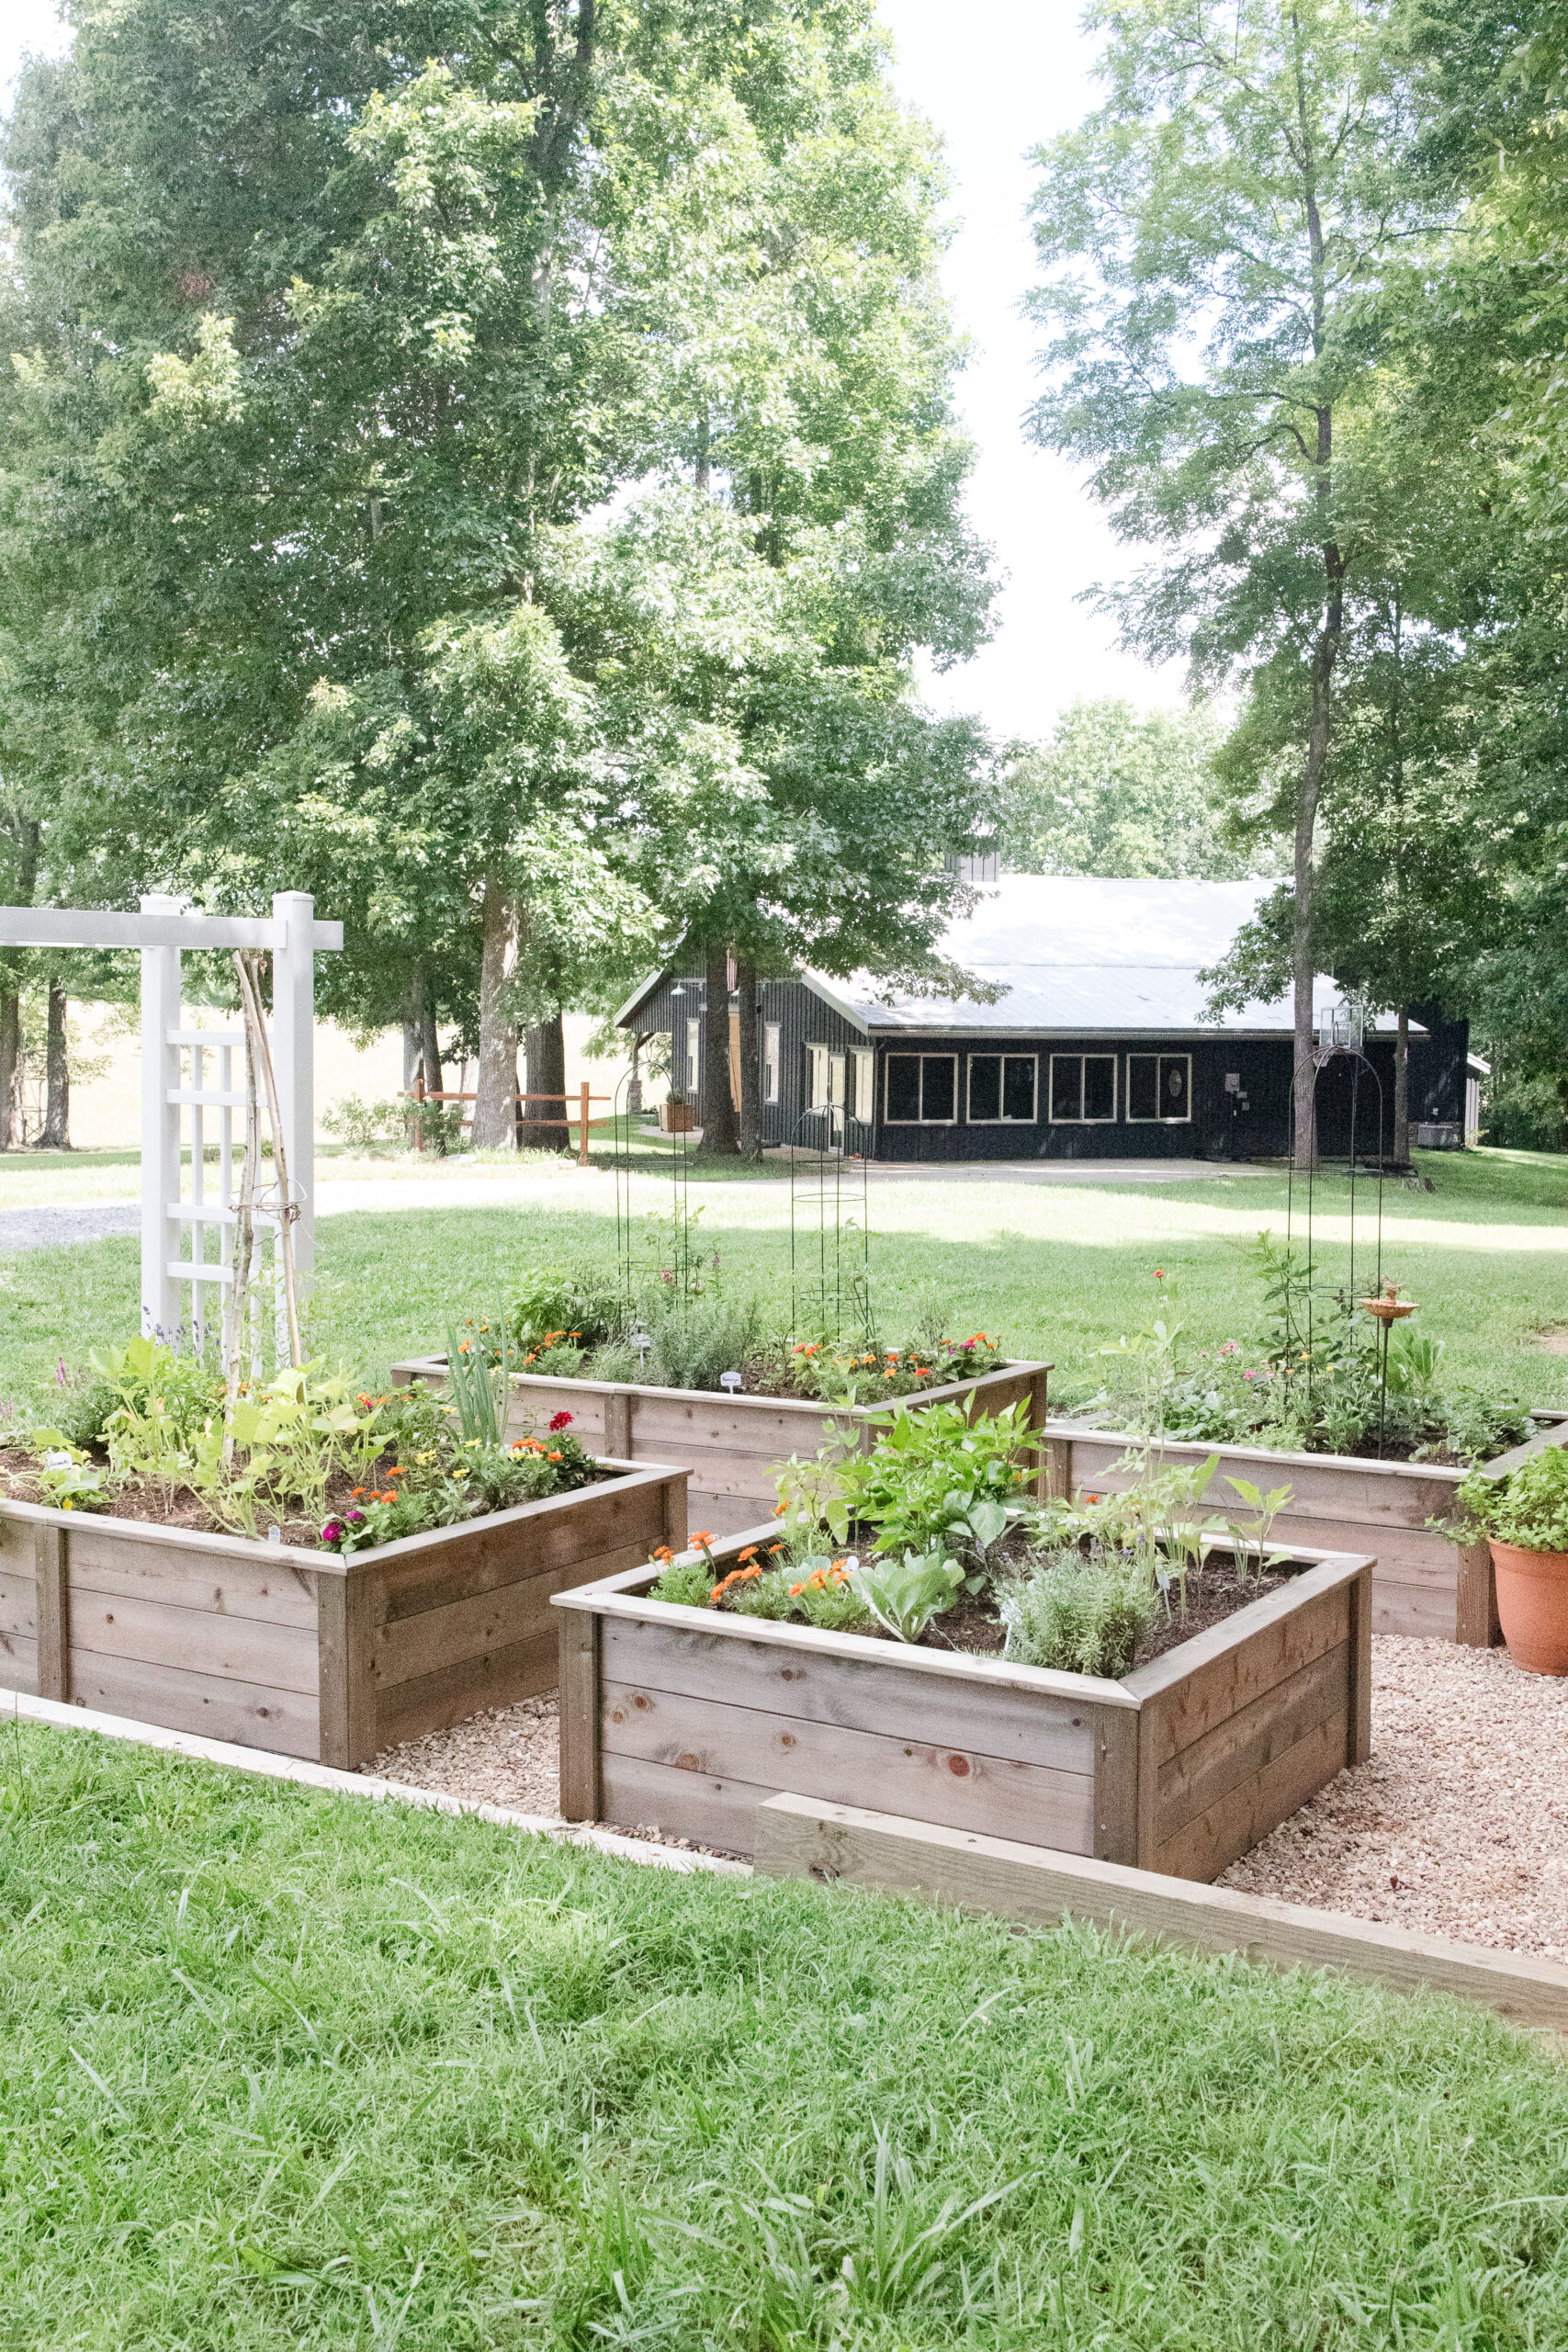
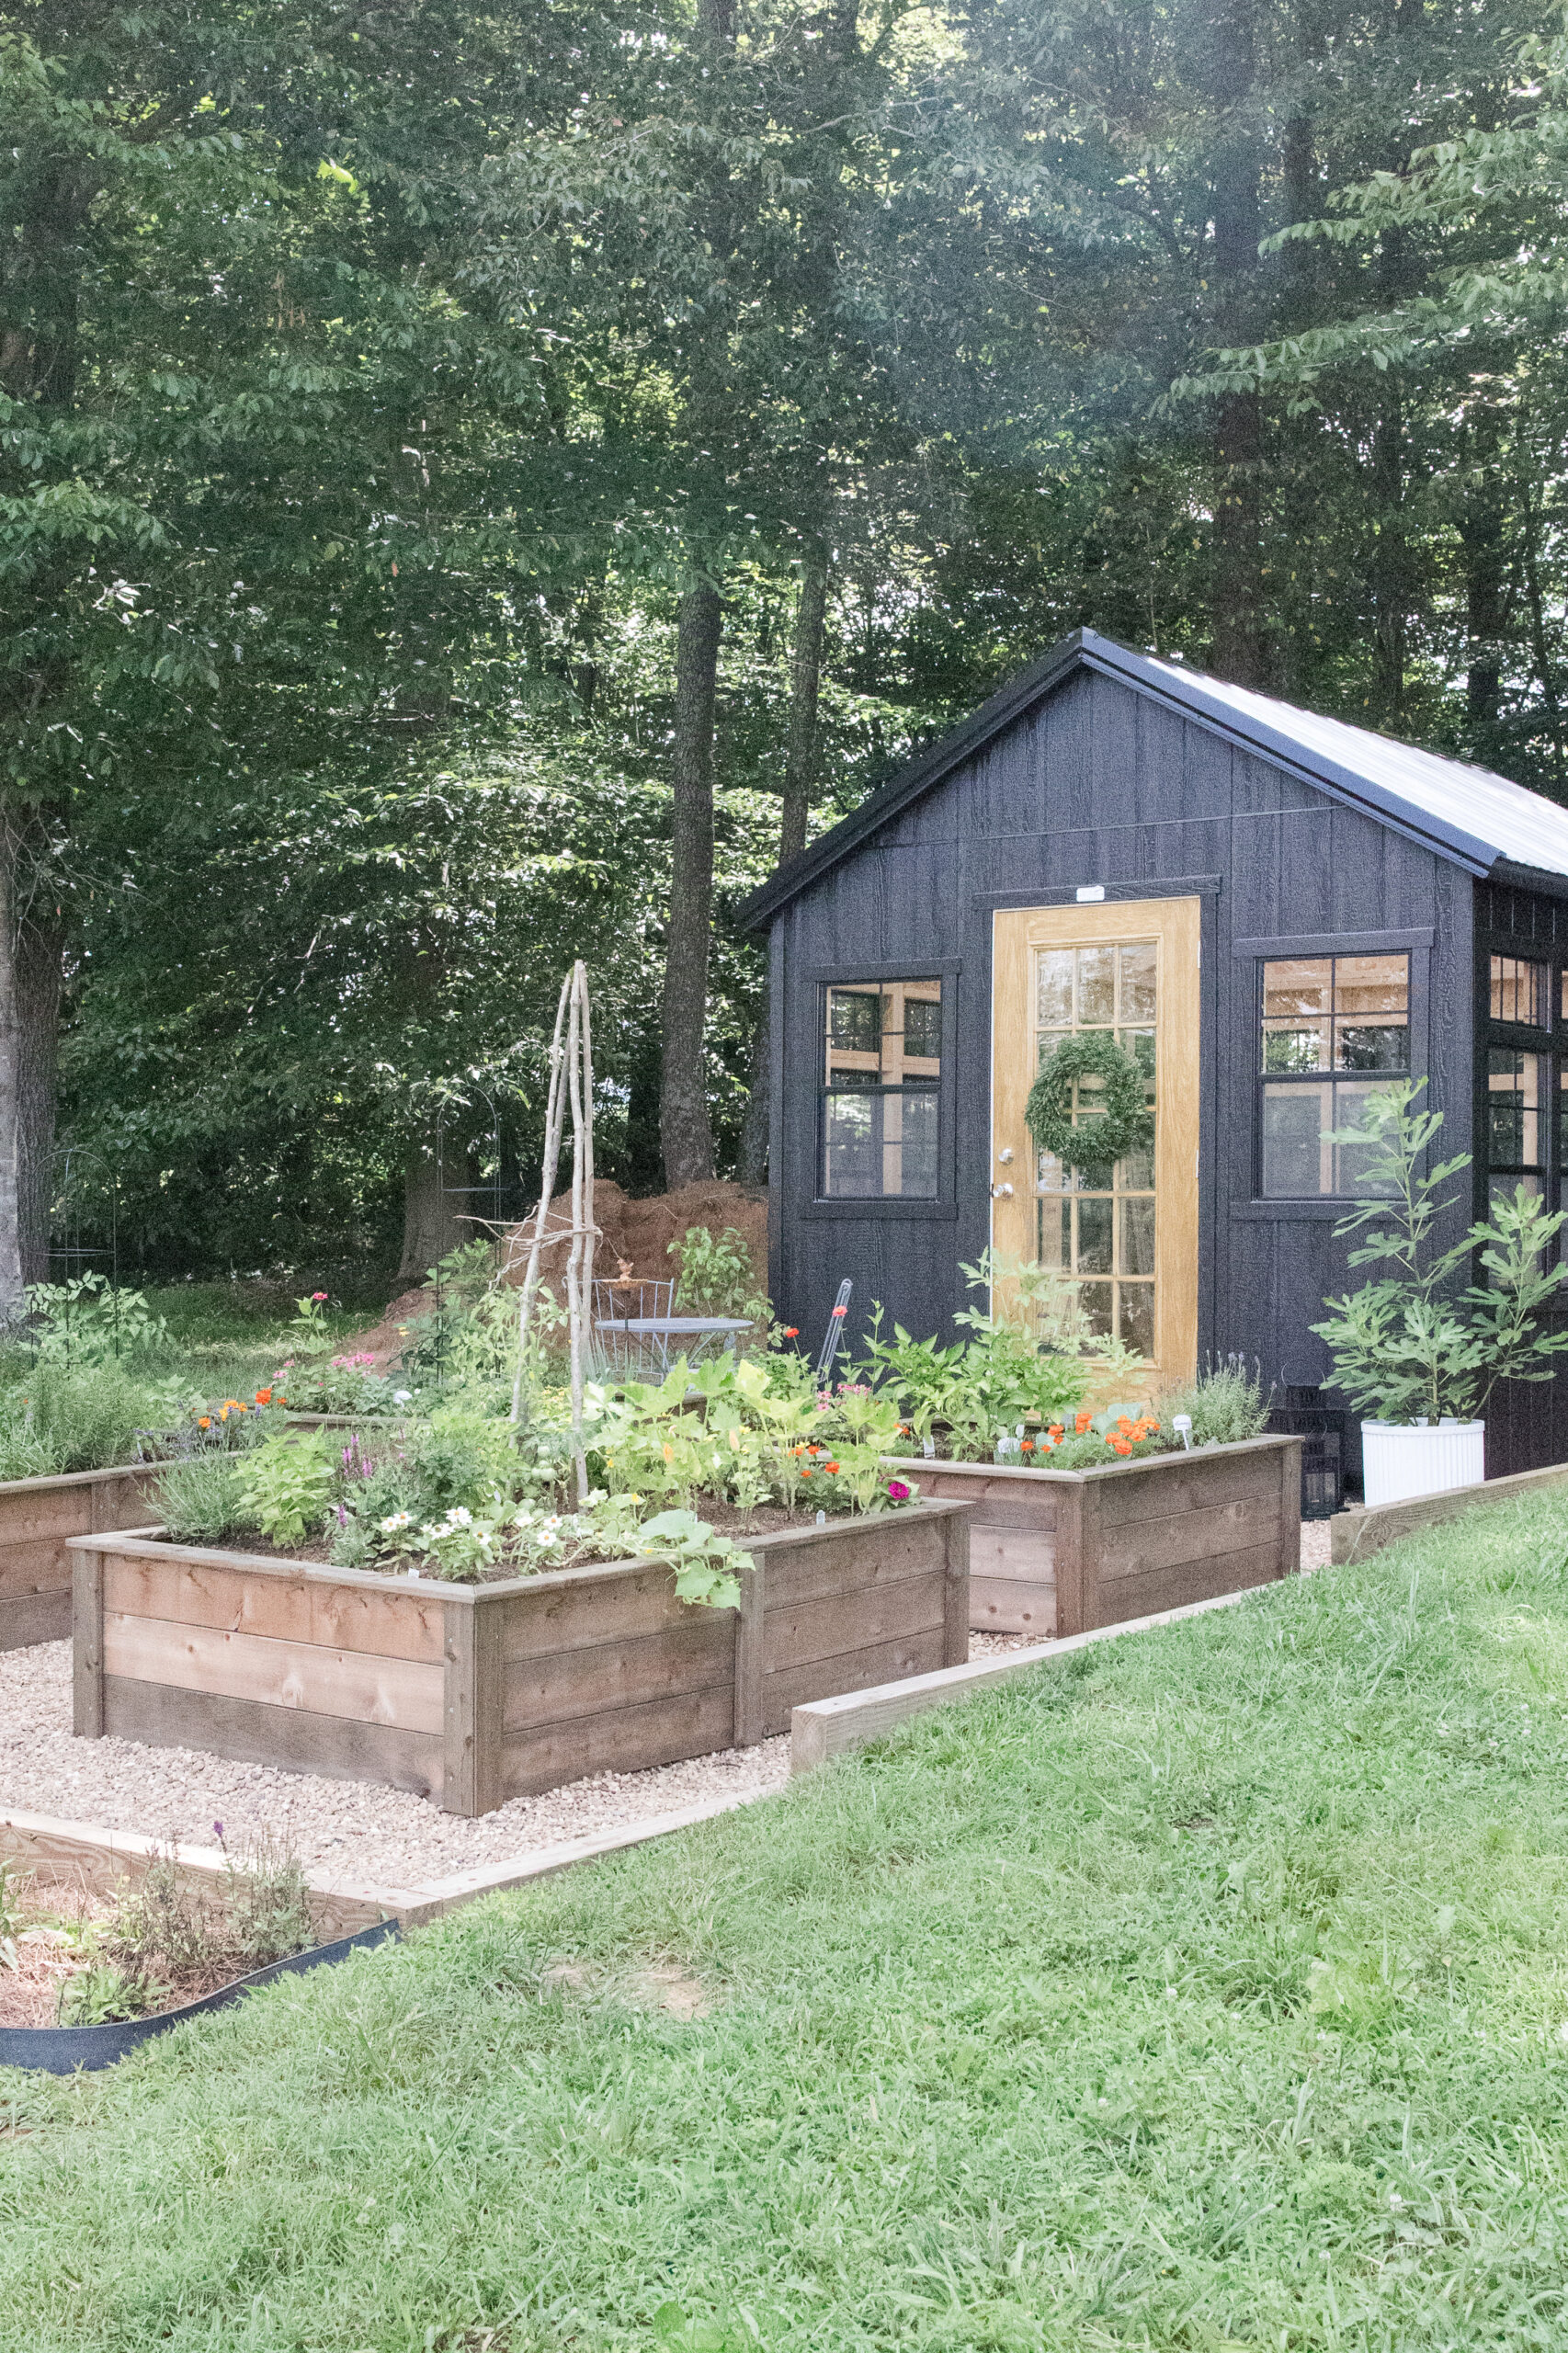
Last year we added a small garden to our property with a few metal raised beds. I began there not sure if I would really enjoy gardening, but it turned out I did. My dream of expanding the area came with a master plan of cedar raised beds and a greenhouse, fruit trees and rows of wildflowers. (Some of the master plan is still in the works.) Raised beds and greenhouse – CHECK!
Instead of the metal beds, I loved the idea of cedar beds, but always felt they were out of my reach when it came to building them. Thankfully, I didn’t have to start from scratch.
Check out these other posts!
Painting Our Barn
Stamped Concrete Patio
Outdoor Window Box

Why Use Raised Garden Beds?
Why not just garden right in the ground? Well…you can, but raised garden beds are one of the easiest and most efficient ways to grow your own food. Elevated height makes planting, weeding and harvesting a breeze! No bending over required. As I get older I have begun to appreciate this.
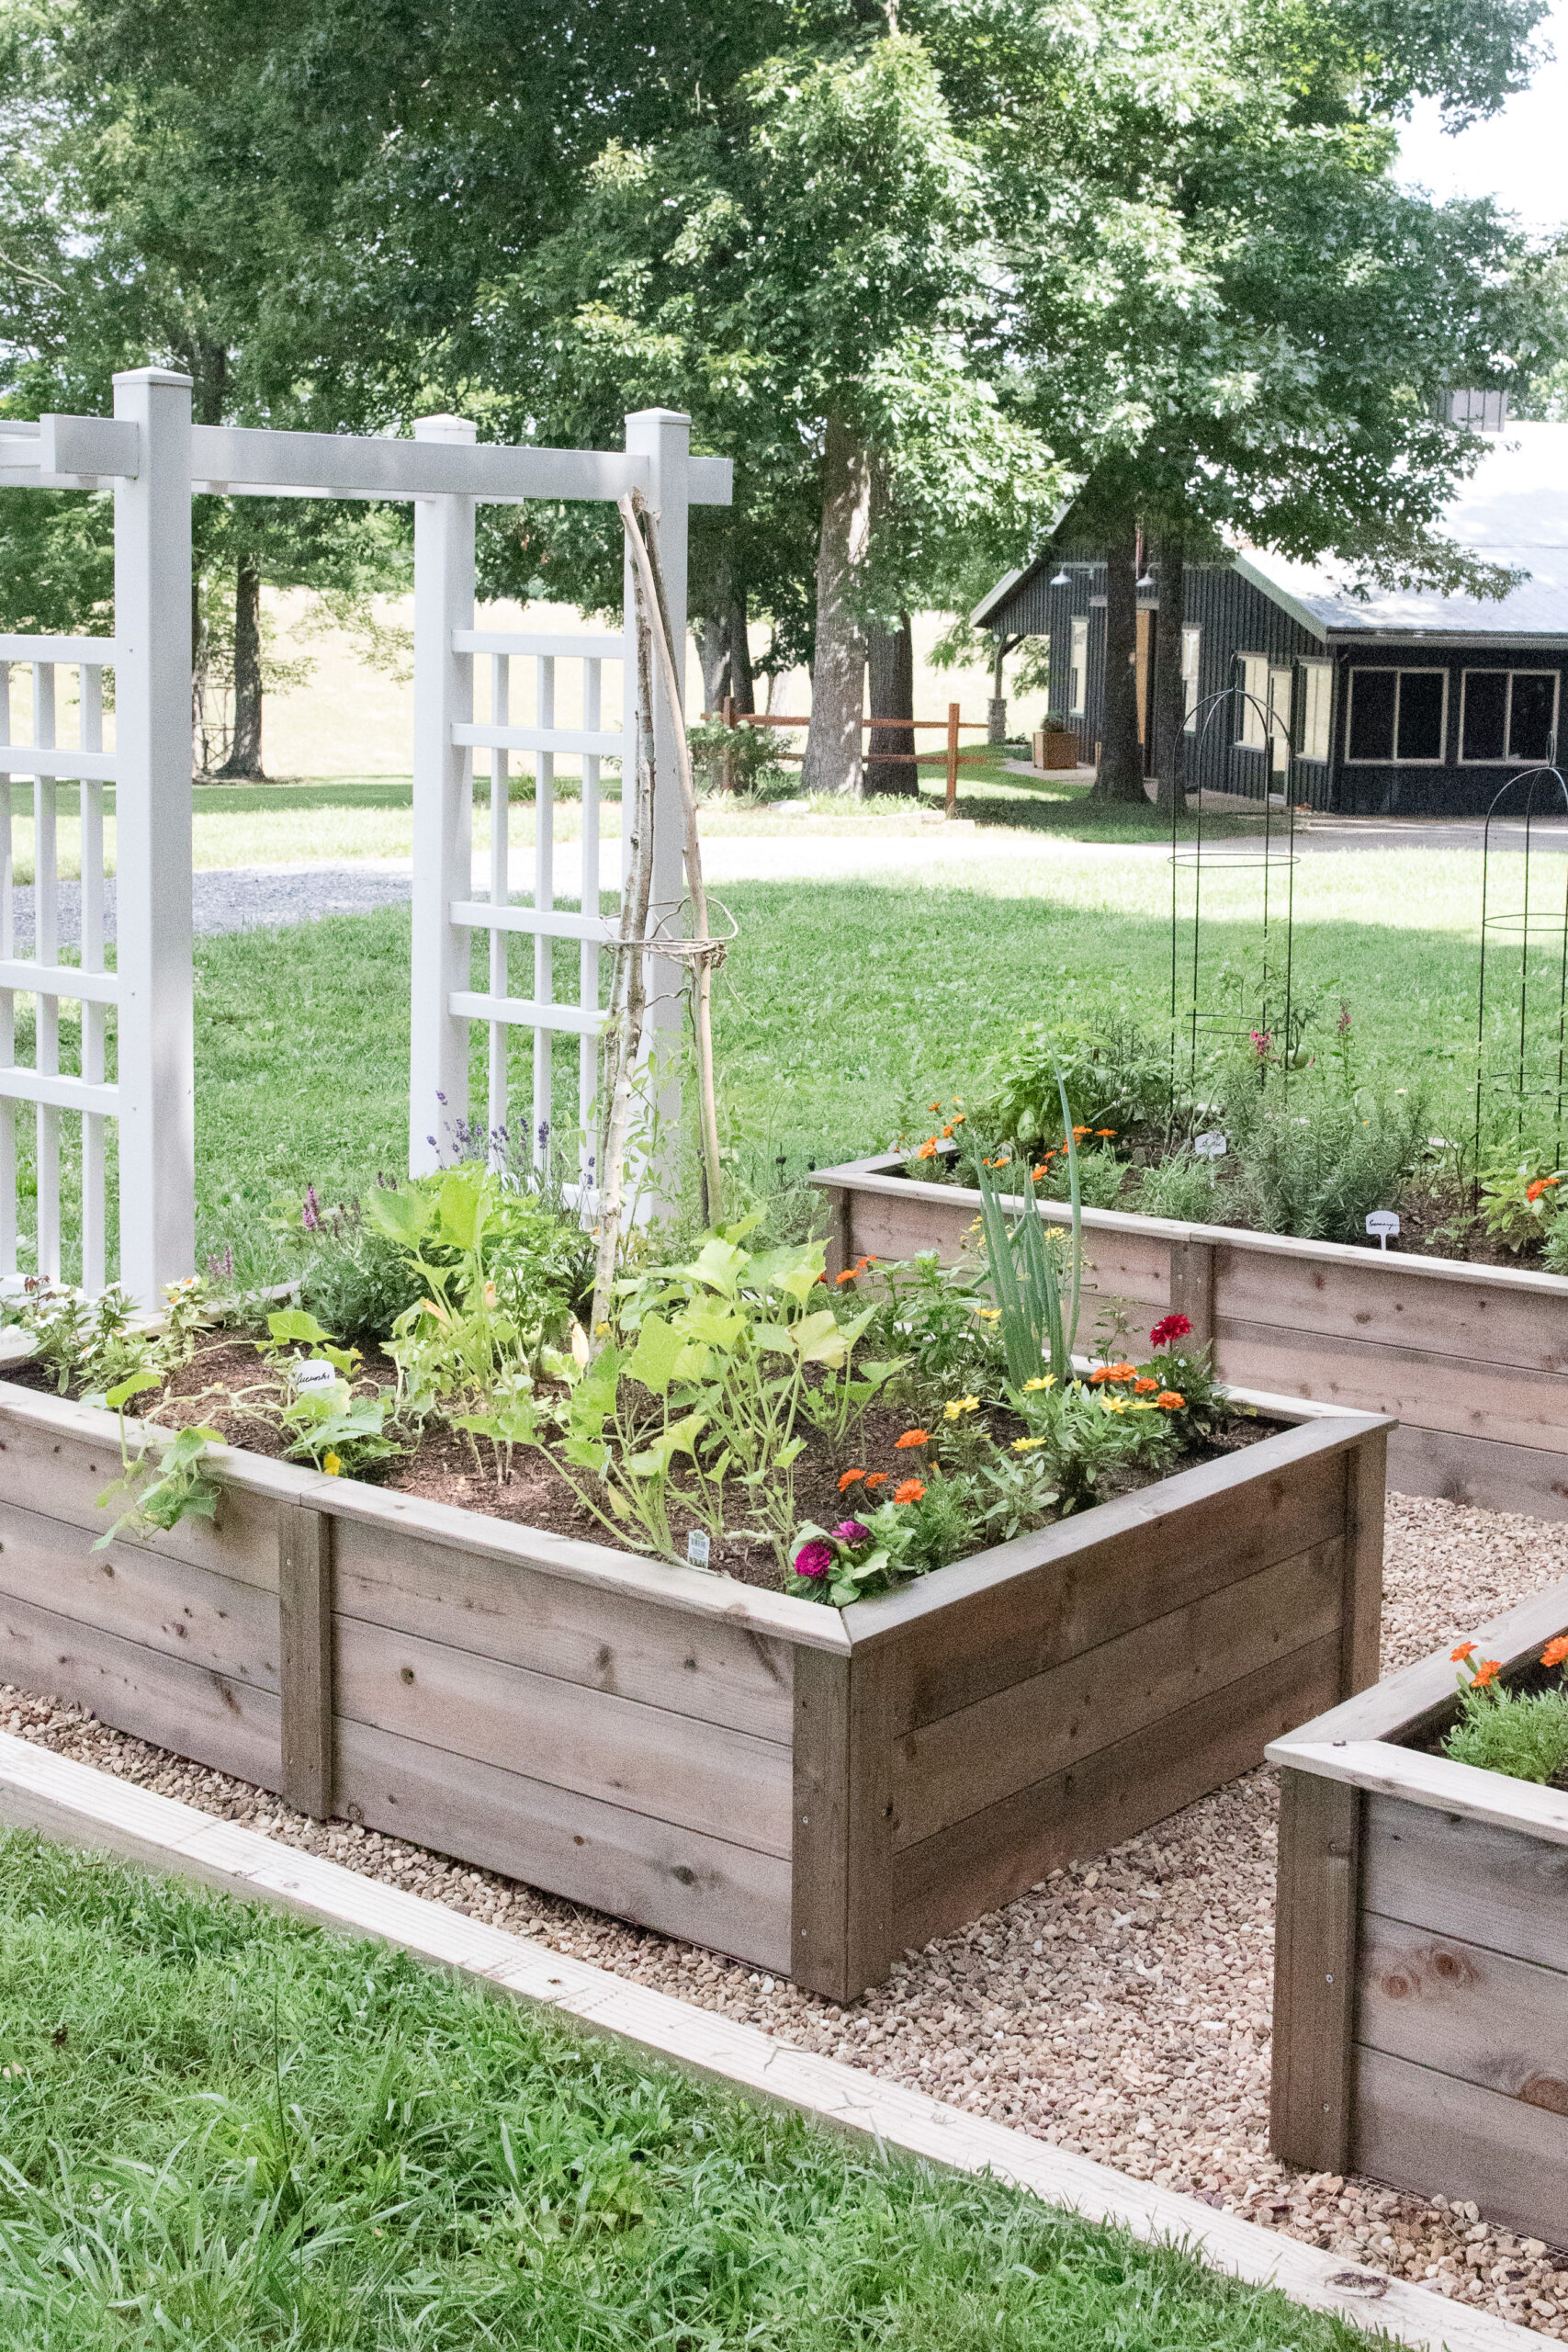
Raised beds are also easier to navigate around and manage even when space is limited. I love that I can customize the size and shape to fit my garden space perfectly and Eartheasy has many great size and shape options to fit your ideal garden space.
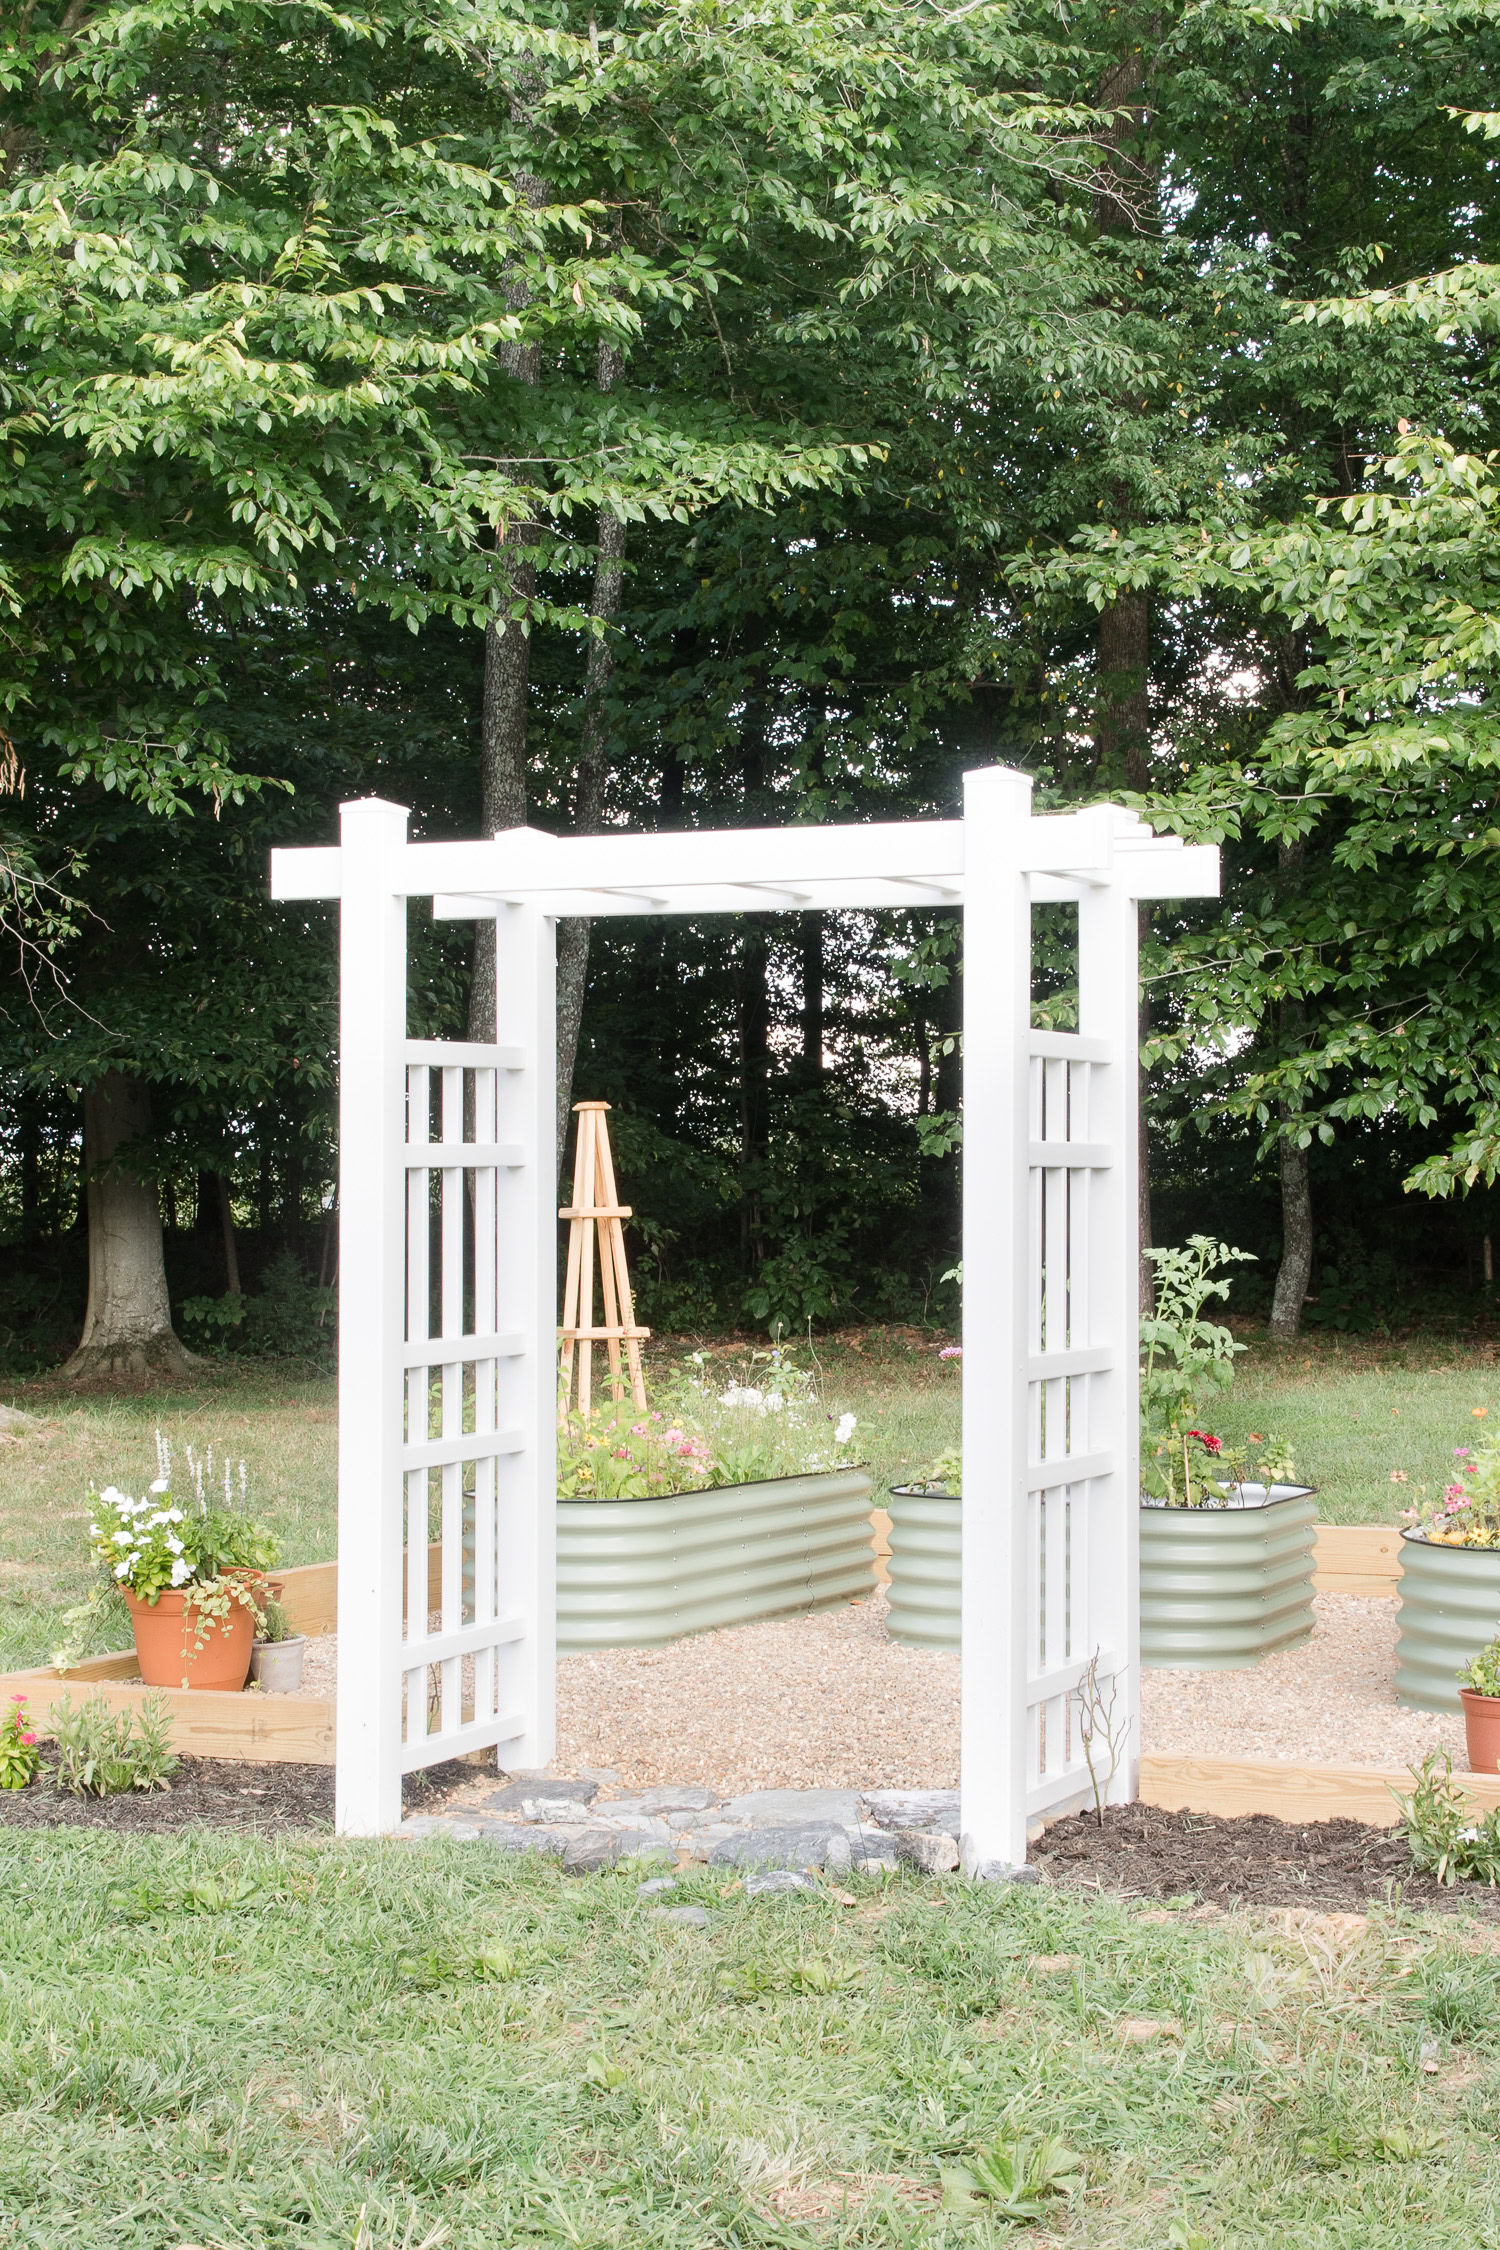
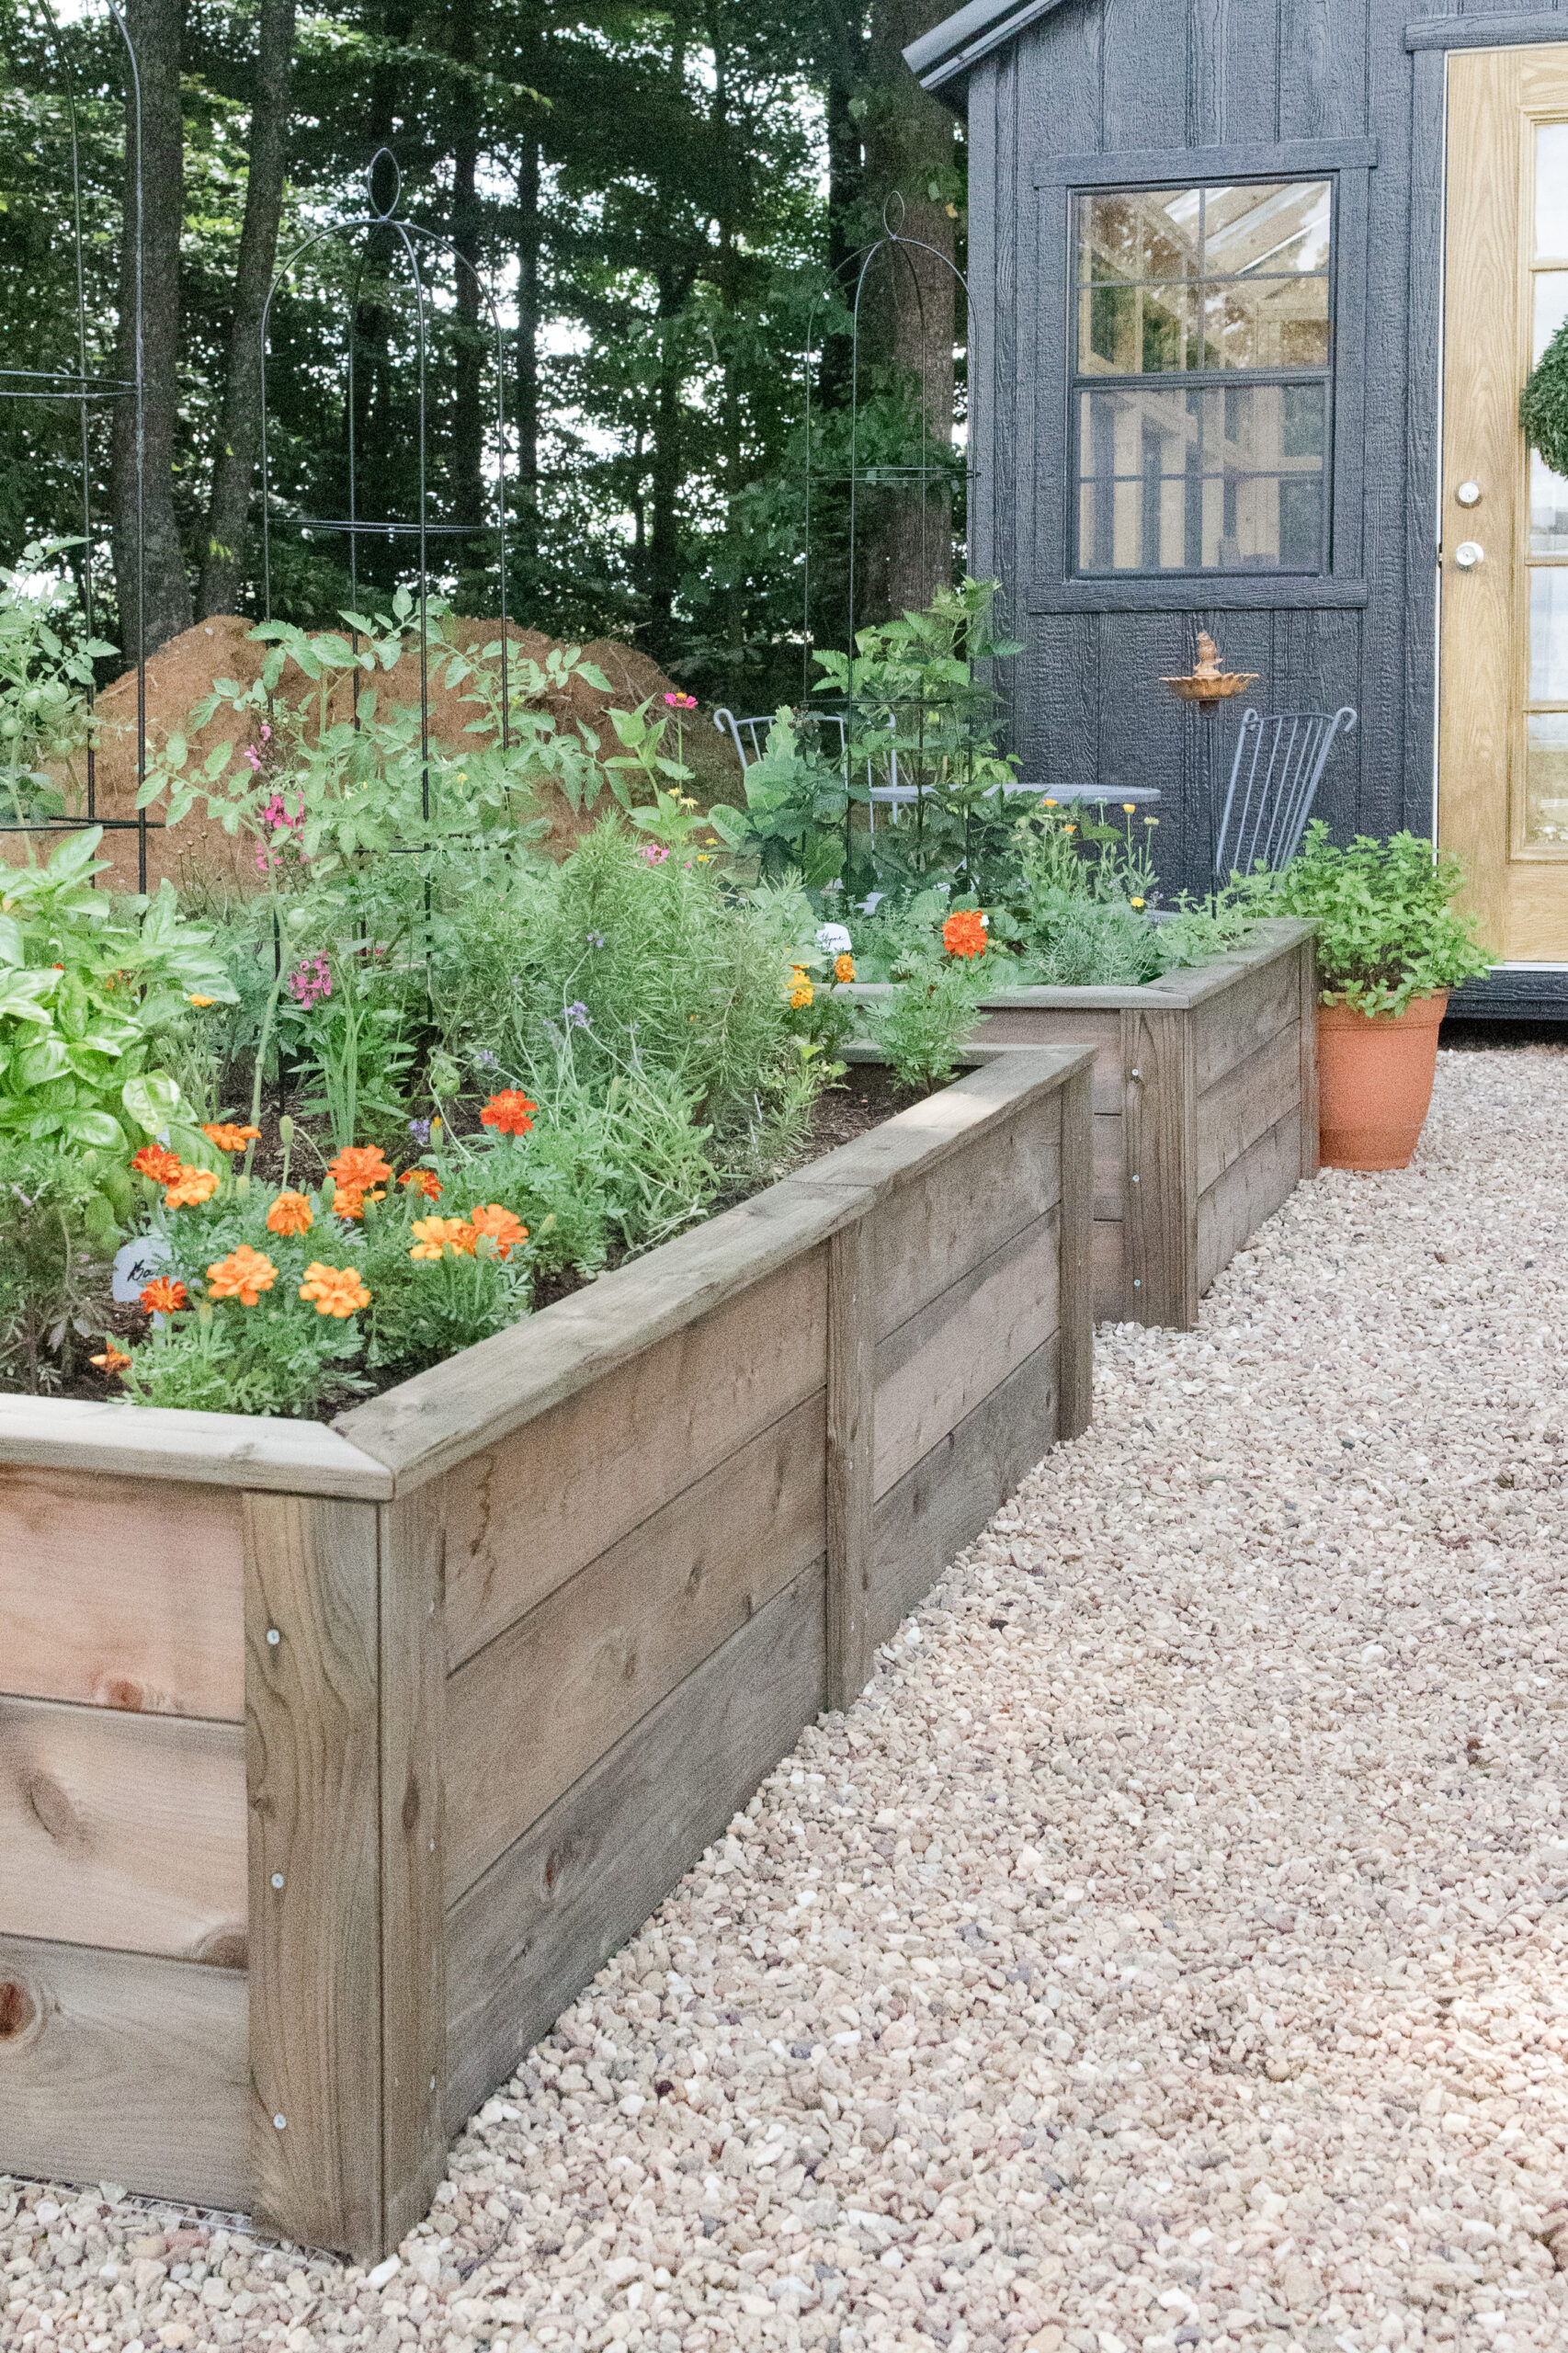
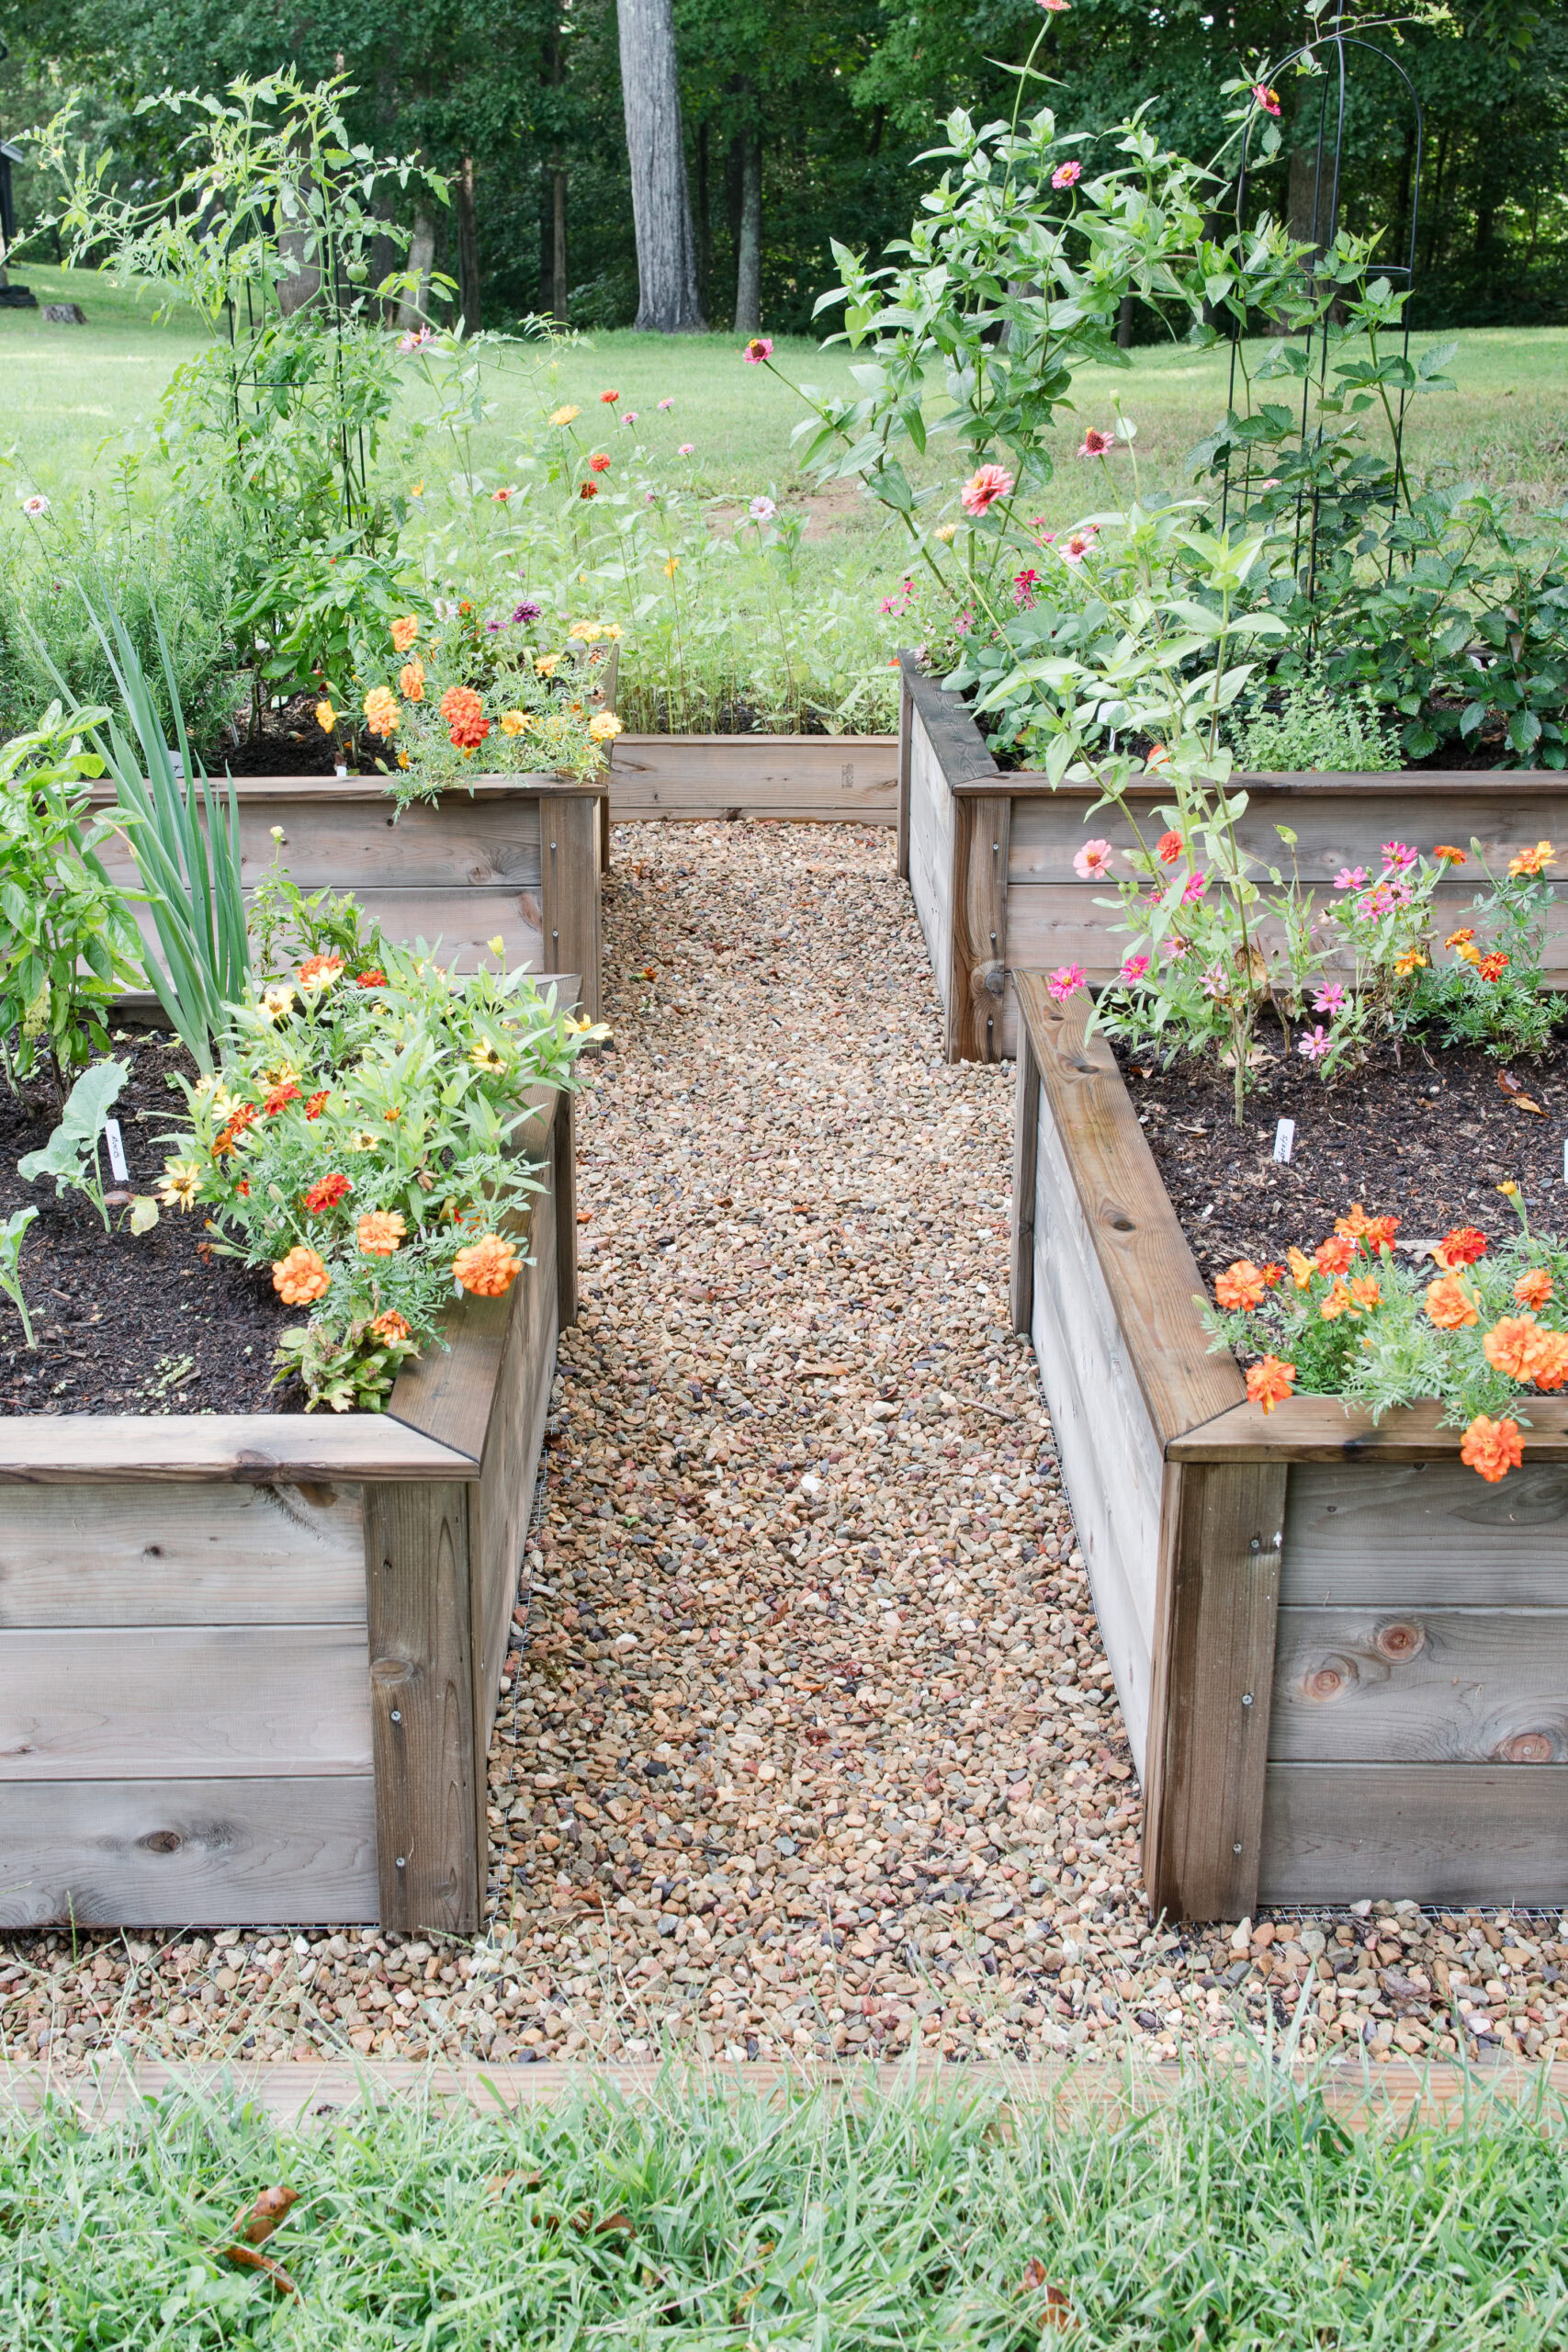
I love that I can create neat and clean rows with pea gravel so my garden has a nice tailored appearance.
The Benefits of Cedar Raised Garden Beds
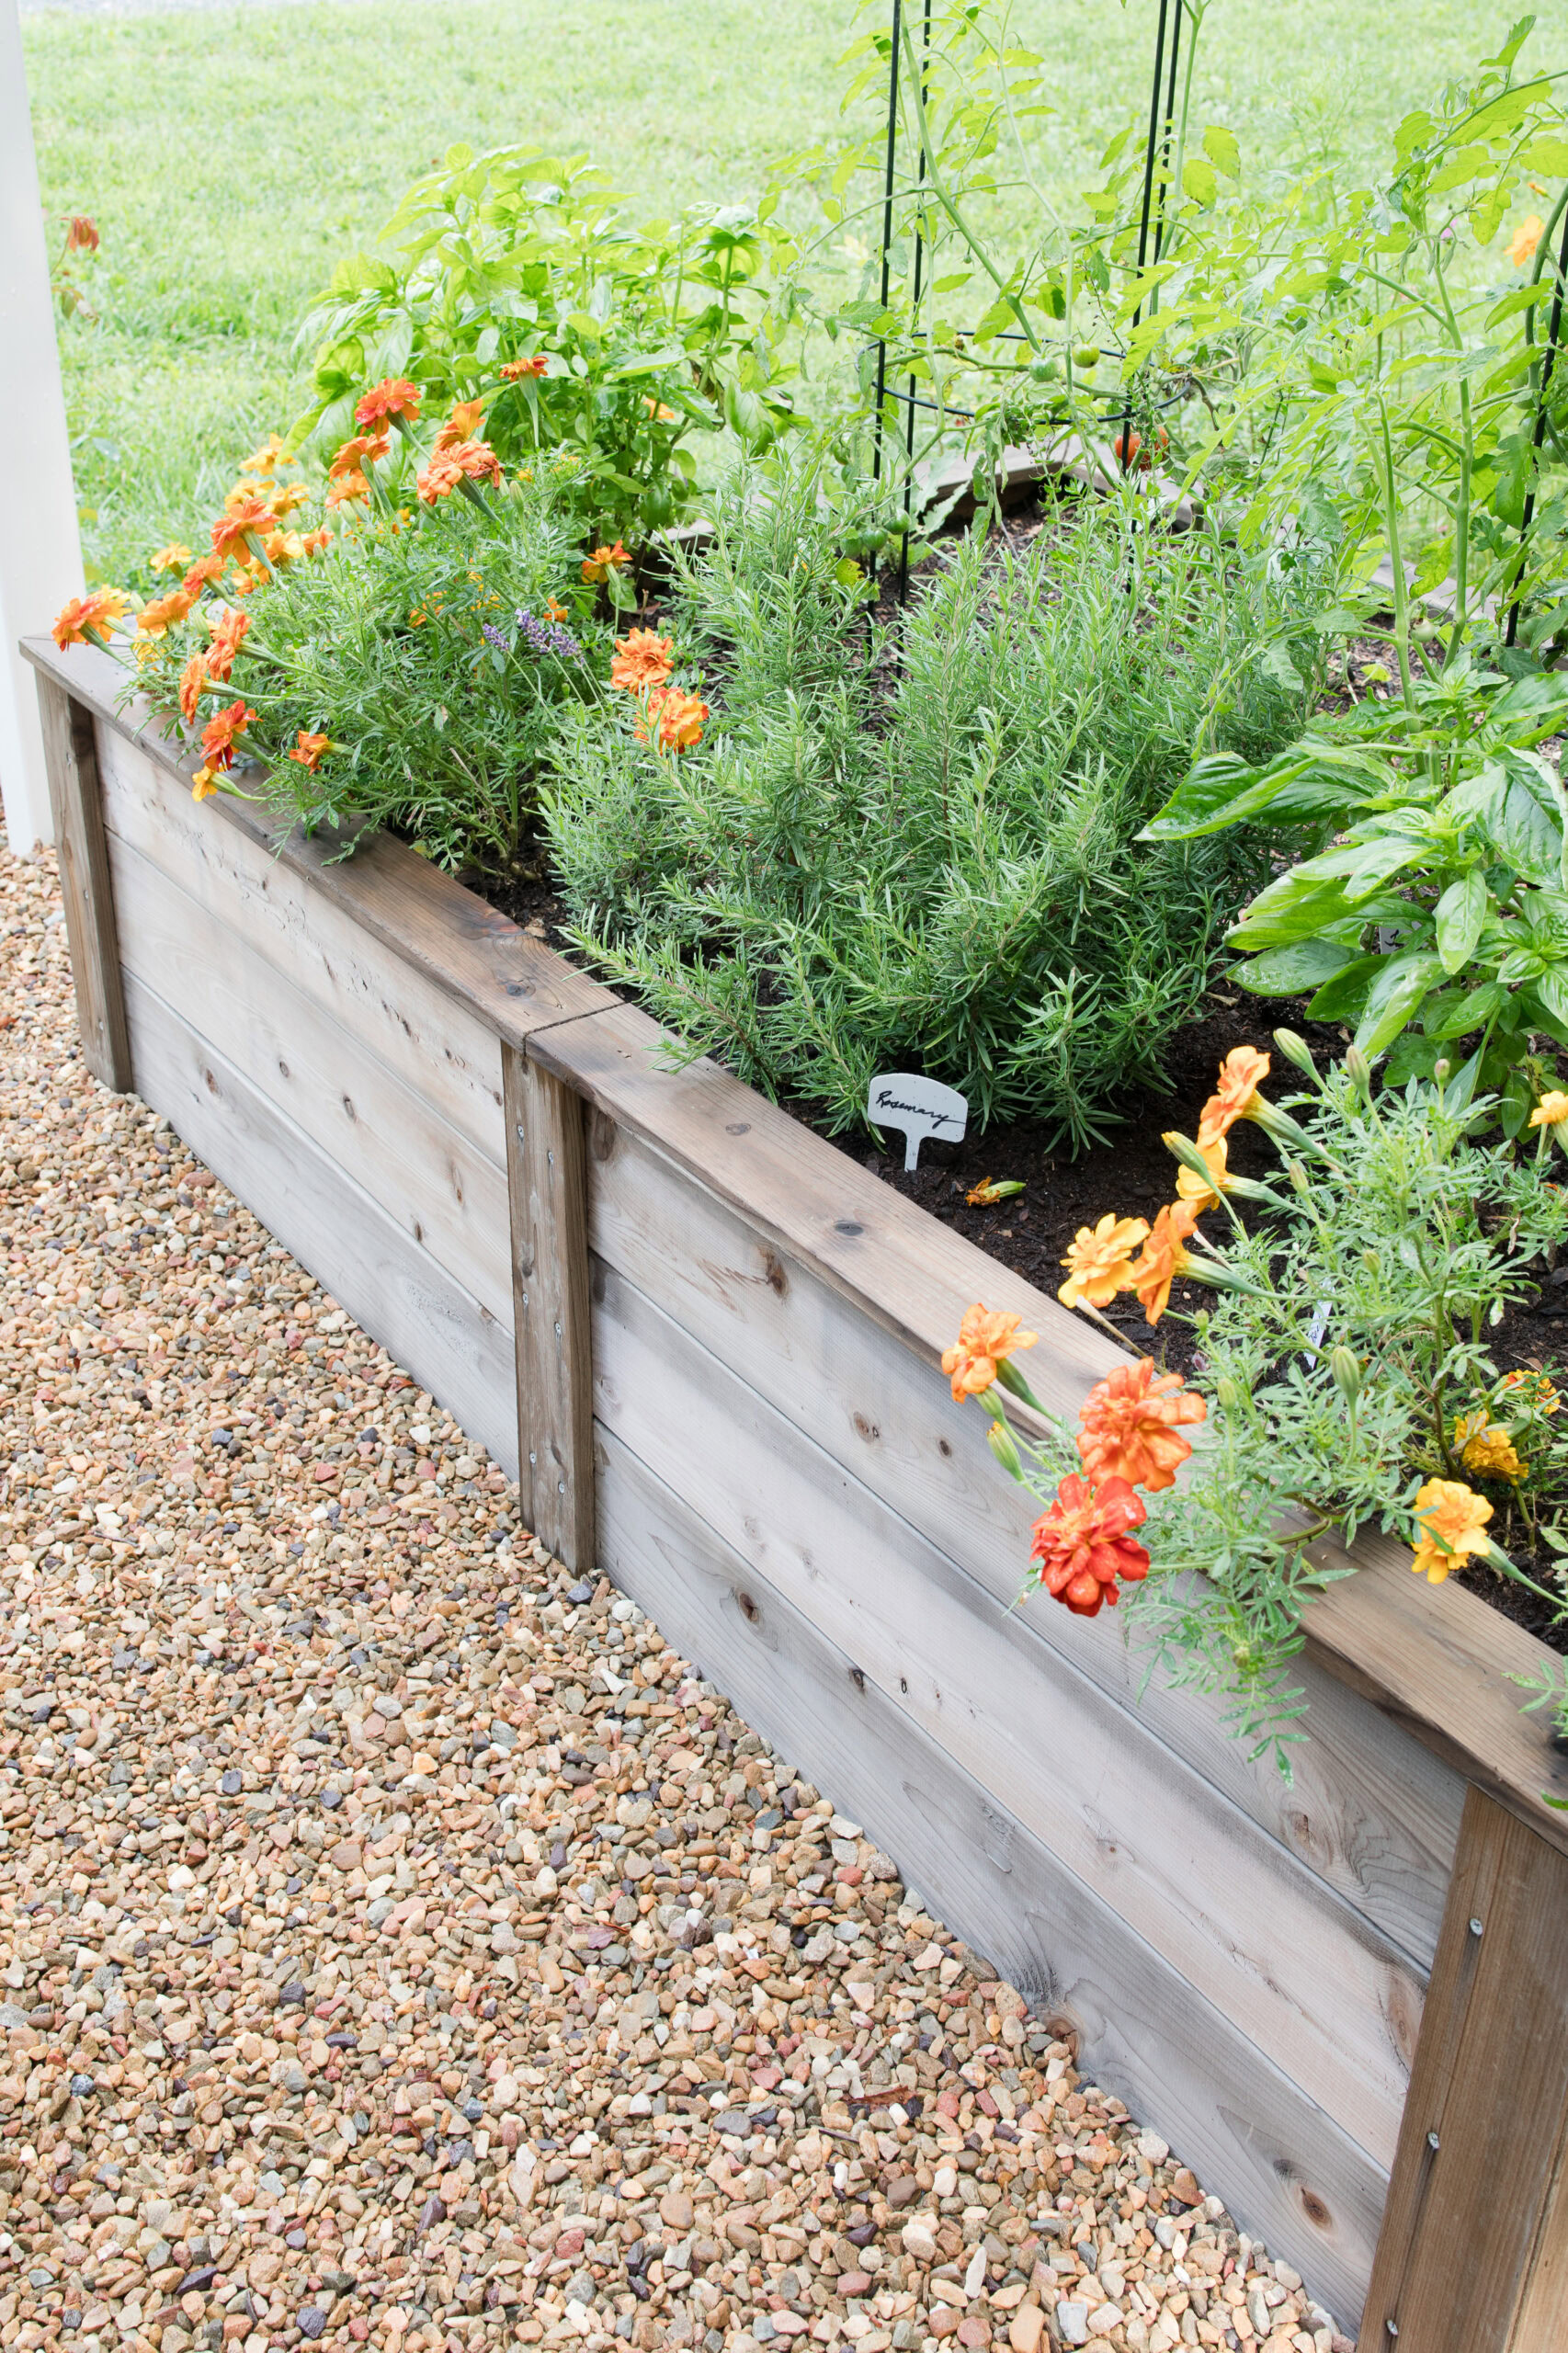
If you are just going for the prettiest raised beds, then you will love the look of cedar. But gardening goes way beyond looks; there’s the practical aspect. I love the look of wood garden beds and cedar beds have many benefits.
- Cedar is Naturally Rot-Resistant – Rot and insect resistant is key to raised beds and Cedar’s natural oils and tannins make cedar perfect for garden beds that require no chemical treatments. Perfect for growing your edible plants.
- Temperature Regulation – Cedar stays cooler in the sun, which helps prevent the soil from overheating and stressing your plants. Metal beds can retain and radiate heat and can cause the soil to dry out faster.
- Looks Great – While I do believe metal raised beds look fantastic, there is just something about the natural look of wood that blends beautifully in a garden setting.
- Long Lasting – Quality cedar raised garden beds can last 10-15 years or more with property care. We treated our raised beds before assembly, but more on that below.
Eartheasy Raised Garden Beds
With so many raised beds on the market; why did I select these beds from Eartheasy? So glad you asked!
I debated building our own raised beds, but really didn’t want to go through the hassle. My desire was to just assemble the beds and Eartheasy made it attainable.
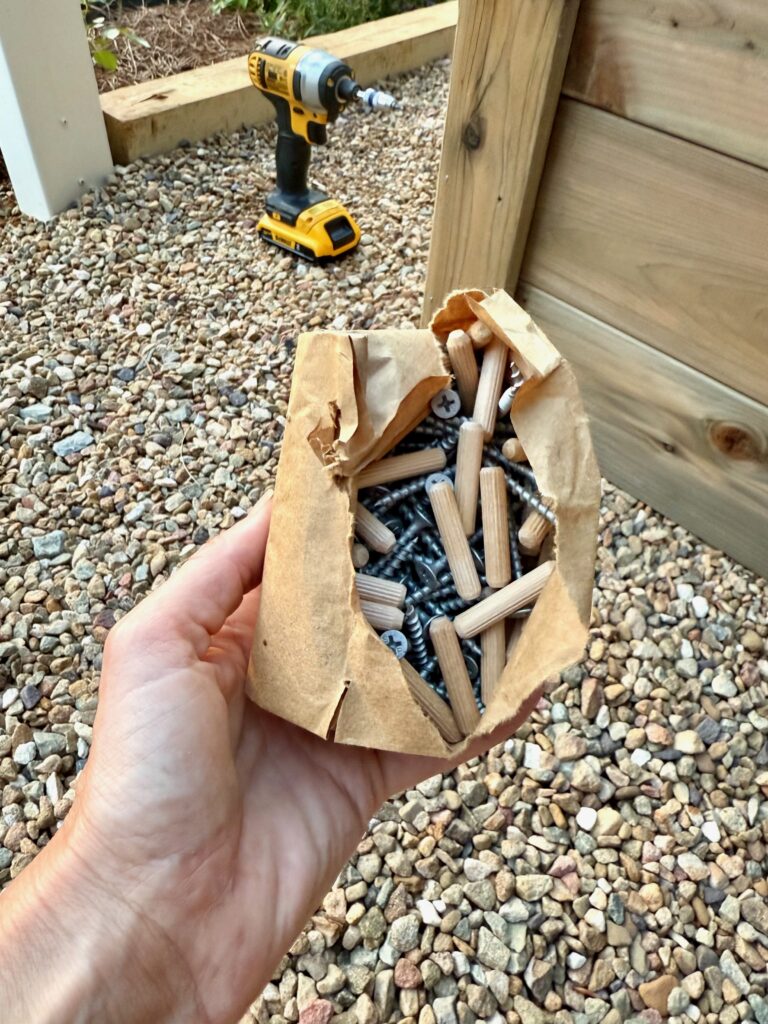
- Quick and Easy Assembly – These raised cedar beds go together with ease. Each garden bed kit includes pre-cut boards with pre-drilled holes and the hardware to assemble them plus easy-to-follow instructions. Cedar boards stack and interlock with stainless steel corner pins that resist rust. It’s like putting together an easy puzzle.
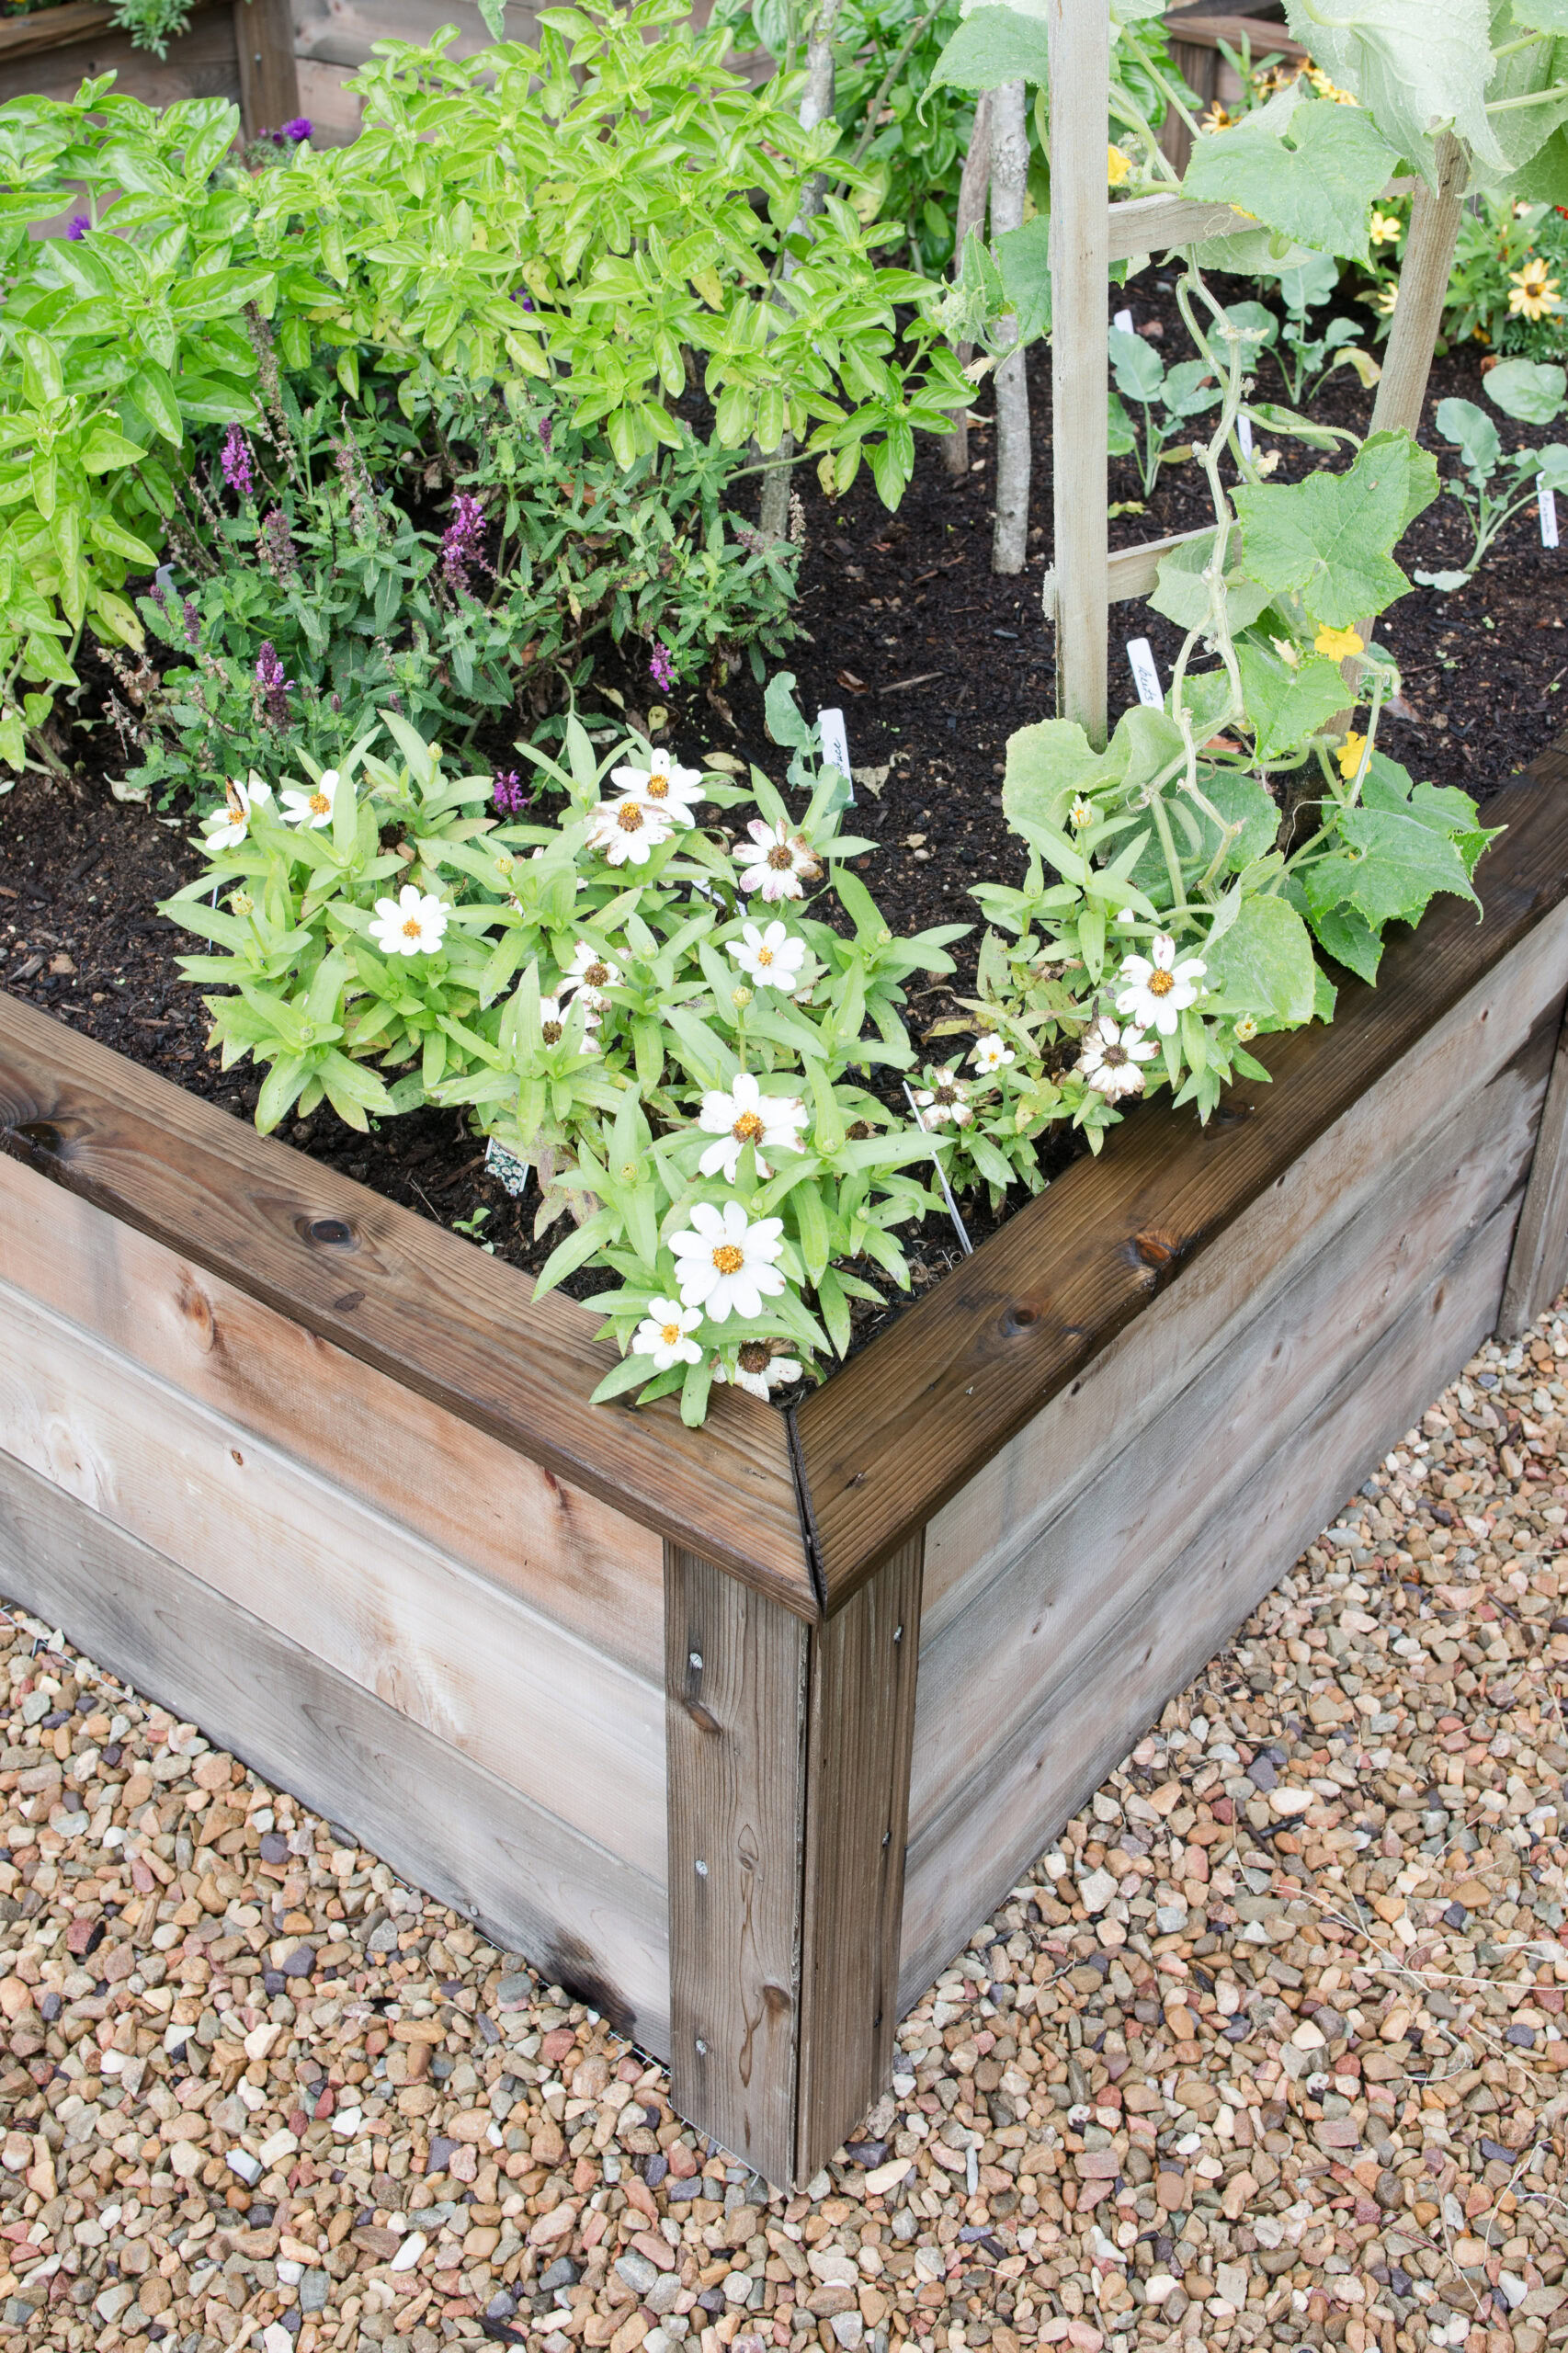
- Height Options: All the beds are built with one-inch thick cedar boards (5.5″ tall) that you stack on one another. You can create beds that are 11″, 16.5″ and 22″ tall using between 2-4 boards.
- Made in the USA – Crafted in the USA by a family business. Kiln-dried cedar that outlasts most cedar boards you will find in big box stores.
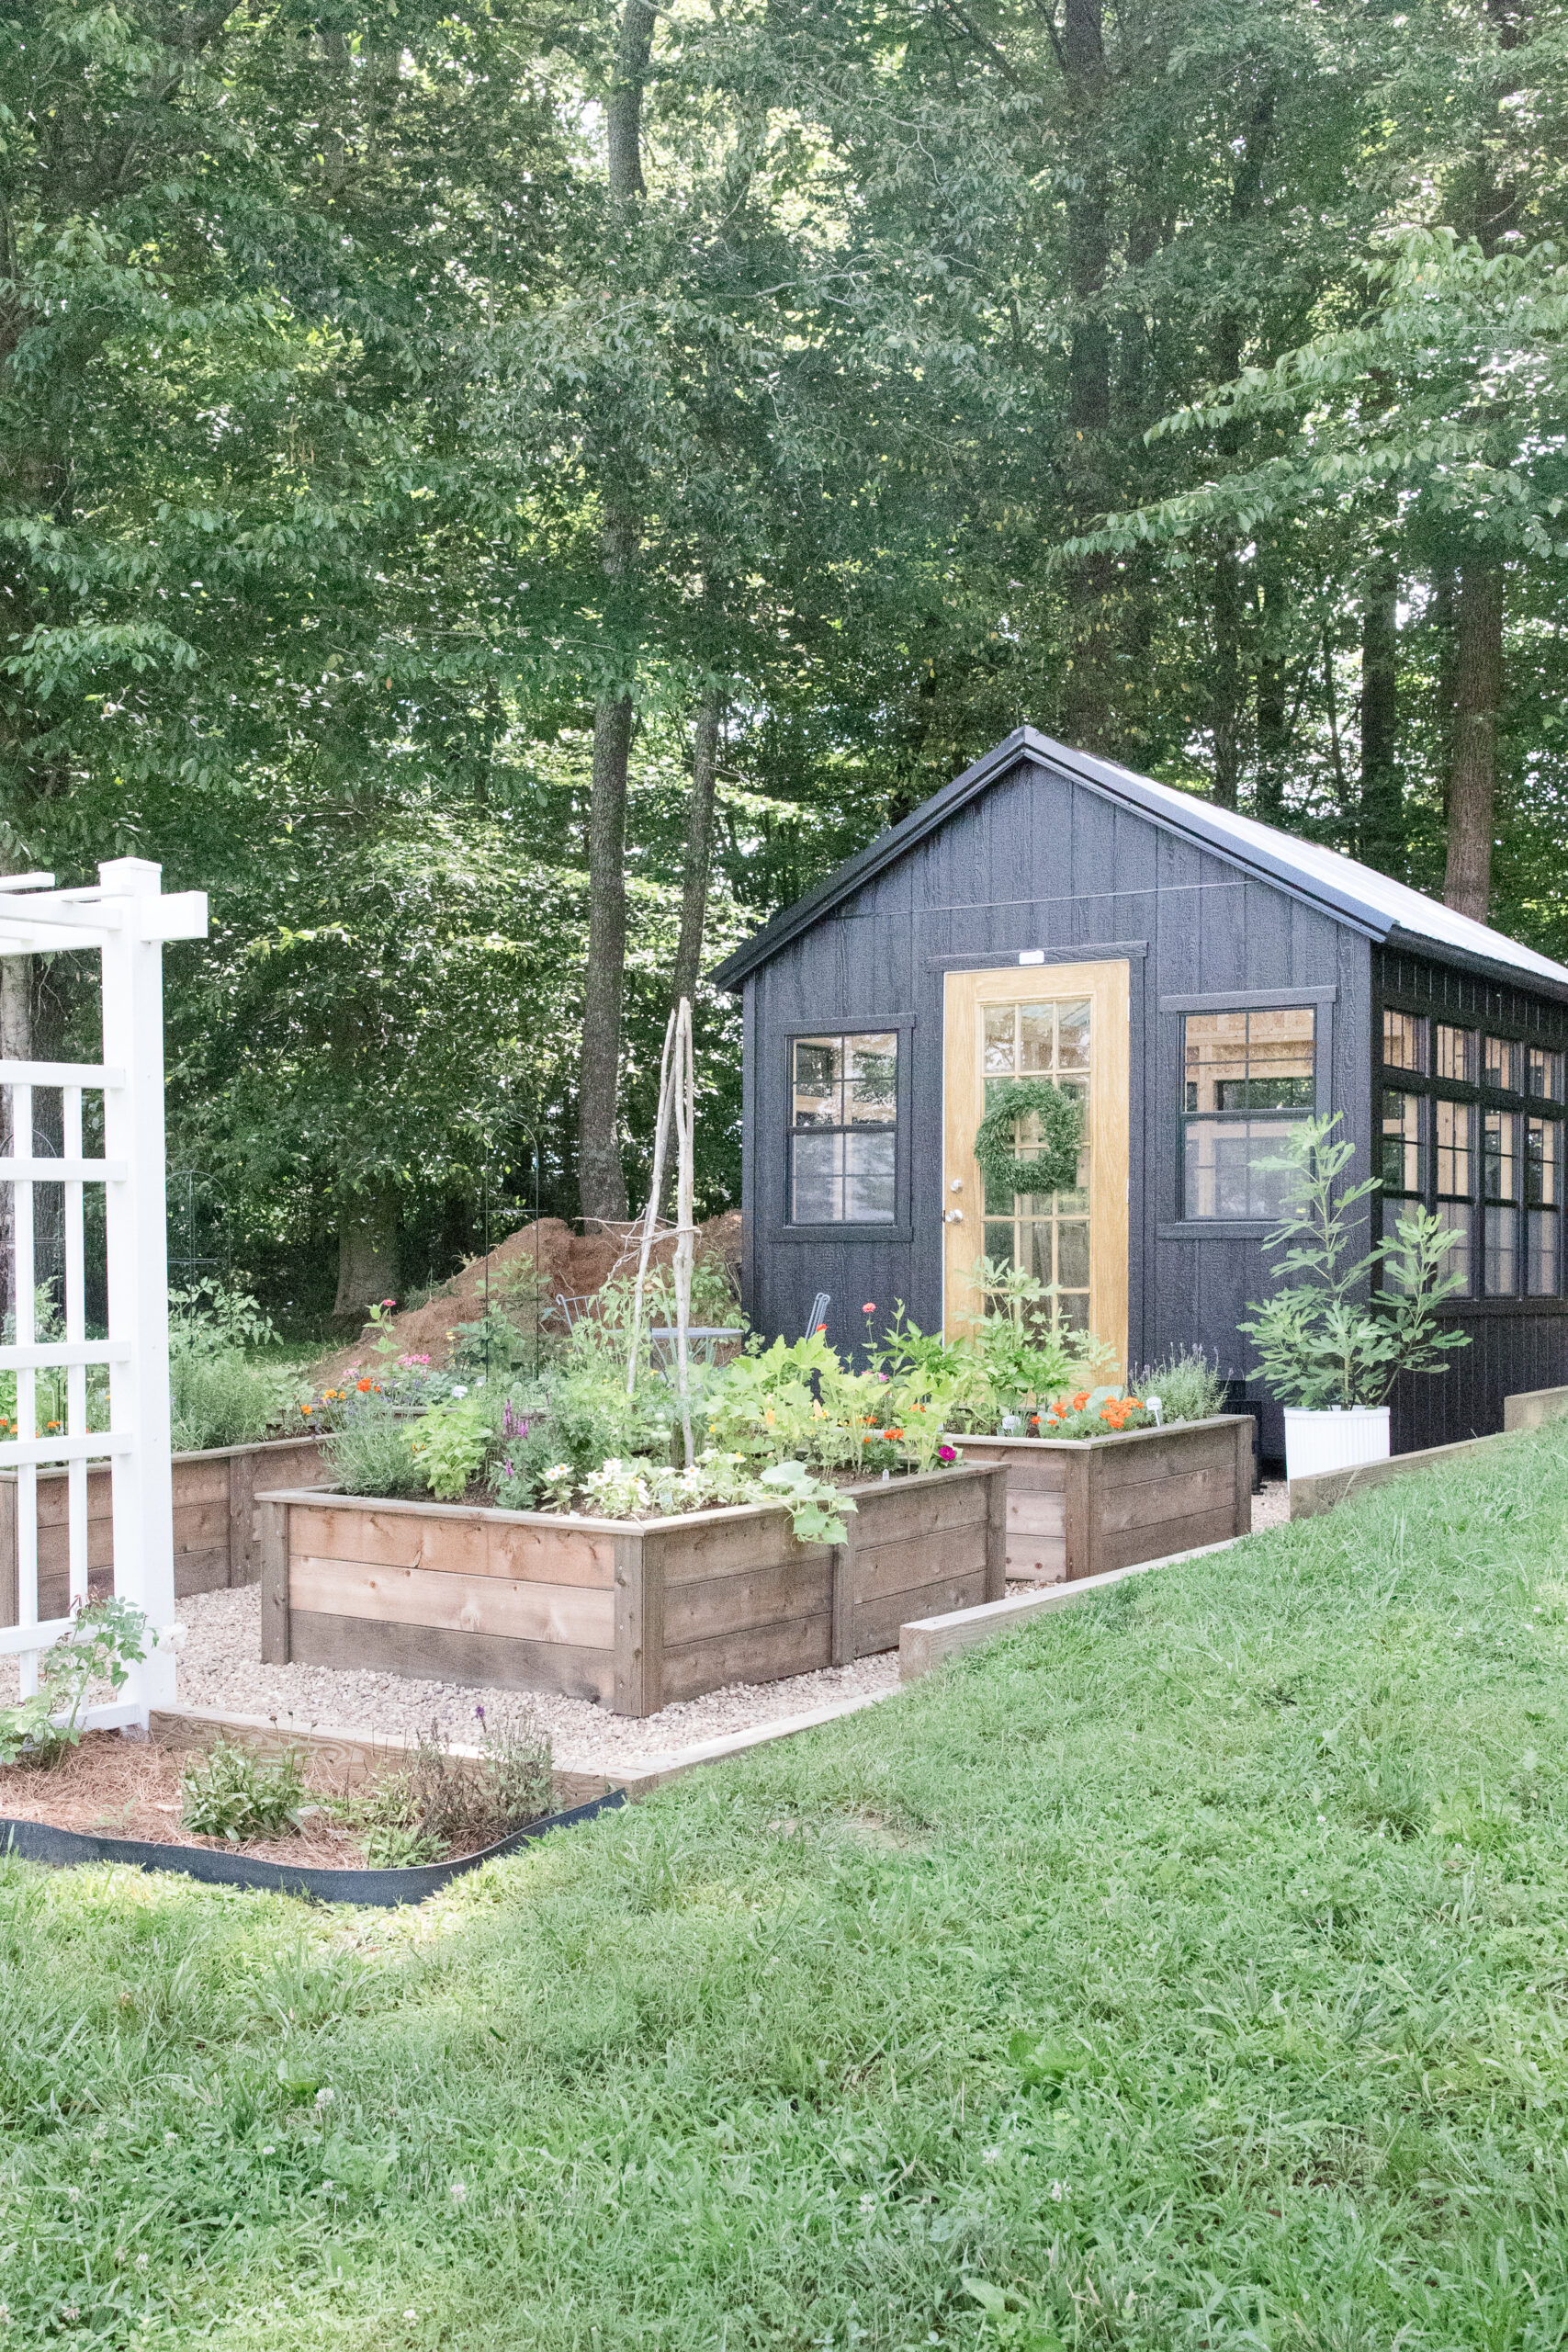
- Gorgeous Design – I LOVE the look of the beds in our garden. They look so high-end and classic all while being durable and long-lasting too.
- Gardening Accessories – Eartheasy has a lot of garden and bed accessories like trellises, rain barrels, watering systems, composters and more.

Prepping the Garden Area
The area where we placed the raised beds isn’t flat. We had to do some leveling and even built a retaining wall to create my garden space. If you have a flat area all the better. You can just frame it off and add a base of either pea gravel or mulch and add your beds.
We leveled this area off to create a 15 feet wide by 32 feet deep garden area. This would house our four raised beds and greenhouse.
Once the space was excavated, leveled, retaining wall built; we added a few tons of pea gravel. Literally. This helped give us a level spot for the greenhouse and raised beds.
NOTE: Before the pea gravel was poured and leveled, we added an eco-landscape cloth from the Co-op. This fabric is thick and cut to size. We have had ZERO weeds break through this cloth and the pea gravel.
Treating the Raised Garden Bed Boards
Before we got to assembling, I wanted to ensure these beds were going to last as long as they possibly could. We decided to treat the cedar before building the beds using Eco Wood Treatment. This can also be purchased right on Eartheasy’s Website and I do recommend it!


Eco Wood is a non-toxic eco wood preservative for all outdoor wood surfaces. Single application protects wood for a lifetime. Eco Wood Treatment works by penetrating wood fibers to create a natural buffer against water and fungal decay. It increases wood’s durability while creating an aged, silvery patina after just a few hours. – Eartheasy
This was easy to do. I mixed the 1 gallon packet in a bucket of water and using a sponge applied to every part of the board.
NOTE: You can treat the boxes after assembly but I found that treating them beforehand ensures every piece of the wood is treated.
Assembling and Leveling the Raised Beds
This honestly was the easiest thing to put together. Way easier than kid’s toys on Christmas morning for sure.
I simply unpacked all the parts, put them in sections and began assembling. The cedar boards are all pre-cut and drilled allowing for the steel pins to be placed in each corner and stacking them together. The cedar boards are notched so that they nestle together easily like putting together puzzle pieces.


The longer boxes have steel rods in the middle to keep the beds from bowing. We have two 4×6 raised beds with the middle steel rods and two 4×4 raised beds without the steel rods. Secure with included finishing screws and add the trim and done. I recommend building them where you plan to install them. They can get quite heavy and bulky to move.
Grab a level to ensure the beds are even all the way around for proper drainage and aesthetic.


NOTE: For extra protection, I added gopher wire to the bottom of the beds to ensure nothing could eat the plants from the roots or pull the plant into the ground.
Filling the Raised Garden Beds
Up to this point we had done a ton of work, but had more to go. Assembling the raised beds was the easiest part, but now they had to be filled.
I layered branches and sticks on the bottom of each bed on top of the gopher wire and pea gravel. Then came the soil.
You can purchase bags of garden soil, but opted for a different, more organic approach. I purchased my compost and manure, etc. at my local garden center. These beds needed a lot of soil and I filled up three pick-up bed loads and shoveled all of it into each bed by hand. It was a ton of work and I was glad when it was complete.

Adding Plants to our Cedar Raised Garden Beds
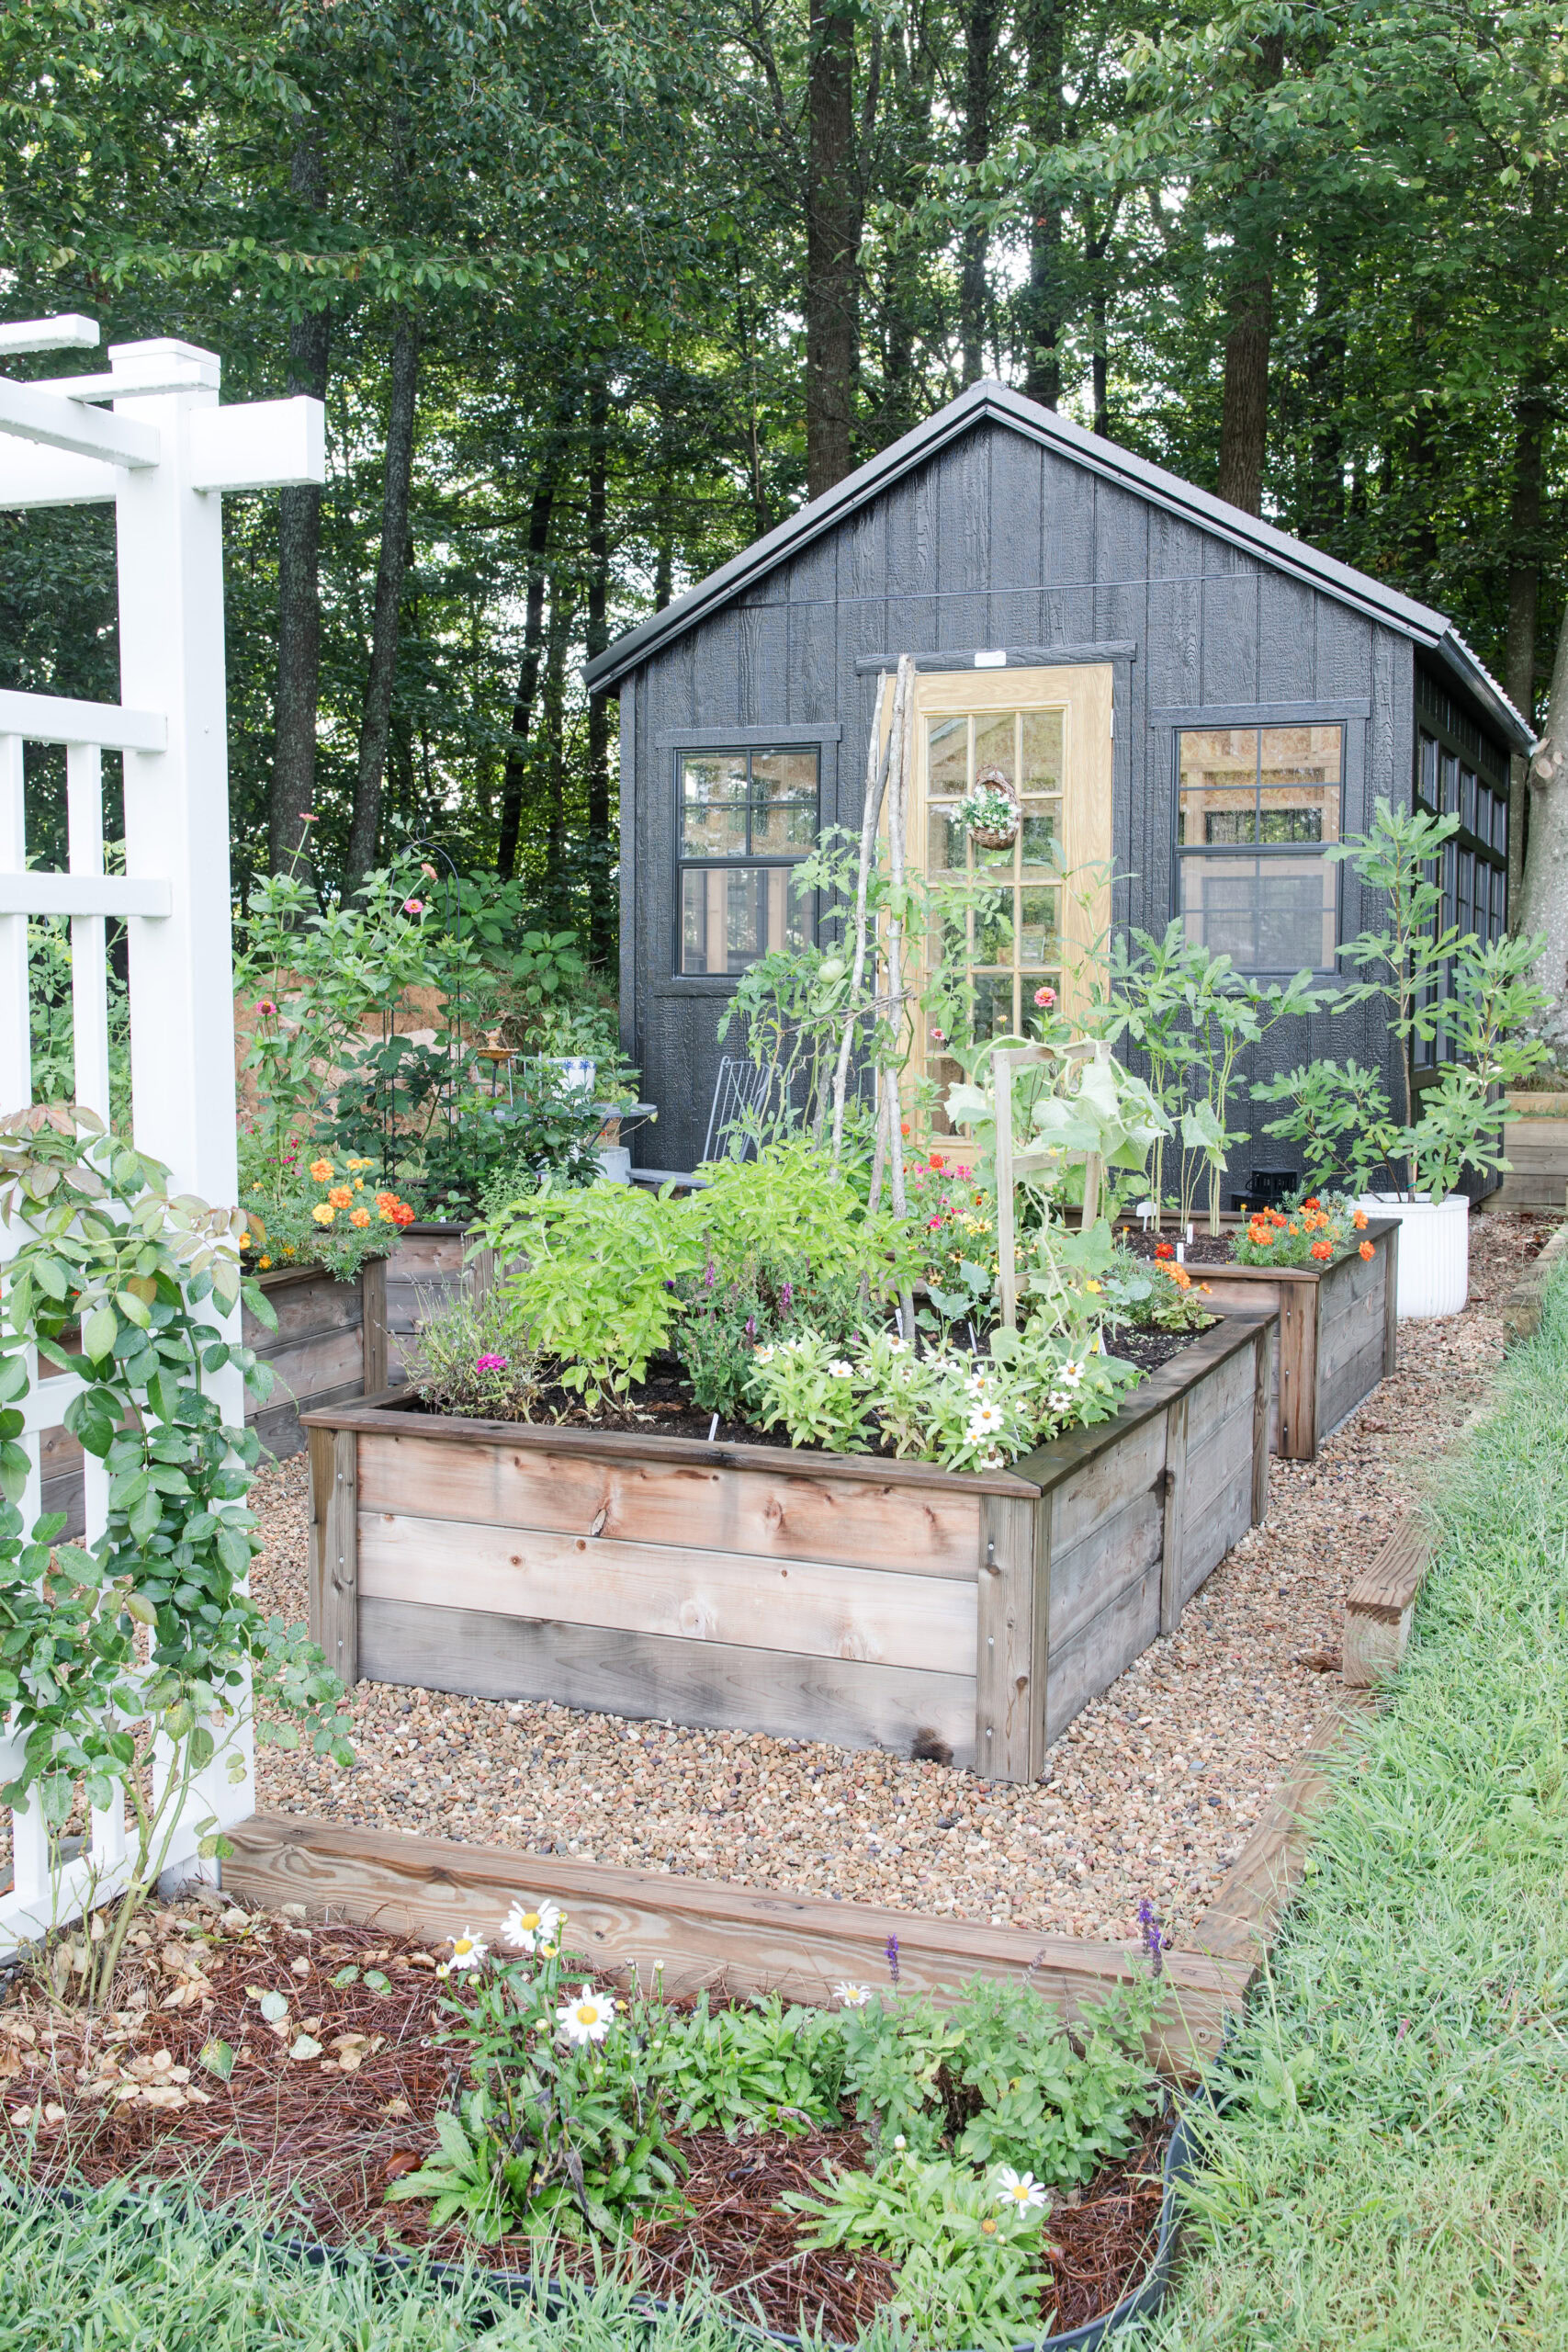
Now came the fun part. The planting…but not so fast. We had to wait on the greenhouse before building the beds.
Our greenhouse was delivered mid-June and then all the beds had to be built and filled. All of my veggies and flowers went in around June 28. Which is late, but I did it anyway and am still getting a (late) harvest. Plants were in pots and planters all over the yard just dying to get into the ground.
I would have preferred to direct sow my seeds, but could not in the spring planting season. However, all of my fall seeds have been sown on time.


Eartheasy Raised Garden Bed Overview
As our garden grows and thrives, I love our cedar beds more and more. The look and appeal looks so much nicer than metal beds.
The warmth of the wood provides a very natural and organic feel to my little garden. I plan to add one of the Eartheasy Trellis in the spring for my cucumbers and squash.
If you are considering adding a raised bed garden; I suggest cedar and I highly recommend Eartheasy Cedar Raised Beds.
Sources


Disclosure: This post may contain affiliate links. As an Amazon Associate, I earn from qualifying purchases at no additional cost to you.

Amazon Storefront
Follow my Amazon Storefront to find more looks for less and all our finds!
Follow along: Instagram | Pinterest | LiketoKnowit