Best Tips for Installing Wallpaper
Installing wallpaper can be a daunting task but these easy step-by-step tips will guide you through the wallpaper installation process. You will have a beautifully wallpapered room that you can enjoy!
Let me walk you through the best tips for installing wallpaper from a non-professional, DIY point of view. With a little patience and the right tools there is no reason to hire a professional.
This post contains affiliate links where I can receive commission from your purchases, thank your support. Please read my full disclosure.
I have recently fallen in love with wallpaper, but it didn’t always used to be that way. When we purchased our first home in 2003 I spent the first few months removing hideous, hard to remove paper. Paper that was so stuck to the wall that portions of the drywall came with it. That stuff would have lasted through the Apocalypse.
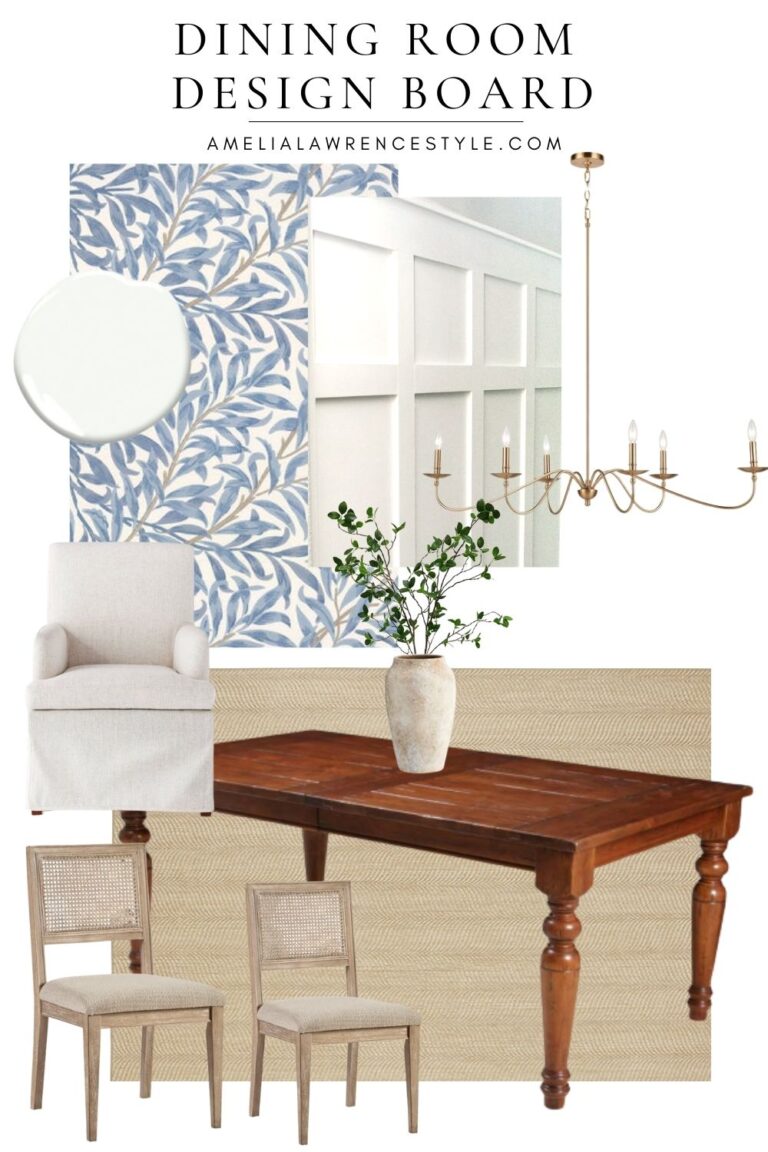
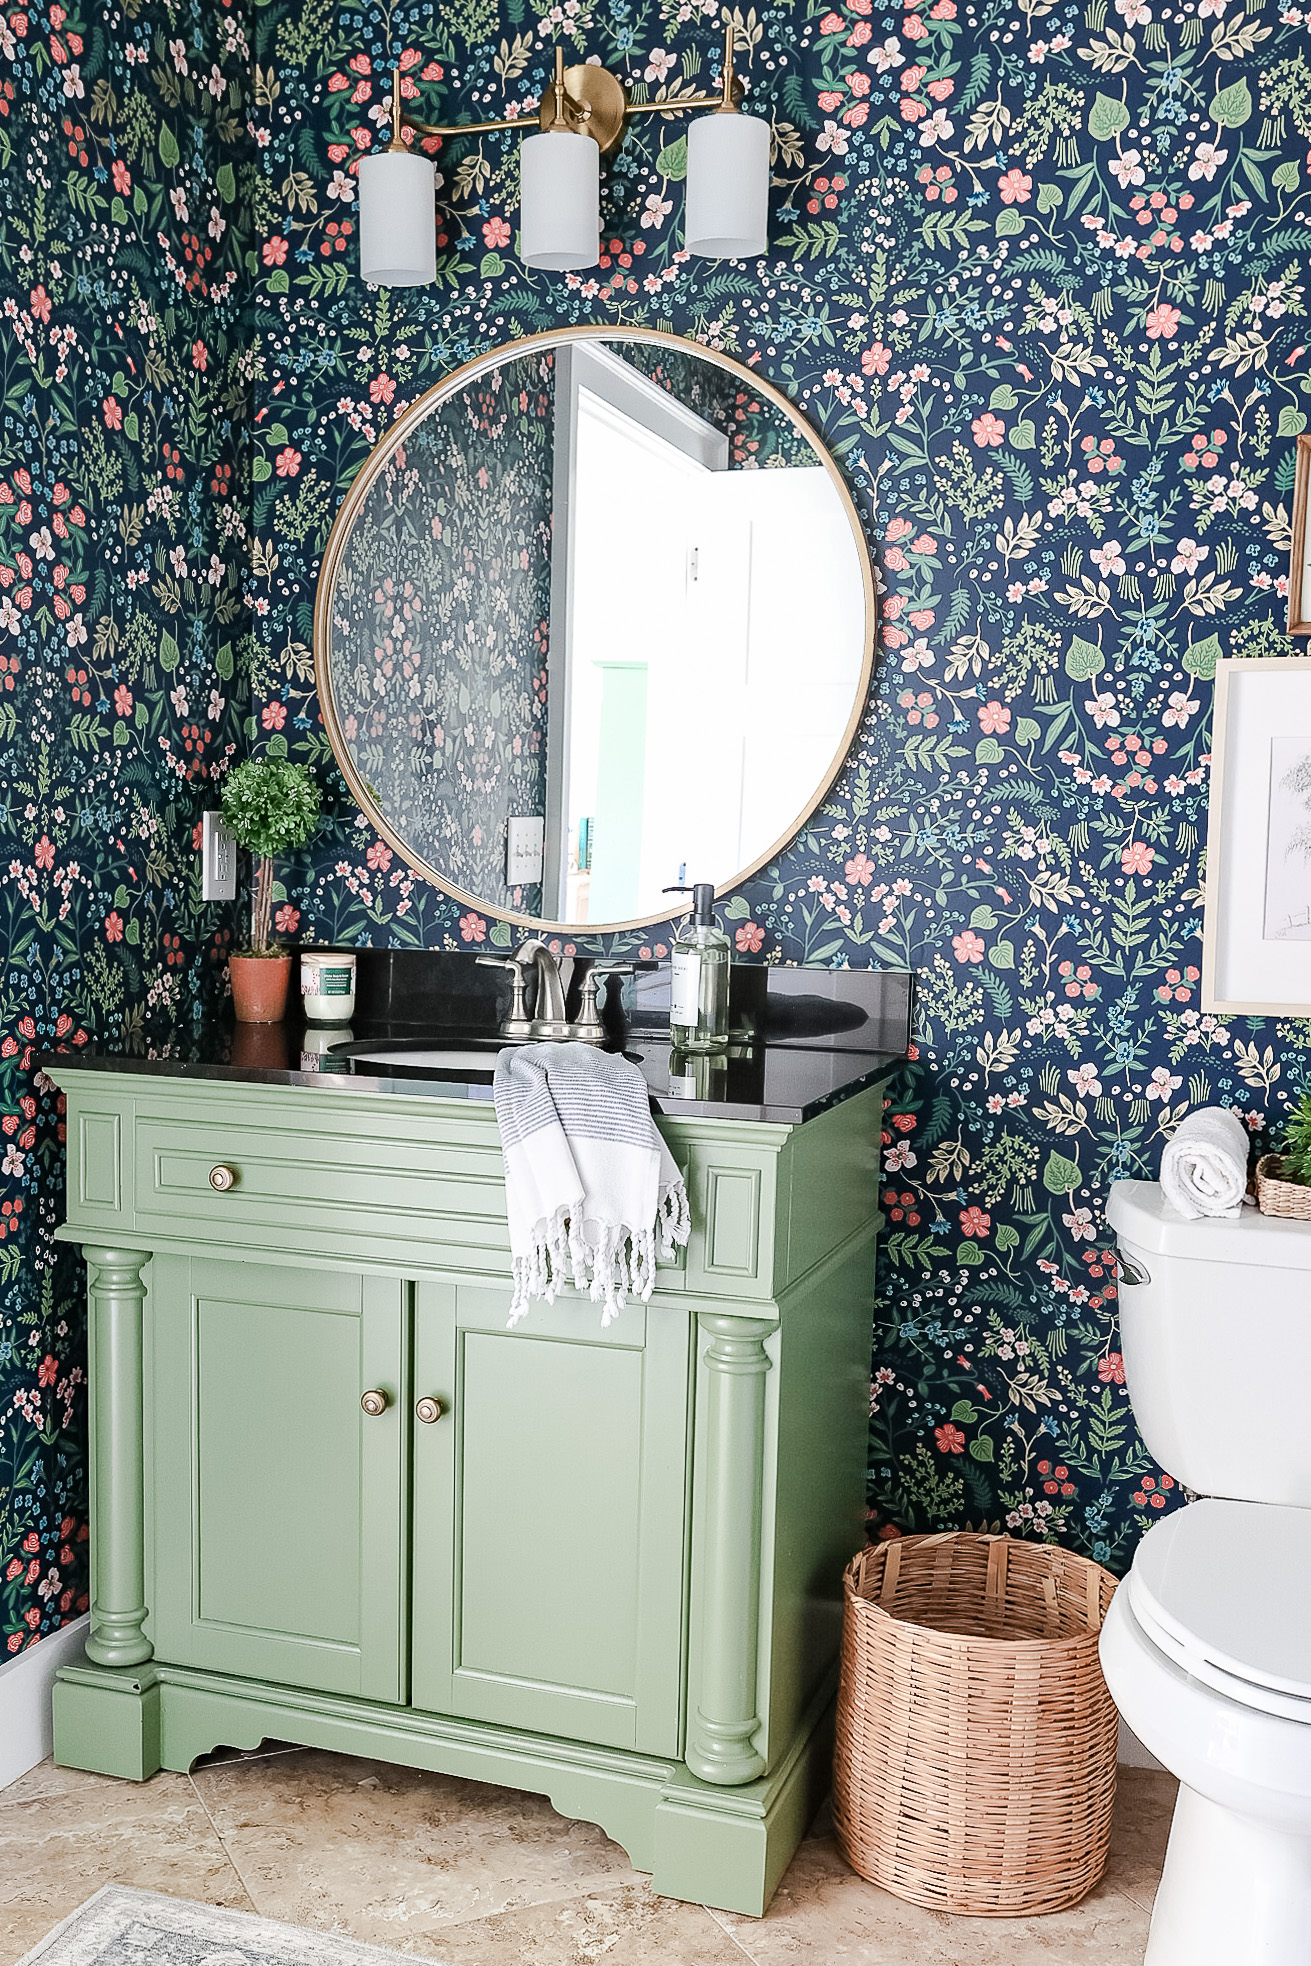
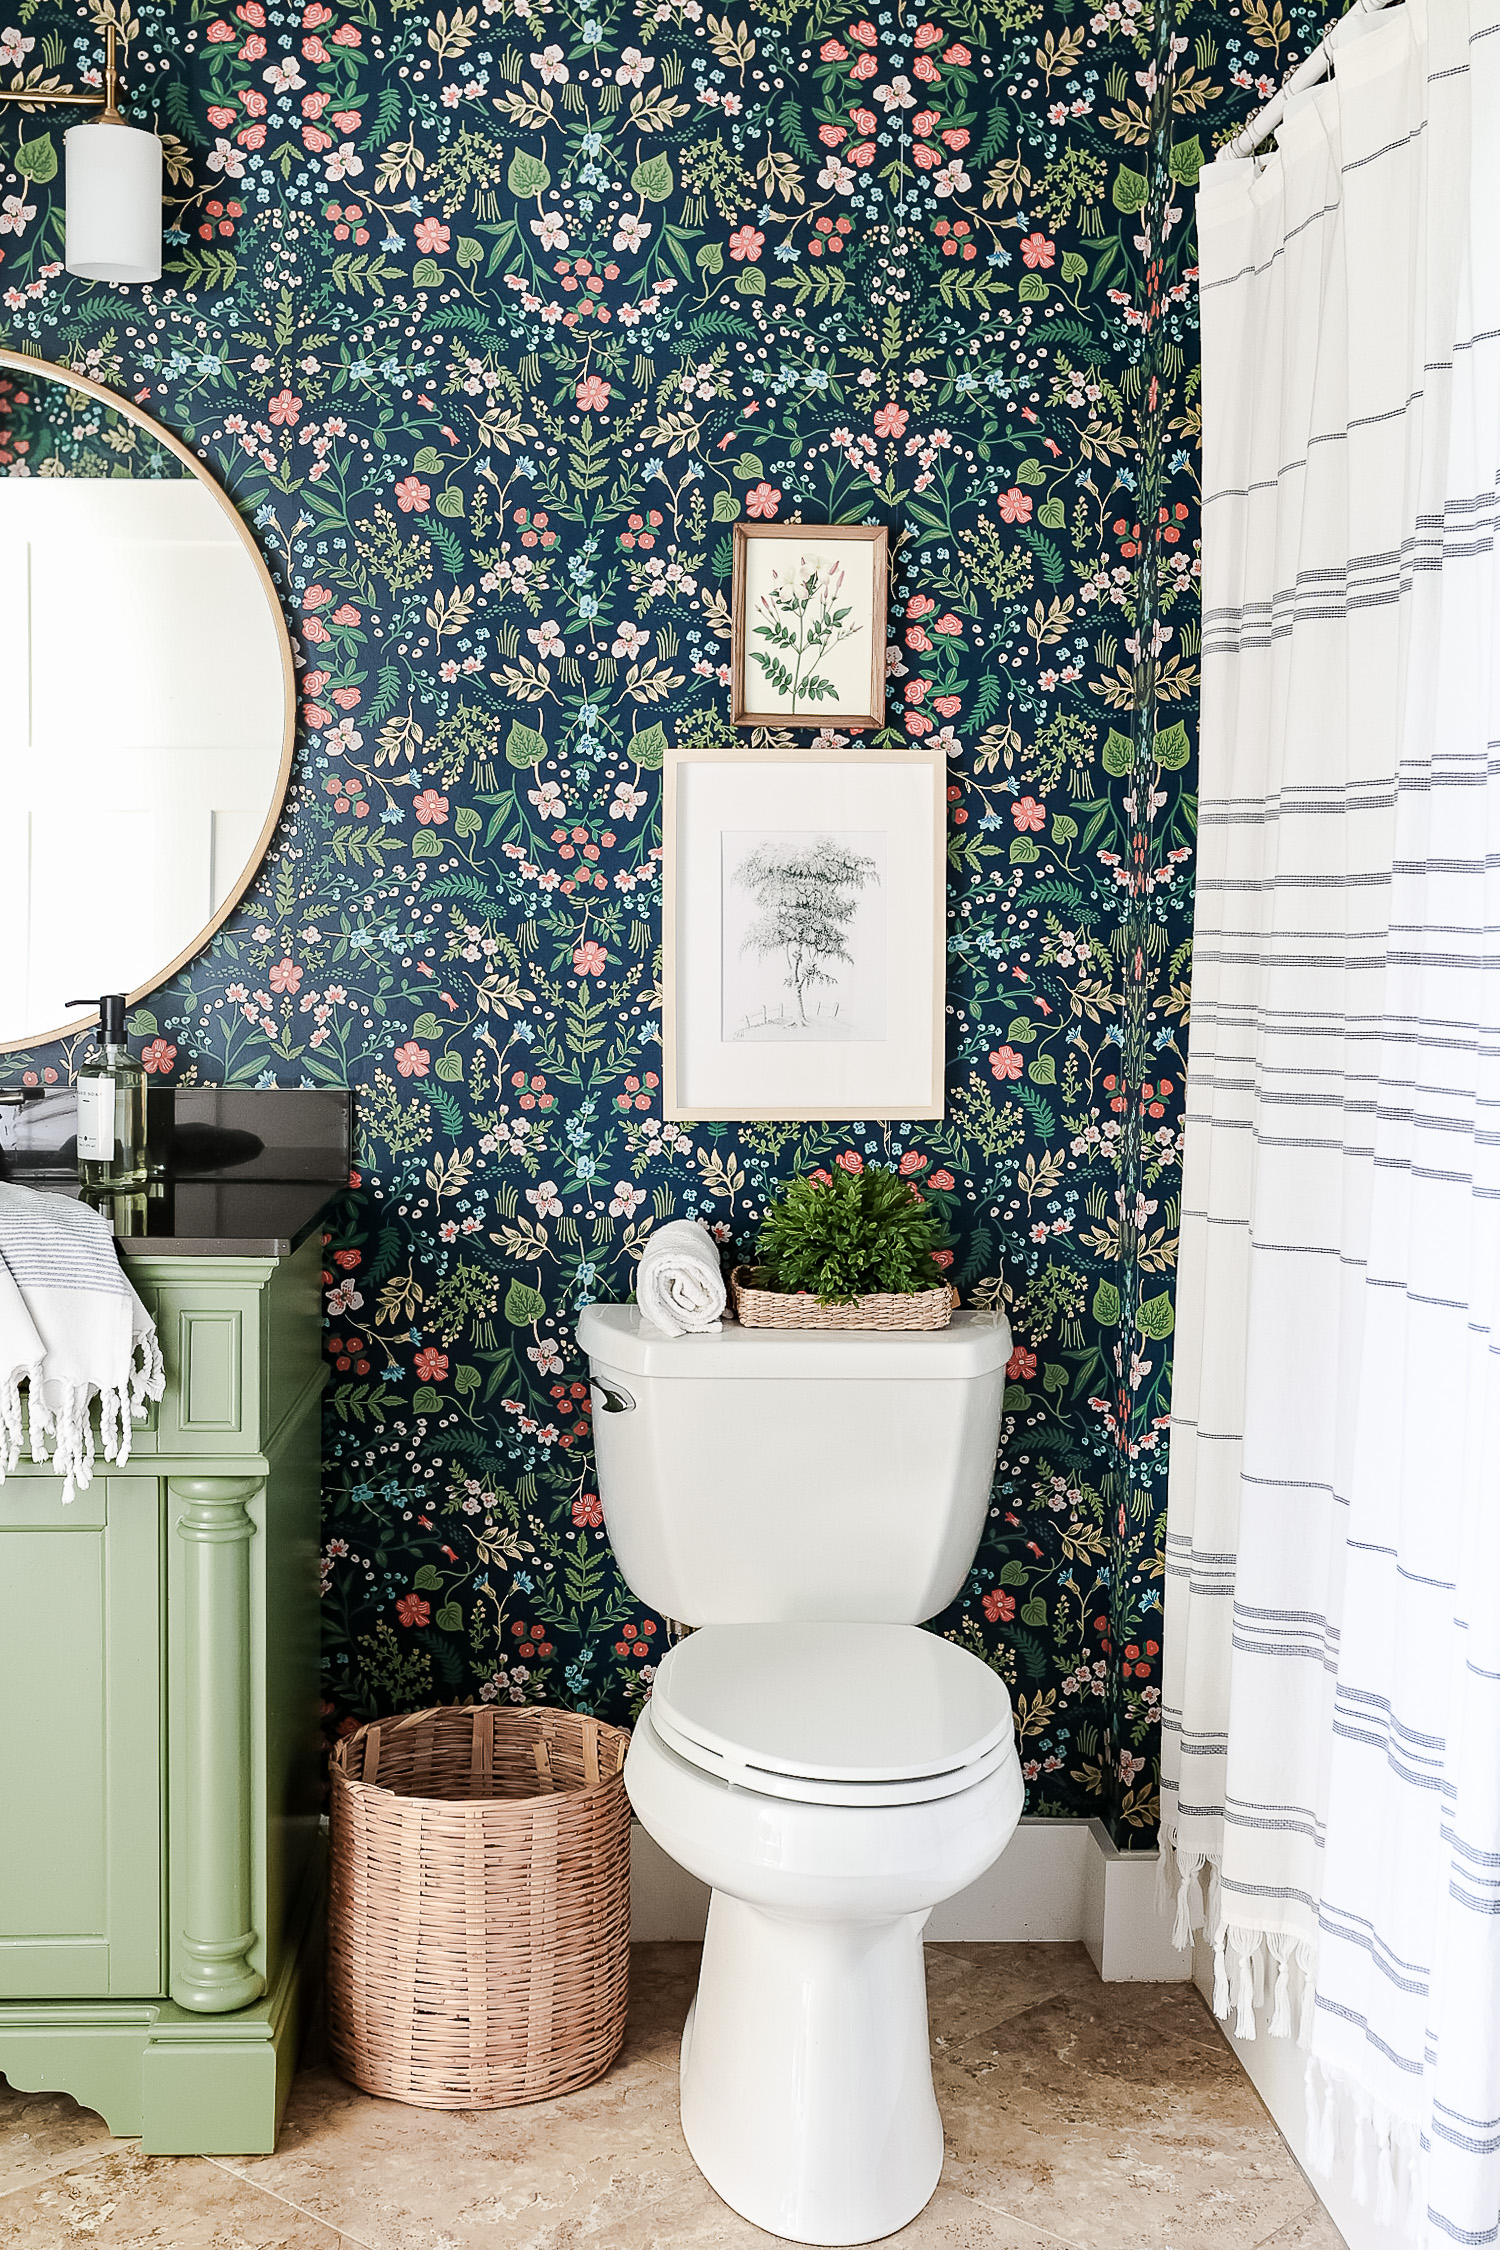
I have recently wallpapered our dining room and our daughter’s bathroom. I explain Where to Buy Wallpaper and How to Choose Wallpaper but today let’s discuss how to hang wallpaper.
Installing Wallpaper – Why?
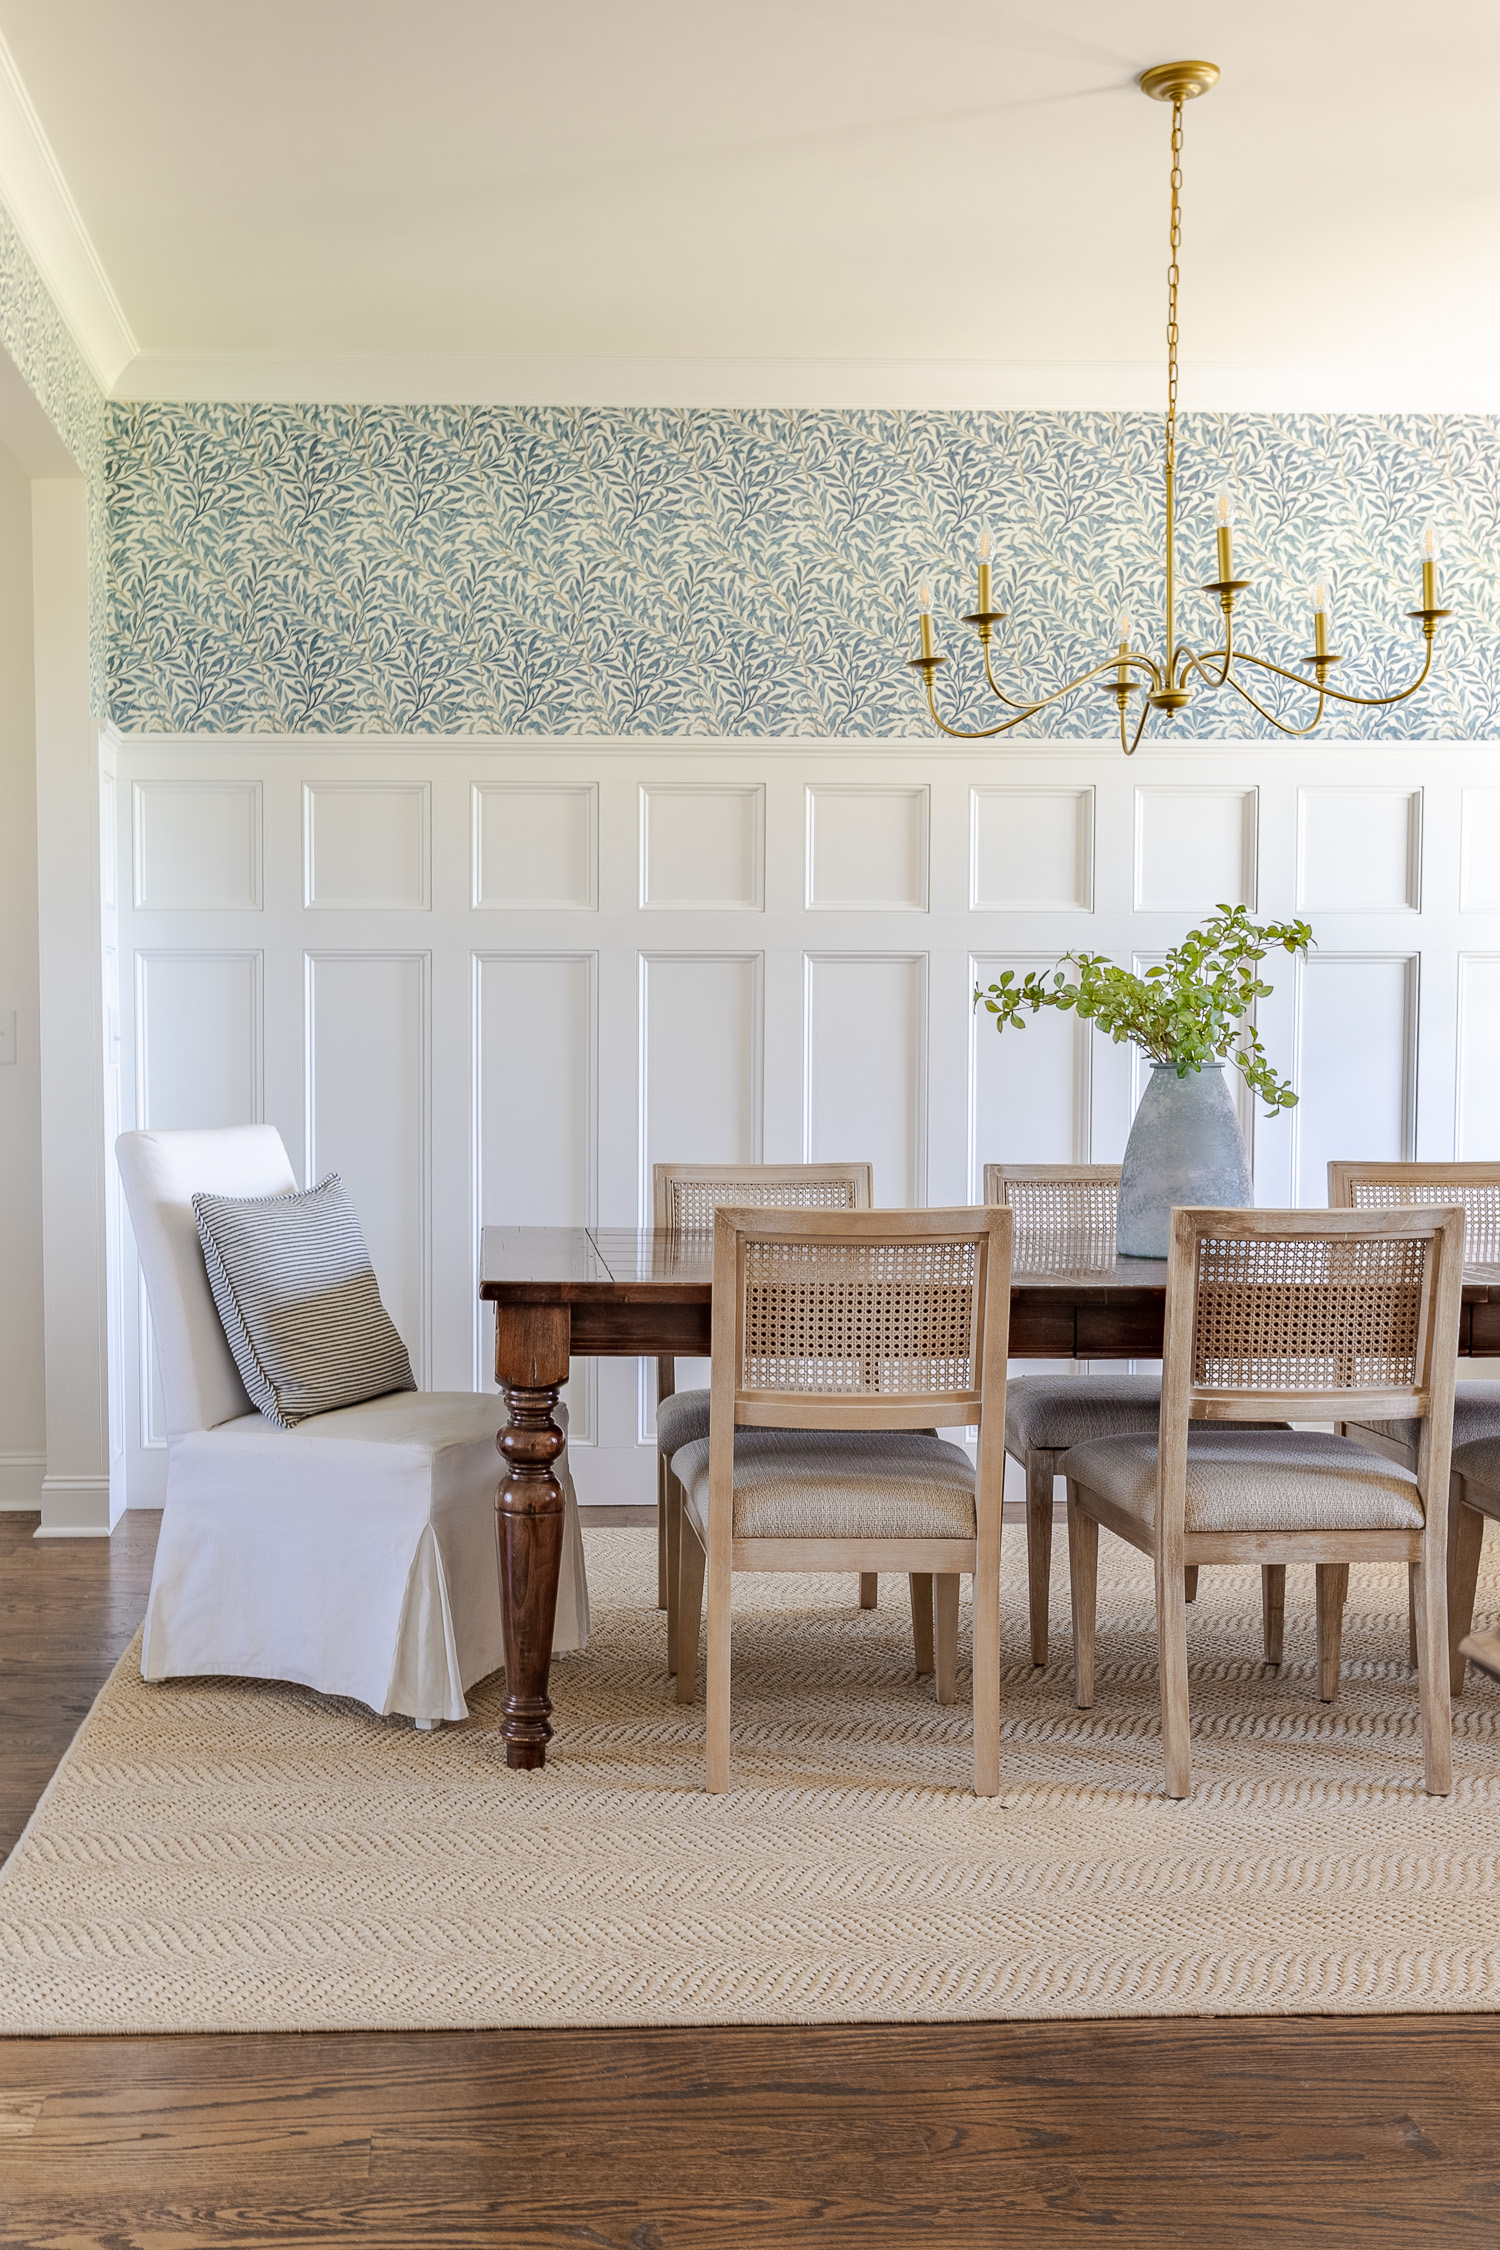
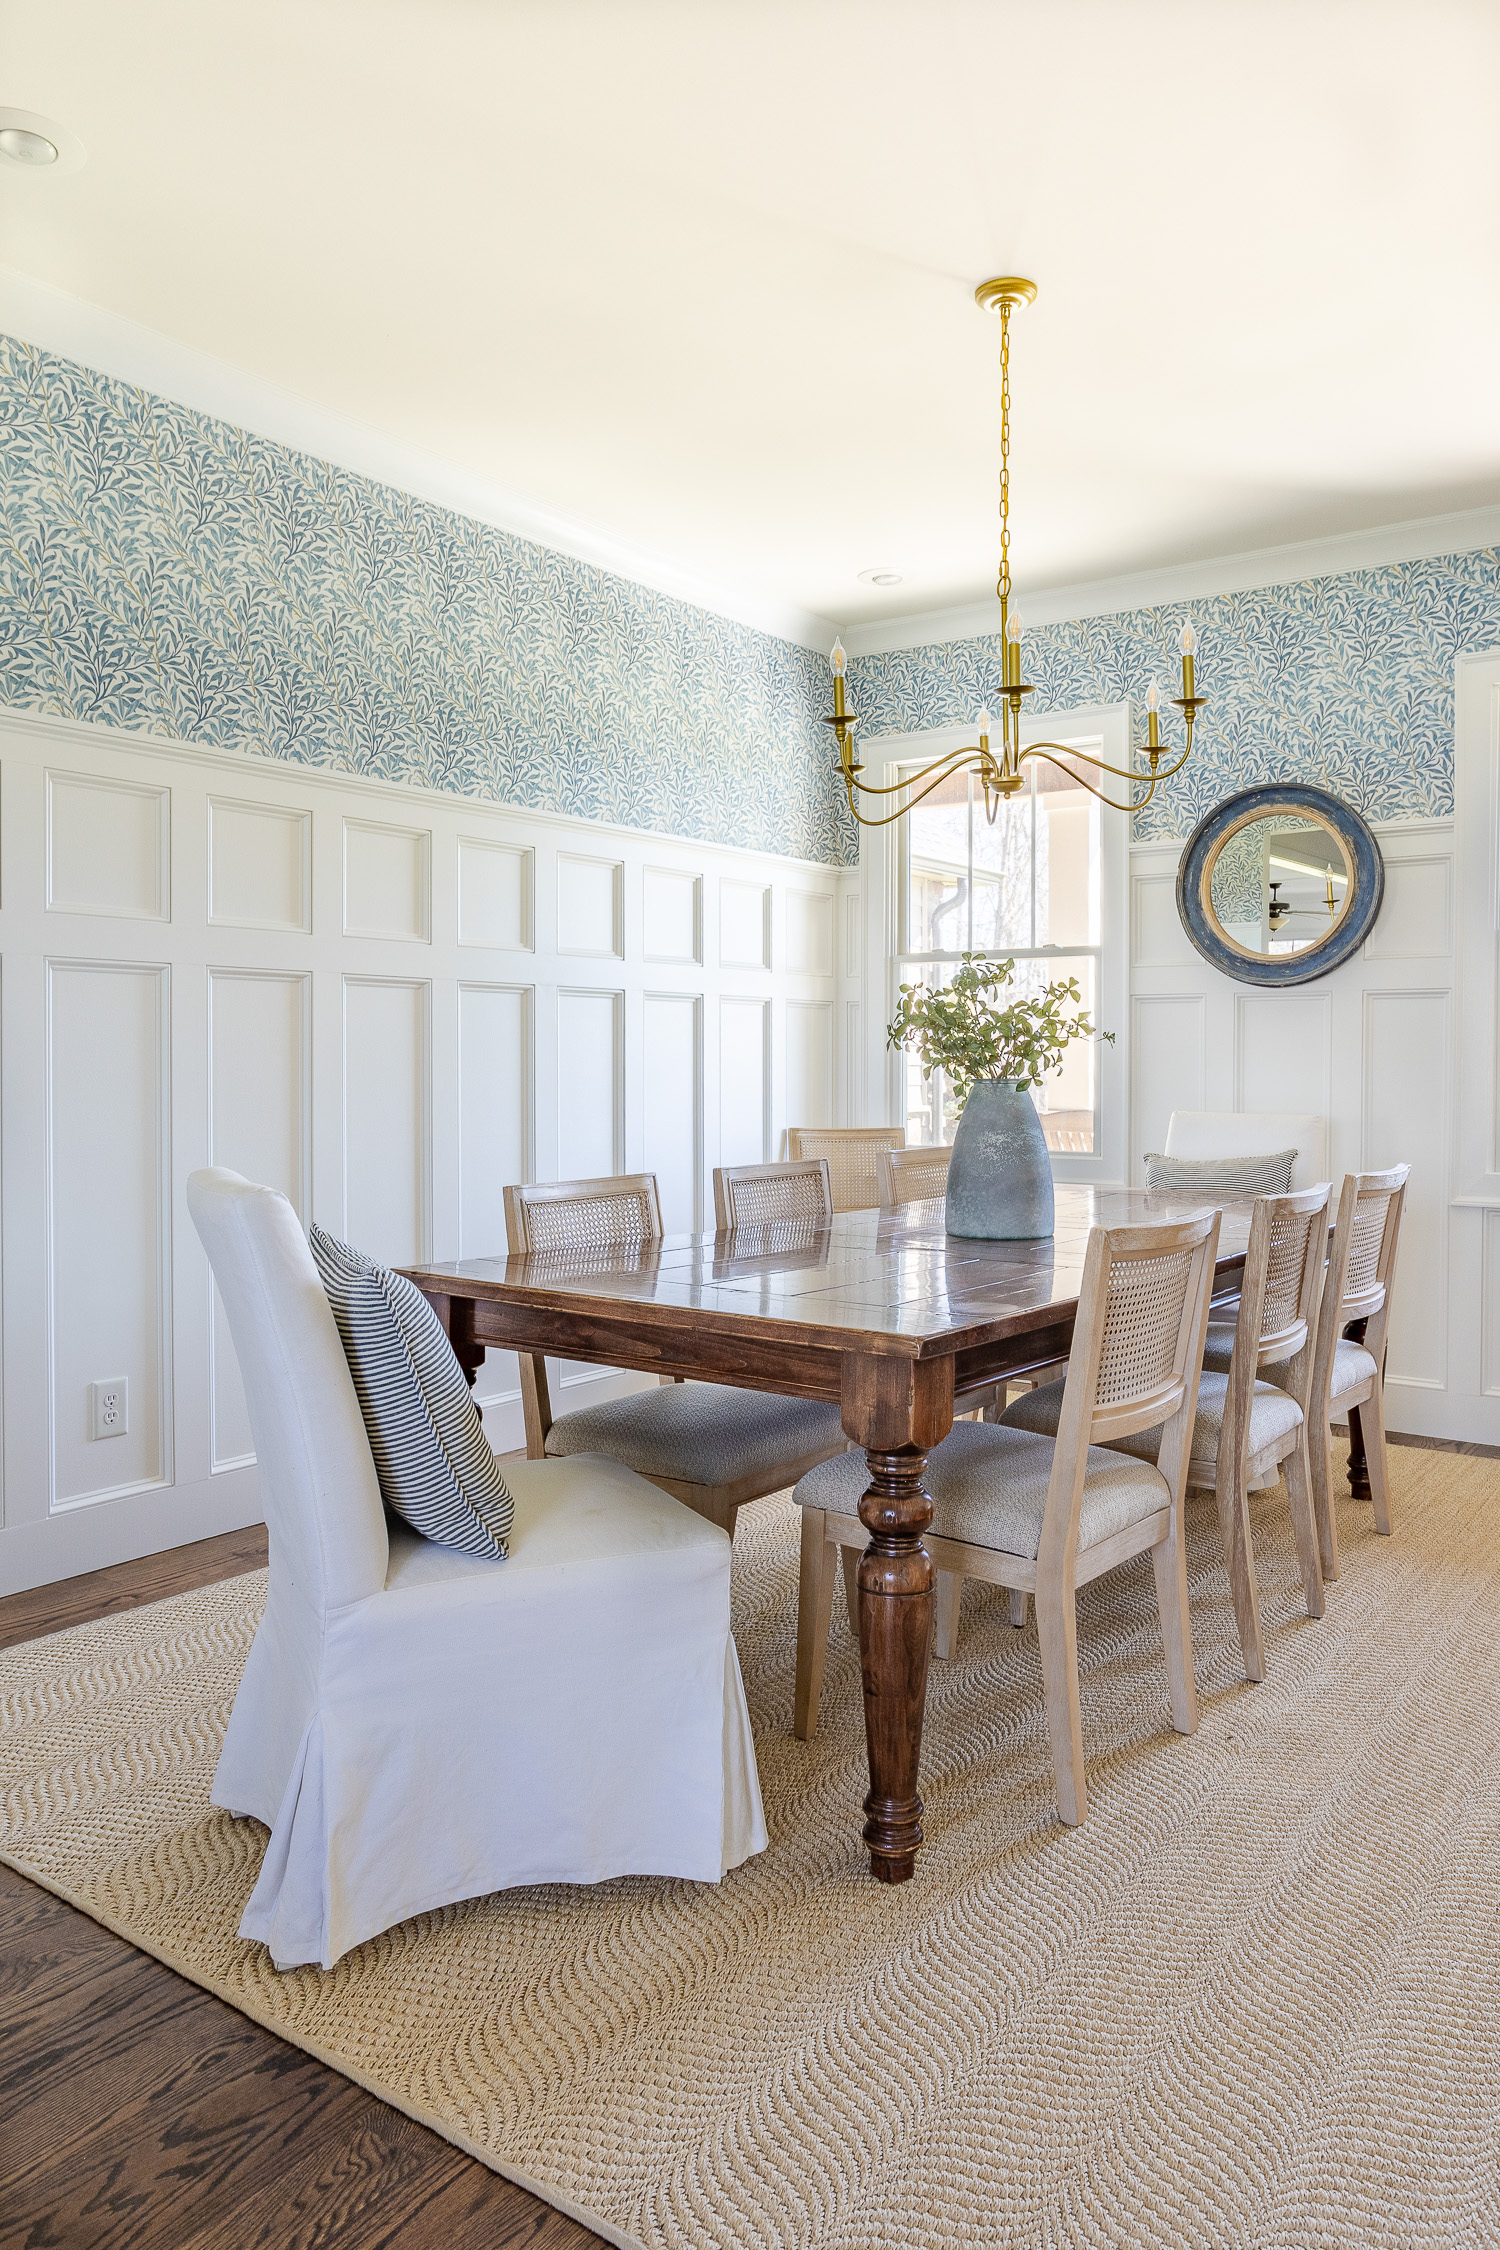
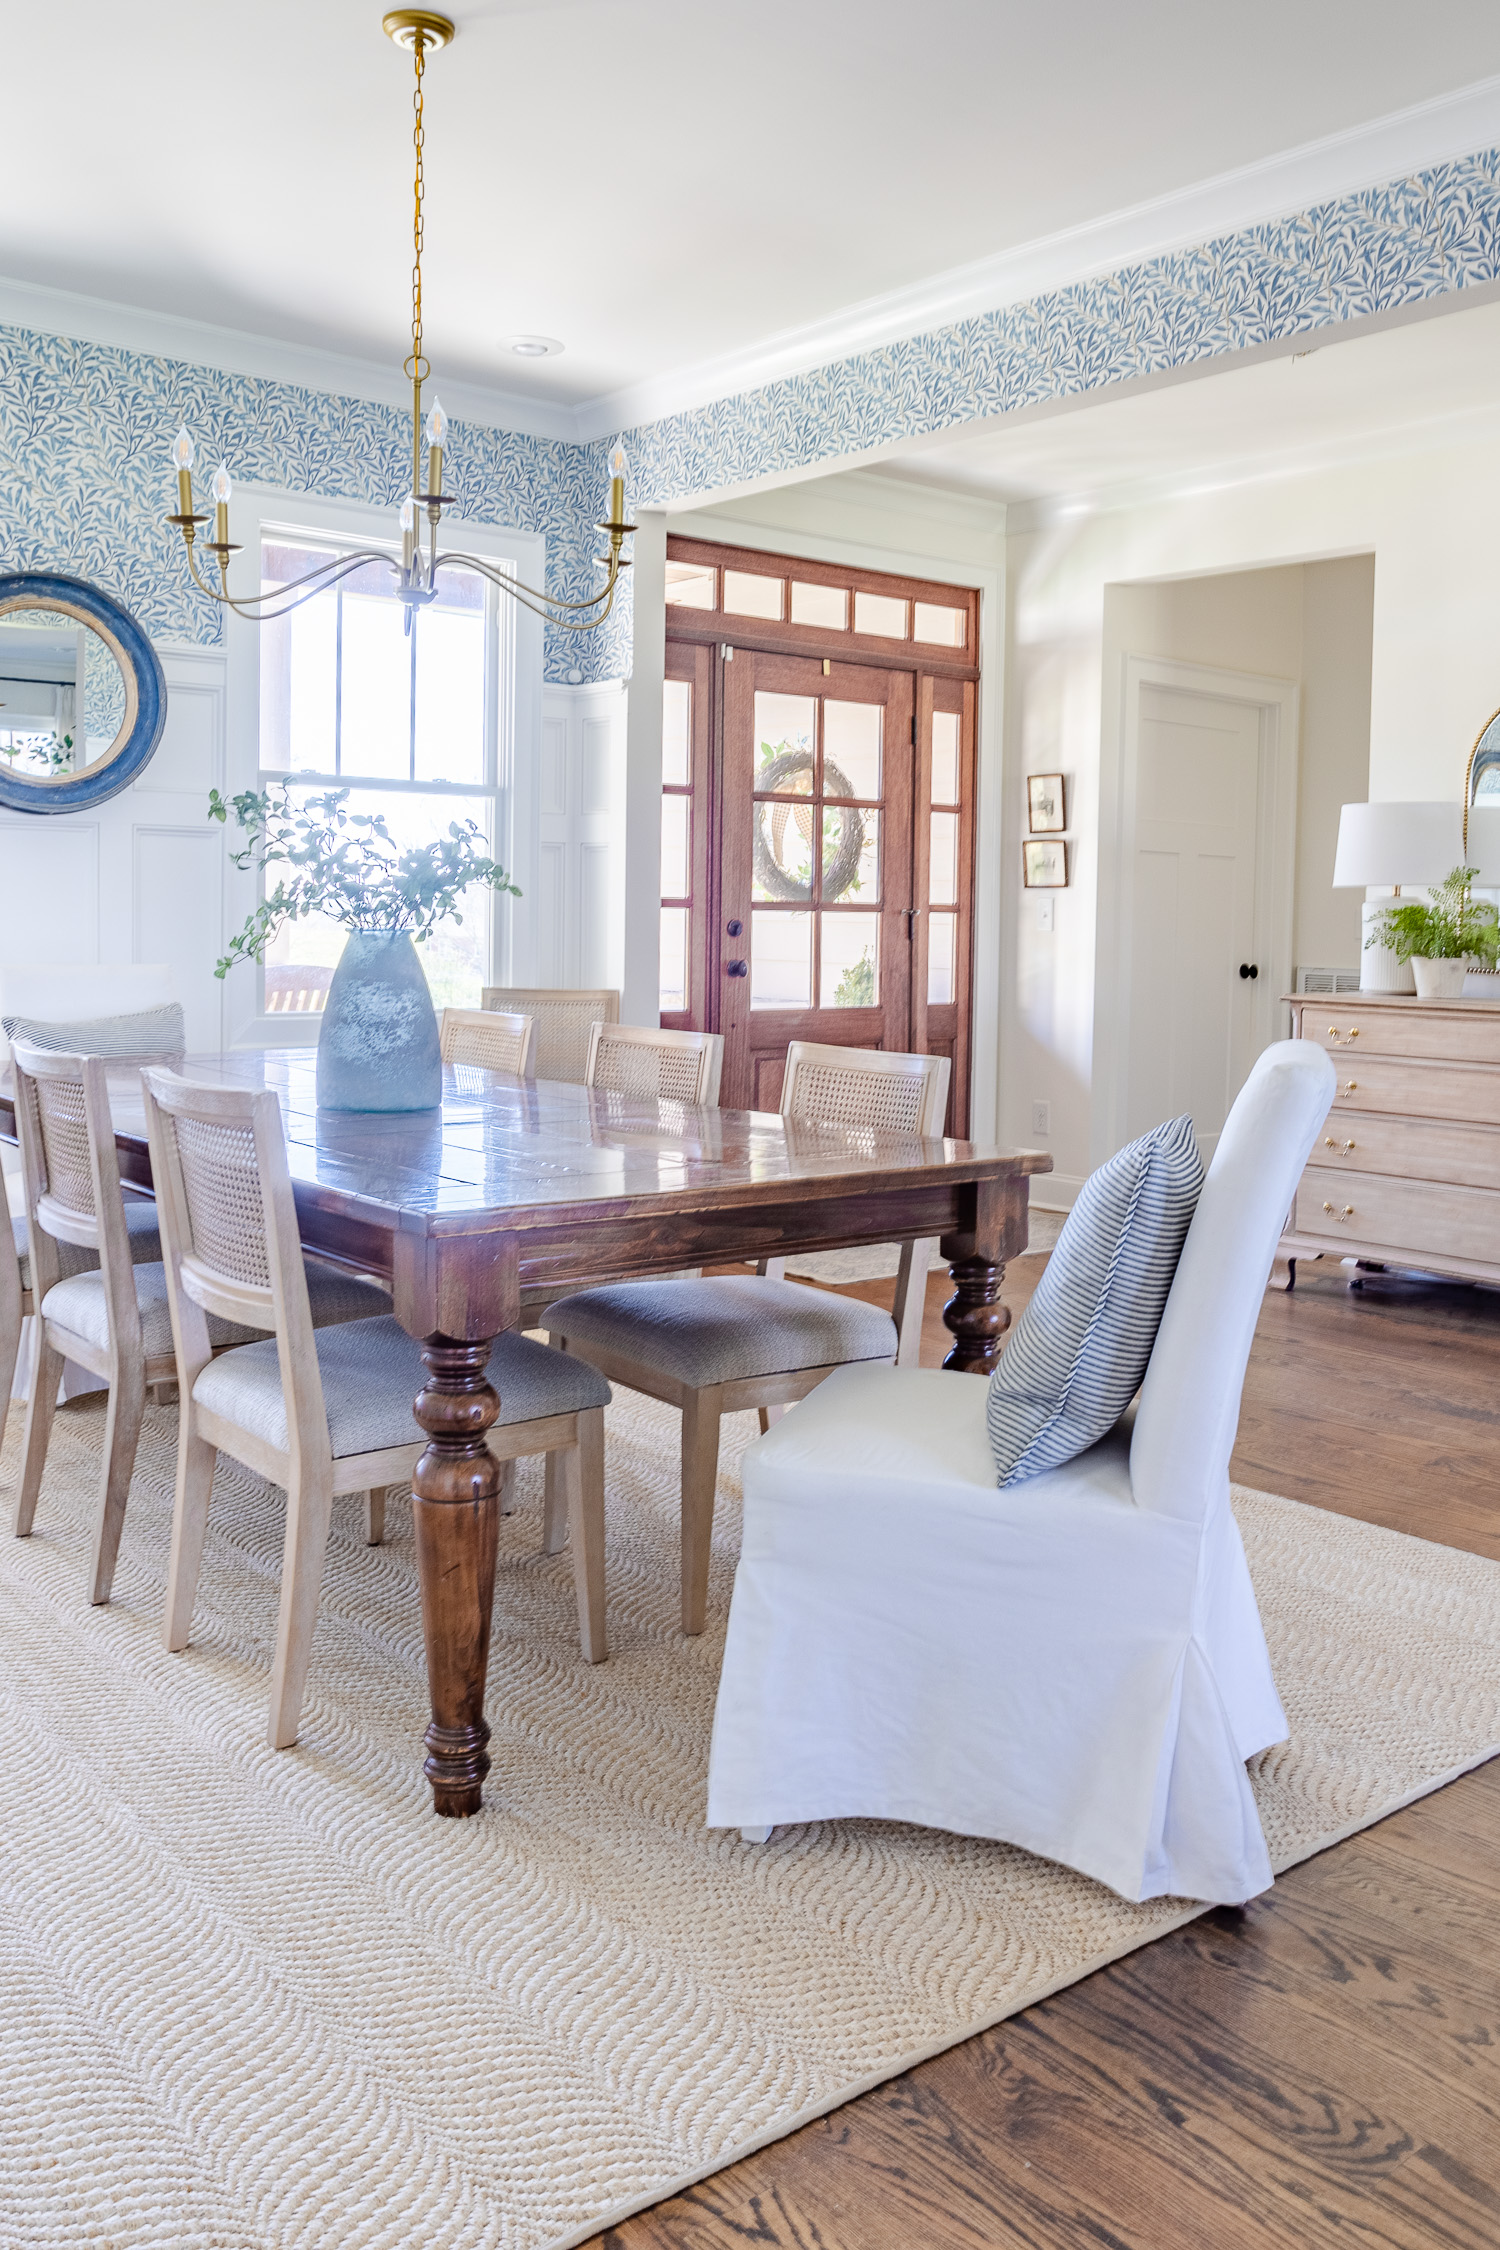
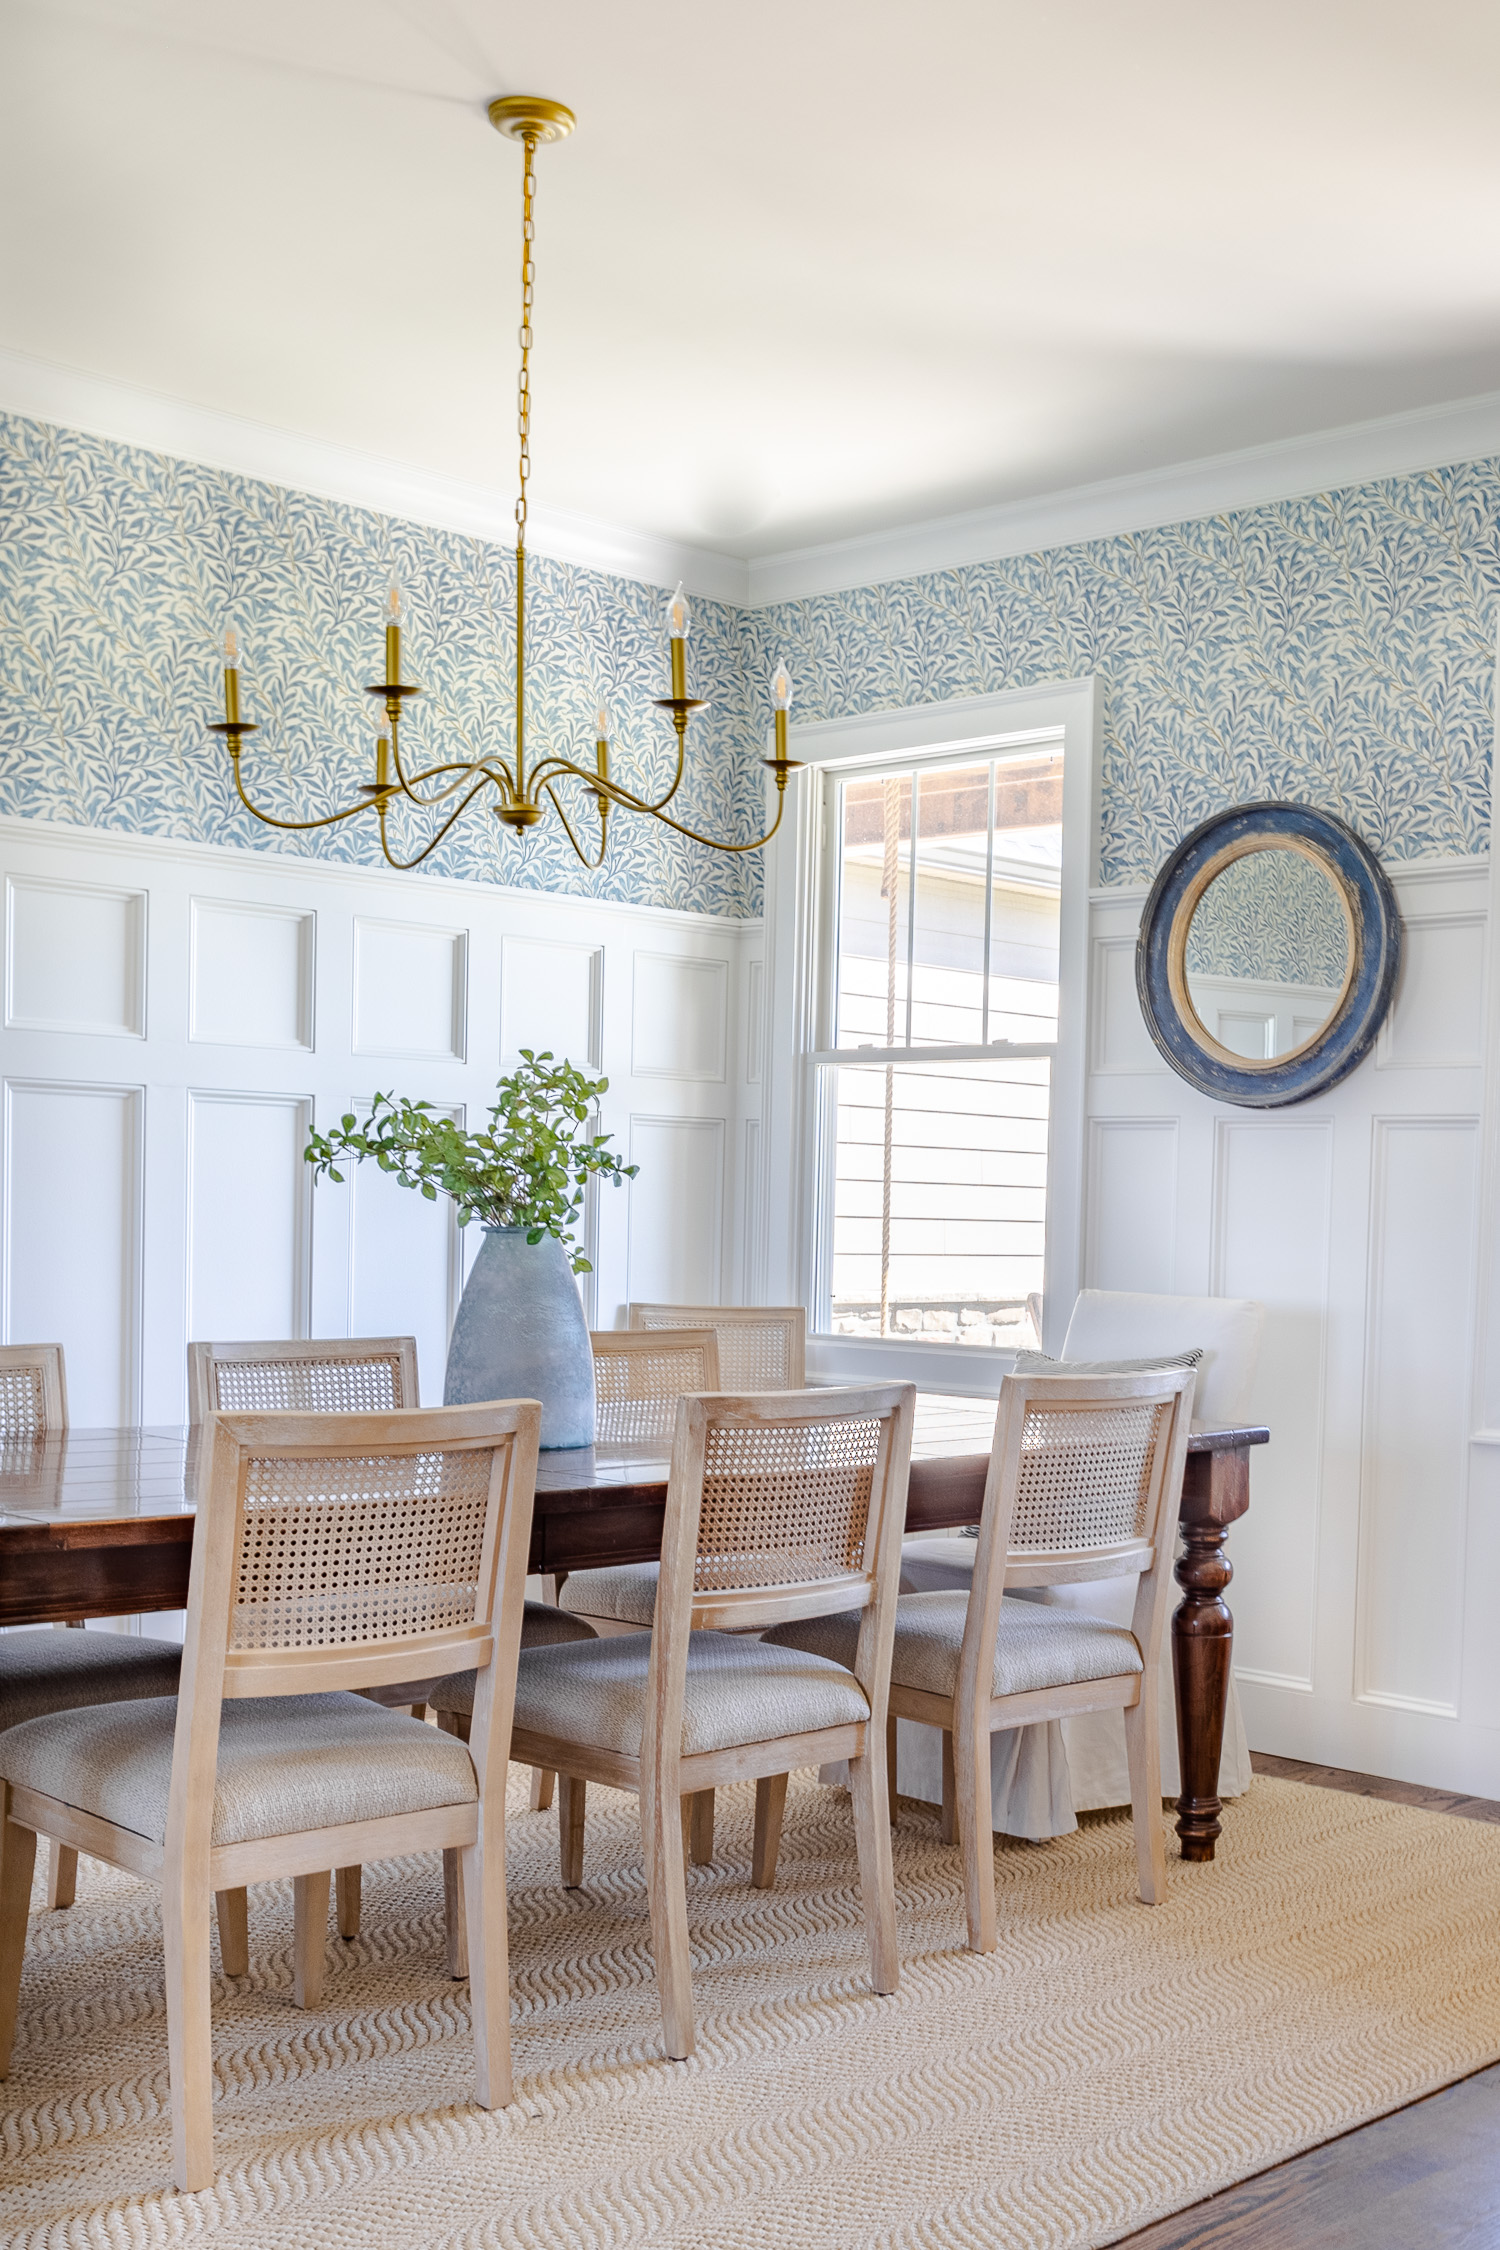
Installing wallpaper is a lovely way to bring texture, color and pattern into your home that takes your design beyond just paint colors. Wallpaper adds personality to your space and can add a pop of color and pattern all while keeping your home design cohesive. After we installed the Board and Batten in the Dining Room it was time for some pattern to bring the room to life.

Wallpaper Application Types
There are three main types of applications; non-pasted, pre-pasted, and self-adhesive or better known as peel and stick wallpaper.
For this wallpaper tutorial I will be discussing how to hang paste the wall application but these tips can be followed with other application types.
What Type of Wallpaper Application Should I Use?
That usually comes down to personal preference, but I’m going to speak from experience here and then you can decide on your application preference.
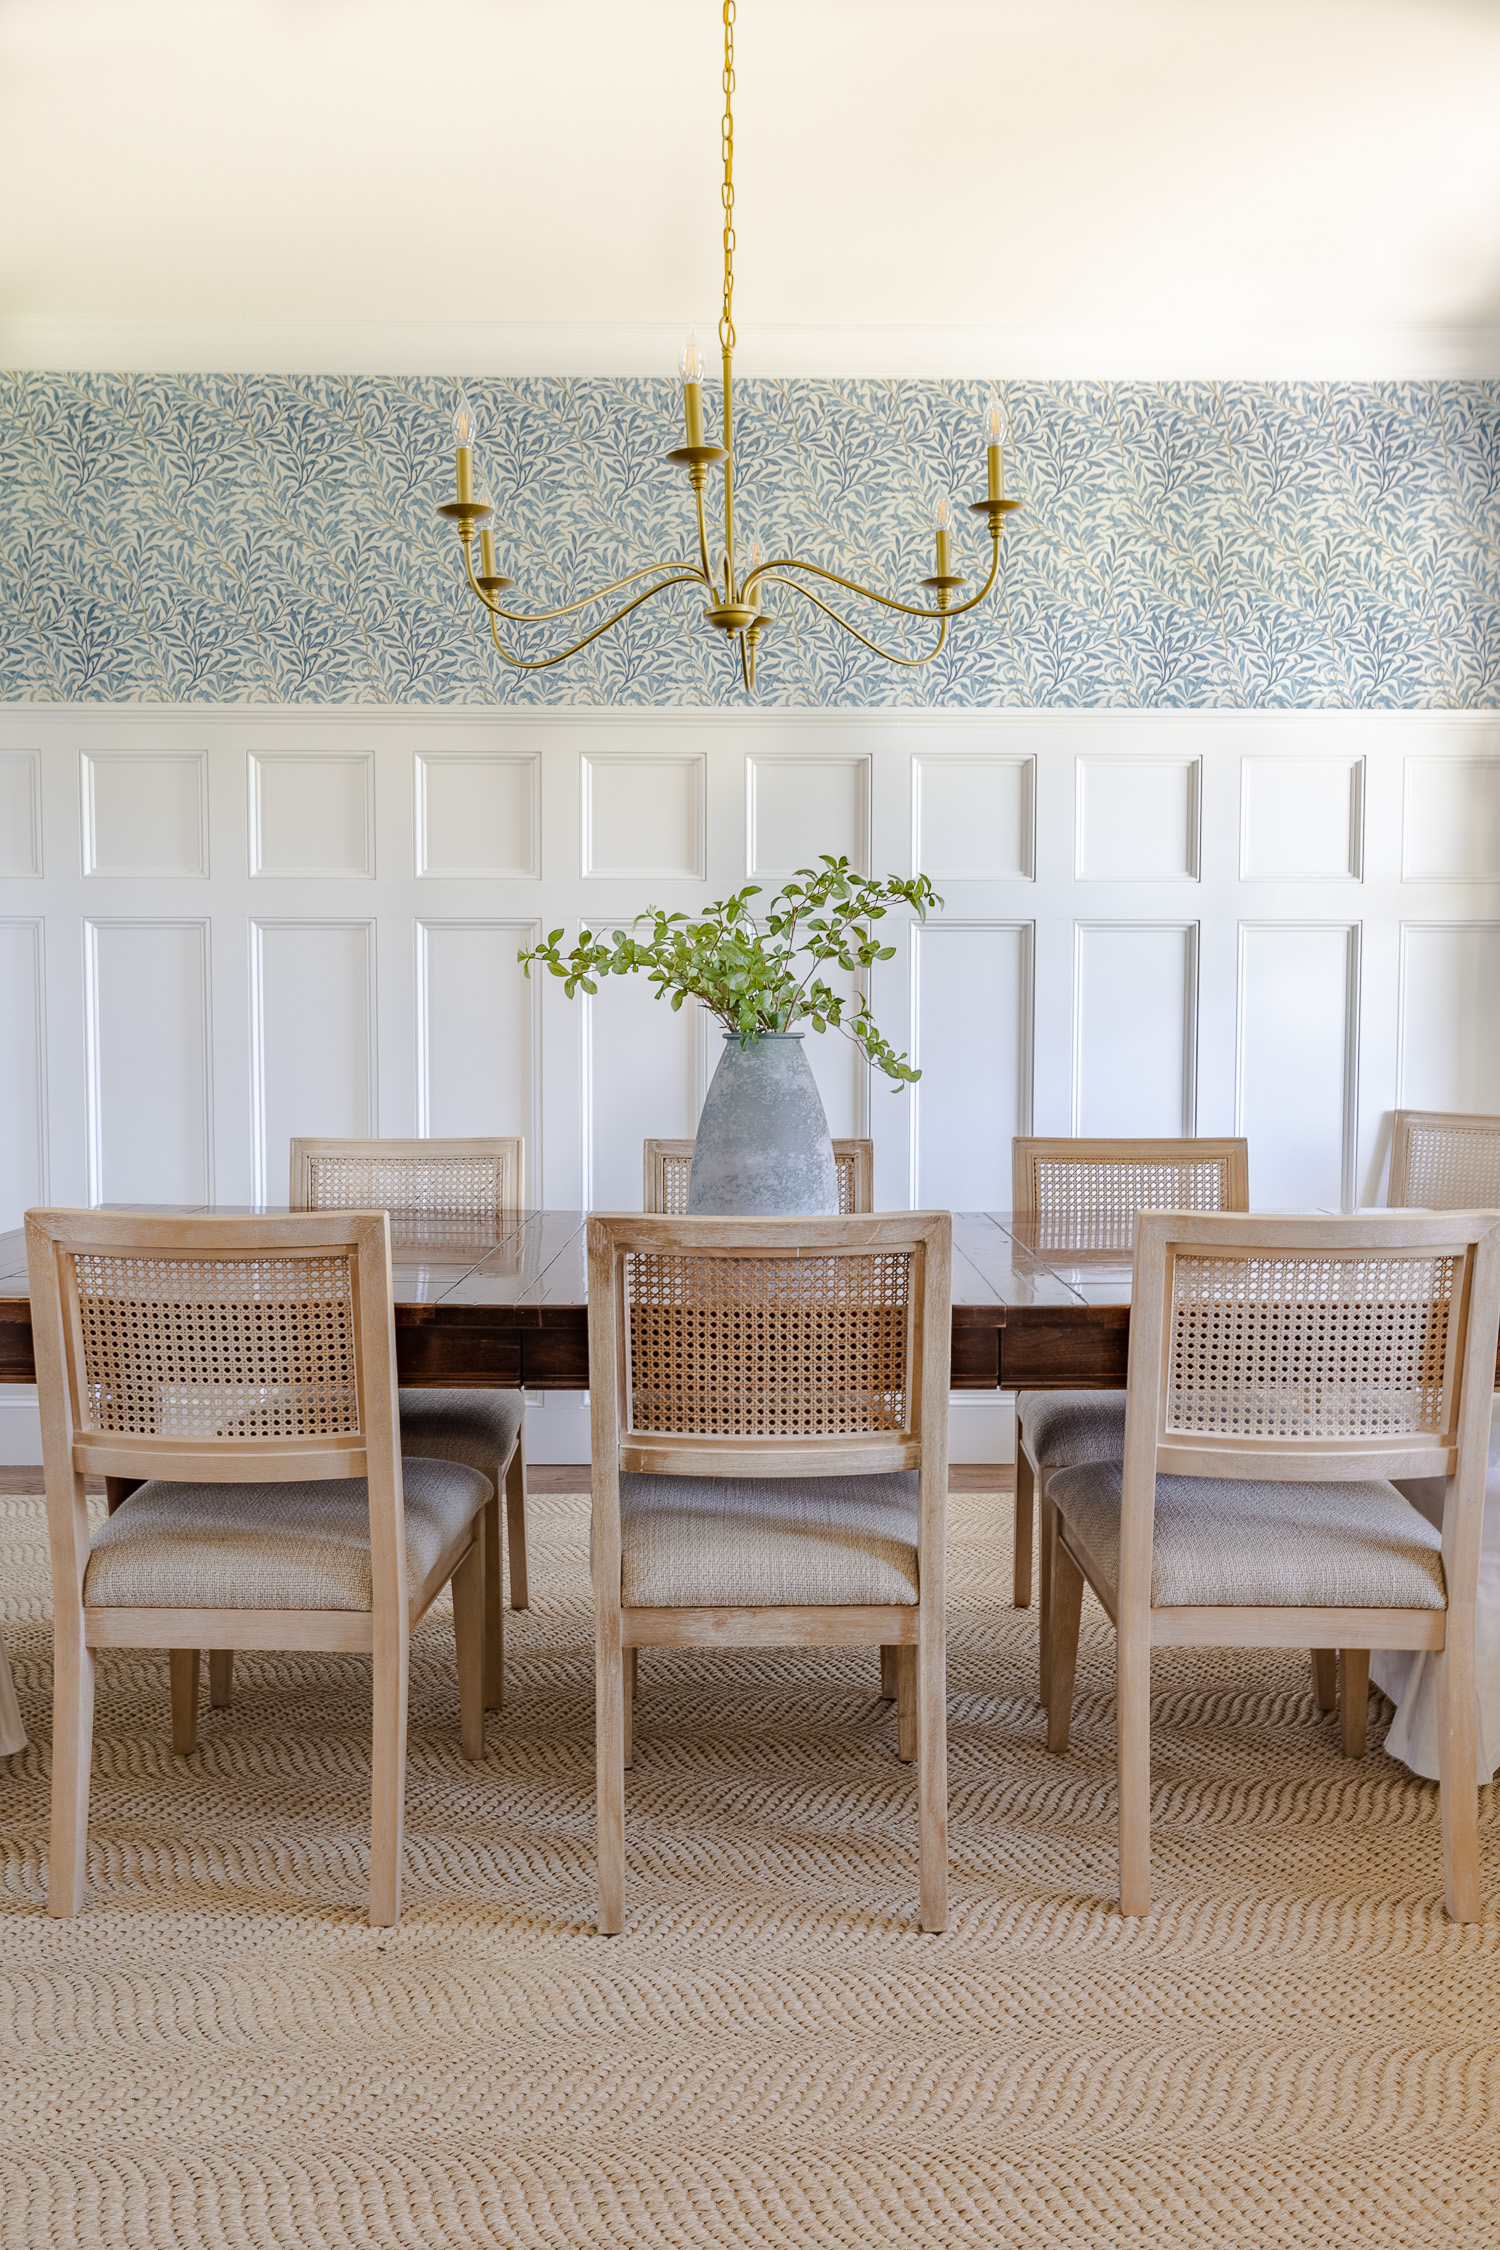
When I decided to use wallpaper in our dining room, I thought it would be easiest to use peel and stick since I wouldn’t have to mess with wallpaper adhesive. However, I fell in love with this pattern from William Morris for our dining room and it was paste the wall application. I was nervous as I thought peel and stick was easier.
Glad I was wrong! Peel and stick is not easier, but since I had never used the paste the wall type I didn’t know. I would use paste the wall type 10 out of 10 every single time!
Peel and stick wallpaper is so sticky that it is harder to maneuver. It sticks to areas I didn’t want it to every time I went to reposition it. The paste the wall application was much, much easier to adjust and move around to exactly where I wanted it. It was way more forgiving, too.
How Much Do I Need?
You will always need more than you think. Keep in mind that some wallpapers can be expensive and you might want to keep rooms you wallpaper to a minimum or ones that are smaller.
I started by figuring out how much wall space I needed to cover above the board and batten in the dining room by measuring how high and how long the walls were. Based on my measurements I knew I needed three rolls to cover, line up the repeat and have extra in case of mistakes.
There are also helpful wallpaper calculators out there to guide you on how many rolls to purchase.
What is Repeat?
The repeat is how often the pattern on the paper starts over again. This is important because you will want to line up the pattern on your wallpaper from strip to strip to make sure it looks seamless on the wall. Knowing how the repeat is measured or spaced will also help you in deciding how much wallpaper you need to purchase.
Supplies Needed for Installing Wallpaper
- Wallpaper Selection
- Wallpaper Glue
- Cheap Paint Brush
- Level
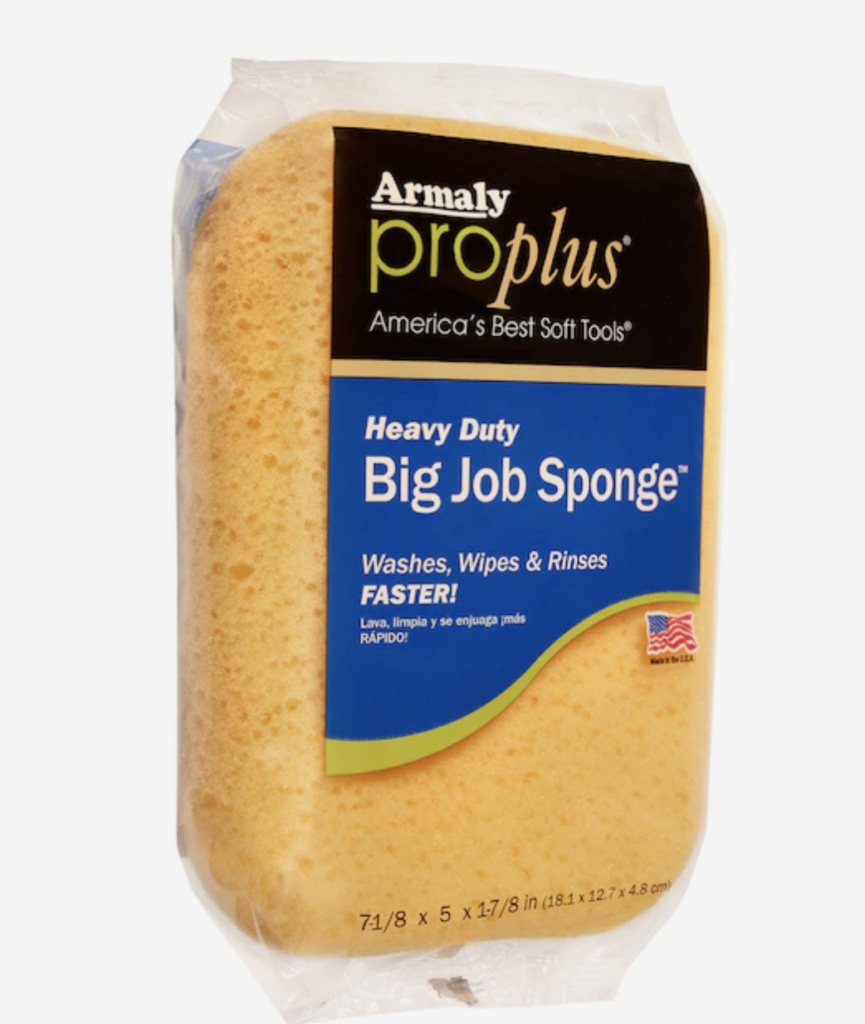
- Wallpaper sponge
- Metal square edge
- Smoothing Tool
- X-acto knife (+ extra blades)
- Scissors
- Pencil
Shop the Supplies
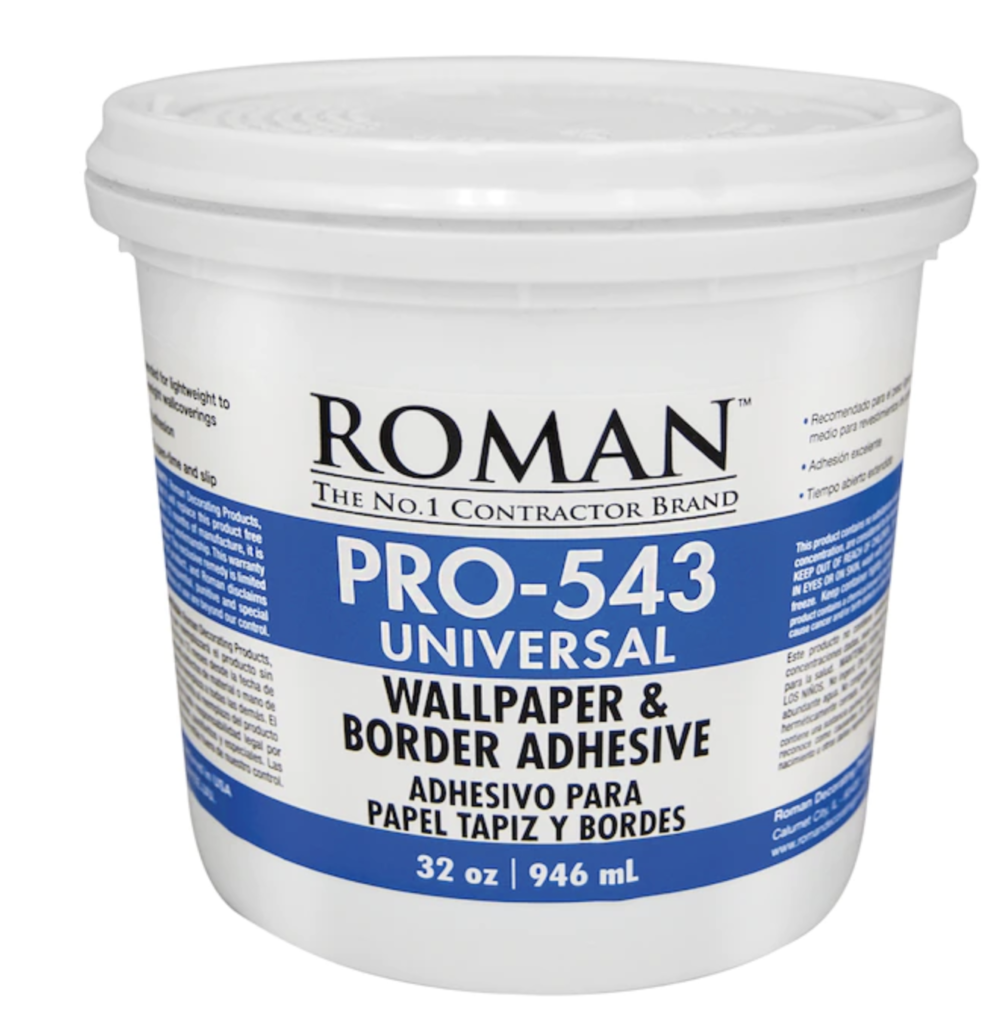
Wallpaper Glue
Sponge
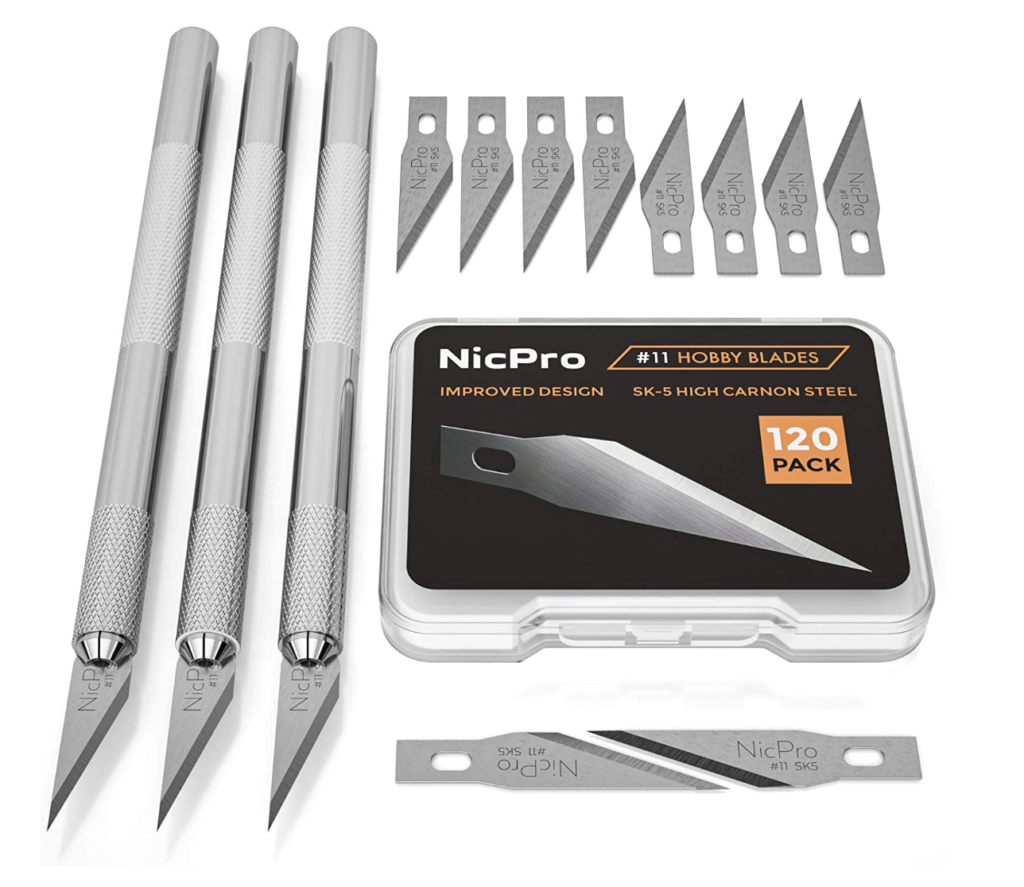
X-acto knife (+ extra blades)
Installing Wallpaper Guide
I highly recommend thoroughly reading the directions that come with the wallpaper before you begin. Instructions will vary depending on the specific paper’s application.
NOTE: You do not want to install any wallpaper directly to drywall.
For paste-the-wall wallpaper, the drywall can soak up the paste not leaving much for the paper. It is best to apply a primer to seal the wall before applying the paste.
1. Wipe down the walls
Ensure you are starting with nice clean walls! I was sure to wipe down the walls really well so they would be free of dust from our previous board and batten install.
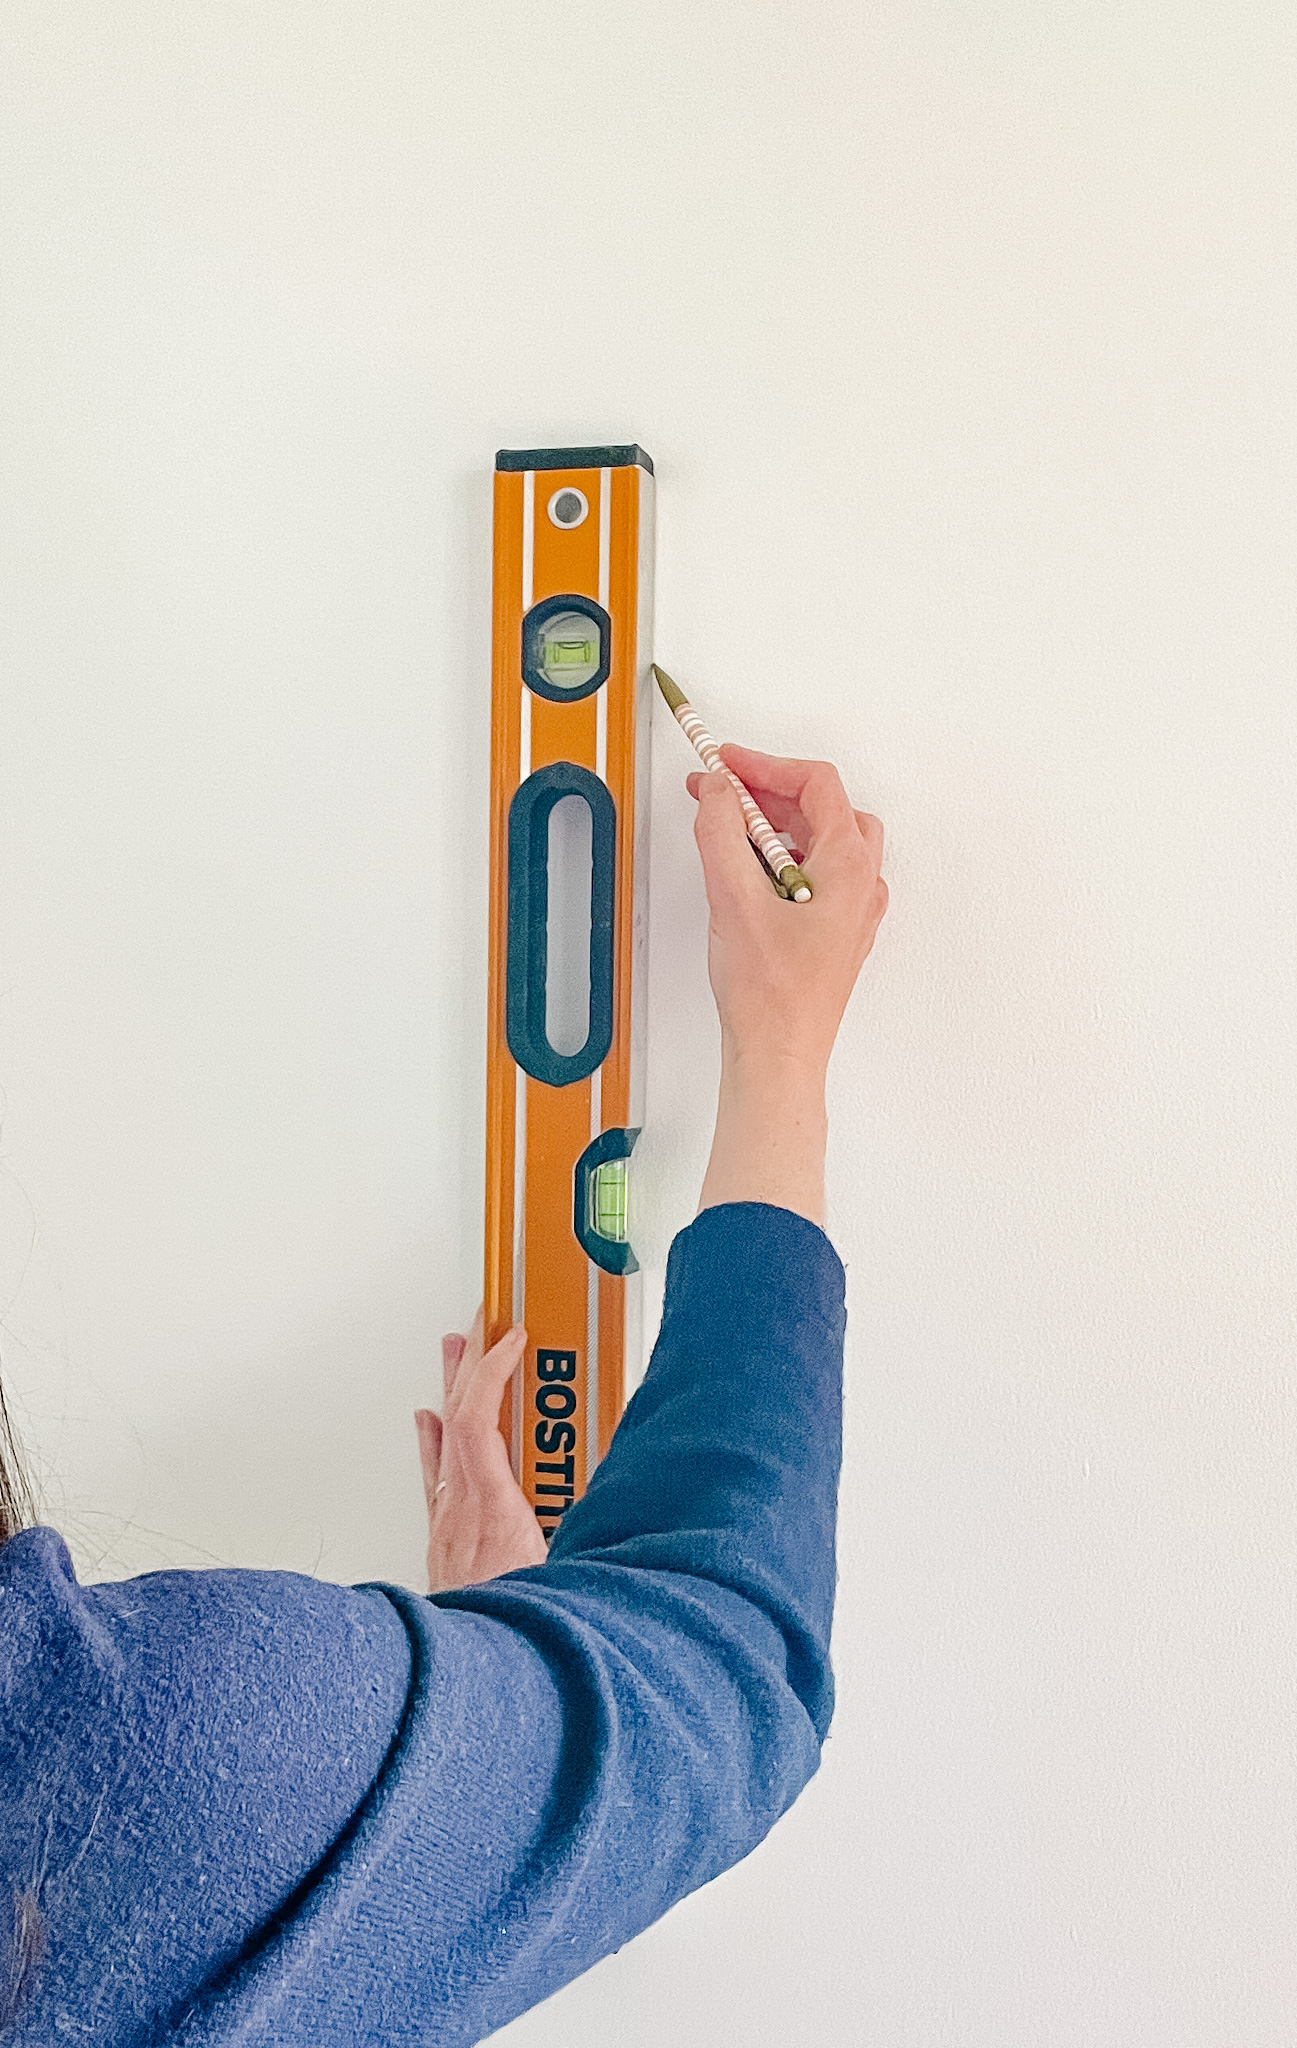
2. Draw a plumb line
Before getting excited and measuring and cutting that first strip of paper, you want to ensure you have a straight line for the first piece. All other strips of paper will line up off the first one; therefore, it is SO important to make sure that this first piece is perfectly straight.
Use a level and draw a line on the wall with a pencil. This is where your first piece will line up. My wallpaper instructions stated taking the width of the wallpaper and subtracting one inch. Then I drew my line away from the corner of the wall so that the paper would wrap around the corner.
3. Measure and cut your first length
I measured the height of my wall and added four extra inches to the measurement to ensure I had plenty of paper to cover the wall.
4. Add paste to your walls
The techniques shared here can help you with any type of wallpaper installation job even though there are different types of wallpaper applications. Understand your wallpaper’s application process and follow it.
Since mine is paste the wall, I added wallpaper glue to the wall first using a paint roller and paint brush as needed. Add the adhesive to a paint tray and roll on like you are painting a wall. Use only enough wallpaper adhesive for the section you are working on ensuring to overlap a little of glue onto the section you just finished.
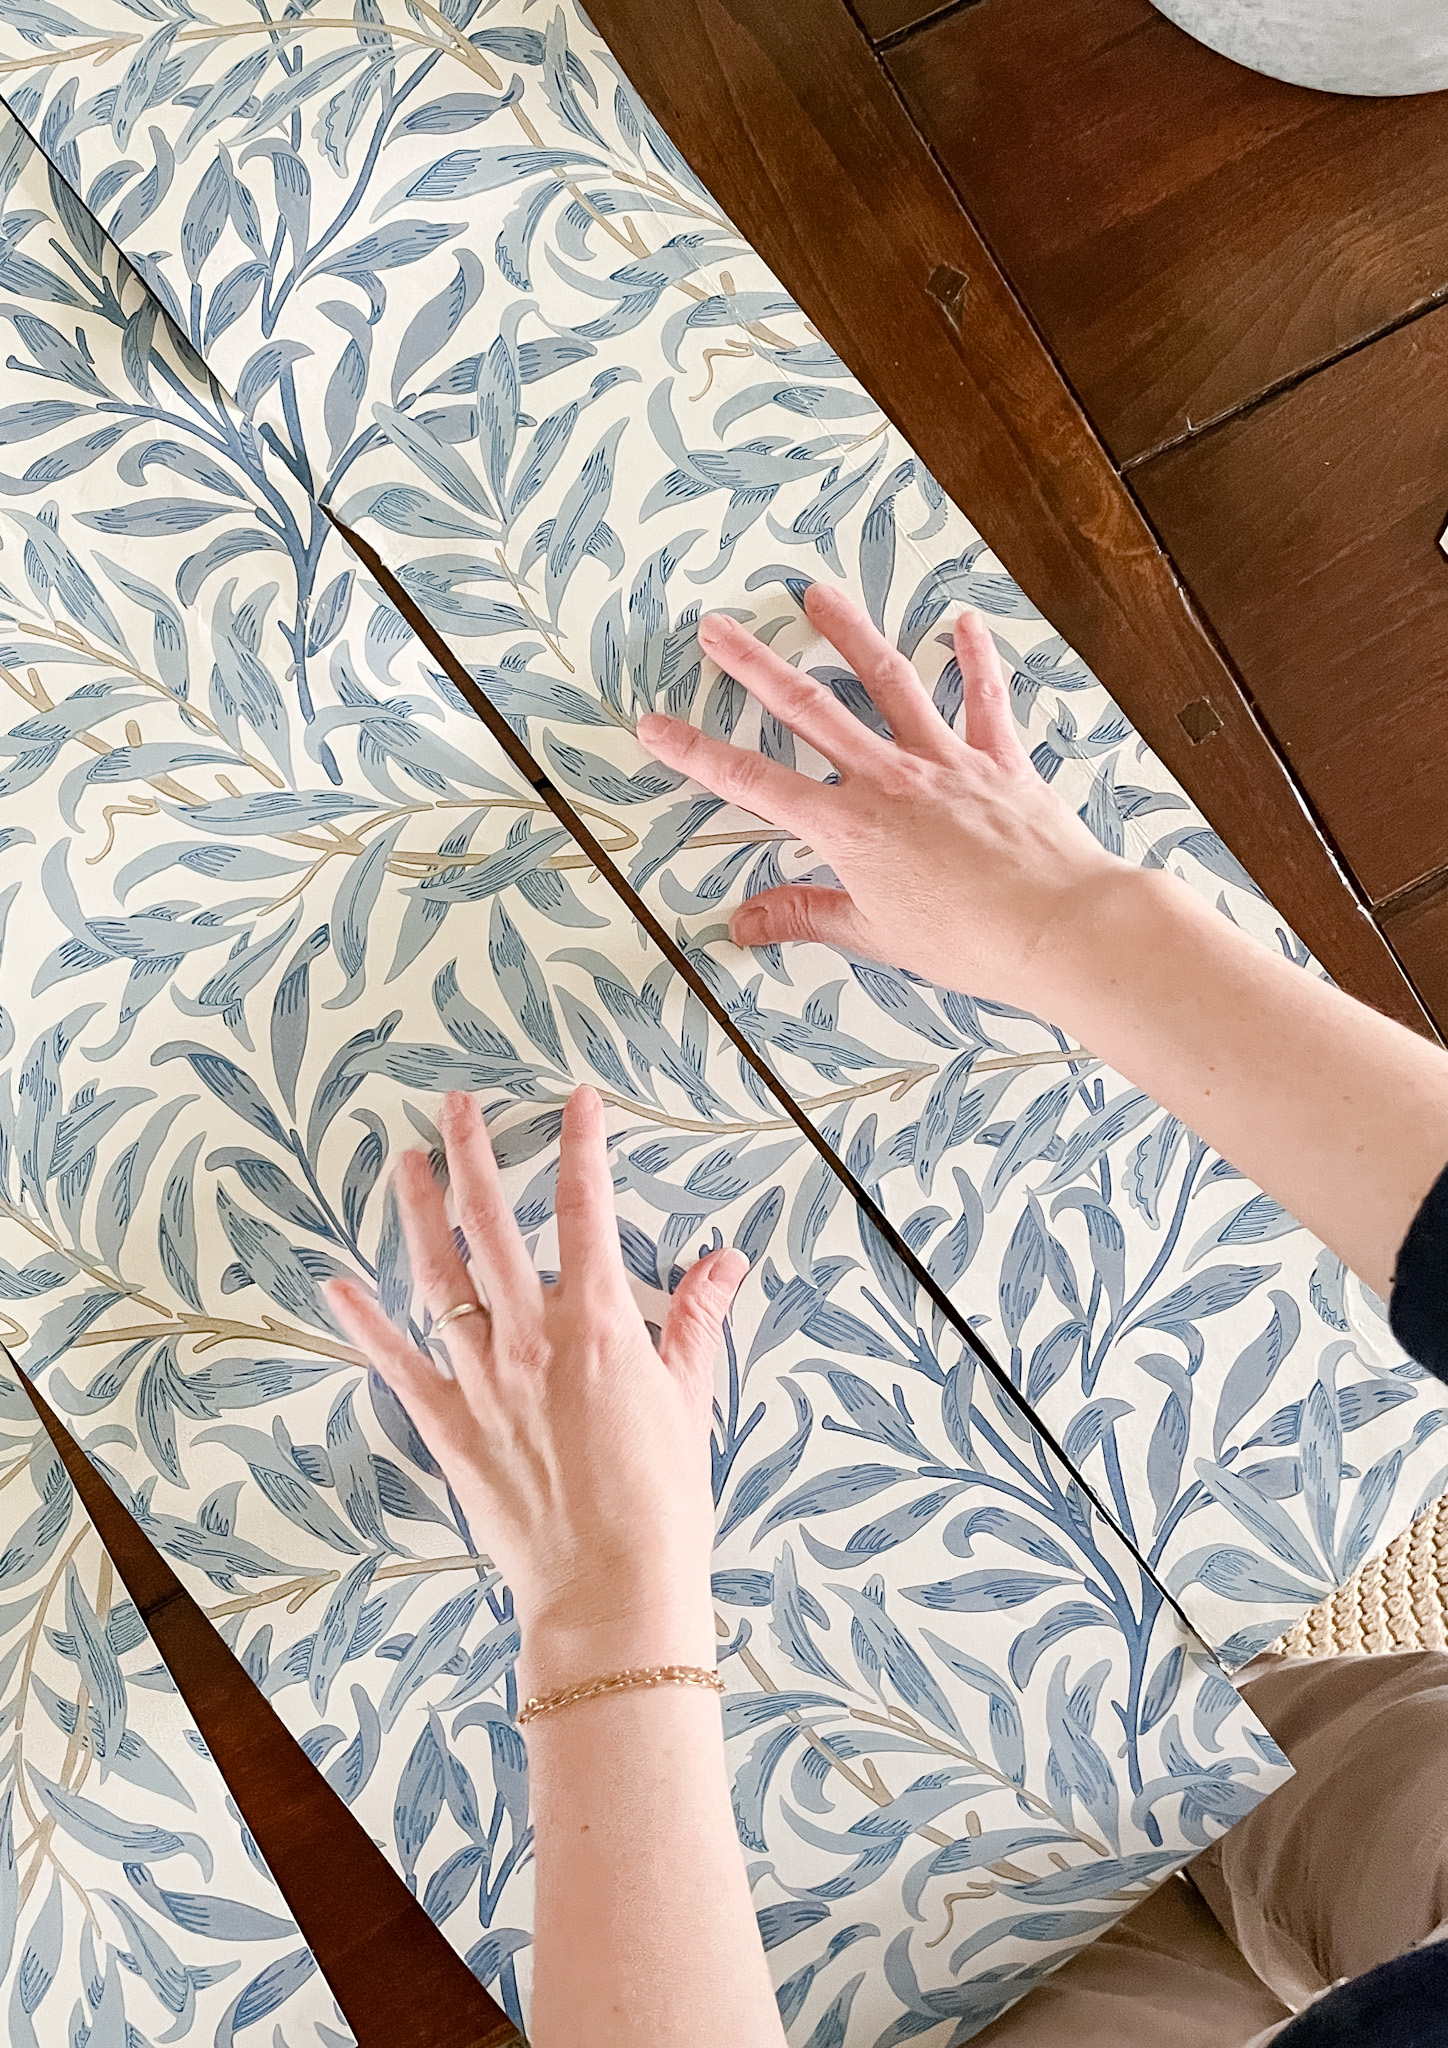
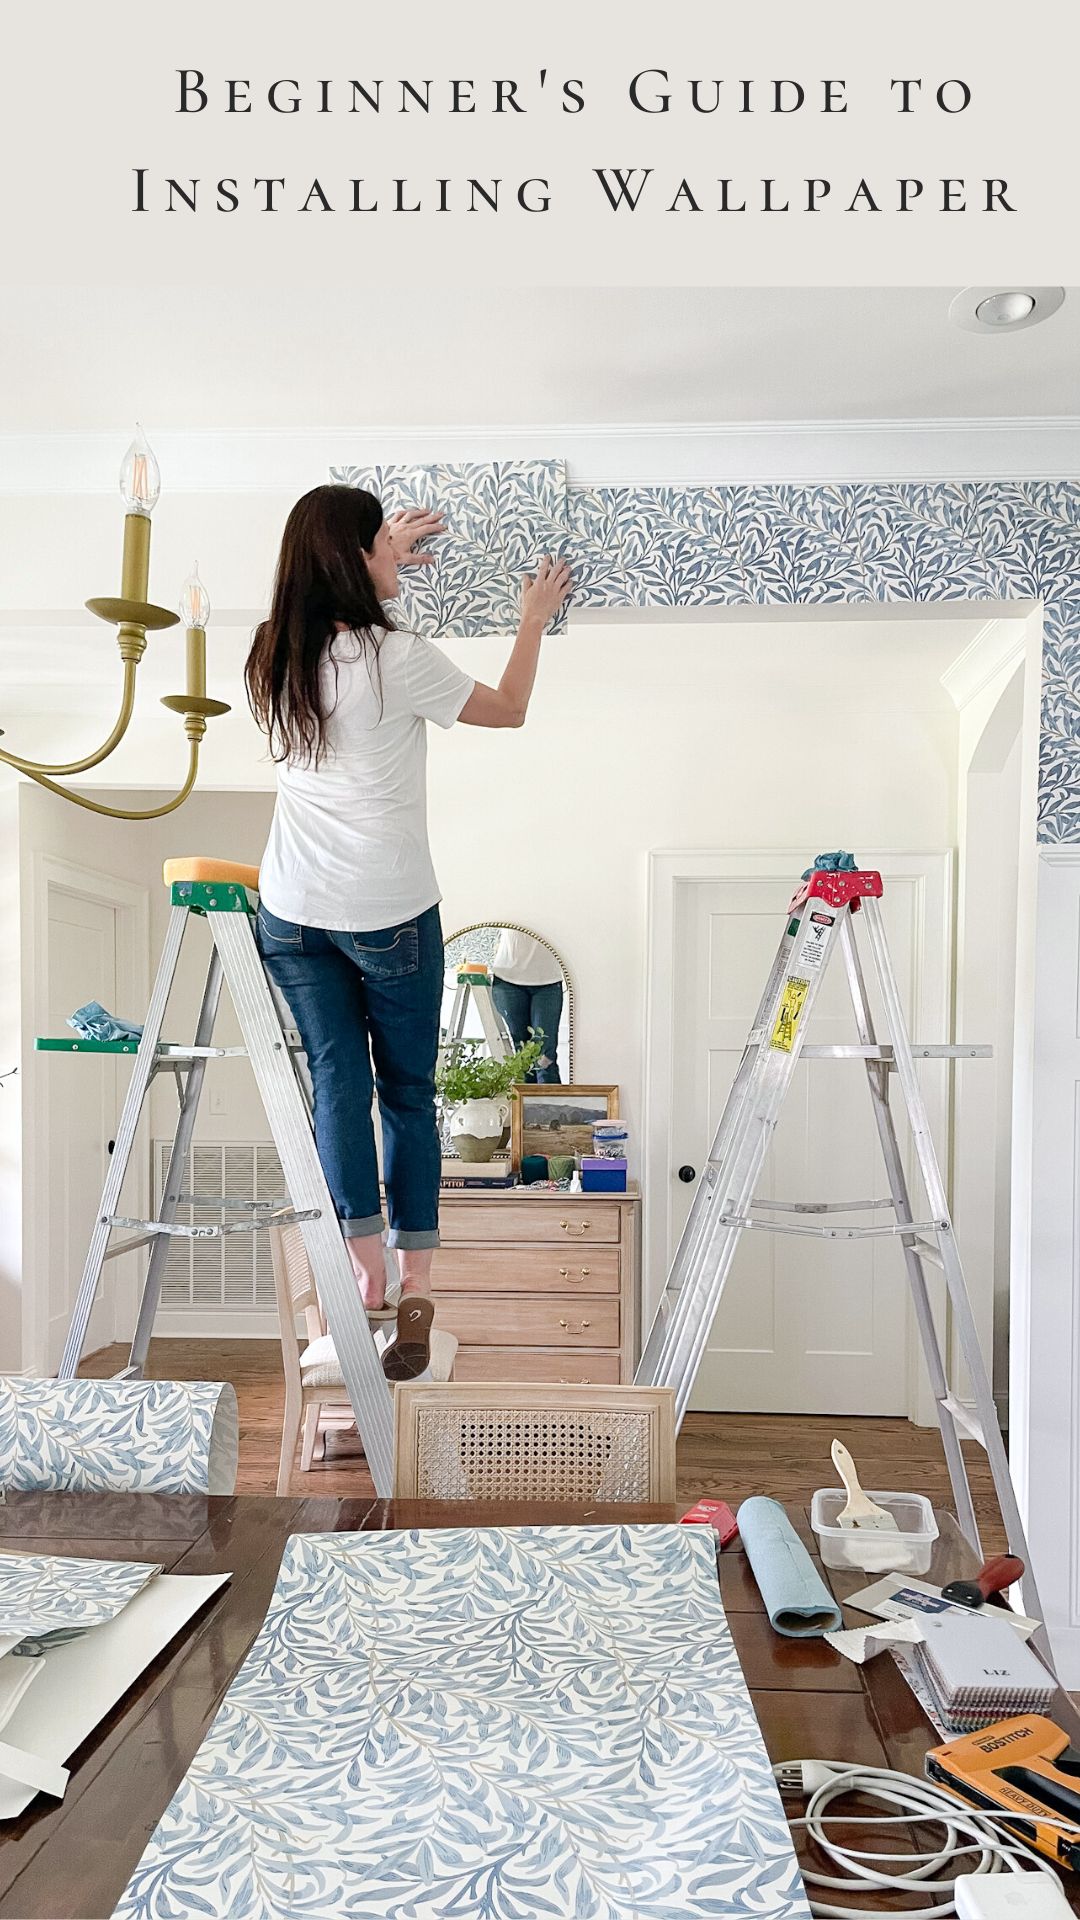
5. Apply your strip of wallpaper
After lining up your first strip to your plumb line, adhere the wallpaper to the wall by pressing it down with your hands to get it smooth. Ensure you are perfectly lined up to your previously drawn line to make sure your wallpaper is 100% straight.
6. Scrape and cut
Once your wallpaper is straight on the wall, remove any access air bubbles or glue with the plastic scraper. As I was scraping, sometimes the adhesive from the back of the paper would ooze out the side. I used a damp wallpaper sponge to wipe this up so no glue would dry on the front of the wallpaper.
Now that your wallpaper is straight, the bubbles and glue have been scraped away; grab your X-acto knife and metal ruler. Using your scraper, push the wallpaper into the crease between the wall and the ceiling. Now use an X-acto knife to trim off the excess paper.
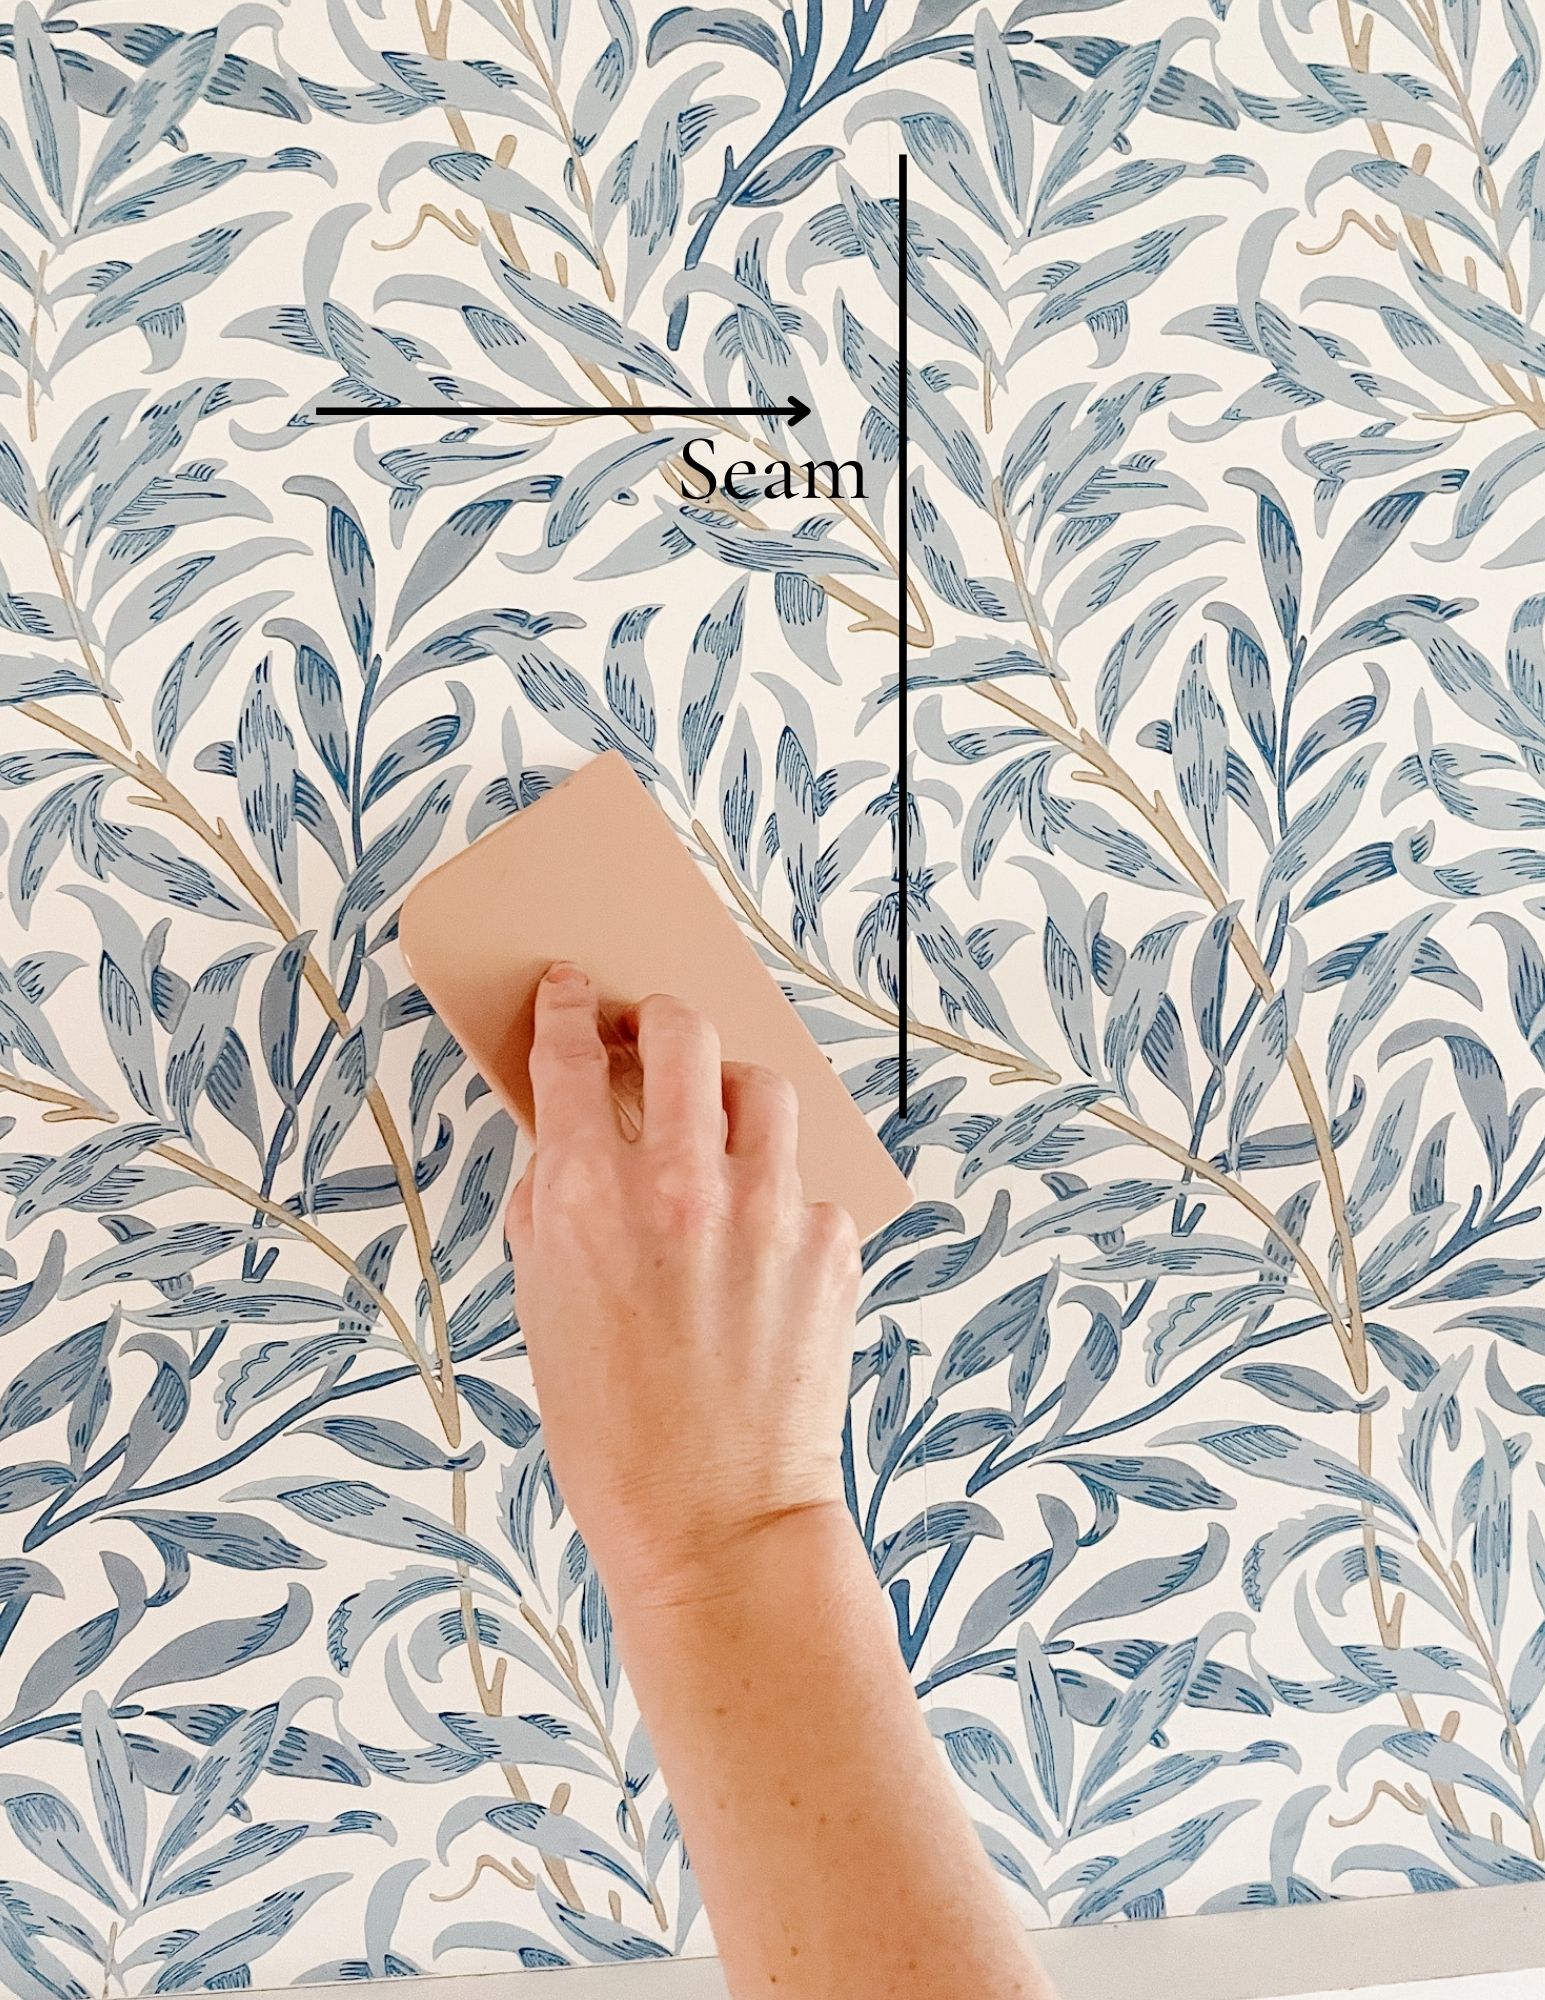
Push your new piece of paper toward the seam of the previously hung piece. This ensures the paper lines up nice and tight without gaps.
7. Repeat the process
Once the first piece was installed, I just repeated the process! I held up the next section of wallpaper and lined up the design so they would match perfectly. Cut your needed length, roll the glue onto the wall, add your strip and scrape and cut.
The process actually went quicker than I expected once we got into a rhythm.


Tips
•Always buy more wallpaper than you think you need – you will need more than you think
•Two hands are better than one – enlist the help of a friend or family member
•Ensure your X-acto knife blade is always sharp – A dull blade won’t cut the paper cleanly
•Realize you are likely going to make a mistake – if this is your first time, move past it.
•You might know where your errors are but no one else will – in time you likely won’t be able to see them or remember where the mess ups are months down the road.
Working Through the Tricky Parts
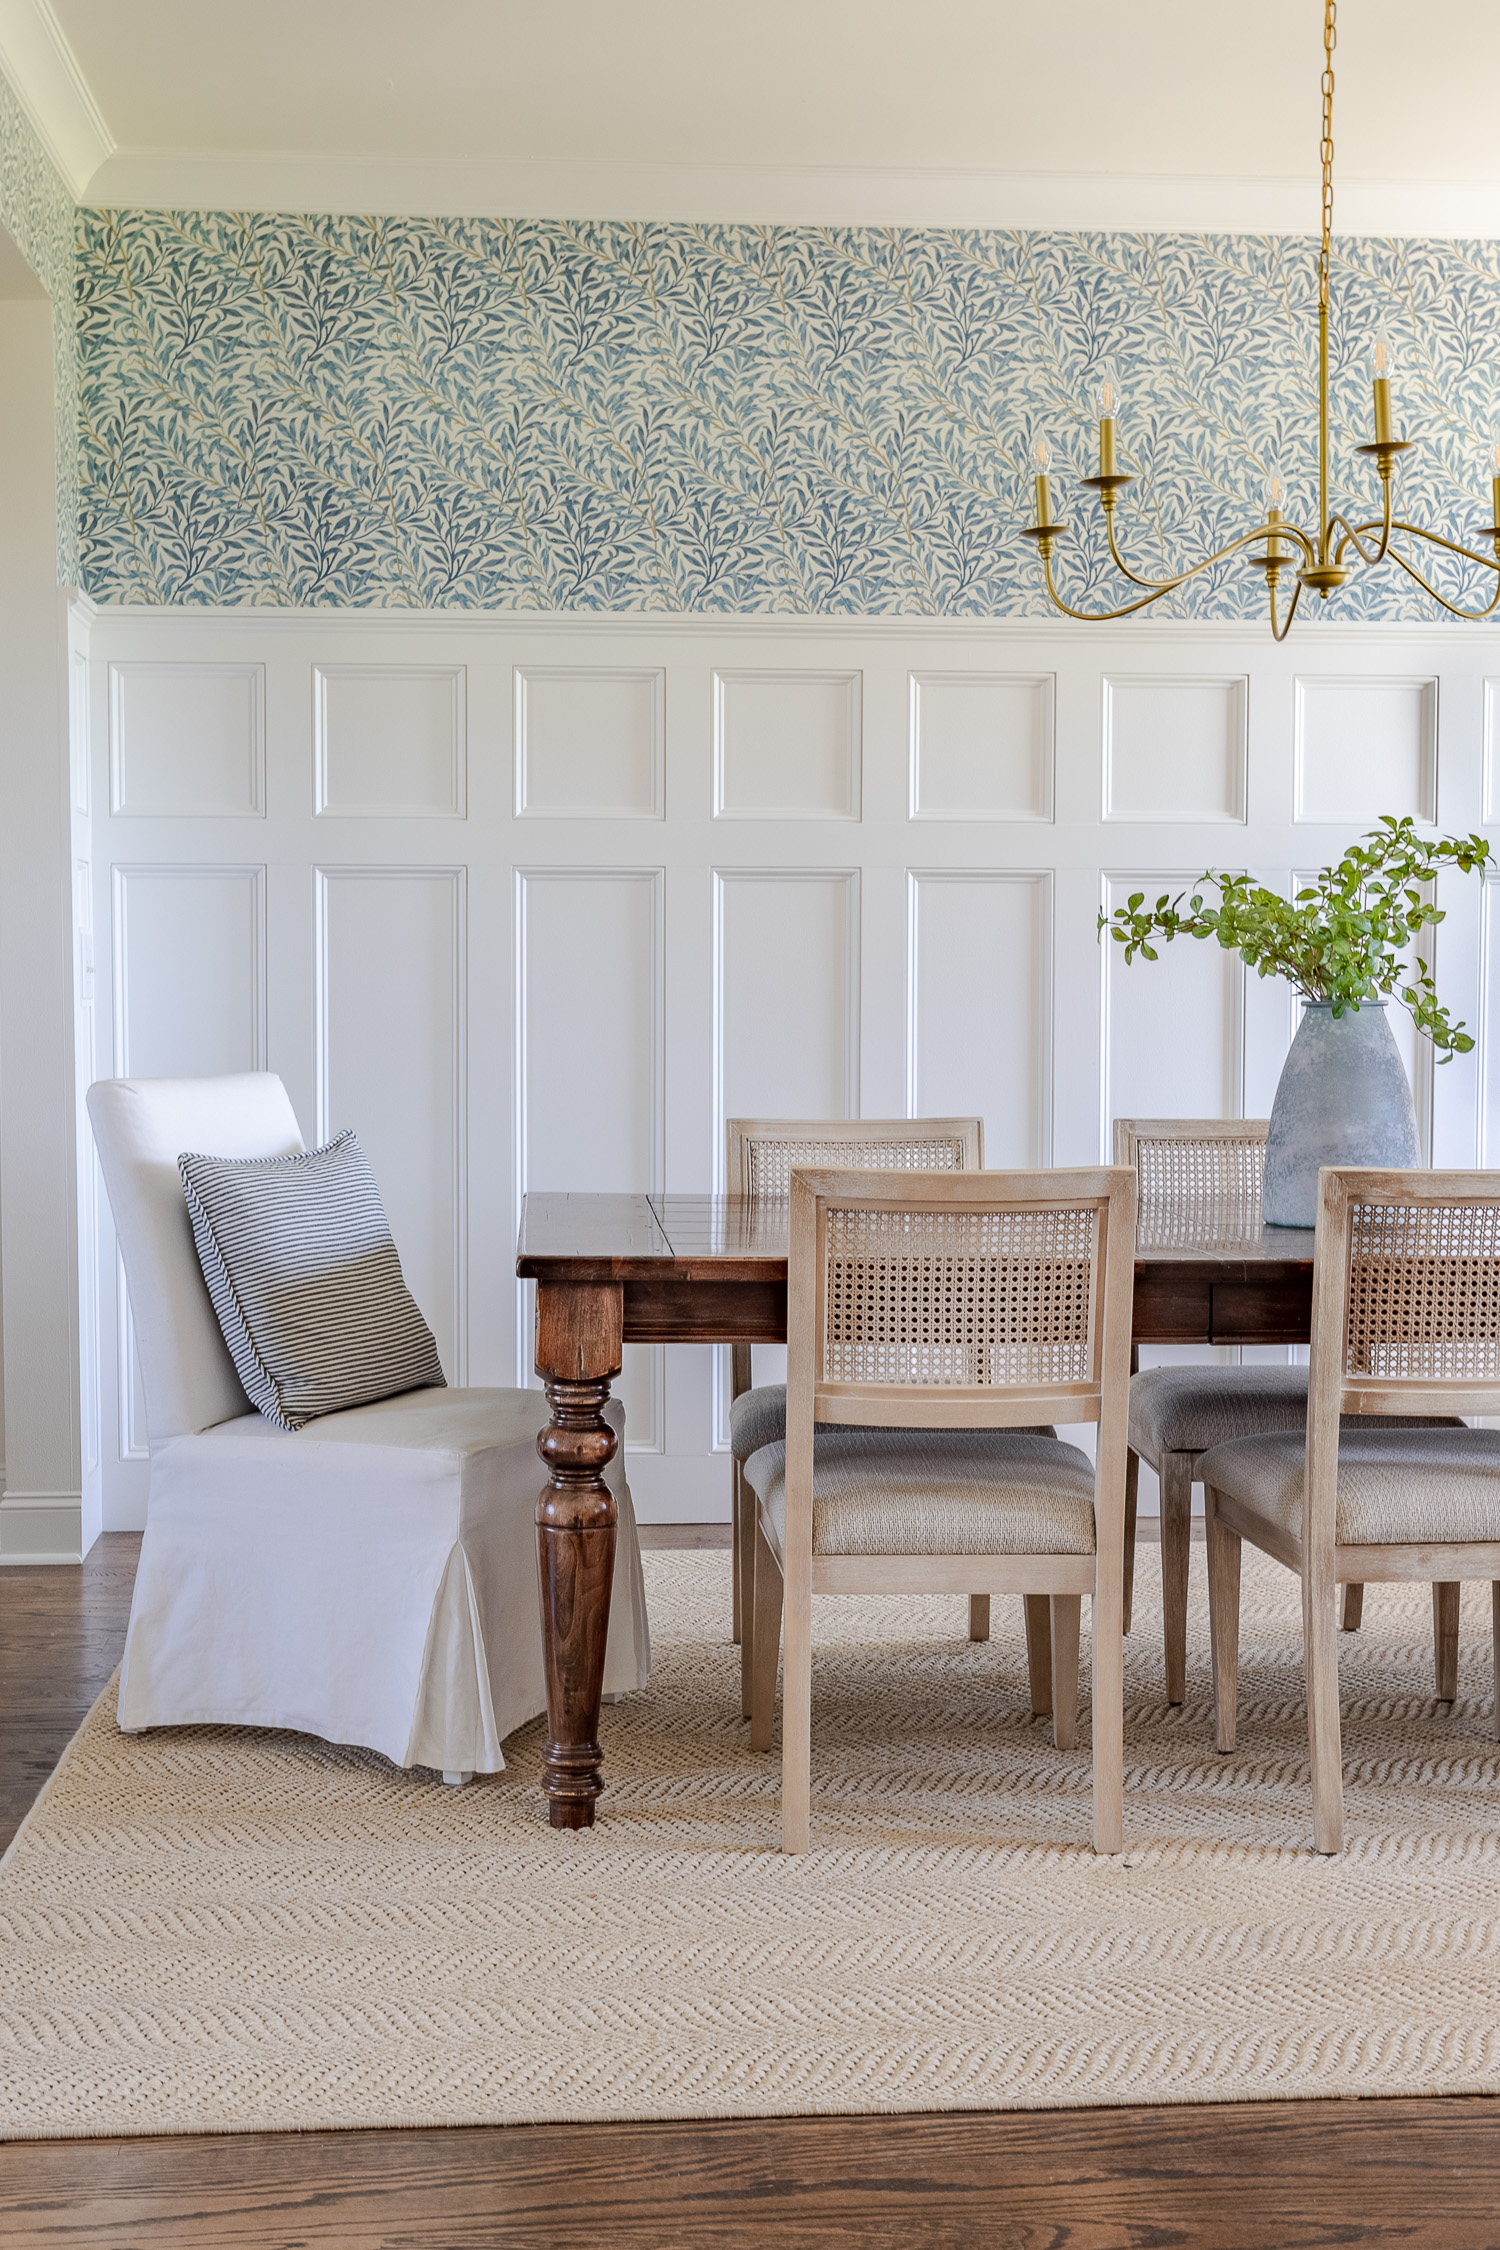
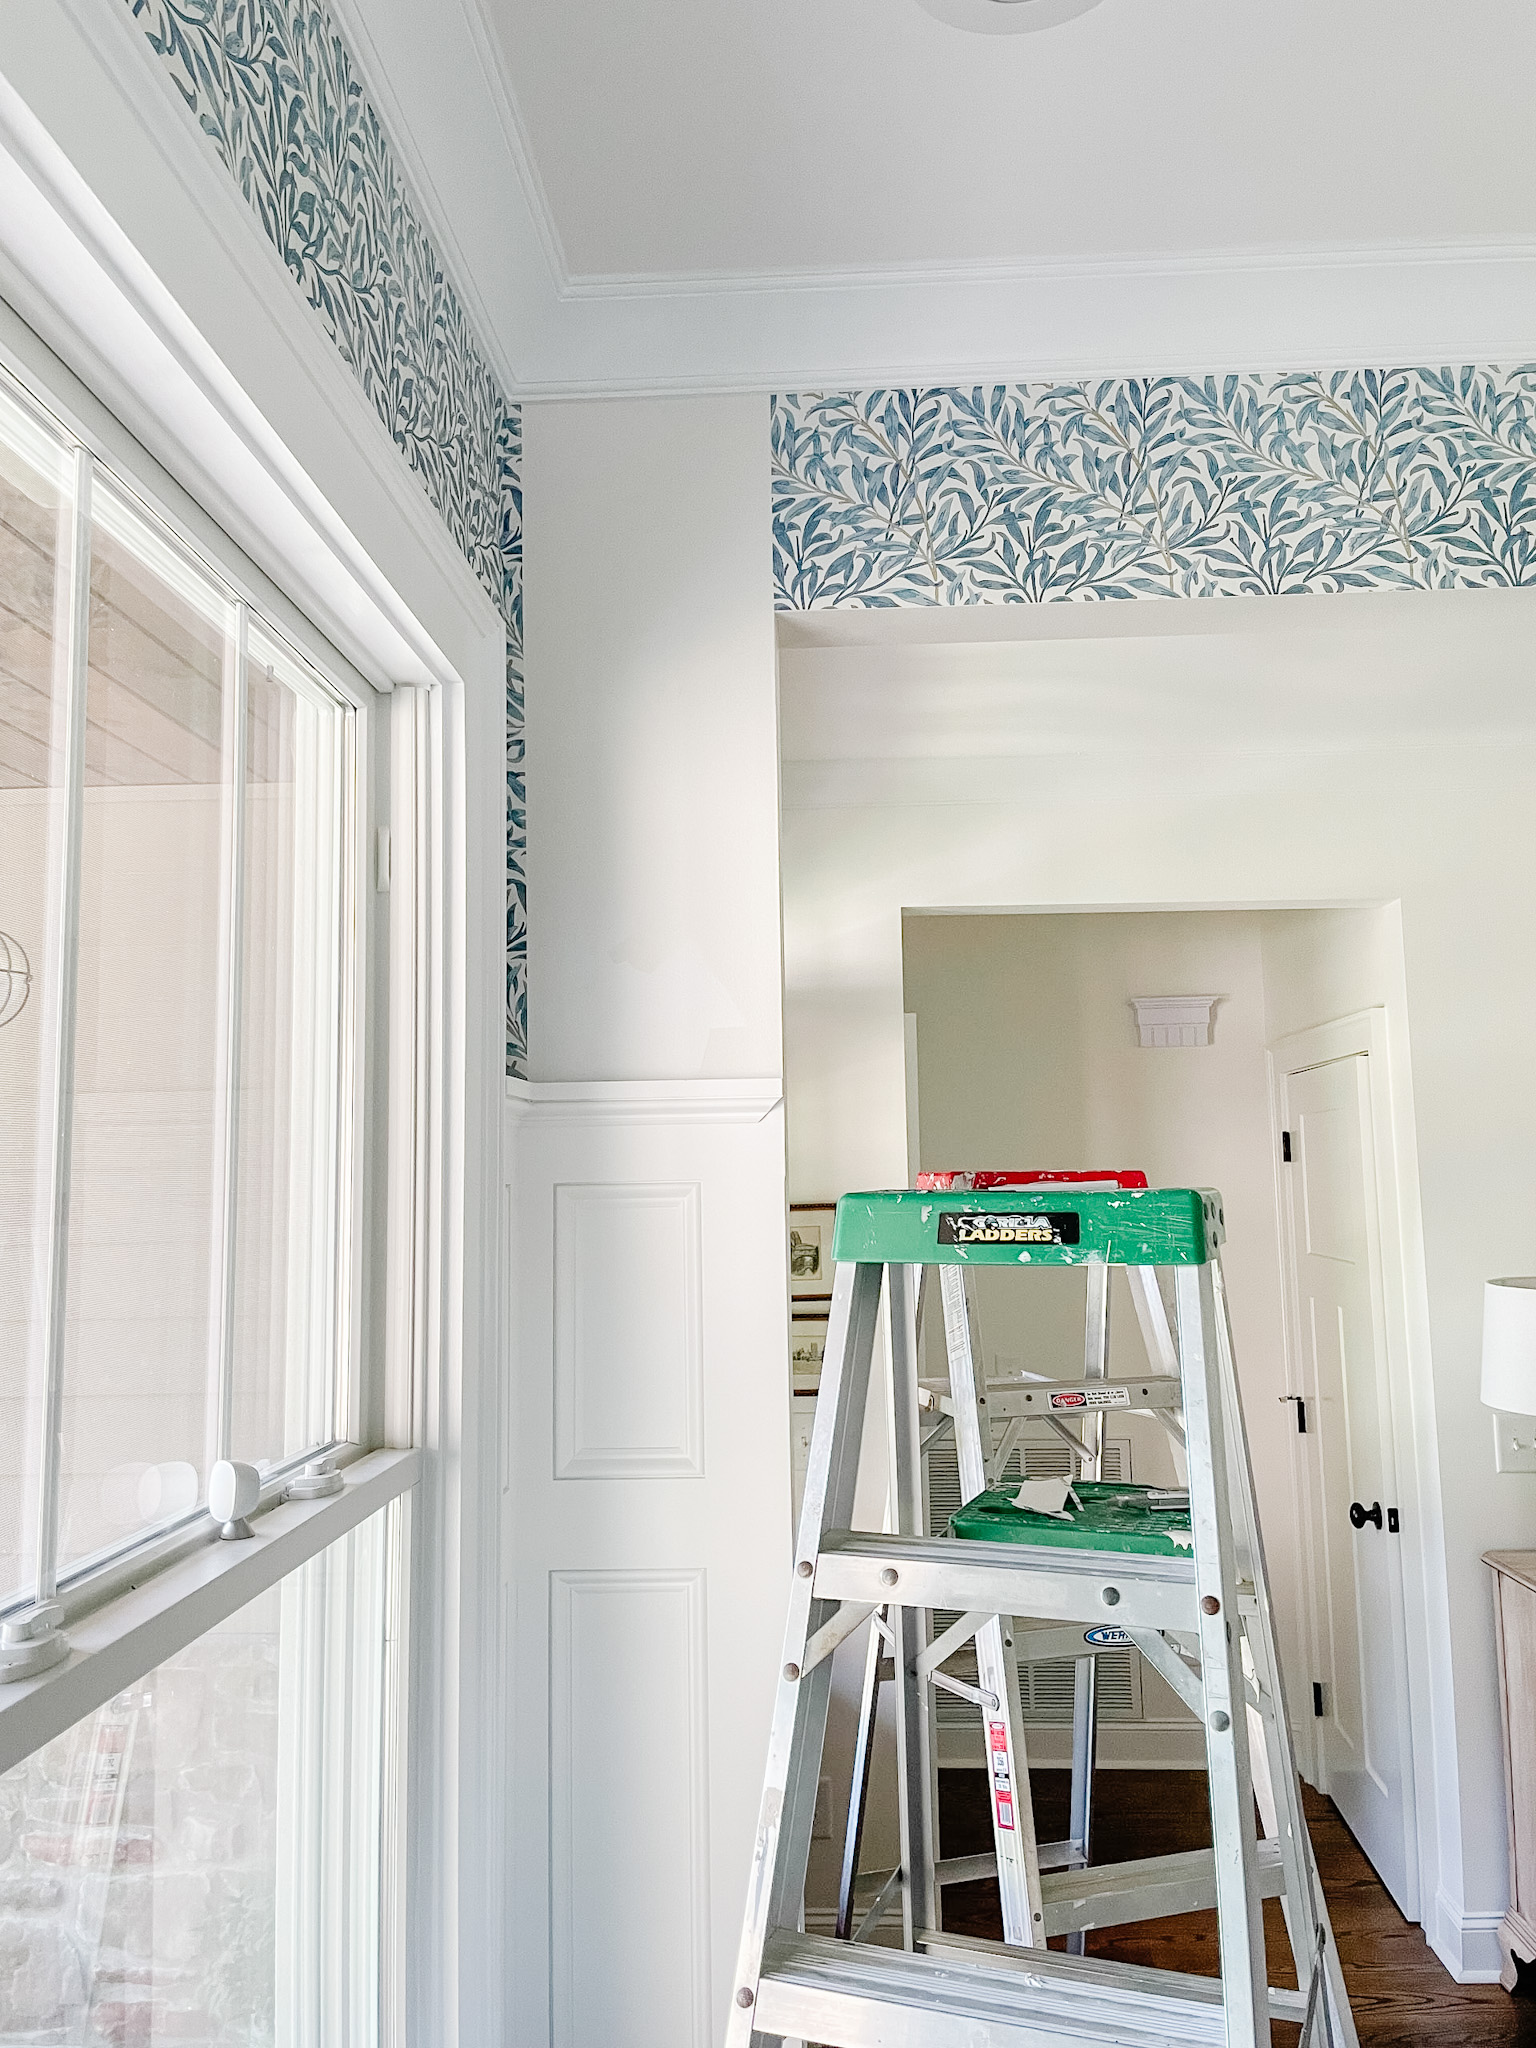
The large portions of the walls were fairly easy once we got into a flow; however, around the windows and the corners were a bit more tricky. We had to slow down and think about our course of action.
The corners just ended up having so much excess paper it got hard to navigate and I used the scraper and X-acto knife to trim as much from the sides as possible, using scissors to remove the extra strips and get them out of the way. I kept trimming little by little toward the corner, using both the X-acto knife and scissors until all of the excess was removed.
√ Frequently Asked Questions
I wouldn’t say it’s easy or hard…it’s tedious, time consuming where attention to detail and measurements play a key role. Ensuring your knife blade is sharp makes the job easier.
Yes. I am not a professional installer, and never having used paste the wall wallpaper before, or wallpapered anything on this scale; I had some errors but I corrected and worked through them.
One full day. If the room were larger or we were covering all the walls instead of just above the trim, it would have easily taken two full days.
I knew that there would inevitably be a spot where my wallpaper wouldn’t line up perfectly since it was going all the way around the room. I planned it so that the mismatch would happen in the far right corner of the room where that wall and the front door joined so it wouldn’t be super obvious.
Since the wallpaper is a branch pattern it was fairly easy to finish the corner without a perfect match…I know it’s there in my head, but even I can’t see it anymore.
Would I Install Wallpaper Again?
YUP! and YUP! If I could afford it; I would wallpaper several more rooms including our son’s room, but think I’m going to leave it as is. I do plan to add wallpaper to our powder room once I remodel that space, but that will likely be it. We don’t have a large home and I don’t want to overwhelm every nook and cranny with pattern.
I actually enjoyed wallpapering and even though times did get a little uncertain around the tricky parts, it was rather fun and enjoyable to see something you are creating come to life. It took some time and patience, but it wasn’t nearly as frustrating as I expected it to be!
I am so thrilled with the transformation. From plain to color and pattern. This particularly gorgeous wallpaper treatment makes such a bold statement in the space!
Be sure to pin the image below so that you can refer back to this post:
Follow for home decor, DIY and to shop: Instagram | Pinterest | LiketoKnowit