Walk-In Pantry Remodel
The full breakdown of our walk-in pantry remodel including pantry design, measurements, cost, paint color, countertop and pantry accessories.
When we moved into our home a complete pantry remodel went on the to-do list. My goal was to overhaul this walk-in pantry in the winter of 2024 but my pantry savings went to having our driveway re-done. Which was much needed.
Check out these other pantry posts!
Sherwin Williams Smoky Azurite
All About Butcher Block Countertop
White and Wood Kitchen Design
I saved and waited another year and it was time. We began this project March 2025 and I truly love how this space turned out. This warm smoky blue walk-in pantry remodel was first revealed on Instagram and you all went crazy about it. With so many questions it needs its own dedicated post with all the details that can’t be shared in just an IG Reel.
Disclosure: This post may contain affiliate links. As an Amazon Associate, I earn from qualifying purchases at no additional cost to you.

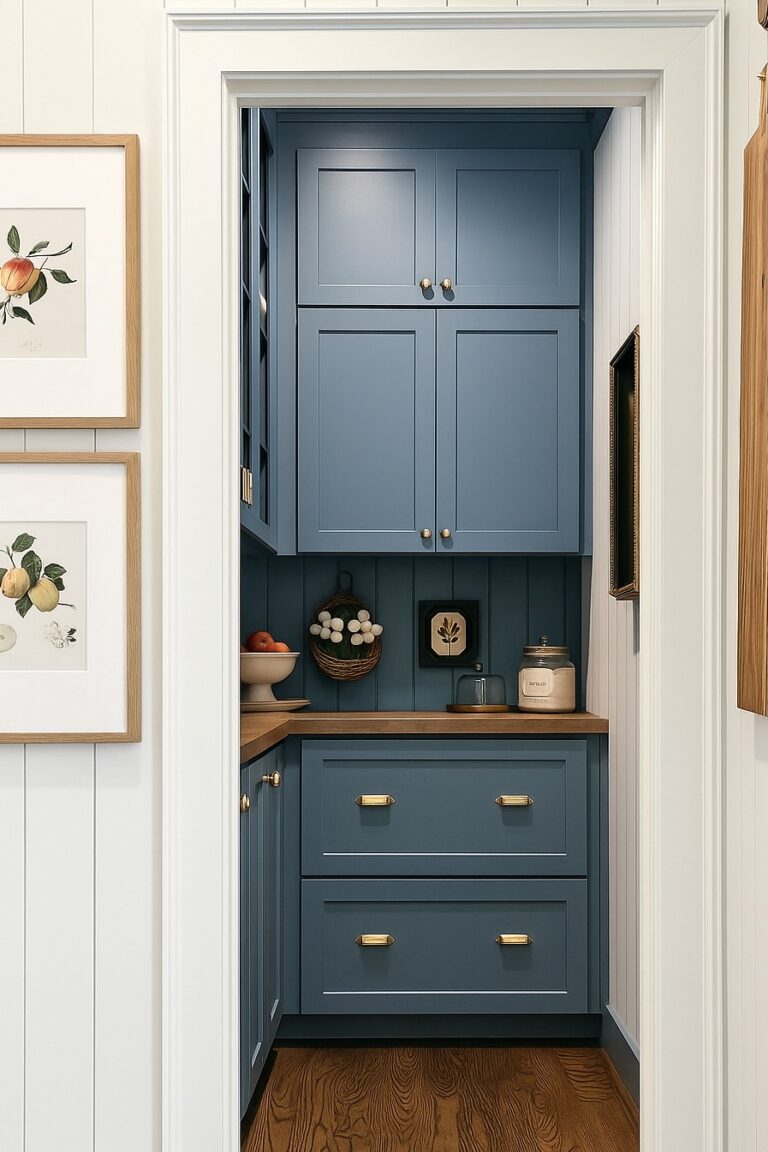
created AI image due to no natural light in space for photo

Walk-In Pantry Remodel Design
First of all, this pantry was a couple years in the making. Not that it took us a couple years to complete, but it took some time to figure out if it could be a reality. I had a dream and vision but my husband was not convinced it would work.
I was dealing with a very shallow wall to the left that could only accommodate shallow cabinets or shelving with a potential deep wall at the back of the room. I had to make the decision if I wanted to keep the same depth around the entire pantry or have different depths.
Pantry Design Vision
- Warm blue painted cabinets – our kitchen is a creamy white and I wanted to color drench the pantry
- Open Shelving – installing open shelving instead of cabinets with doors kept the space open
- Butcher Block Countertop – the wood brought in a touch of warmth to the space
- Shiplap Backsplash – this tied in our hallway and saved us money instead of using tile
After working on several design layouts I finalized on shallow cabinetry to the left and standard size base (24″) and wall cabinets (12″) at the back. I am beyond thrilled how it all turned out. This image below I generated in AI to get a full scope of the final design.

Walk-In Pantry Remodel Measurements
Once I posted this walk-in pantry on Instagram, I instantly received dozens of questions about my pantry measurements. Many of you said that you have a similar pantry layout and that my pantry was inspiring you to attempt your own pantry remodel.
The overall pantry is 82 3/4″ long by 49 11/16″ wide. The wall to the left is shallow and could fit up to 12″ deep lower cabinets and 12″ upper cabinets. Even though this says 12 7/8″ depth on the left side; we were able to accommodate a countertop overhang of 13″ total.
Our entire home has 9ft (108″) ceilings and I wanted cabinetry all the way to the ceiling for a seamless look.
The door opening is 28 1/16″ and was totally removed into the pantry. Between the end of the countertop on the left side and the empty wall on the right there is 36″ of space. Which is the size of a standard door opening.

Walk-In Pantry Remodel Cost
Let’s tackle price before we get to everything else because everyone (myself included) always wants to know how much something costs. This total remodel was around $6K. We did all our own labor which saved us money but also slows down the process. We have never hung cabinets before and learned a lot in the process.
If you want to hire someone I would considered adding on another $4K-5K for total completion depending on your area.
COST
- Cabinets & Filler pieces – $4677.00 – all the cabinets, filler and trim
- Countertop – $400 – one 10 foot butcher block countertop
- Quart of paint – $35 – used to paint the backsplash, crown molding, baseboard and touch ups
- Shiplap Backsplash – $40 – we had left over pieces from when we added shiplap to the hallway, but we did have to buy a few more pieces. (add more to this if you do not already have some)
- Crown Moulding – $70 – We bought two 12″ length pieces
- Baseboard – $11 – we had a left over from another project.
- Half -Pint Polyurethane – $10 – a half pint for the countertop did four coats
- Provincial Stain – already had this and required very little to stain countertop
- Hardware/Switch Plates – $272 – same ones used in our kitchen remodel
- Electrical – $50 – added electric outlet and installed sensor light switch
- Wallpaper – $200 – added to right side wall
- Cabinet Screws – $20 – for attaching the cabinets to the studs in the walls
TOTAL: $5785
Walk-In Pantry Remodel Cabinets
After researching and pricing local cabinet makers and several online options; I selected cabinets.com to work with on this remodel. In total, I ordered seven cabinets for this remodel and the coordinating trim pieces.
Working with a kitchen designer was super helpful as they knew what I would need to complete the project. It’s a bit more involved then just ordering cabinets.

Cabinets Ordered
- Three open shelf cabinets joined to look as one unit
- Two lower shallow depth shelf cabinets with doors
- One lower deep drawer cabinet base with two drawers
- One large upper cabinet that looks like two cabinets. 29 1/2″ doors and 17 1/2″ doors
I could not be happier with the cabinet quality and paint job. We considered using unfinished cabinets from a big box store, but the quality of these cabinets surpasses my expectations. They are very nice and solid maple.
This is NOT a sponsored post. I paid entirely for the cabinets myself and received no compensation for this remodel or this blog post.
Walk-In Pantry Butcher Block Countertop
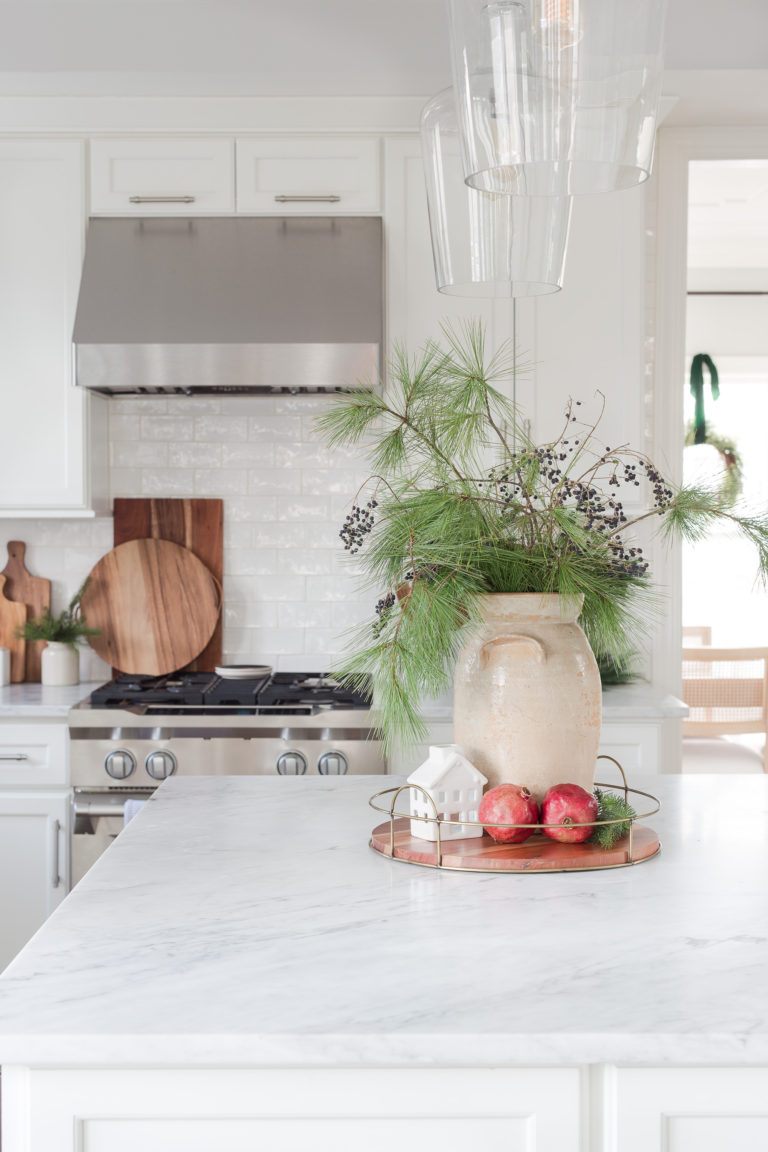
Due to design direction, overall ease of install and cost; we went with a butcher block countertop. In my initial design I wanted a wooden countertop to warm the space. We have soft creamy white kitchen cabinets with honed marble countertops. The wood in the pantry brings in a lovely variety to our home.
We purchased one 10foot section and cut it down to fit the back cabinets and cut down and trimmed down the rest to fit the shallow wall to the left. It is solid wood and each countertop is unique with naturally occurring variations in color, grain patterns and the organic features of real Hevea wood. This countertop is 1 1/2″ thick.
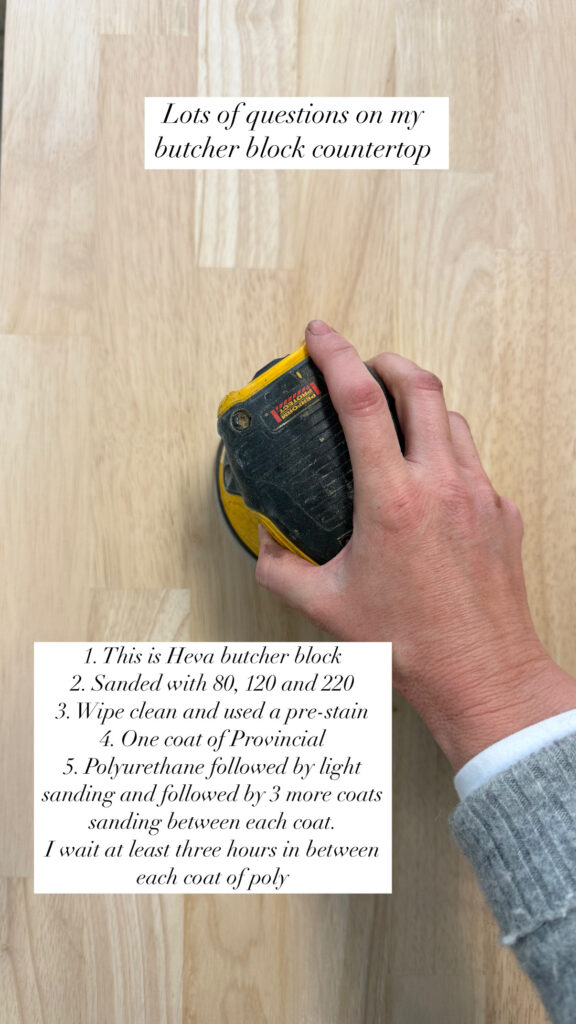

Butcher Block Countertop Stain and Finish
Even though the countertop is relatively smooth; I suggest giving it a good sanding before staining.
I sanded it with 80 and then 120 before adding a pre-stain and then one coat of Minwax Provincial Stain. After allowing the stain to dry I sanded lightly with 220 before following it up with a polyurethane.
The countertop received four total coats of the polyurethane with light sanding between each coat allowing 3+ hours to dry between each coat.
I sanded, pre-stained, stained and did two coats of poly before installing the countertop. The final two coats of poly were done in place after countertop install.

Check out these other posts!
Kitchen Island Microwave
Unlacquered Brass Kitchen Hardware
Classic Kitchen Design
Vertical Shiplap Backsplash
My initial design was for a shiplap backsplash and never considered using tile. We do not have water in this space and the wood backsplash is perfect plus its cost effective. I love the look of vertical backsplash and it tied in with the shiplap in our hallway that we installed last winter.
We cut each board individually to size to ensure proper fit. I painted each board and then installed after the countertop was installed and dried from the polyurethane.
Tip: I suggest cutting each shiplap individually and numbering on the back for easy install.

Blue Paint Color
I wanted a warm blue in the pantry since we have a lot of white in the house. A true blue color drench was the design I was going for. White and blue is my home decor love language. I did consider a soft beige, but in the end LOVE the blue.
We looked at MANY different warm blue paint colors and were going to order the cabinets unfinished and paint them ourselves. (save money) However, even using a paint sprayer would not give us the finish of factory painted kitchen cabinets.
Cabinets.com offered a smoky blue paint color that is the exact match to Sherwin Williams Smoky Azurite. Perhaps I would have gone with a lighter color blue, but I LOVE this color and LOVE even more that the cabinets came ready to install. The paint job is excellent on these cabinets.

Hardware
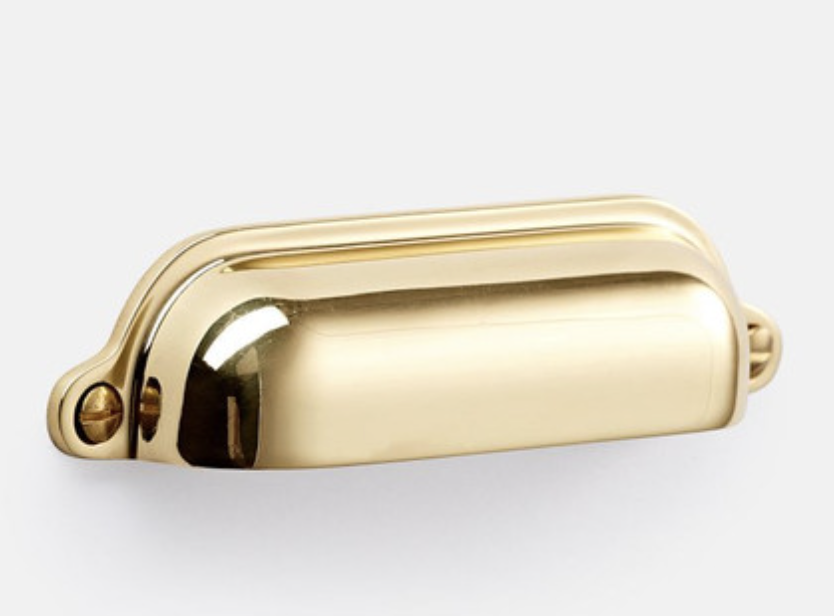
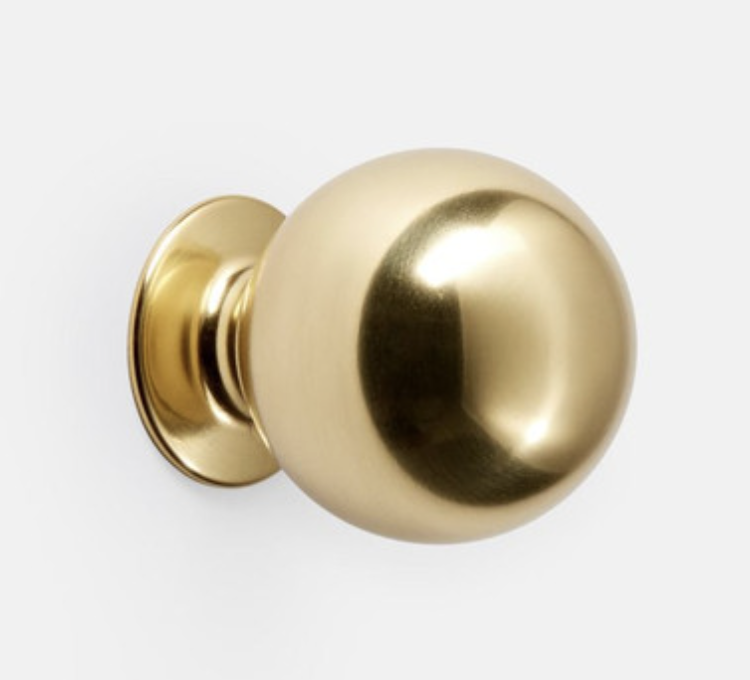
I love unlacquered brass in my life and we used the same hardware from our kitchen. The same brass round knobs and the brass cup pulls were just carried right into the pantry. Solid brass is more costly than other materials you could use, but I prefer to use real finishes in our home.
Our light switch plates and electrical plates are also solid brass and I love them. There is something to be said for quality even with the little details.
Wallpaper
On the right side of the pantry we discussed adding more shiplap to pull in from hallway and the shiplap backsplash but I really wanted to add some variety.
The wallpaper will bring in a light tone but still stay warm and inviting with a linen and soft beige stripe. It has not been installed yet, but it’s coming.

Walk-In Pantry Lighting
As you can see this walk-in pantry does not have any natural light at all. It receives a little light from the hallway, but not enough to light the space.
We have overhead recessed lighting. A light sensor was added so the light comes on automatically when someone walks in the space. There is a timer for shut off at 3, 5 and 7 minutes. We have the timer set to turn off the lights at three minutes.
Walk-In Pantry Door
I didn’t want to create a gorgeous space only to keep it behind a closed door. We removed the door and the pantry is literally an extension of our kitchen.
It just flows so nicely with the rest of the home. The pantry is right off the hallway to the garage and right next to the laundry room. Removing the door was a great decision and I love being able to look right into the pantry. Plus I can utilize the wall to the right that the door would block.
Tools Needed for Remodel
If you chose to do a DIY pantry remodel you will need some specific tools.
- Table Saw – for cutting the butcher block countertop
- Miter Saw – for cutting crown molding and base board
- Power Drill – for attaching cabinets to studs and other cabinets
- Stud finder – for finding the studs in walls to attach cabinets
- Nail Gun – for installing crown molding and base board
- Level – for ensuring your cabinets are hung correctly
- Shims – for ensuring cabinets are installed level
- Tape Measure – for measuring anything and everything
- Claws/Clamps – for keeping everything in place while installing screws
I also recommend the tool of another set of hands. Hanging cabinets can be tricky on your own. You will need someone to help hold or lift cabinets while you install them.
Lost Storage Space
If you are going to account for exact square footage of space I guess I lost some corners of storage. However, for me I gained more organized storage space and that is more valuable to me. The corner in the back that joins the base and upper cabinets is hollow, but I’m ok with that.
I gained countertop and storage from the countertop down that did not exist under the wire shelving.

created AI Image of space since no natural light and hard to take photo
Walk-In Pantry Remodel Final Thoughts
I love our new pantry and hope this information was helpful if plan to embark on a pantry remodel. With thoughtful planning and design you can create your own special and unique pantry space.
Let me know if you have any questions that were not answered in this post in the comments below.

Amazon Storefront
Follow my Amazon Storefront to find more looks for less and all our finds!
Follow along: Instagram | Pinterest | LiketoKnowit