How to Paint Thermofoil Cabinets to Last
Want to paint thermofoil bathroom cabinets and update your space? Follow my easy guide on painting thermofoil bathroom cabinets so they last!
Ugly bathroom cabinets? A complete remodel not in your budget? Just looking to update the color? I hear ya! If you have Thermofoil bathroom cabinets you might be wondering if they can be painted. Yes they sure can!
Our primary bathroom is HUGE!!! Absolutely massive. For whatever reason they seemed to design gigantic primary bedrooms with sitting rooms and extra large bathrooms in the 90’s. (our home – 1996). They were not thinking twenty-thirty years down the road when the homeowner would be left trying to garnish a massive budget to remodel it.
Affiliate links are provided below. Please see my full disclosure.
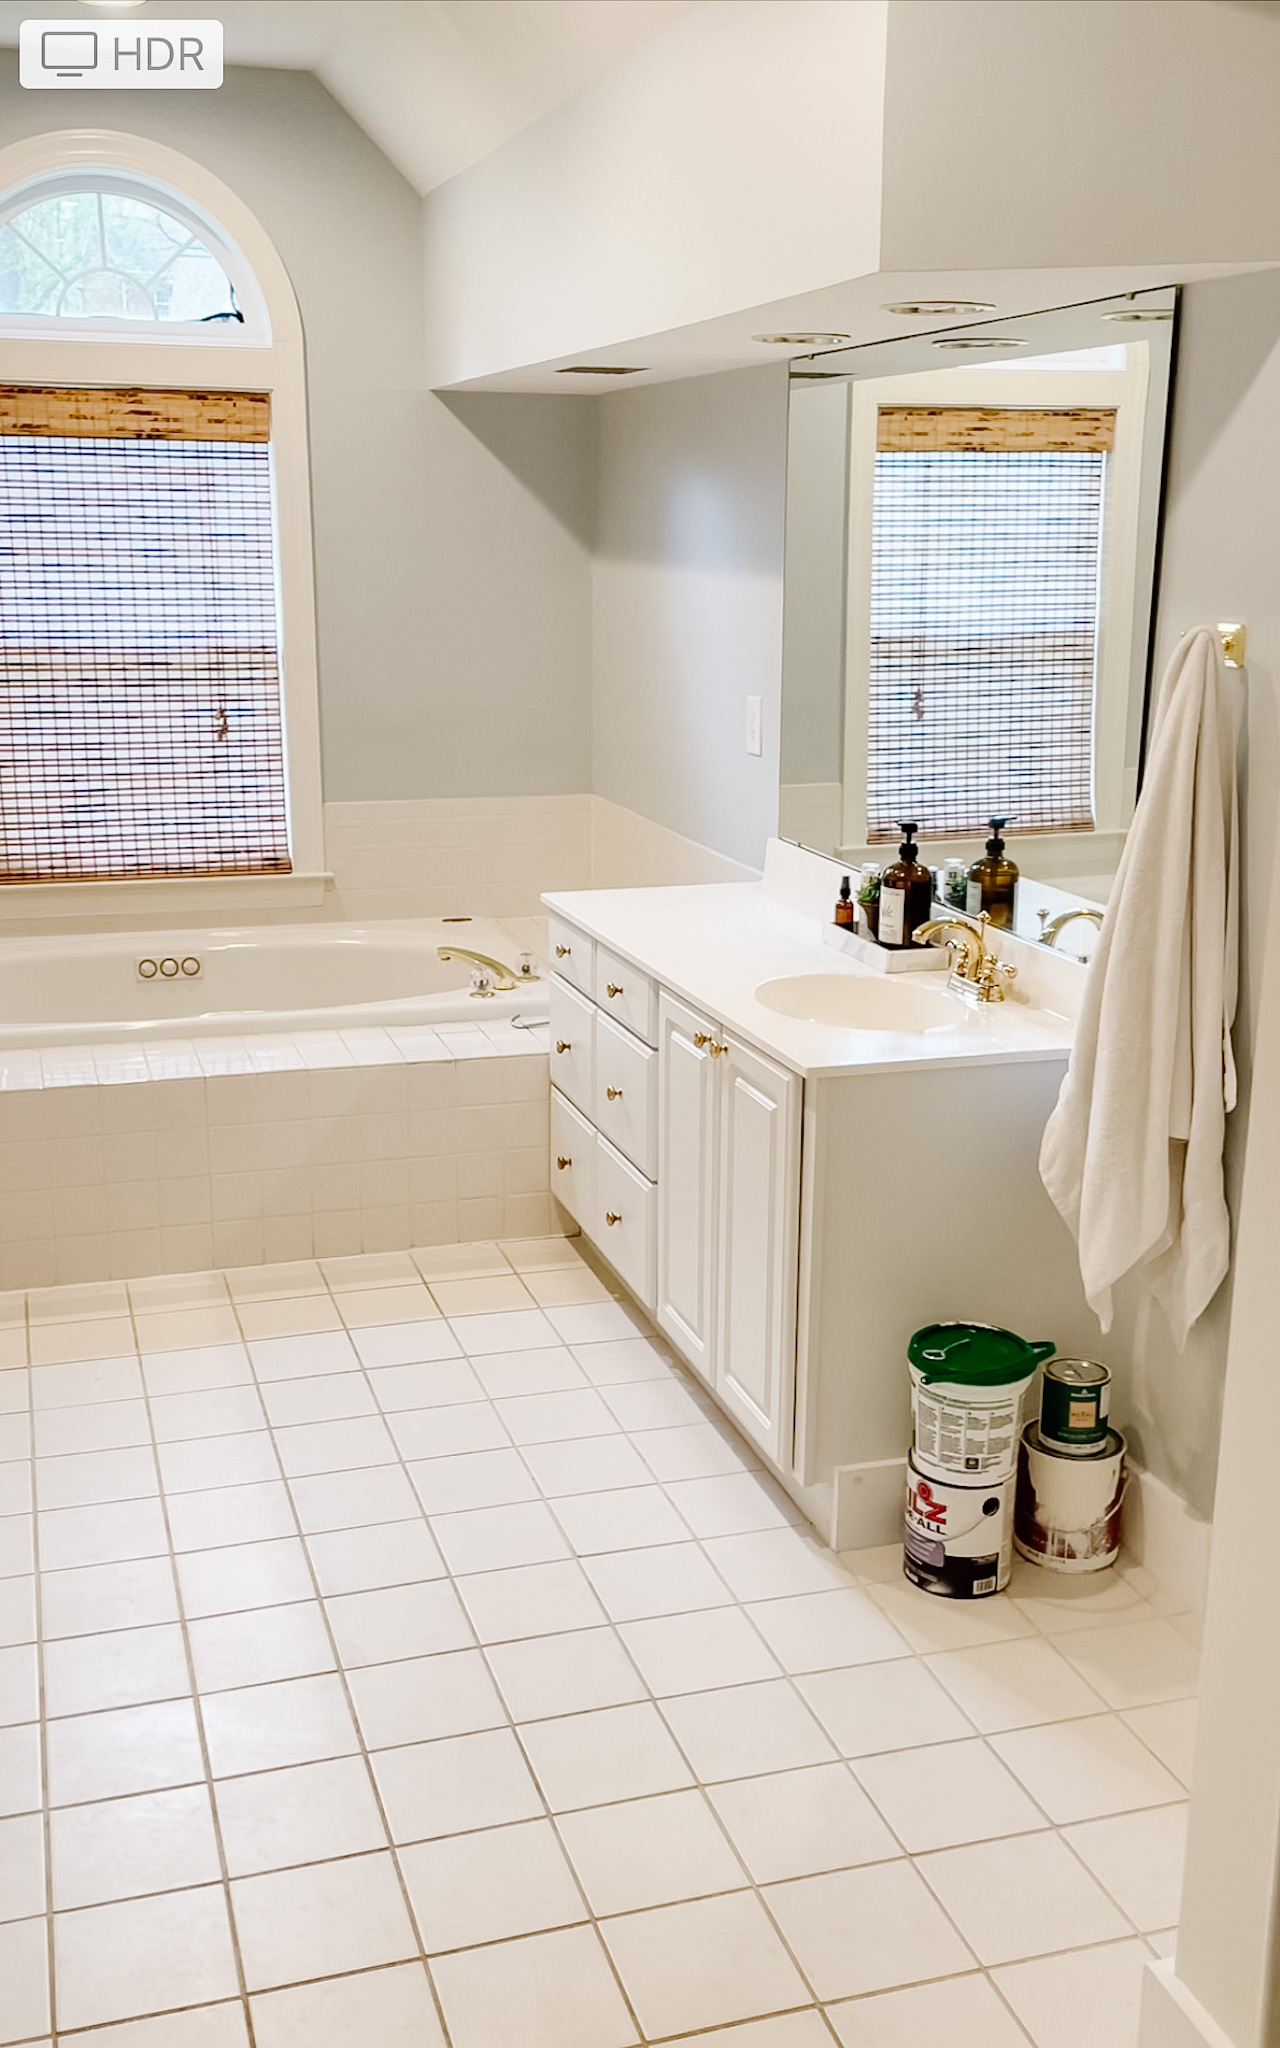
As much as I wanted to do a complete remodel of our bathroom it was not on the top of my list or in the budget; however, I wanted to update the space and painting the cabinets made a huge difference! This is our before and it’s not very pretty.
Time to get these cabinets painted and make this space look a little better!
Thermofoil Bathroom Cabinets Explained
What are thermofoil cabinets you ask? You might be thinking with the phrase “foil” that there is a metal content but not so. Kraftmaid Cabinets explains thermofoil cabinets perfectly as they manufacture both wood and thermofoil styles.
Thermofoil cabinets have a flawless smooth finish and they’re easy to clean and wipe off, but because of their smooth, vinyl-like surface they are difficult to paint. If a portion of the thermofoil chips or peels, it’s nearly impossible to get the same look back on that section of the cabinet with more thermofoil.
Thermofoil is a thin layer of vinyl that is vacuum-pressed onto cabinet doors and drawer fronts, which are typically constructed of medium-density fiberboard (MDF) – The Spruce
Although replacing my cabinets was not doable due to budget; painting them would make them look a whole lot better and I was ready to get going on this bathroom update.
Can You Paint Thermofoil Bathroom Cabinets?
The answer is yes! Since we don’t have wood cabinets I wasn’t sure if the cabinets could be painted but after some research the good news is that they can be painted. The process is just as easy as if they were wood.
You will paint thermofoil bathroom cabinets in the same way you would paint paint other bathroom cabinets. There are some keys to follow to ensure you achieve solid results when painting a bathroom vanity. You don’t need to be an expert, just follow these simple steps and your bathroom will be renewed. For less than $100 you can update your space.
What is The Best Primer for Bathroom Cabinets?
What you use underneath is just as important as what goes on top. Using a coat of primer means using less paint and it will also determine how durable your final coat of paint will be. You want the cabinets to look their best for as long as necessary and a good quality primer will be worth it!
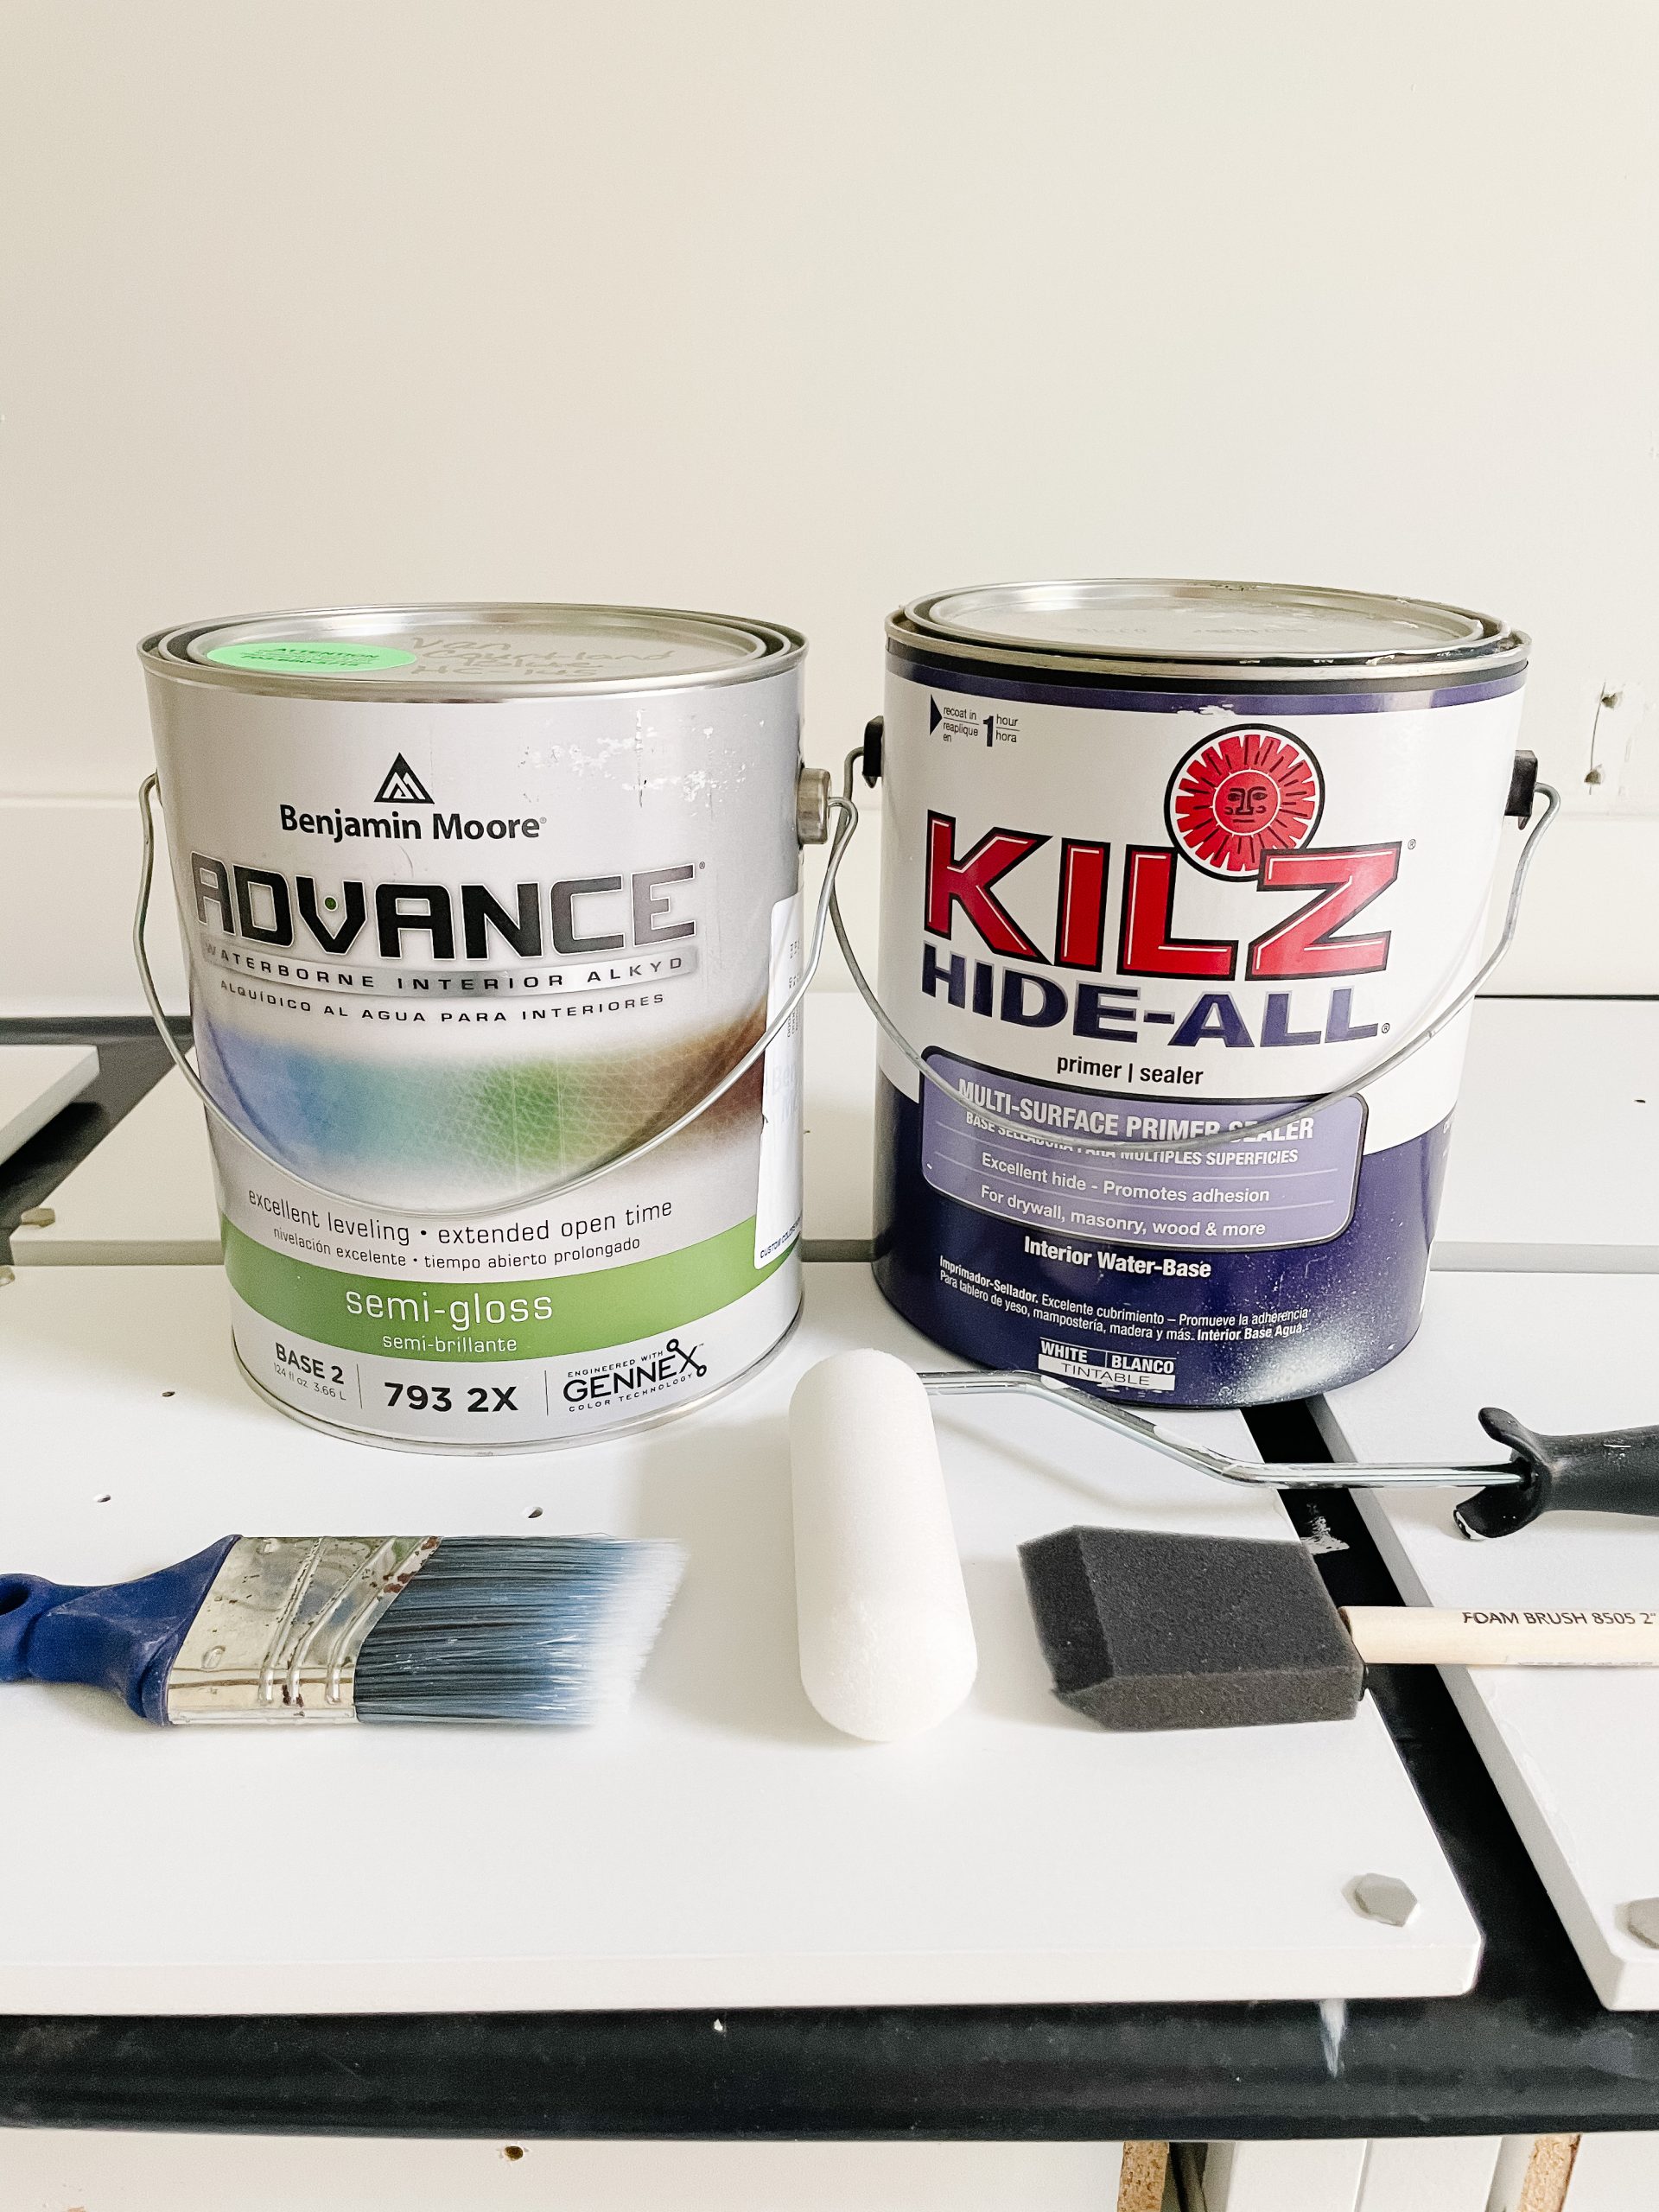
Benjamin Moore Fresh Start Primer is ideal for this type of project. Kilz Hide All or Zinsser 1-2-3 Primer are also a great choice for this project and any of these will achieve desired results. I used Kilz because I already had some in the garage.
What is The Best Paint for Bathroom Cabinets?
Any time you paint cabinets or furniture a self-leveling paint is the way to go. I used Benjamin Moore’s Advance Paint in Semi-Gloss because of its self-leveling properties. Sherwin Williams ProClassic is also another great paint to use.
Selecting the right paint sheen or finish for your cabinets is critical too. Before you had to choose between latex and oil-based coatings. Oil based paint provides a lovely self-leveling but not an ideal product to work with. Waterborne alkyds are a class of paint that offers the best of both latex and oil based and hardens more like an enamel for a durable and beautiful finish.
Supplies to Paint Thermofoil Bathroom Cabinets
Gather all your supplies before you begin painting your bathroom vanity. If you are a DIYer you likely already have some of these supplies already on hand so it will make it easier to paint bathroom cabinet.
- Kilz Primer, Benjamin Moore Fresh Start Primer or Zinsser 1-2-3 Primer
- A small plastic paint tray
- A 4″ foam roller
- Painter’s tape for taping off walls and/or countertop next to the vanity
- Drop Cloth
- A high quality paint brush A high-quality paint brushes make all the difference in getting a smooth finish!
- A sanding block – used a grit block I already had on hand or an orbital sander works better and it’s faster too
Prep Before Paint Thermofoil Bathroom Cabinets
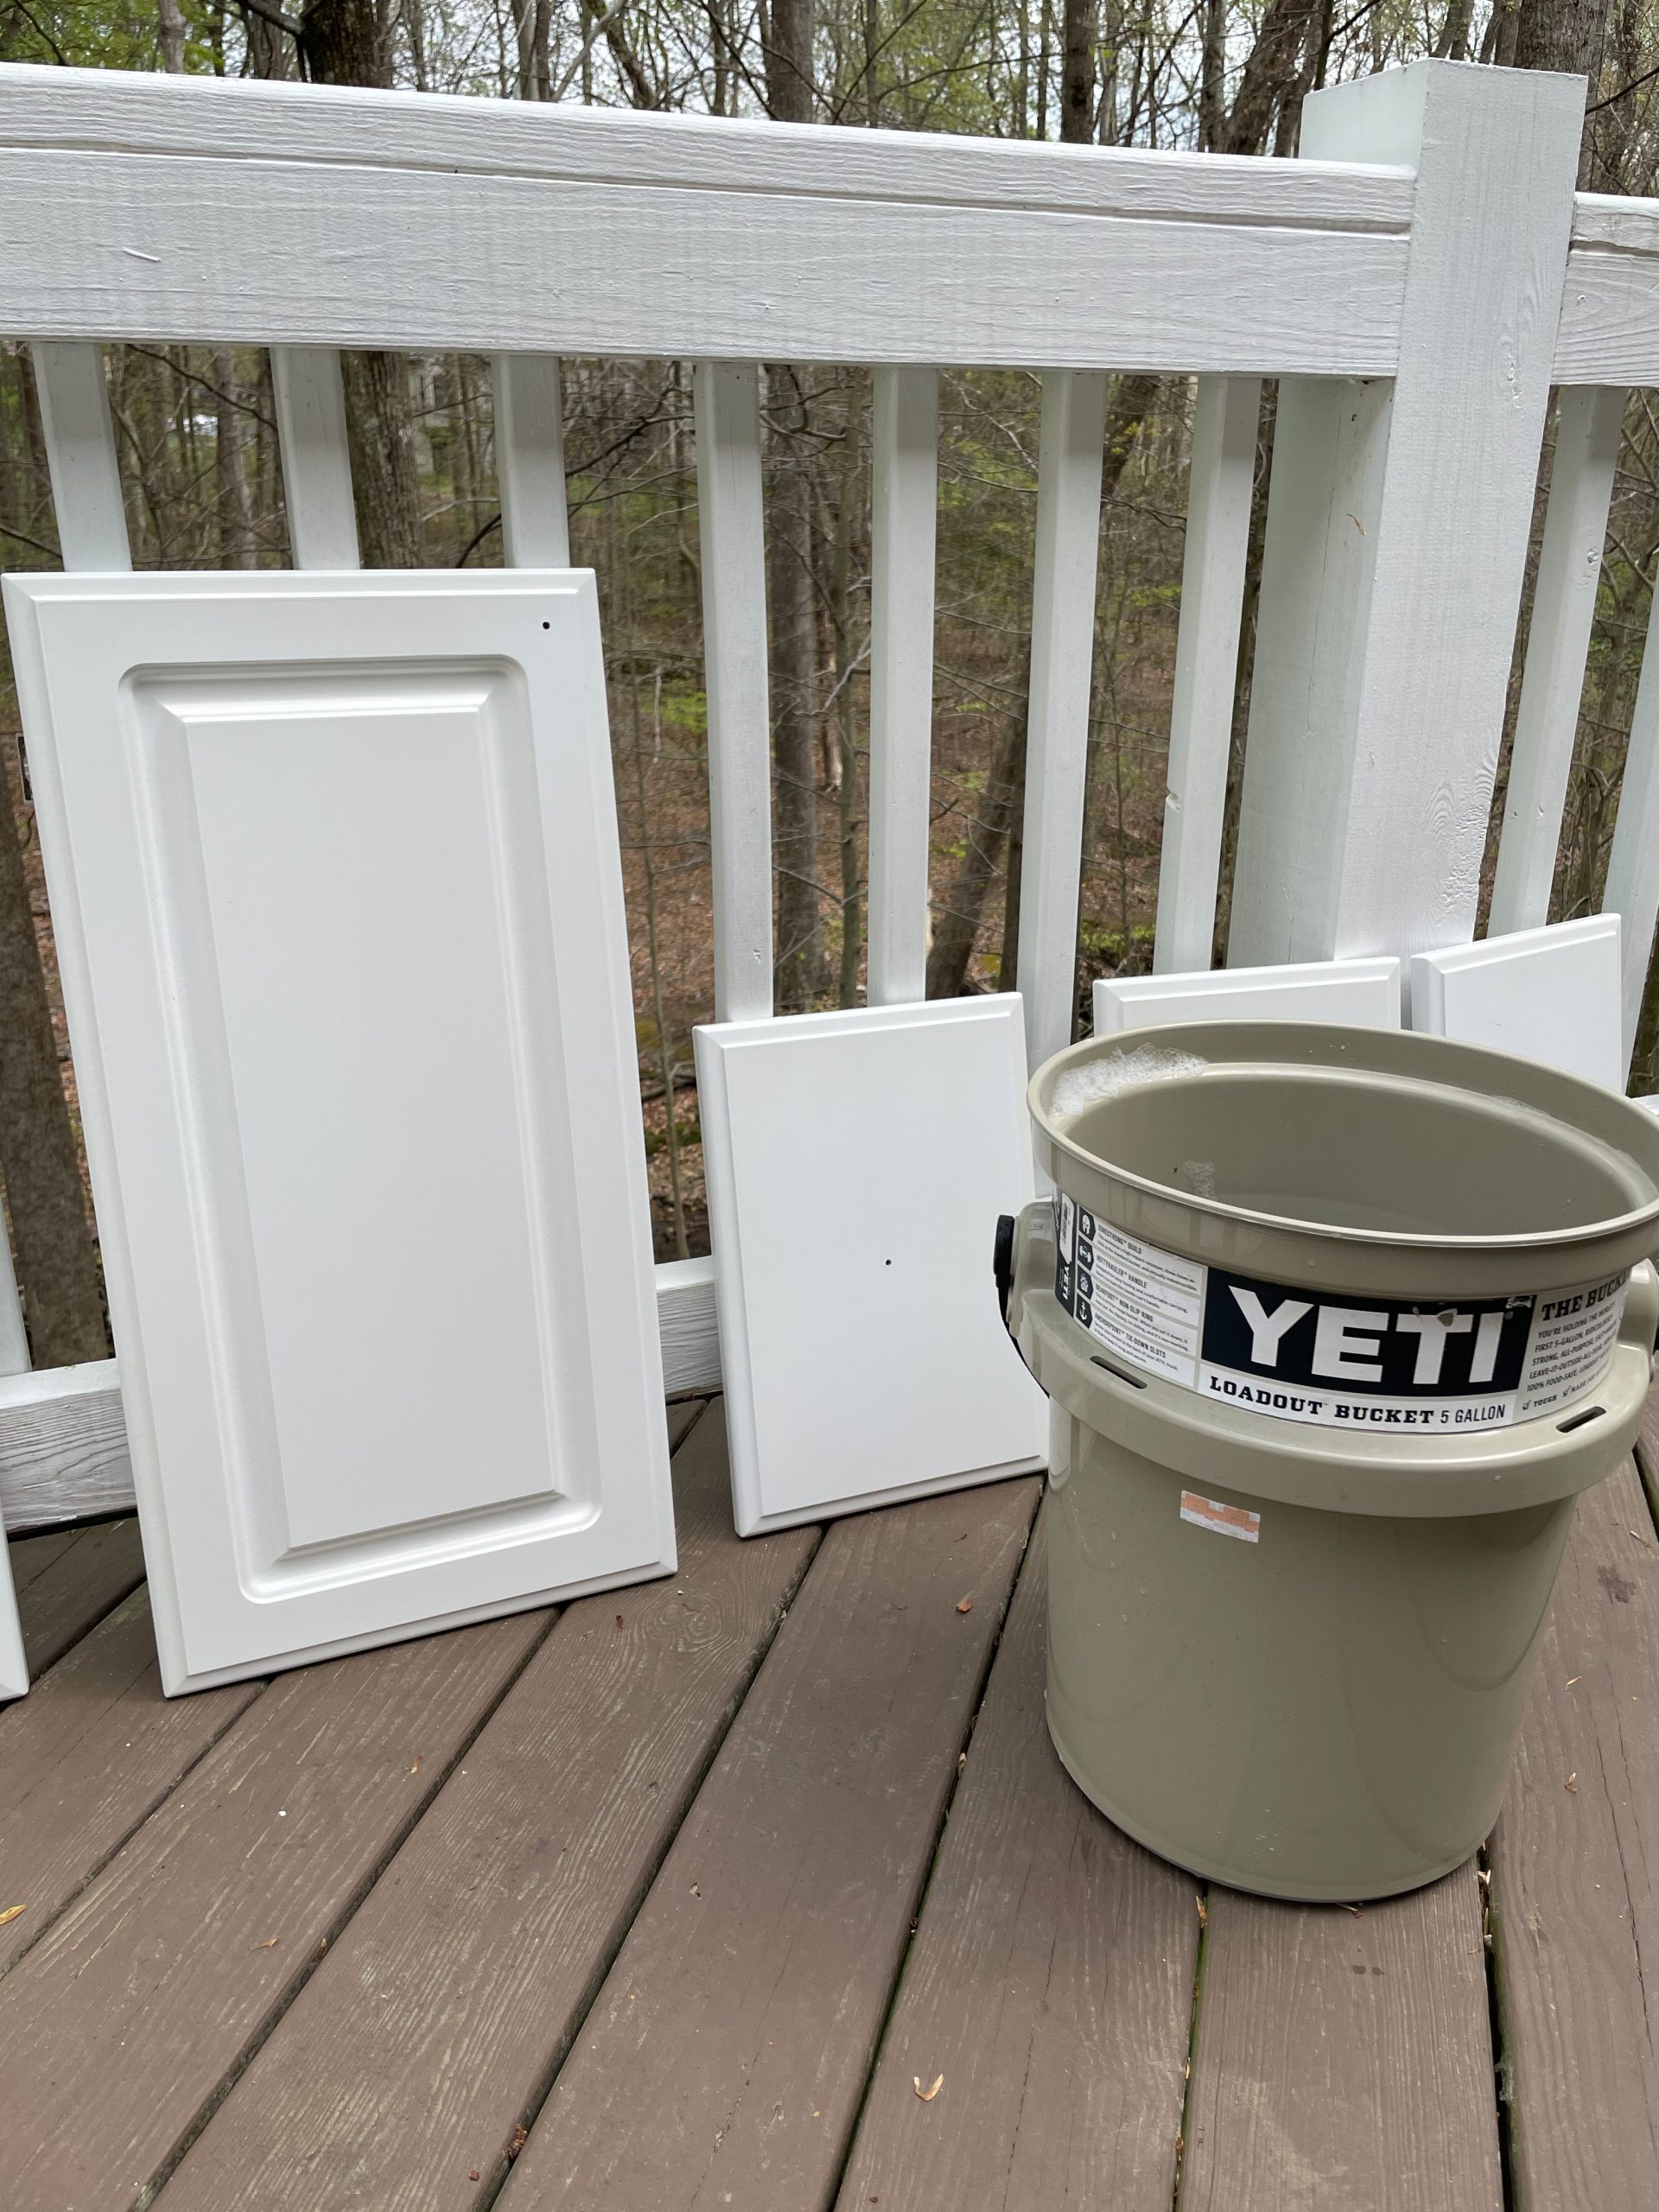
There is a little bit of prep work before you paint thermofoil bathroom cabinets, but it’s key to ensure you take the time to prep your space for best results. Remove all your doors and drawers from the cabinets and drawer hardware. Set these aside and set up a workstation with plastic drop cloths where you can set your drawers and doors as you paint them and as they dry.
Tape off the walls, floors and countertop to keep those areas free from paint.
Do I Need to Sand Before Painting Thermofoil Bathroom Cabinets?
The key is to ensure the surface will be able to hold the paint so it’s best to sand before you paint thermofoil bathroom cabinets. If the surface is too slick the paint will not adhere. You will need to lightly sand all of the cabinet doors (front and back), drawer fronts and the frame with either a fine grit sanding block or an orbital sander, which will make the job go a lot quicker.
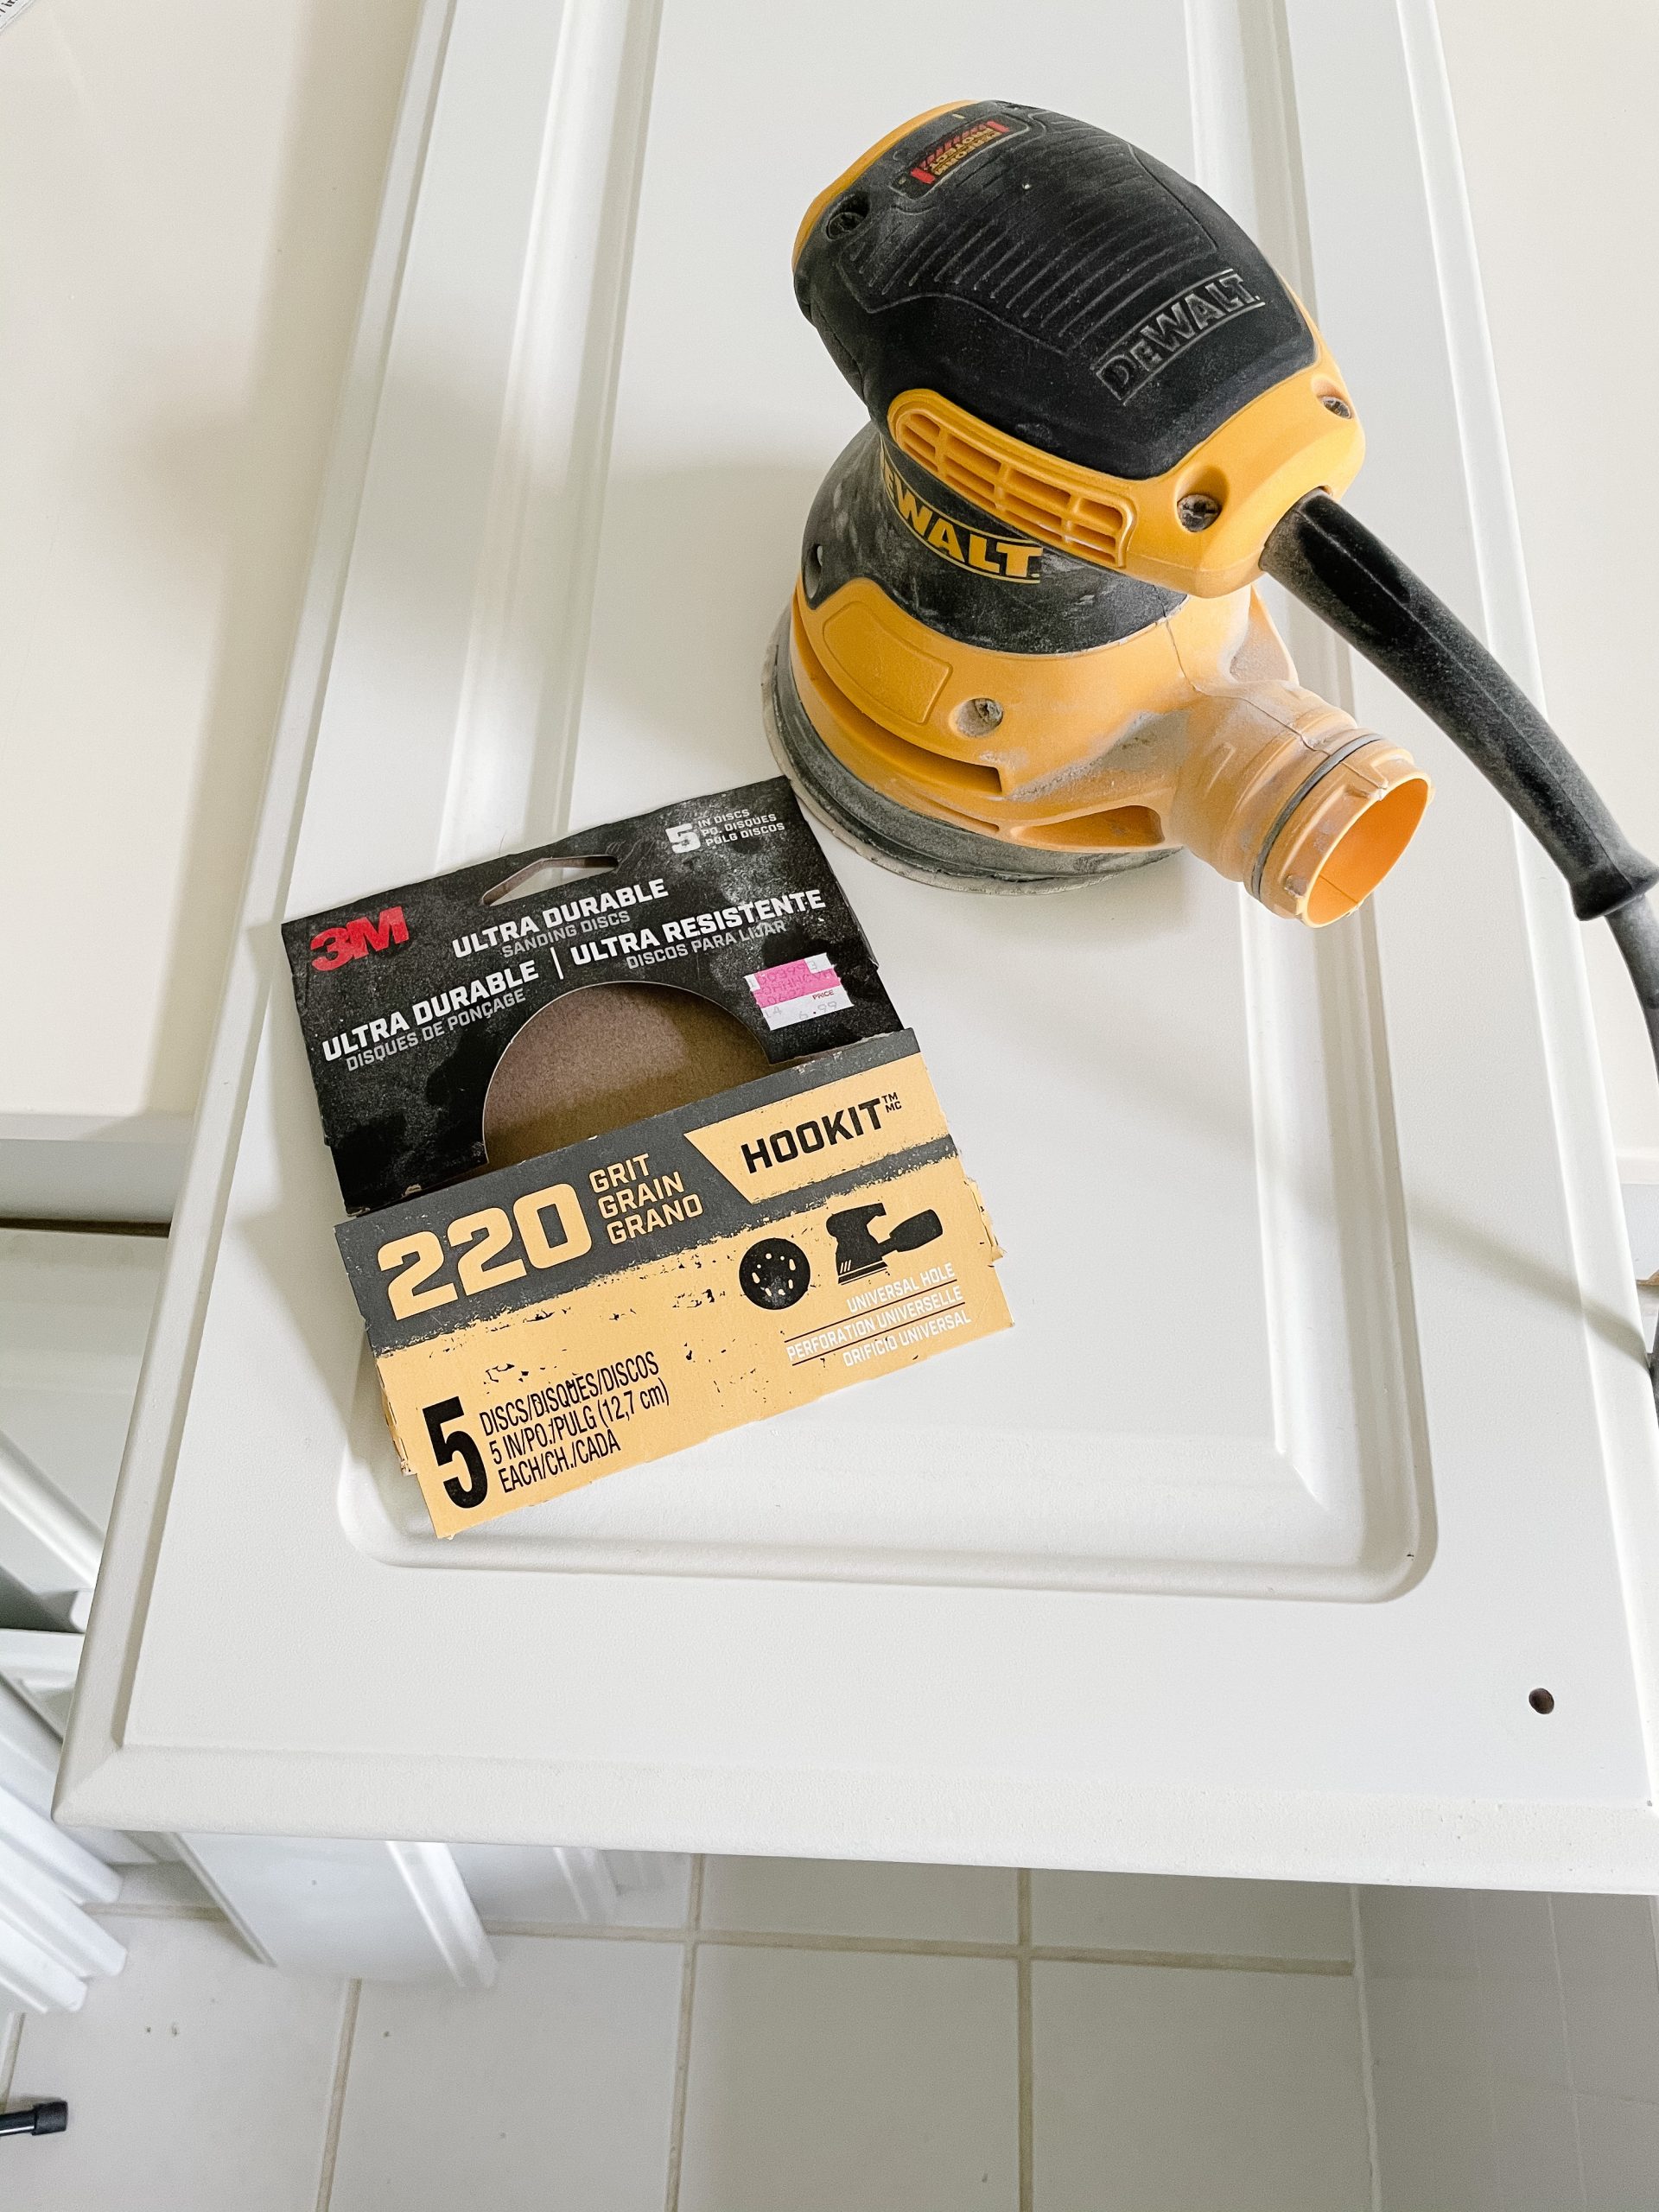
Focus on creating texture on the cabinets, not on removing the finish. Careful not to sand so much that you sand through the laminate coating; you are just trying to rough up the surface so the paint can adhere better.
If you have portions of the termofoil coating that has peeled you will need to pay special attention to this area and sand around it accordingly to smooth it without peeling more of the coating off. Our cabinets did not have peeling, but peeling is not uncommon so watch for this and be prepared to prep accordingly.
Clean After Sanding the Cabinets
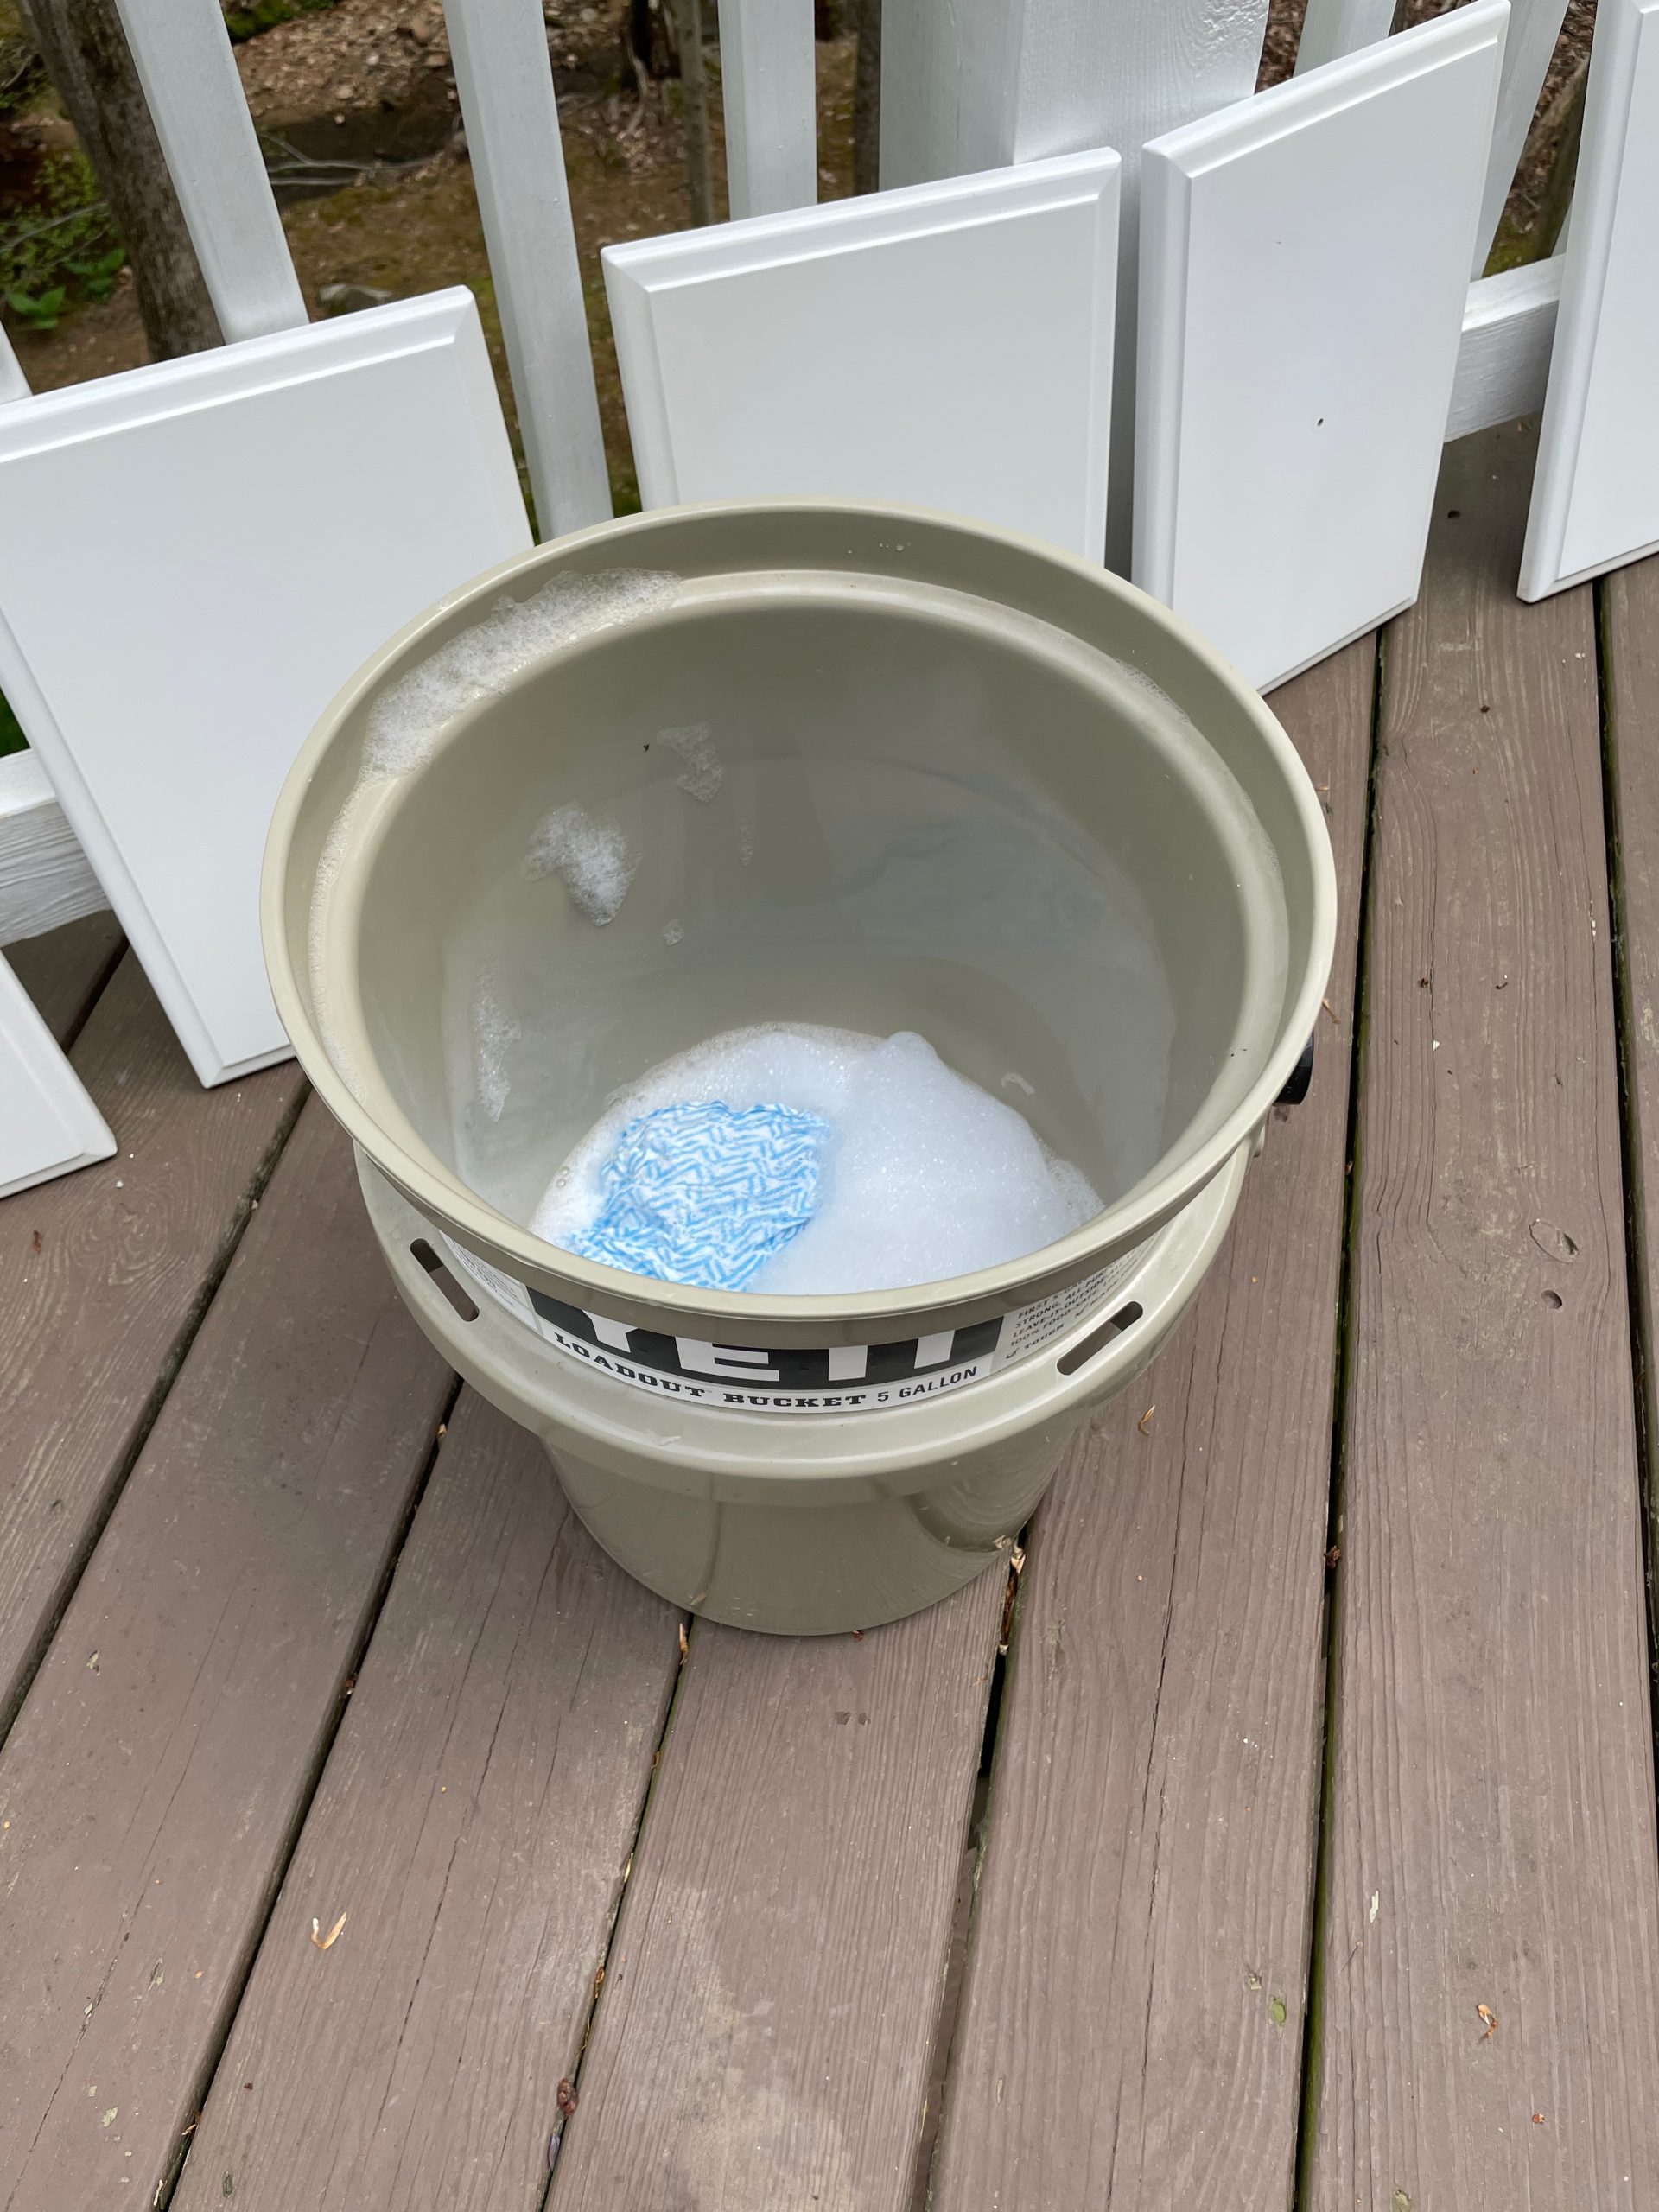
Once everything was sanded I dusted everything down to remove loose dust. I then washed the cabinets and all the drawers with a bucket of warm soapy water. (Dawn dish soap) You want the paint to secure properly so sanding and proper cleaning removes dust and any other residues that might still be on them.
Allow cabinets to fully dry before you begin to prime them. You should have been careful not to soak the cabinets while you were cleaning; just enough soapy water to remove the dust and any grime or dirt that might have been left after sanding.
Time to Prime!
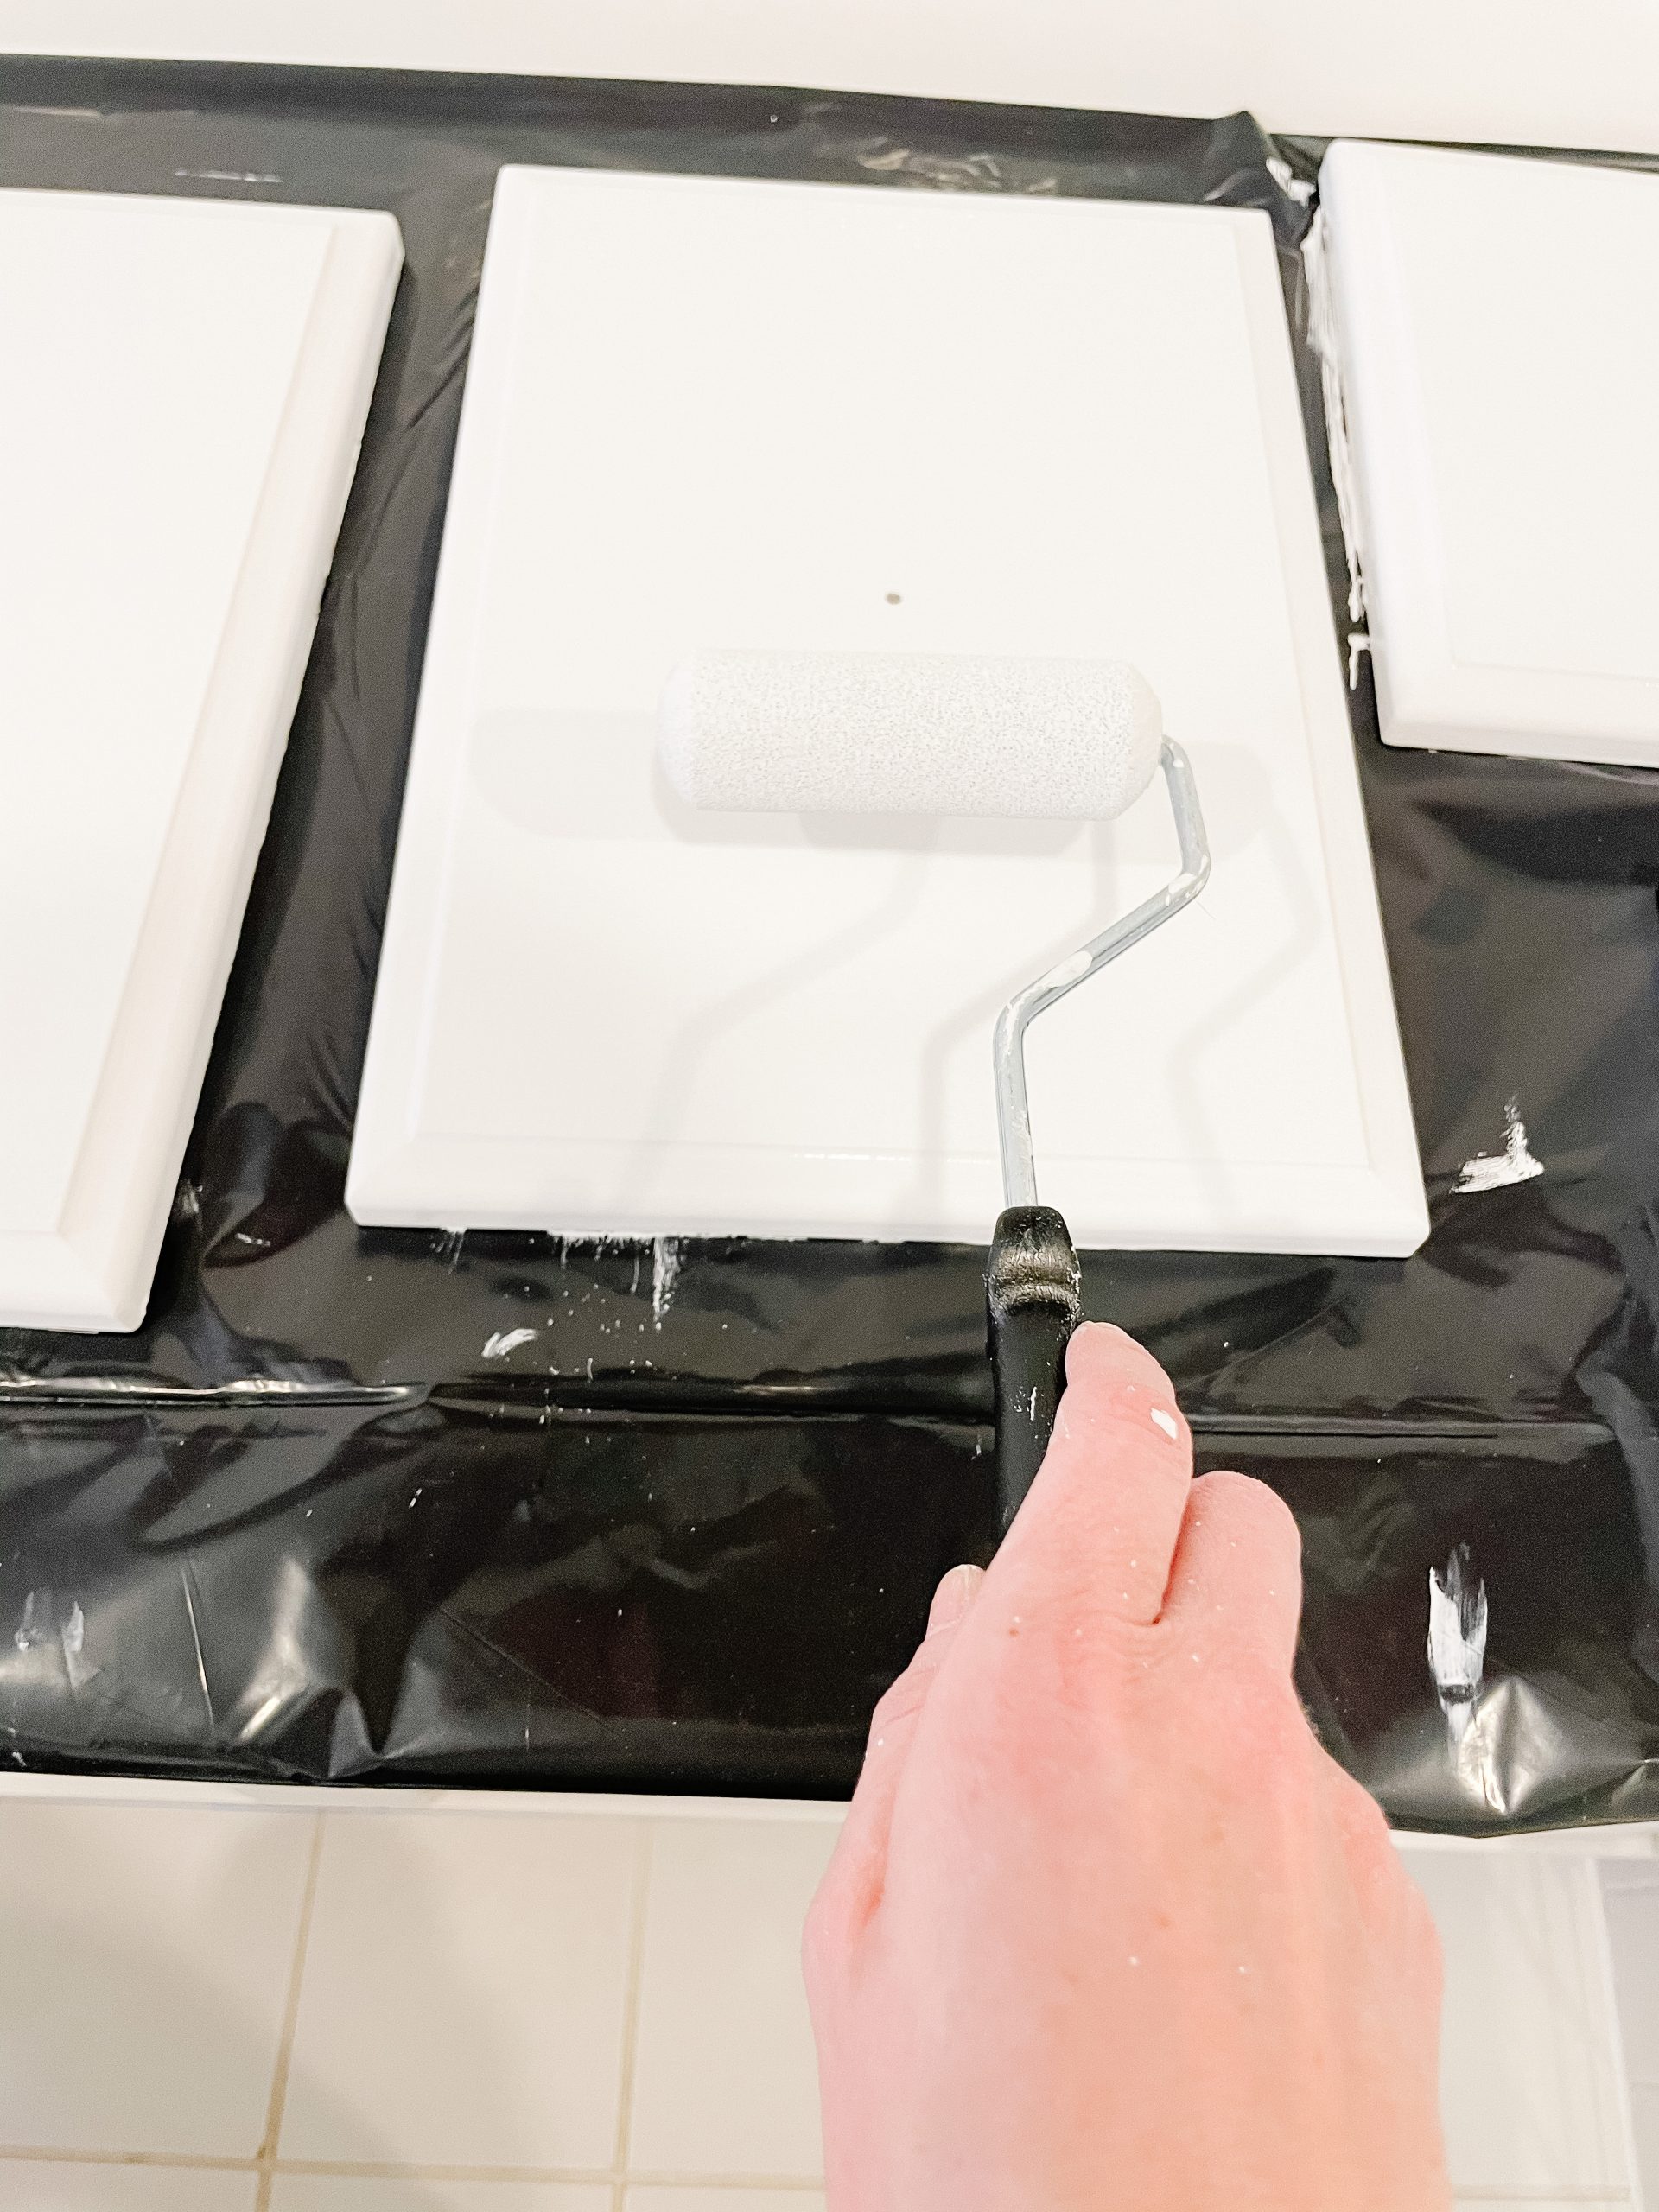
Now that everything is prepped and cleaned I was ready to get to work. You must prime bathroom cabinets before painting. Skipping this step means you will have to do this project all over again. I began by using the brush to get the primer in all the grooves and details of the cabinet. Then I used a foam roller to apply the large portion of the drawers and doors with primer.
A foam roller will apply the paint in a smooth and even coat. For best results you could also use a paint sprayer for a complete even surface. Using a foam roller is the next best thing to help avoid brush strokes in the finish.
Once the primer was dry I lightly sanded again and cleared away the dust with a dry, clean brush.
One or Two Coats of Primer?
I only did one coat of primer, but you may opt to do two, if you feel adhesion wasn’t great or you are painting with a lighter color than the original cabinet color.
If your original cabinet color is dark gray and you are painting them white, use two coats of primer.
Painting Thermofoil Bathroom Cabinets
Now for the fun part, or at least the part where you begin to see the color of your cabinets begin to come to life. You still have hard work ahead of you but I always feel like the prep work is the least fun part of a project.
As stated before, I went with Benjamin Moore Advance Paint in a semi-glass finish because of it’s self-leveling feature. Benjamin Moore Advance paint also has a slightly extended open time so it doesn’t dry super fast which is helpful when you are painting cabinets.
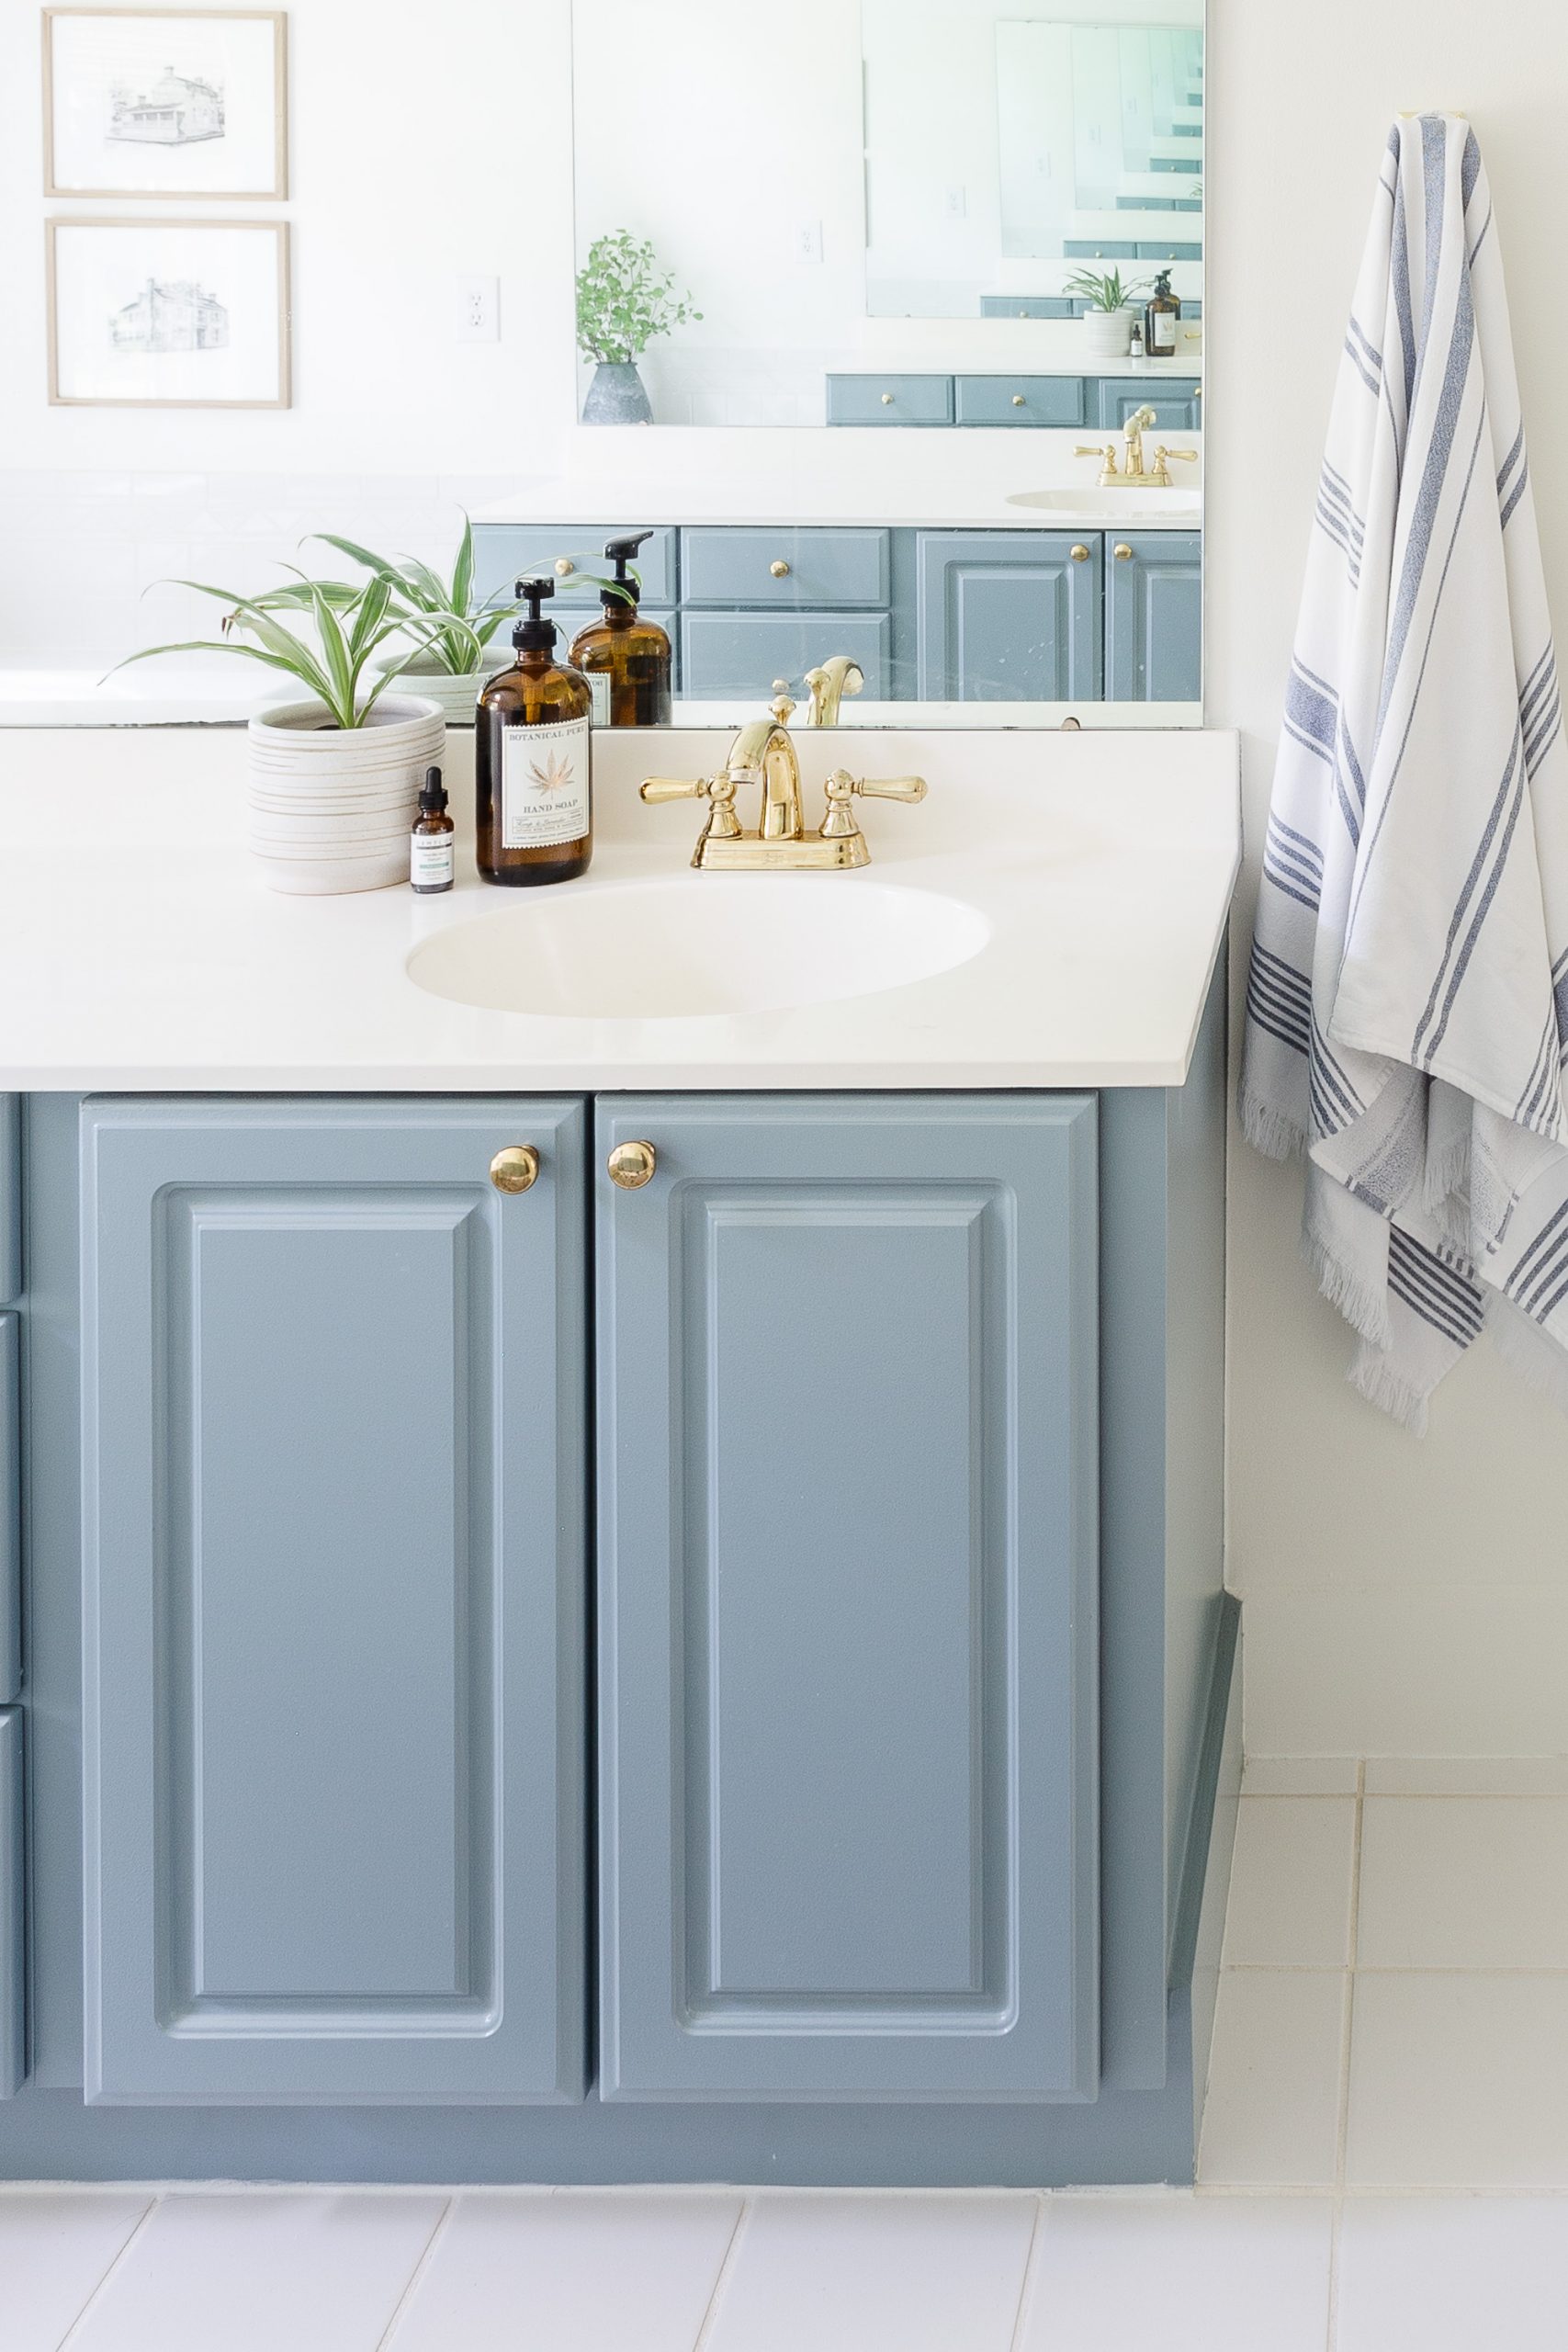
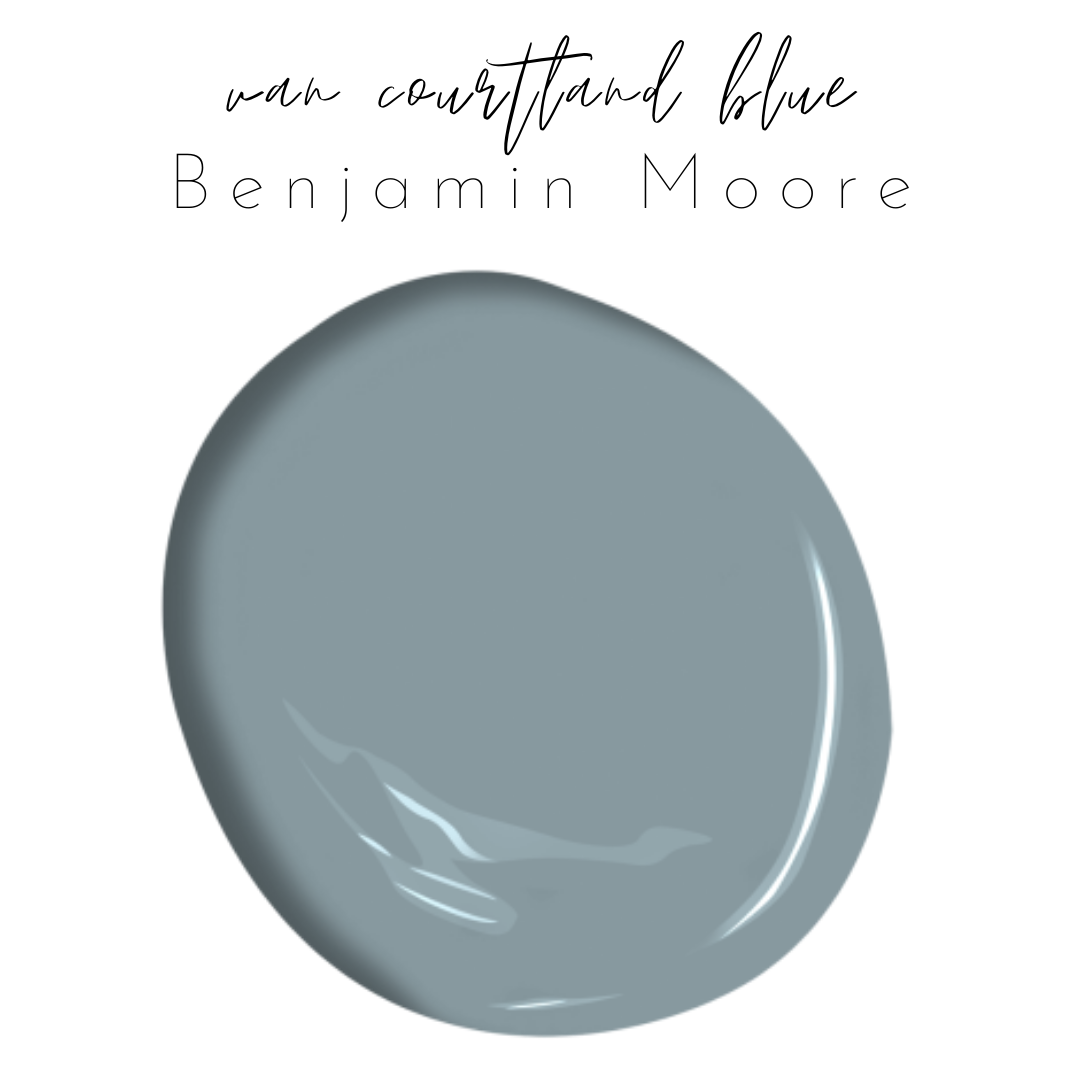
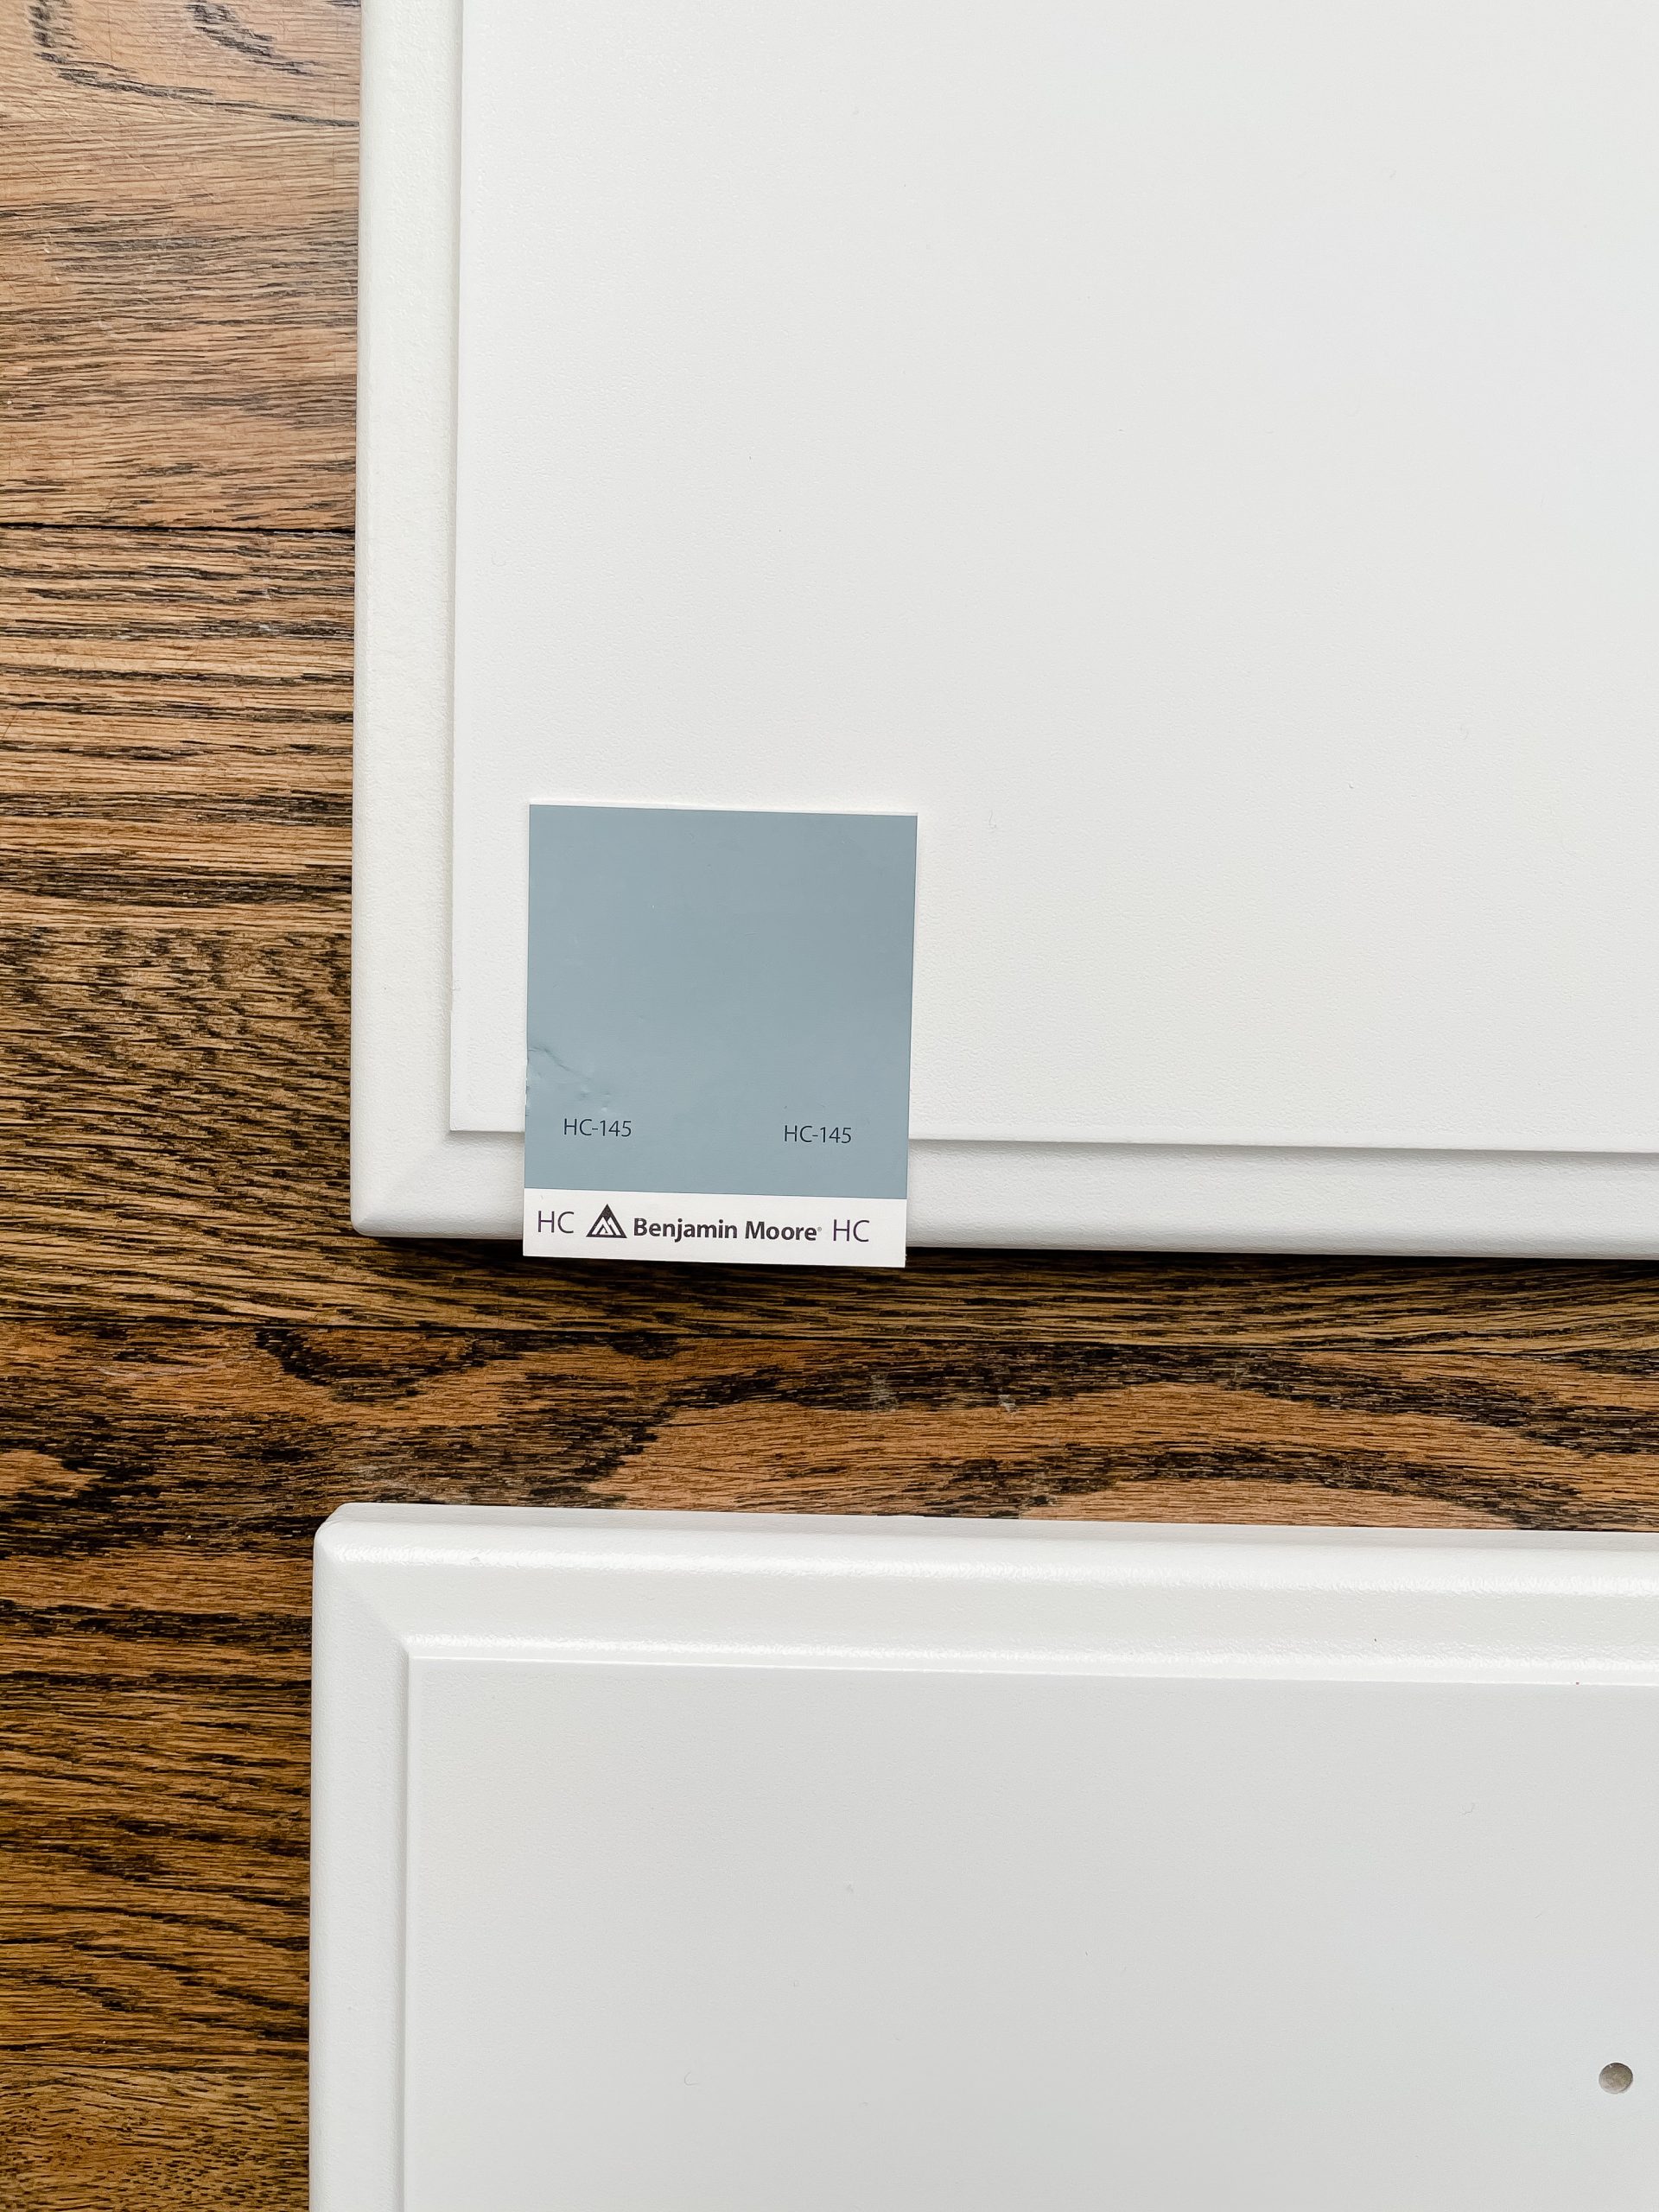
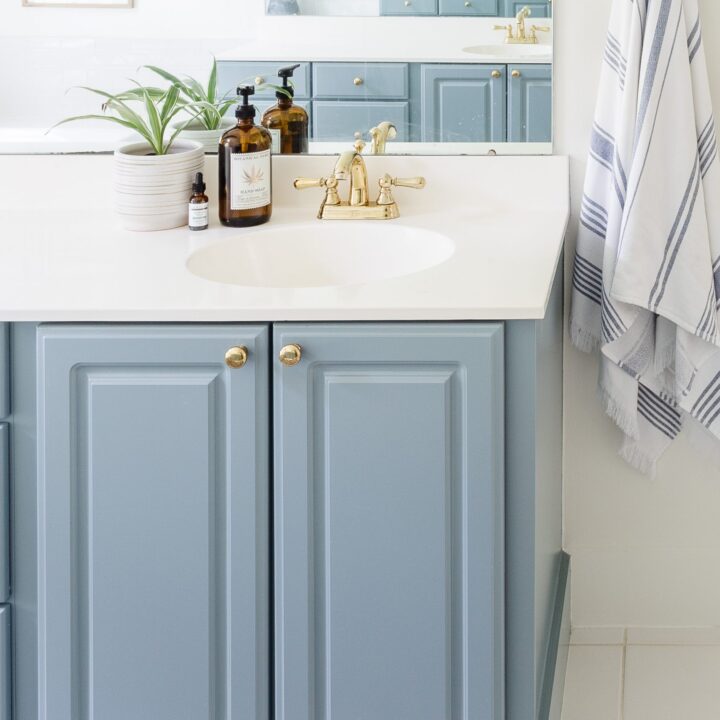
I selected Benjamin Moore Van Courtland Blue after much research on which color paint and the overall design of the final bathroom update project. It’s a gorgeous color!
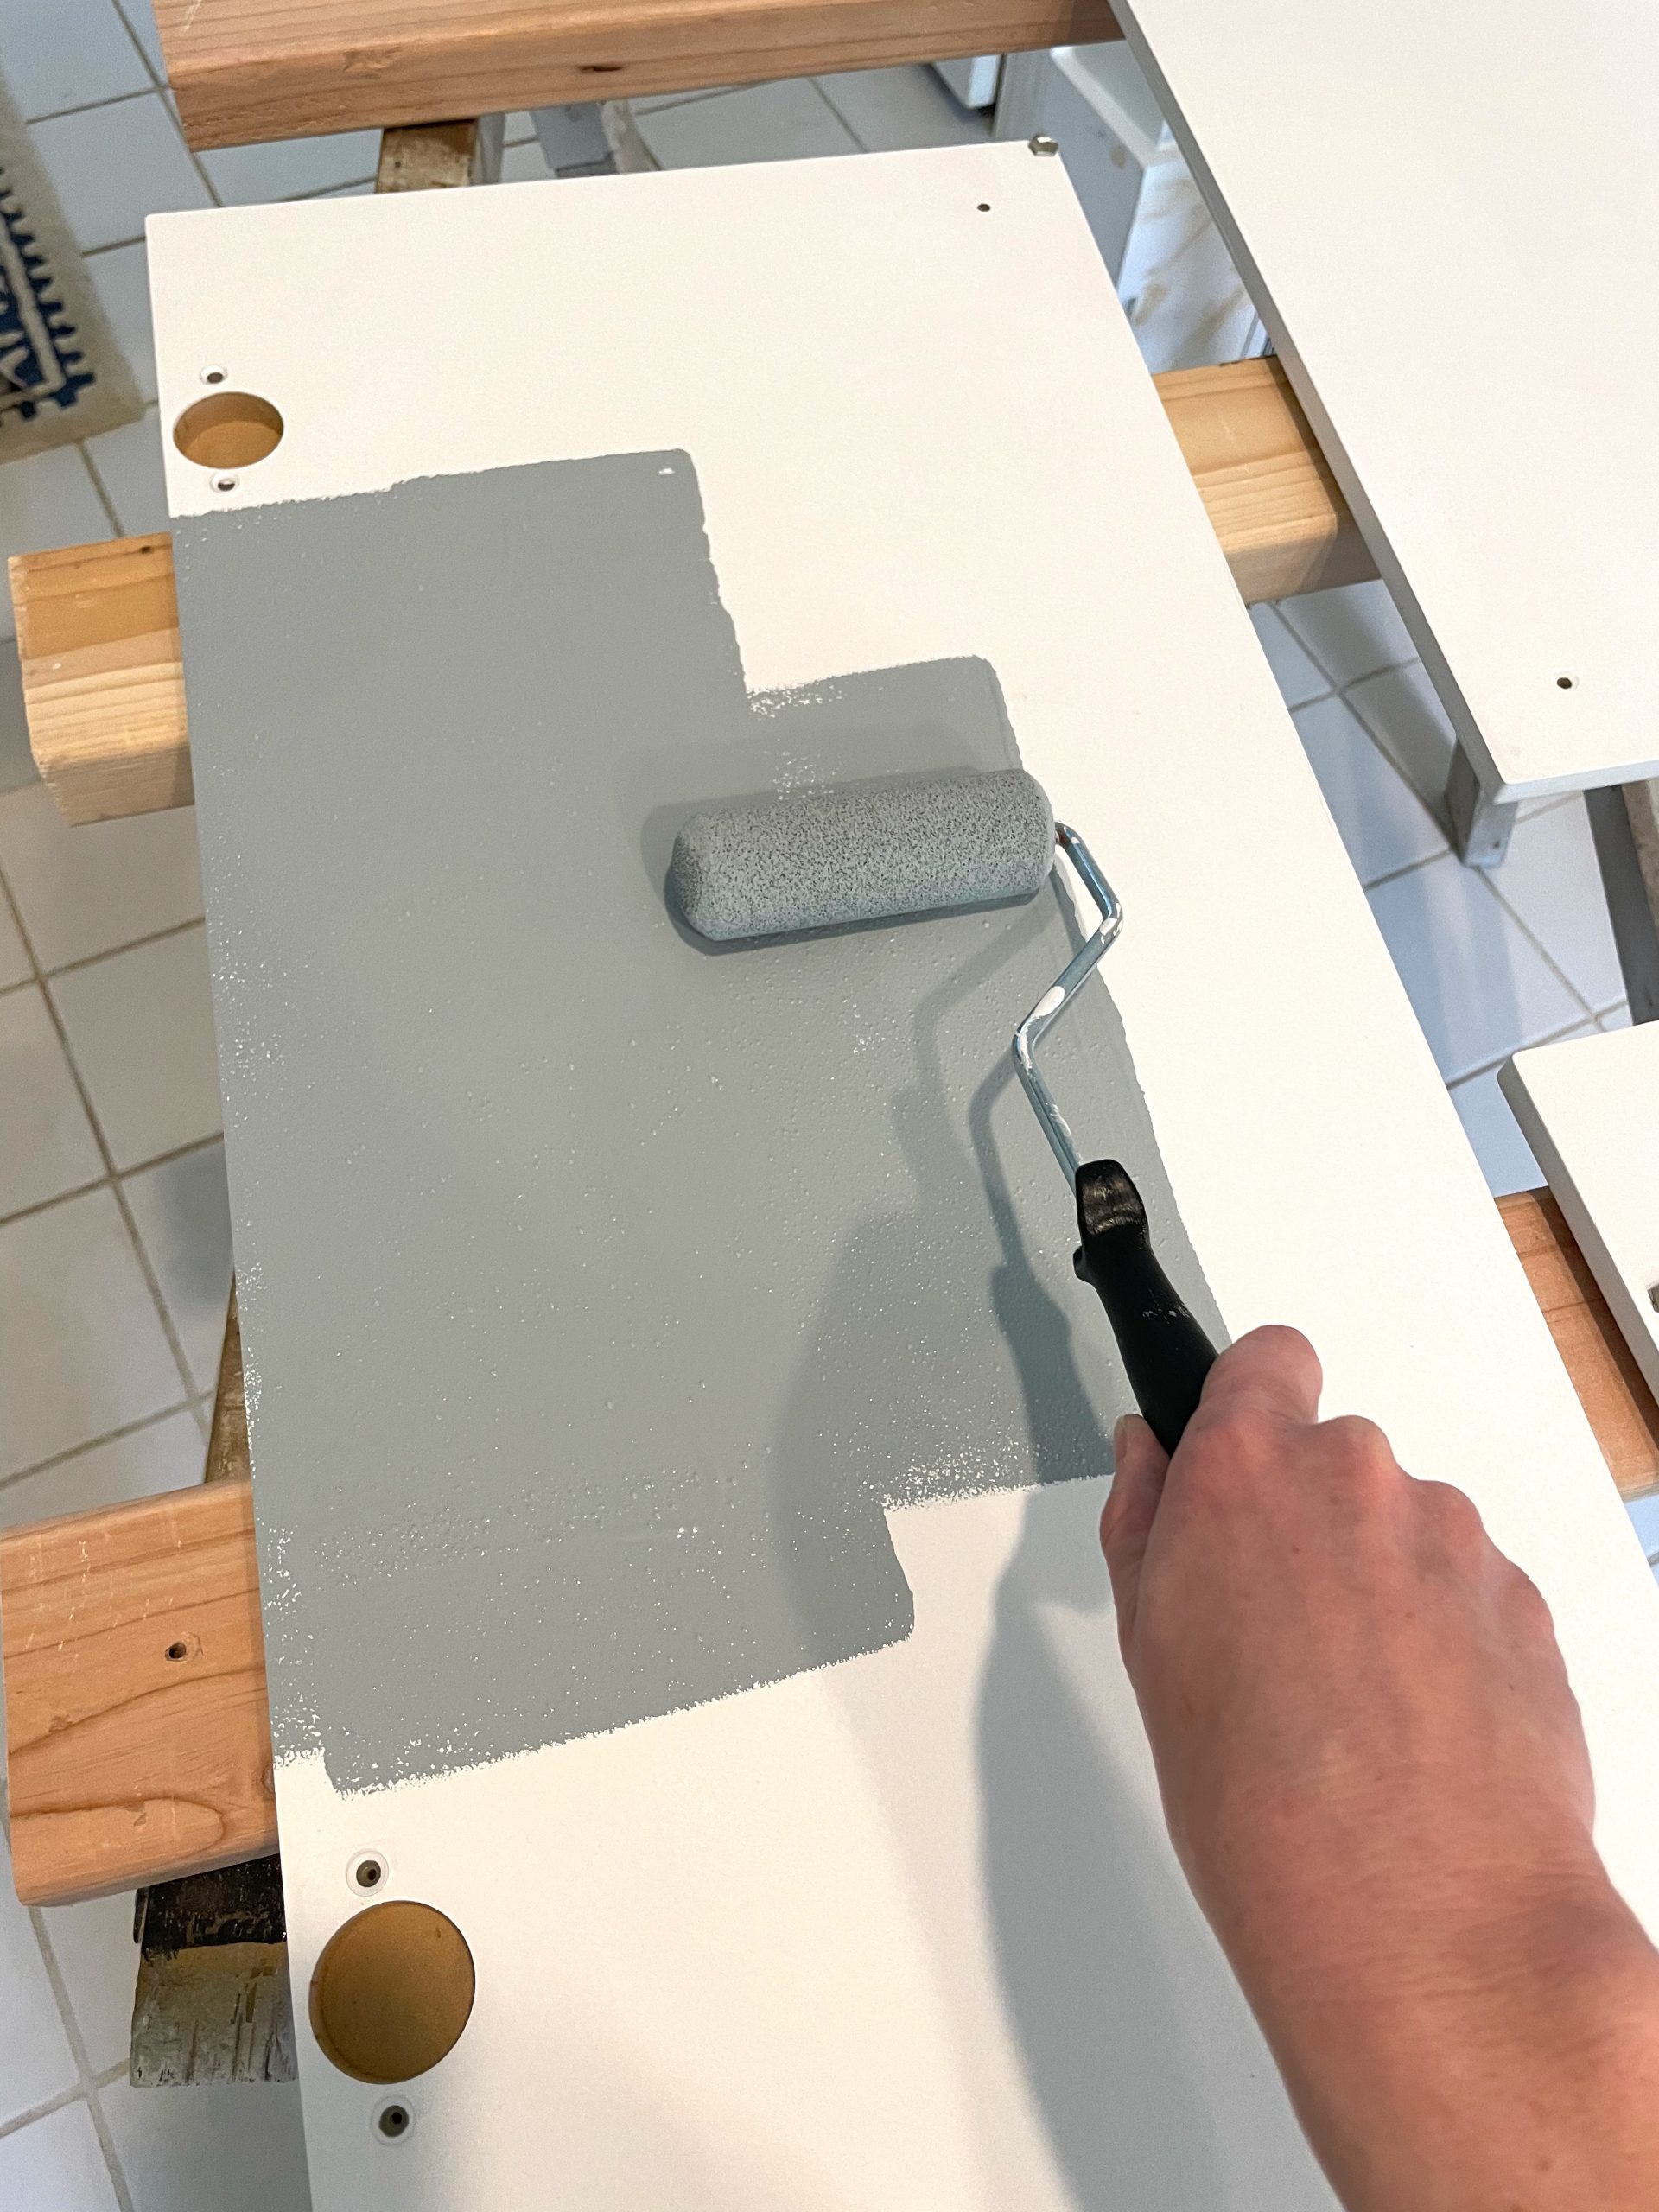
I used the foam roller to cover most of the surface and my brush to fill in the areas the roller couldn’t cover. I rolled then brushed then rolled over everything again to ensure it was smooth.
You will see little bubbles; you can lightly go over them with the roller and they will pop, but be careful not to go over them too much. The paint will take care of itself; that’s why you are using the self-leveling paint.
Move quickly and with a light hand and do a final coat with the sponge roller if you can.
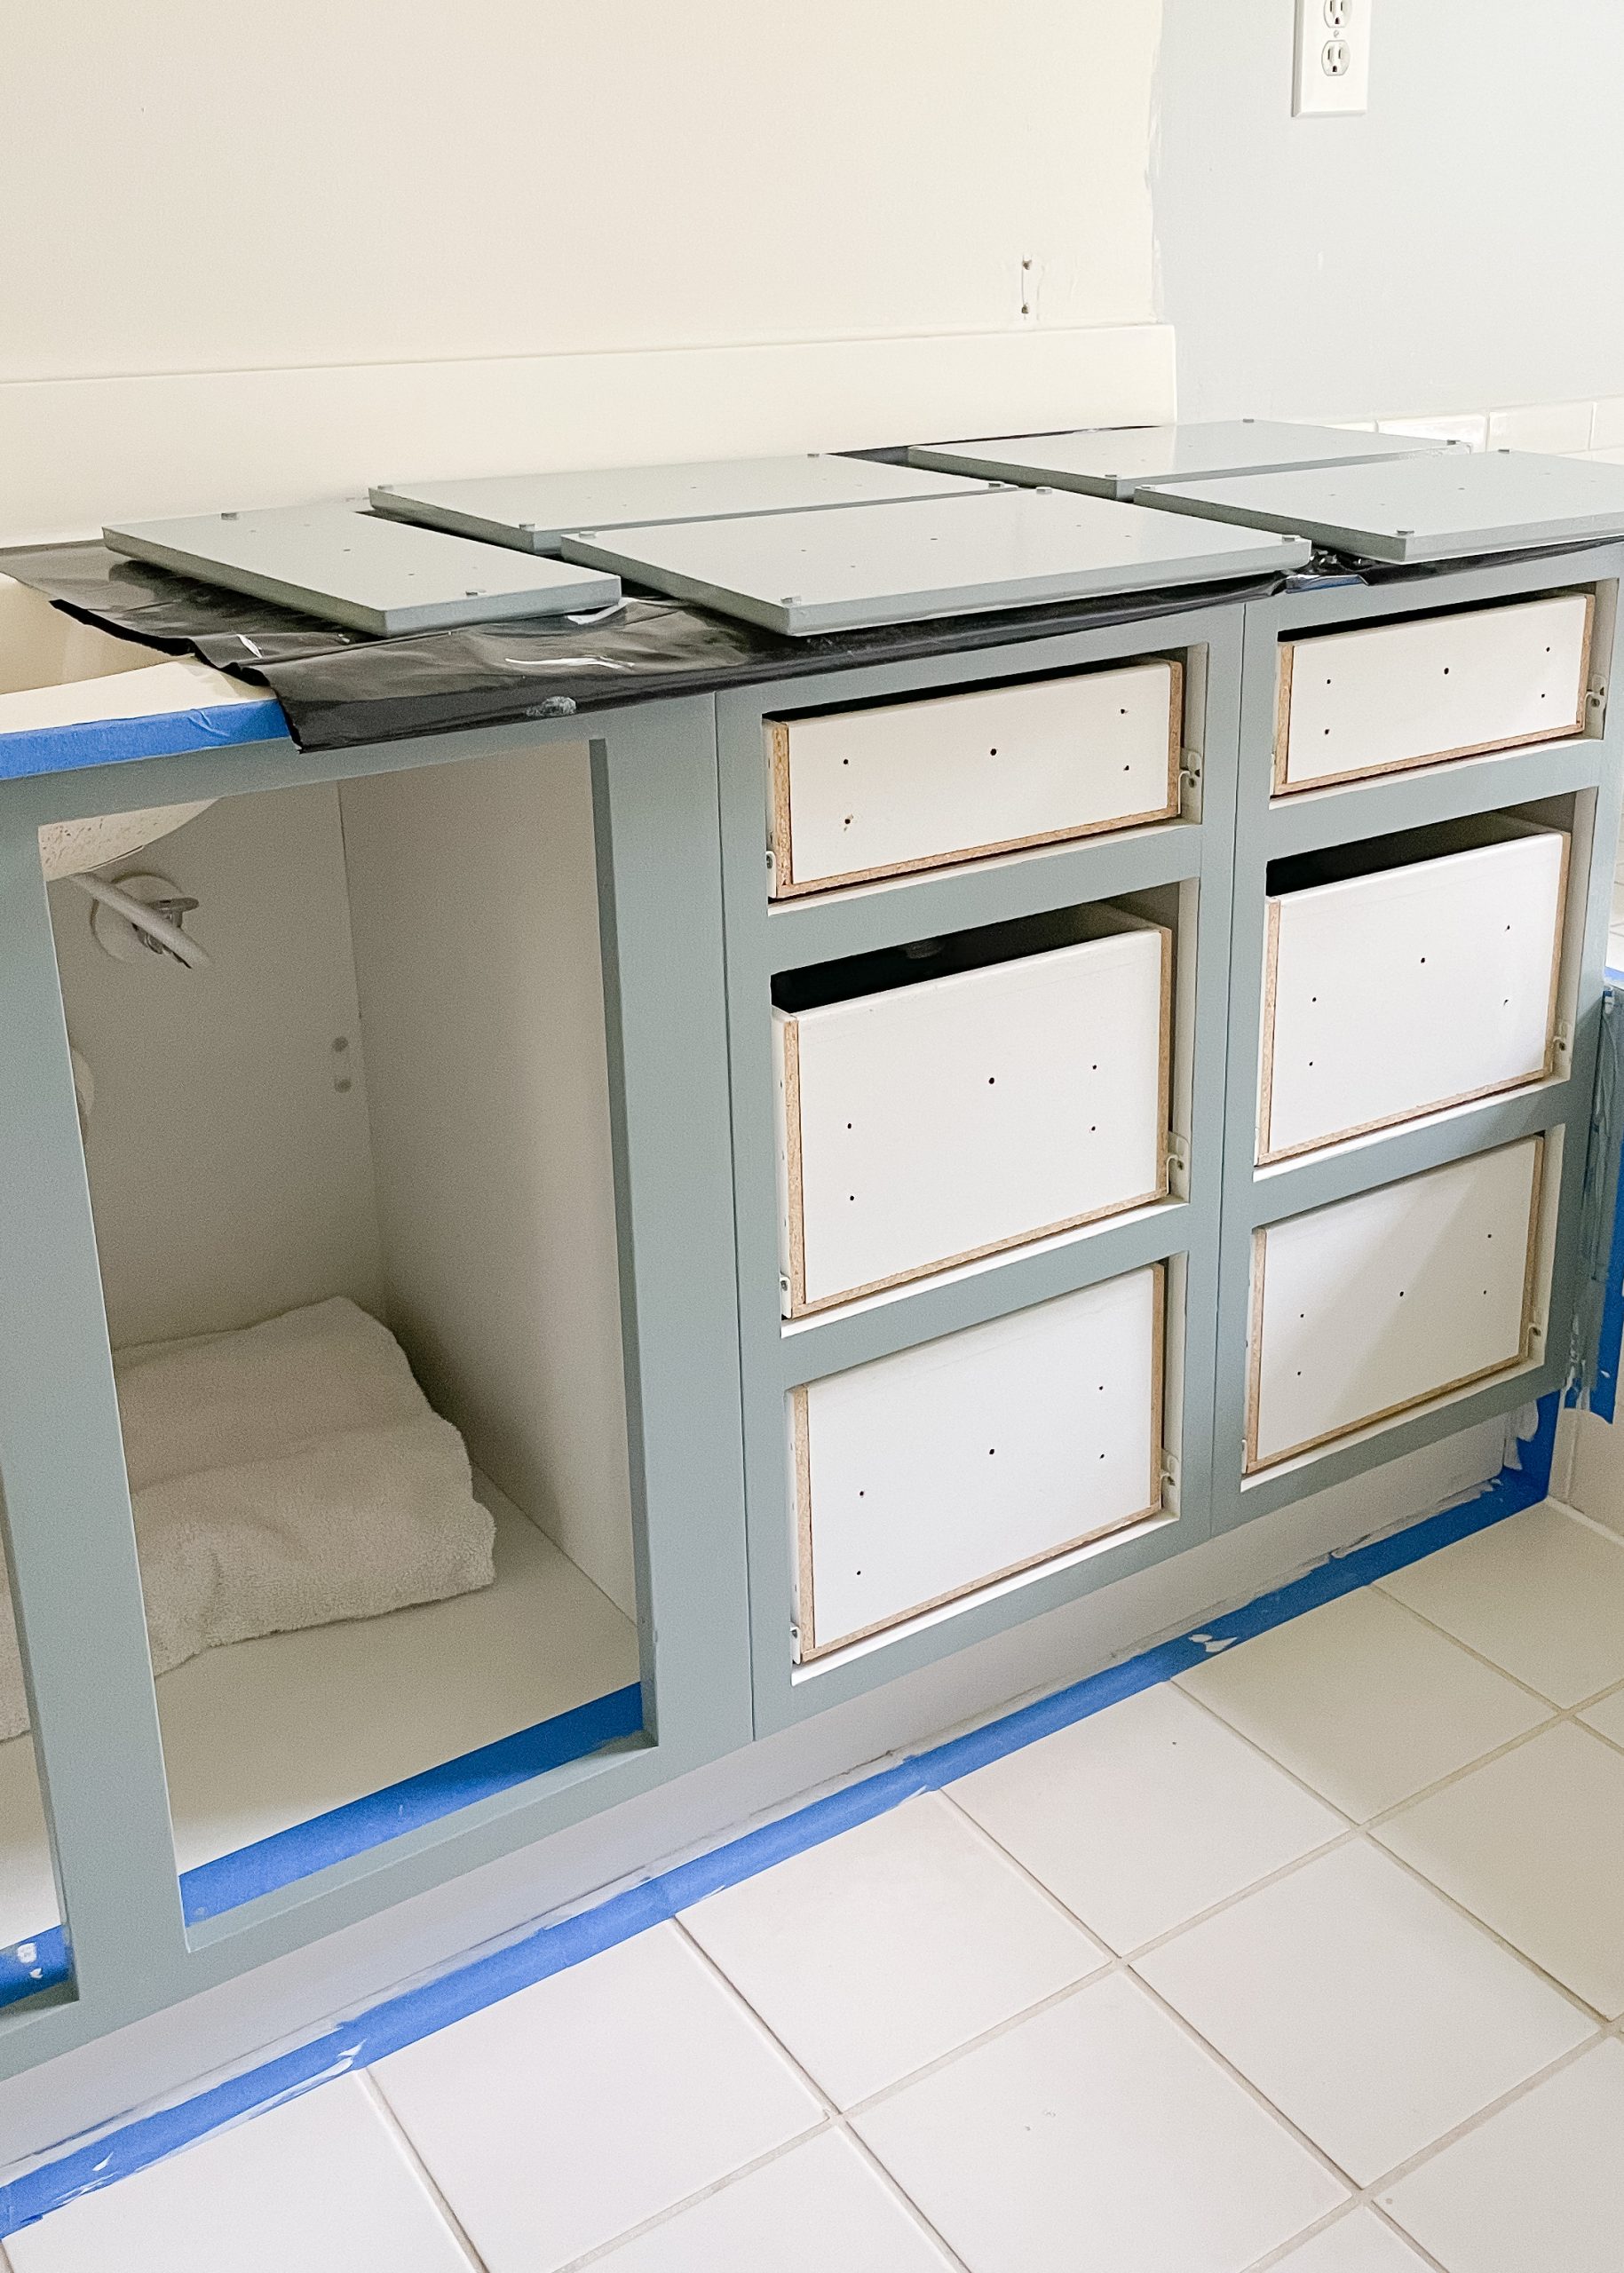
I did the drawers and cabinets first and then did the cabinet frame and sides, but it doesn’t matter which order you go in.
I waited until the next day to apply the second coat mainly because I didn’t have time the same day to do two coats on both cabinets. You don’t have to wait that long; just a couple hours before the second coat. Once the second coat is on you are done! But give it some time…
Installing Painted Bathroom Cabinet Doors and Drawers
As tempting as it is to hang the doors and re-attach the drawers right away; WAIT! Do not be in a hurry or you will regret it. I waited several days before I added the doors and drawer fronts back onto the cabinet.
You want the paint to fully cure which means the actual paint solvent has fully evaporated from the pigment. All that will be left behind will be the pigment coating. Waiting for paint to cure can take about 7 days maybe longer.
You don’t want any areas to scratch or get chipped when you’re trying to get the doors back up. Let the paint cure and fully harden. I promise the extra time will be worth the wait!

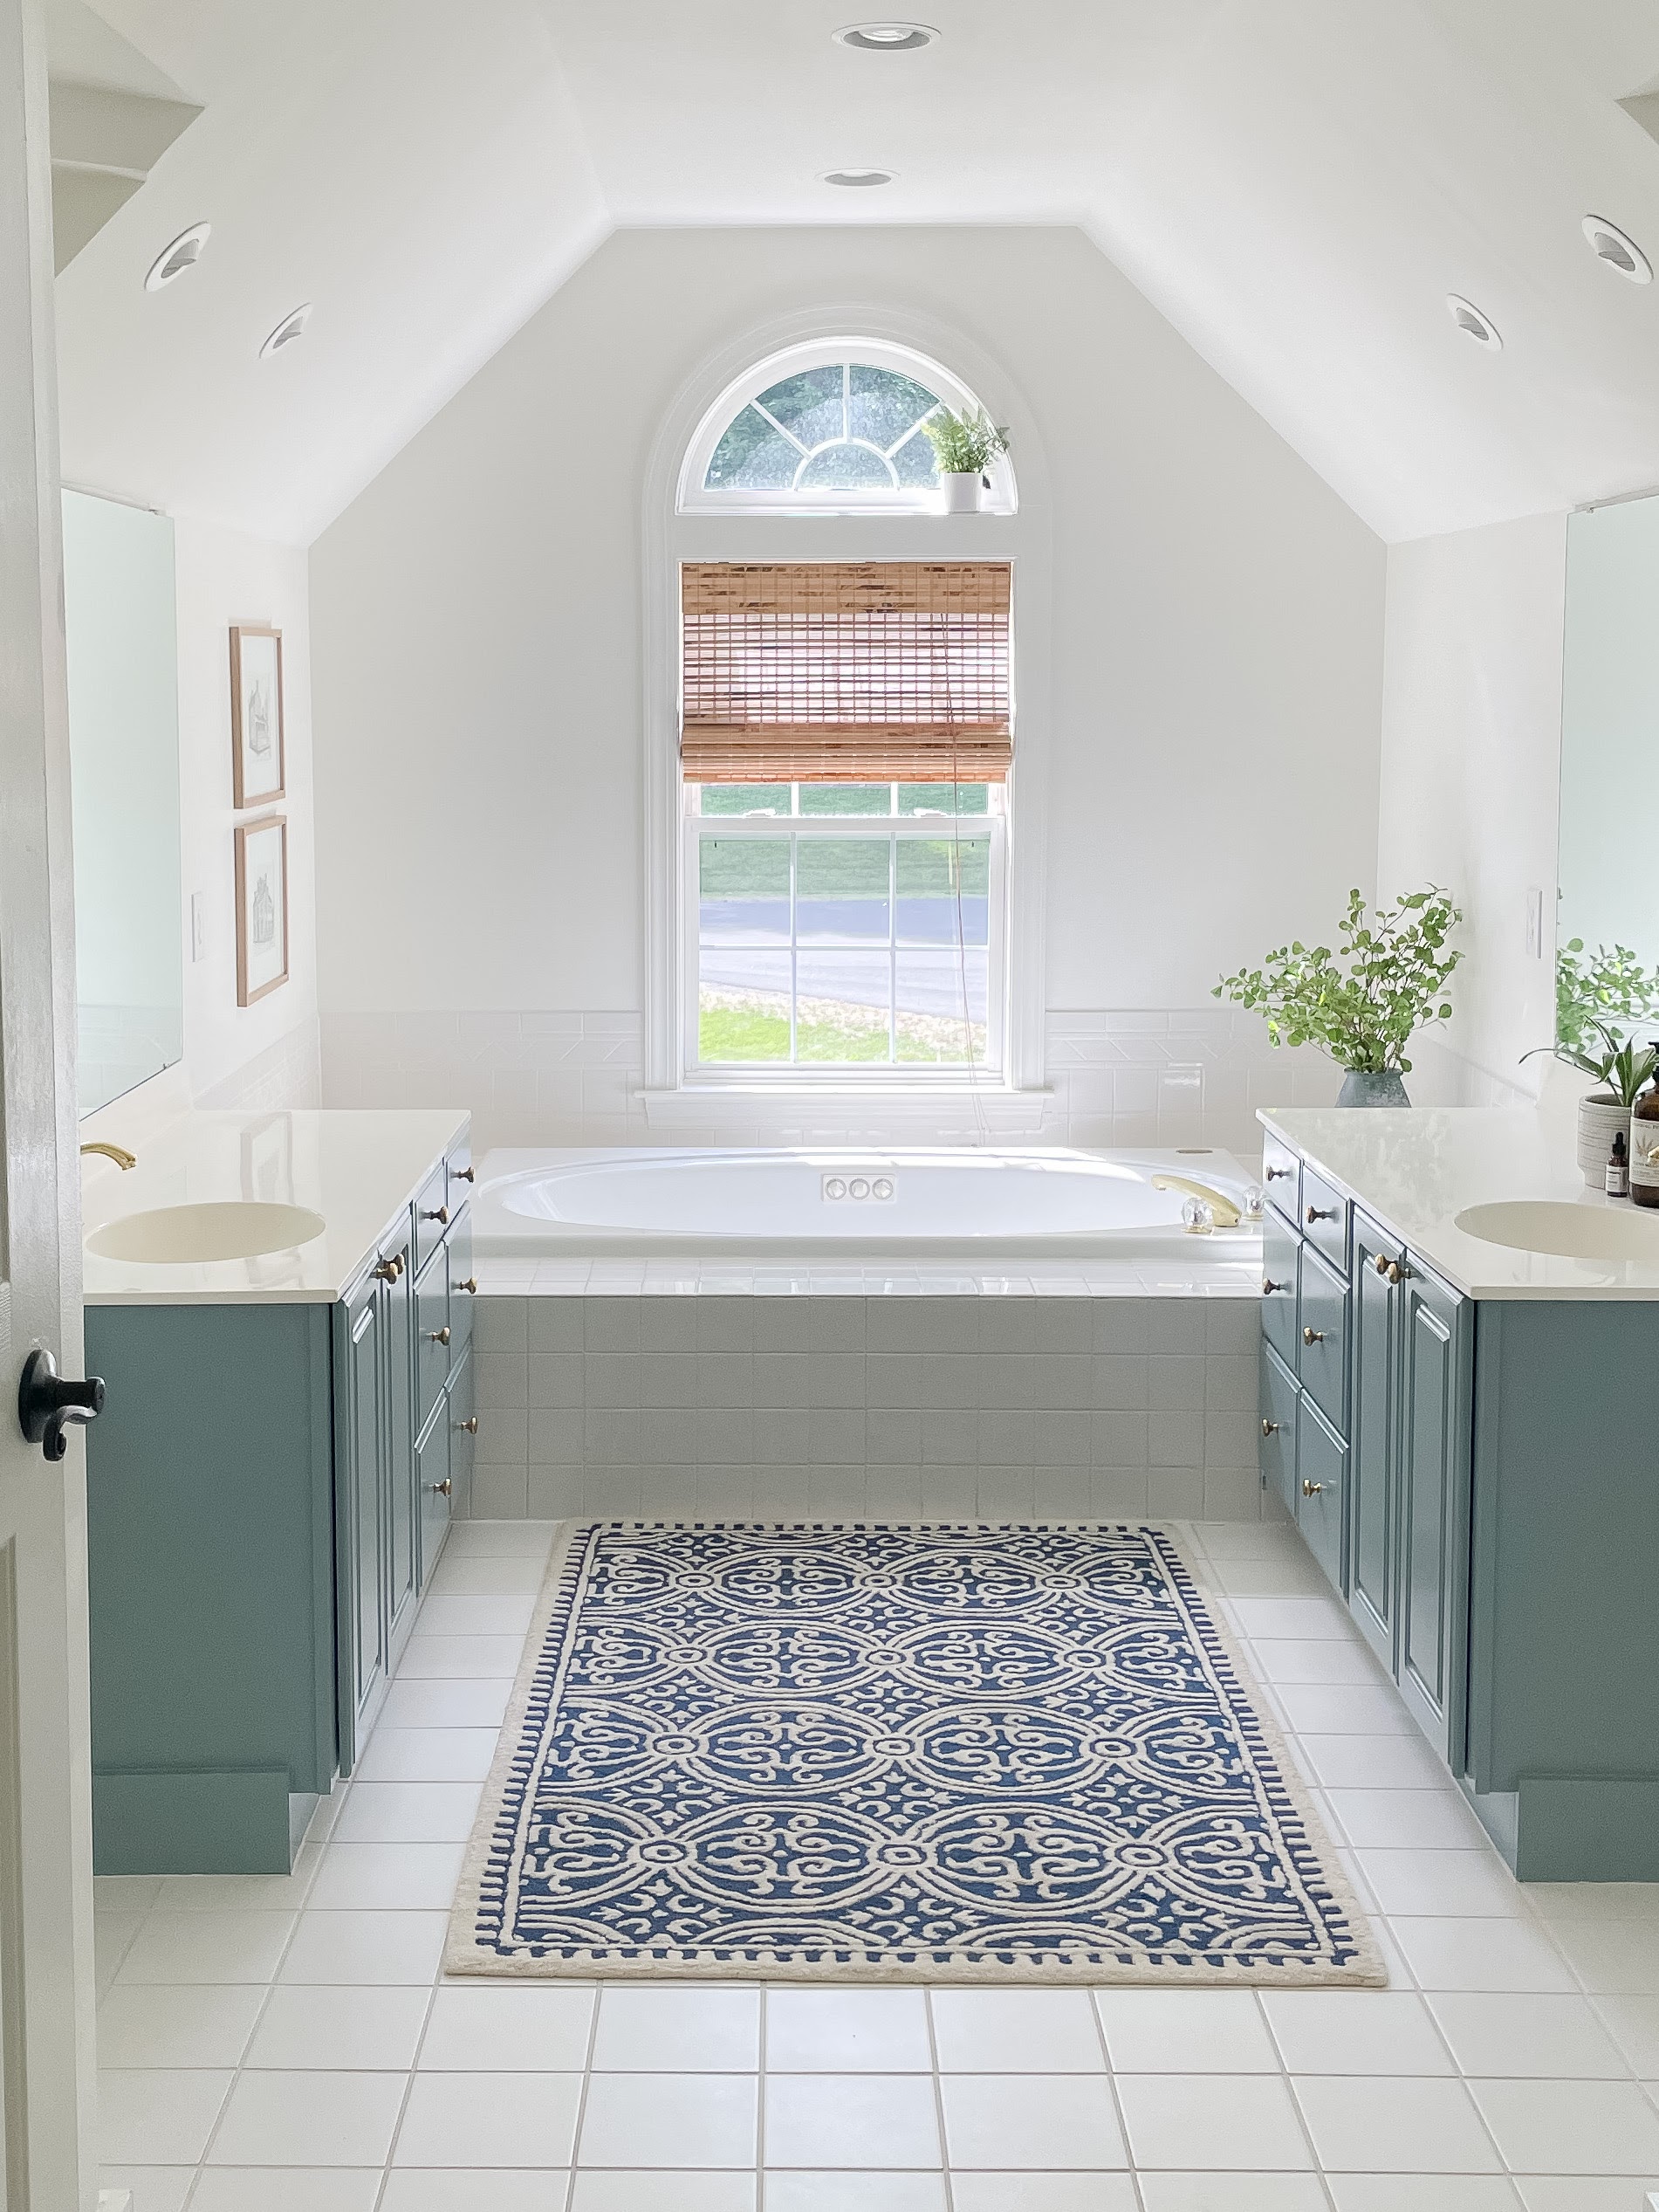
Painted Bathroom Cabinet Results
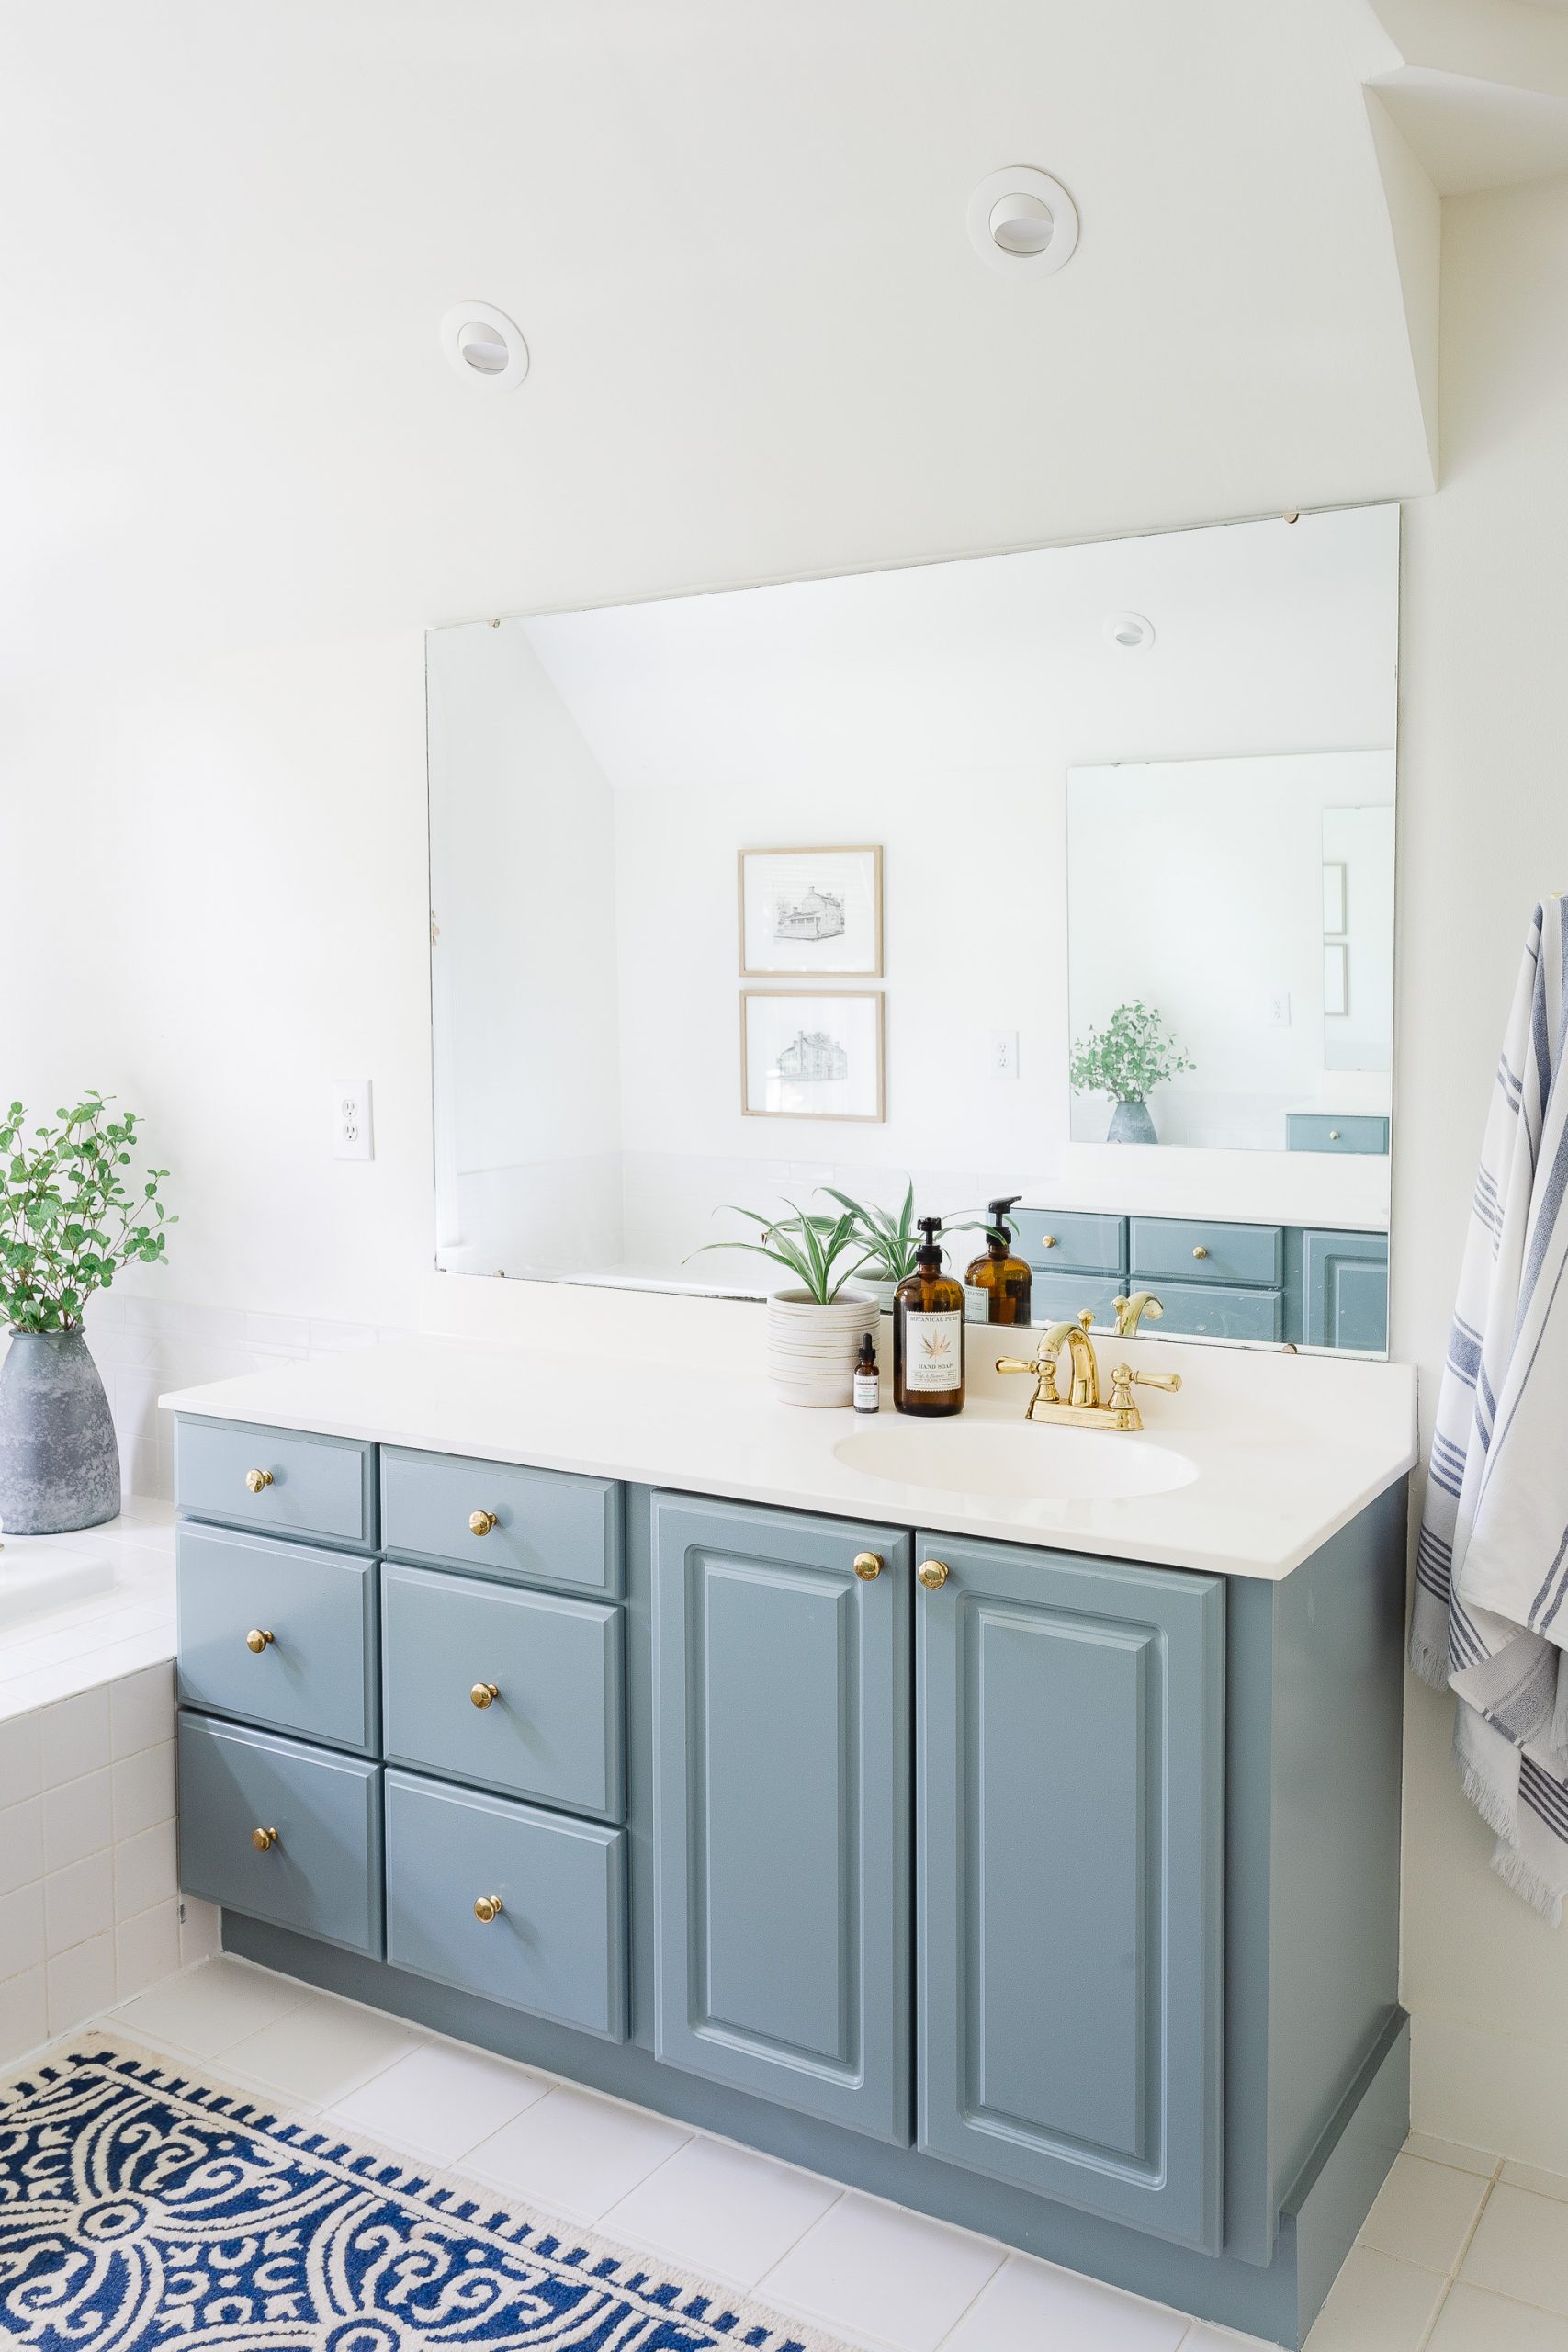
Are these my dream cabinets? No, but I can honestly say they look 100x’s better and the finish turned out better than I expected. It isn’t a 100% factory finish but I would say it’s pretty close. They have made the bathroom look much more finished and I couldn’t be happier with the results!
The extra steps and patience with applying the primer and paint made a world of difference in the results and they are smooth with a nice velvety finish.
Shop This Post:
[show_shopthepost_widget id=”4697024″]
Painted Thermofoil Cabinet Longevity
We use these cabinets in our primary bathroom so they are used every day and often. I wouldn’t say my husband and I are hard on your cabinets, but we do use them.
I painted these in March and 4 months later they are still going strong. There haven’t been any issues with chips, scratches, etc. so at this point, I think they are holding up really well!
We sold our house in July and by the time we moved out the cabinets were still in excellent condition.
Final Thoughts on Painting Thermofoil Bathroom Cabinets
If you have Thermofoil cabinets don’t be afraid to give them an update with a lovely paint. If replacing them is not in your budget and you want to refresh your space then go for it! You will be pleased with the outcome.
Would I do this project again? YES! My only regret is not doing it sooner so I could have enjoyed it longer.
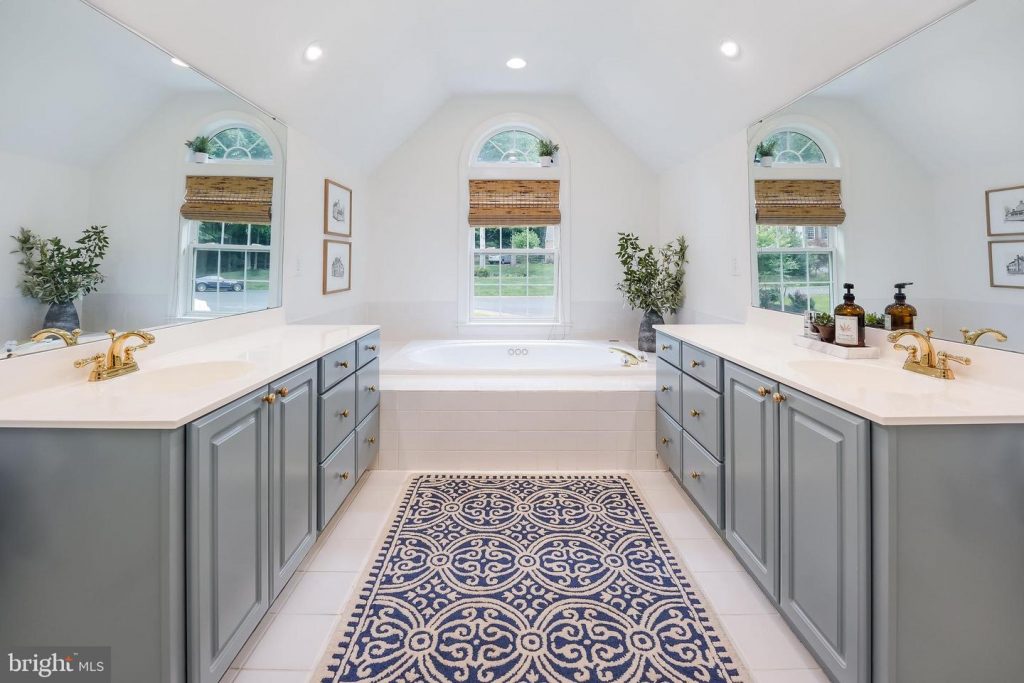
Source: Realtor.com
Painting these cabinets was a huge help when the house was photographed and listed for sale and you can see the listing photo above. Grab your paint and your brush and go paint some cabinets that are in need of a serious facelift.
How to Paint Thermofoil Cabinets
Want to paint thermofoil bathroom cabinets and update your space? Follow my easy guide on painting thermofoil bathroom cabinets so they last!
Materials
- Kilz Primer, Benjamin Moore Fresh Start Primer or Zinsser 1-2-3 Primer
- High Quality Cabinet Paint
Tools
- A small plastic paint tray
- A 4″ foam roller
- Painter’s tape
- Drop Cloth
- A high quality paint brush
- A sanding block or orbital sander
Instructions
- Prep the Bathroom Cabinets
- Sand the Bathroom Cabinets
- Clean after sanding the bathroom cabinets
- Prime the bathroom cabinets
- Paint the bathroom cabinets
- Install the bathroom cabinets and hardware
Notes
If you want to paint bathroom cabinets and have Thermofoil cabinets don't be afraid to give them an update with a lovely paint. If replacing them is not in your budget and you want to refresh your space then go for it! You will be pleased with the outcome.
Would I do this project again? YES! My only regret is not doing it sooner!
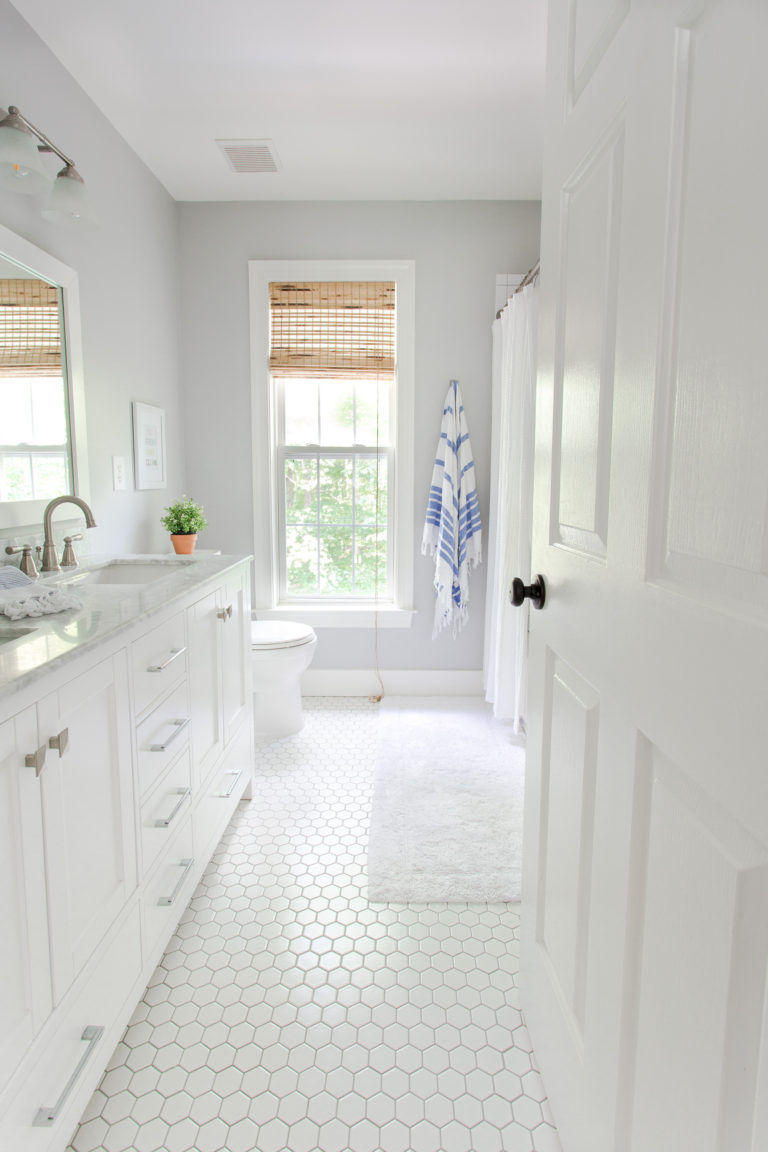
RELATED Painting POSTS:
Painting Thermofoil Bathroom Cabinets to Last
Follow for home decor, DIY and to shop: Instagram | Pinterest | LiketoKnowit


Learned some things, thanks. I always like to be in control of my work and so the roller and brush were good choices. You really do good work!
Can’t wait to try this!
Great!! Let me know how it goes!
Looks great! Did you paint the inside of the cabinets and drawers?
Thank you. I did not. Just the inside of the doors.