How to Create a Natural Wood Finish
Few finishes can rival the timeless beauty and authenticity of a natural wood finish. Learn how to a create a natural wood looking finish on your next furniture project.
The organic, raw wood look is both classic and popular. It can complement rustic, modern, and traditional styles, making it a versatile and beautiful option. But how do you get that natural wood finish? It really depends on the wood species and the color you are trying to achieve. I have found that blending wood stains, to make a custom wood stain, gives me the desired color I am looking for.
Disclosure: This post may contain affiliate links. As an Amazon Associate, I earn from qualifying purchases at no additional cost to you.

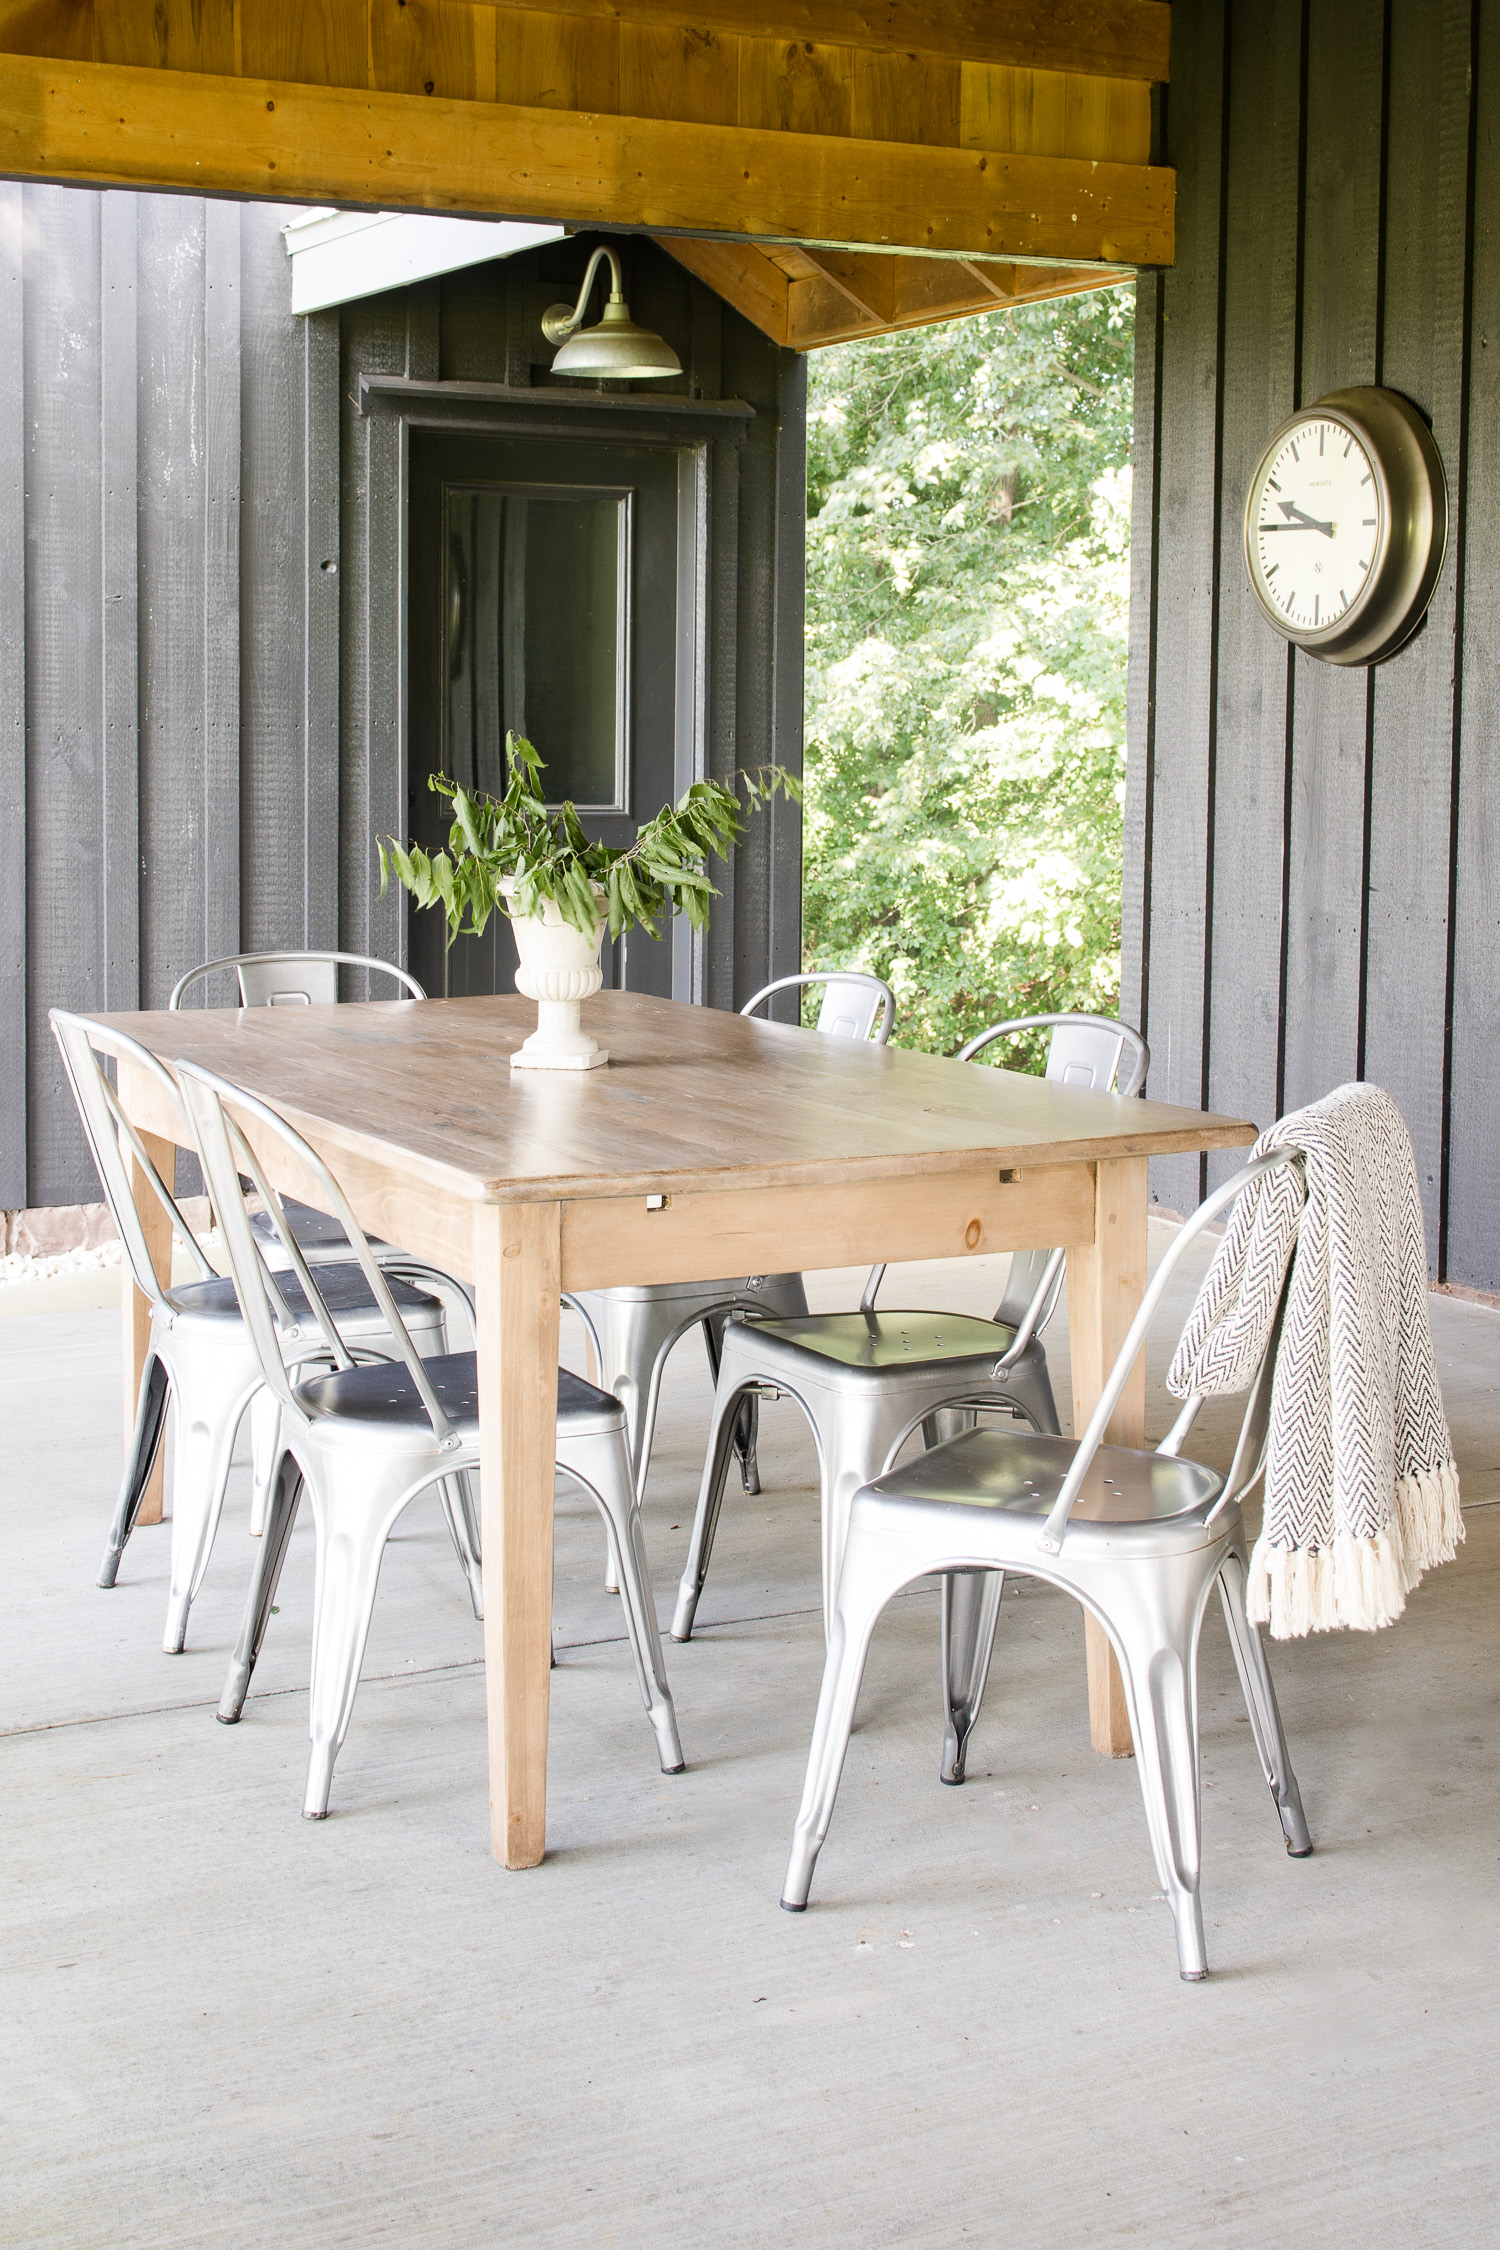
We had a solid wood table that we found for $100 about ten years ago. It was used as our kitchen table and then a craft table and it was well loved and used. The back patio of our barn needed an outdoor dining table and this was going to be perfect. Just one issue…it needed to be refinished.
Achieving a Natural Wood Finish
For this table, I wanted a lighter wood finish so it would pop against the black wood exterior walls of our barndominium. I loved the idea of the black, silver and natural wood finish all pulled together on the back patio.
Sometimes, choosing a stain color is easy. Walk down the paint aisle and pick one of the many color options available. However, what if none of the colors is what you are looking for? Then it is time to mix your own stain. To achieve a more natural looking wood finish you will first need to strip your piece of furniture if it has a finish already on it.
How to Select a Wood Stain Color
If you have a wood stain color in mind; there are a few things you need to consider before determining what color to stain your wood project.
- What is the species of the wood?
- What are the natural undertones in the wood?
All woods have a natural undertone. The undertone of wood refers to the subtle hues or shades that are present within the natural color of the wood. Understanding the undertone of wood is crucial when working with stains because it can significantly impact how a stain interacts with the wood’s natural color. It can potentially enhance, alter, or mask the undertones.

Wood Species
There are so many different wood species that I literally could not list them all; however, there is a quick way to remember hardwoods vs. softwoods. Hardwood typically loses its leaves in the winter, whereas softwood varieties are typically evergreen. For example; oak, elm, maple, mahogany, etc. are all hardwoods. Pine, juniper, cedar, etc. are all softwoods.
No matter the type of wood you are working with, every different type of wood has a different color and grain patterns. Understanding what type of wood you are working with with help when selecting the overall color of your wood finish.

Common Undertones in Wood Species
- Beech, White Oak, and Maple – slightly pink undertones
- Pine – yellow undertones
- Mahogany, Red Oak, and Walnut – red or pink undertones
We think the wood table we refinished was alder wood, but we aren’t totally sure. We researched the maker of the table and based on their website they seemed to use a lot of alder. Alder wood has light brown and reddish undertones which I wanted to diminish with my stain finish. I love the look of neutral wood, and subtle imperfections while masking any red or orange tones with the finish.

Prepping Furniture for Wood Stain
If you are working with a piece of furniture that already has a finish, you are going to need to remove it by either stripping, sanding or a combination of the two. I stripped this table first, sanded it and then stained it.
- Strip – remove the finish
- Sand – smooth the wood so it is ready for a stain
- Clean – wipe down with acetone to remove any dust or leftover finish
- Use pre-stain – this ensures your final stained wood is not blotchy
I stripped this table with oven cleaner and then sanded the wood to give it a nice smooth finish before adding stain and sealer.
Why I Mix My Own Wood Stains
From my experience, I have always struggled finding the right wood stain color. Many of the popular stains available at your local home improvement store often result in undesirable colors. To me, they feel flat and lack dimension. These stains often pull out very saturated colors in the wood and can make your wood look red, orange, or yellow! It can be difficult to find that perfect natural wood finish look that has depth.

Blending Stains for a Natural Wood Finish
Let’s jump into the stains I used to achieve the look of this table. I have used this blend on three other pieces of furniture so you know I love it. One project was our DIY coffee table that was made out of basic white pine. I also used it on my daughter’s dresser and nightstand.
Since the patio table the coffee table are made from different wood; I knew the finish would be a little bit different, but not by much. I love the color of this finish because it feels natural, is neutral and easy to use in any decor. This blended wood stain finish also pairs well with dark wood furniture in your home too.

Check out these other posts!
Easy DIY Coffee Table
Painting Our Barn
Best Paint Sprayer for Furniture
Supplies to Create Natural Wood Finish
There are many different stain blends that people use to create their desired finish. These are the exact products I used to create the look of this patio dining table as well as the coffee table shown above.
Click on any image to shop:

How to Make a Custom Natural Wood Finish Stain
You can mix any wood stain colors together that you want. Buy some samples and test different mixtures to see what you might like. I do not normally mix two stains together by pouring them into a container; however, you can do that. I usually layer stains and blend one at a time. You can do it anyway, but for this tutorial I will show you how to layer stains to achieve the look of this table. Watch the Instagram tutorial for a step by step guide.
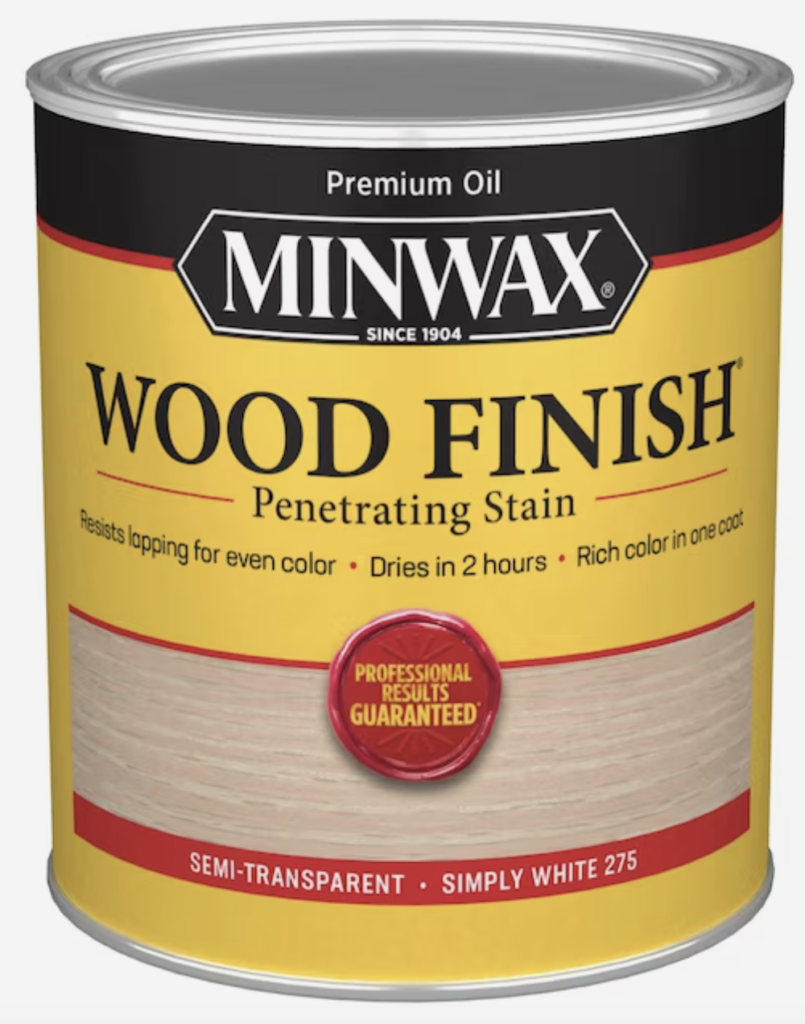
- I applied one coat of Minwax Simply White and immediately wiped off the stain. Work in sections of your piece of furniture depending on how large it is. You wan to ensure the stain doesn’t dry before you have had the chance to wipe it off.
- Once the entire piece of furniture has received a coat of the Simply White, allow it to dry for a few hours.
- Follow Simply White with the Provincial Stain – I add my stain and wipe off immediately so I can control the color. You can add as many coats as you like to achieve the desired hue but work in sections and in layers.
This table has three coats of Provincial that were added and immediately wiped off. You can always add more color, but you can’t remove it without sanding it off. Working in slow layers ensures you achieve the wood stain finish you are going for.


Amazon Storefront
Follow my Amazon Storefront to find more looks for less and all our finds!

Warm Natural Wood Finish
I love the warm tone the stain mixture adds to the wood. If you reverse the stain order your finished piece will look entirely different. I tried two options; using the Provincial first and then the white. Even though using the exact same stains; reversing the order of the stains gave a totally different look to the table. If you want to achieve this wood stain finish, you will need to use Simply White followed by Provincial.
Frequently Asked Questions
Yes! In fact it is very easy. Gather some stain samples and test them on wood you plan on finishing. Try different stain combinations to see what you like.
Of course you can, but not likely going to find a blended, warm stain right off the shelf at your local hardware store. You might need to order something or go to a specialty wood shop that carries a variety of other stains.
Sure…try what you like with samples and playing around with creating your own custom wood stain

Follow for home decor, DIY and to shop: Instagram | Pinterest | LiketoKnowit

Blending Customized Wood Stain
Finish your furniture with a nice light wood stain with this easy to follow tutorial for blending wood furniture stains.
Materials
- Furniture Stripper
- Sander
- Pre-stain
- Minwax Simply White Furniture Stain
- Minwax Provincial Furniture Stain
- Helmsman Urethane
Tools
- Sander
- Rags
- 80 grit sandpaper
- 120 grit sandpaper
Instructions
- Prep your wood furniture project by stripping (if necessary) and sanding
- Clean your furniture with Acetone
- Use pre-stain to ensure your final finish is not blotchy
- Use one coat of Minwax Simply White Stain and wipe off - allow to dry for at least two hours or longer
- Follow with one coat of Minwax Provincial Stain and remove - you can add as many coats as you like to achieve the desired hue


Thank you for sharing this! I have a btucher block counter to refinish that has gotten very yellow due to all the windows surrounding it. I already settled on Provincal for the stain but wondered if I could use white stain first to calm down the yellow hues. You answered my question! Thank you so much! The table looks perfect.
do glad it was helpful.