Envelope Pillow Cover
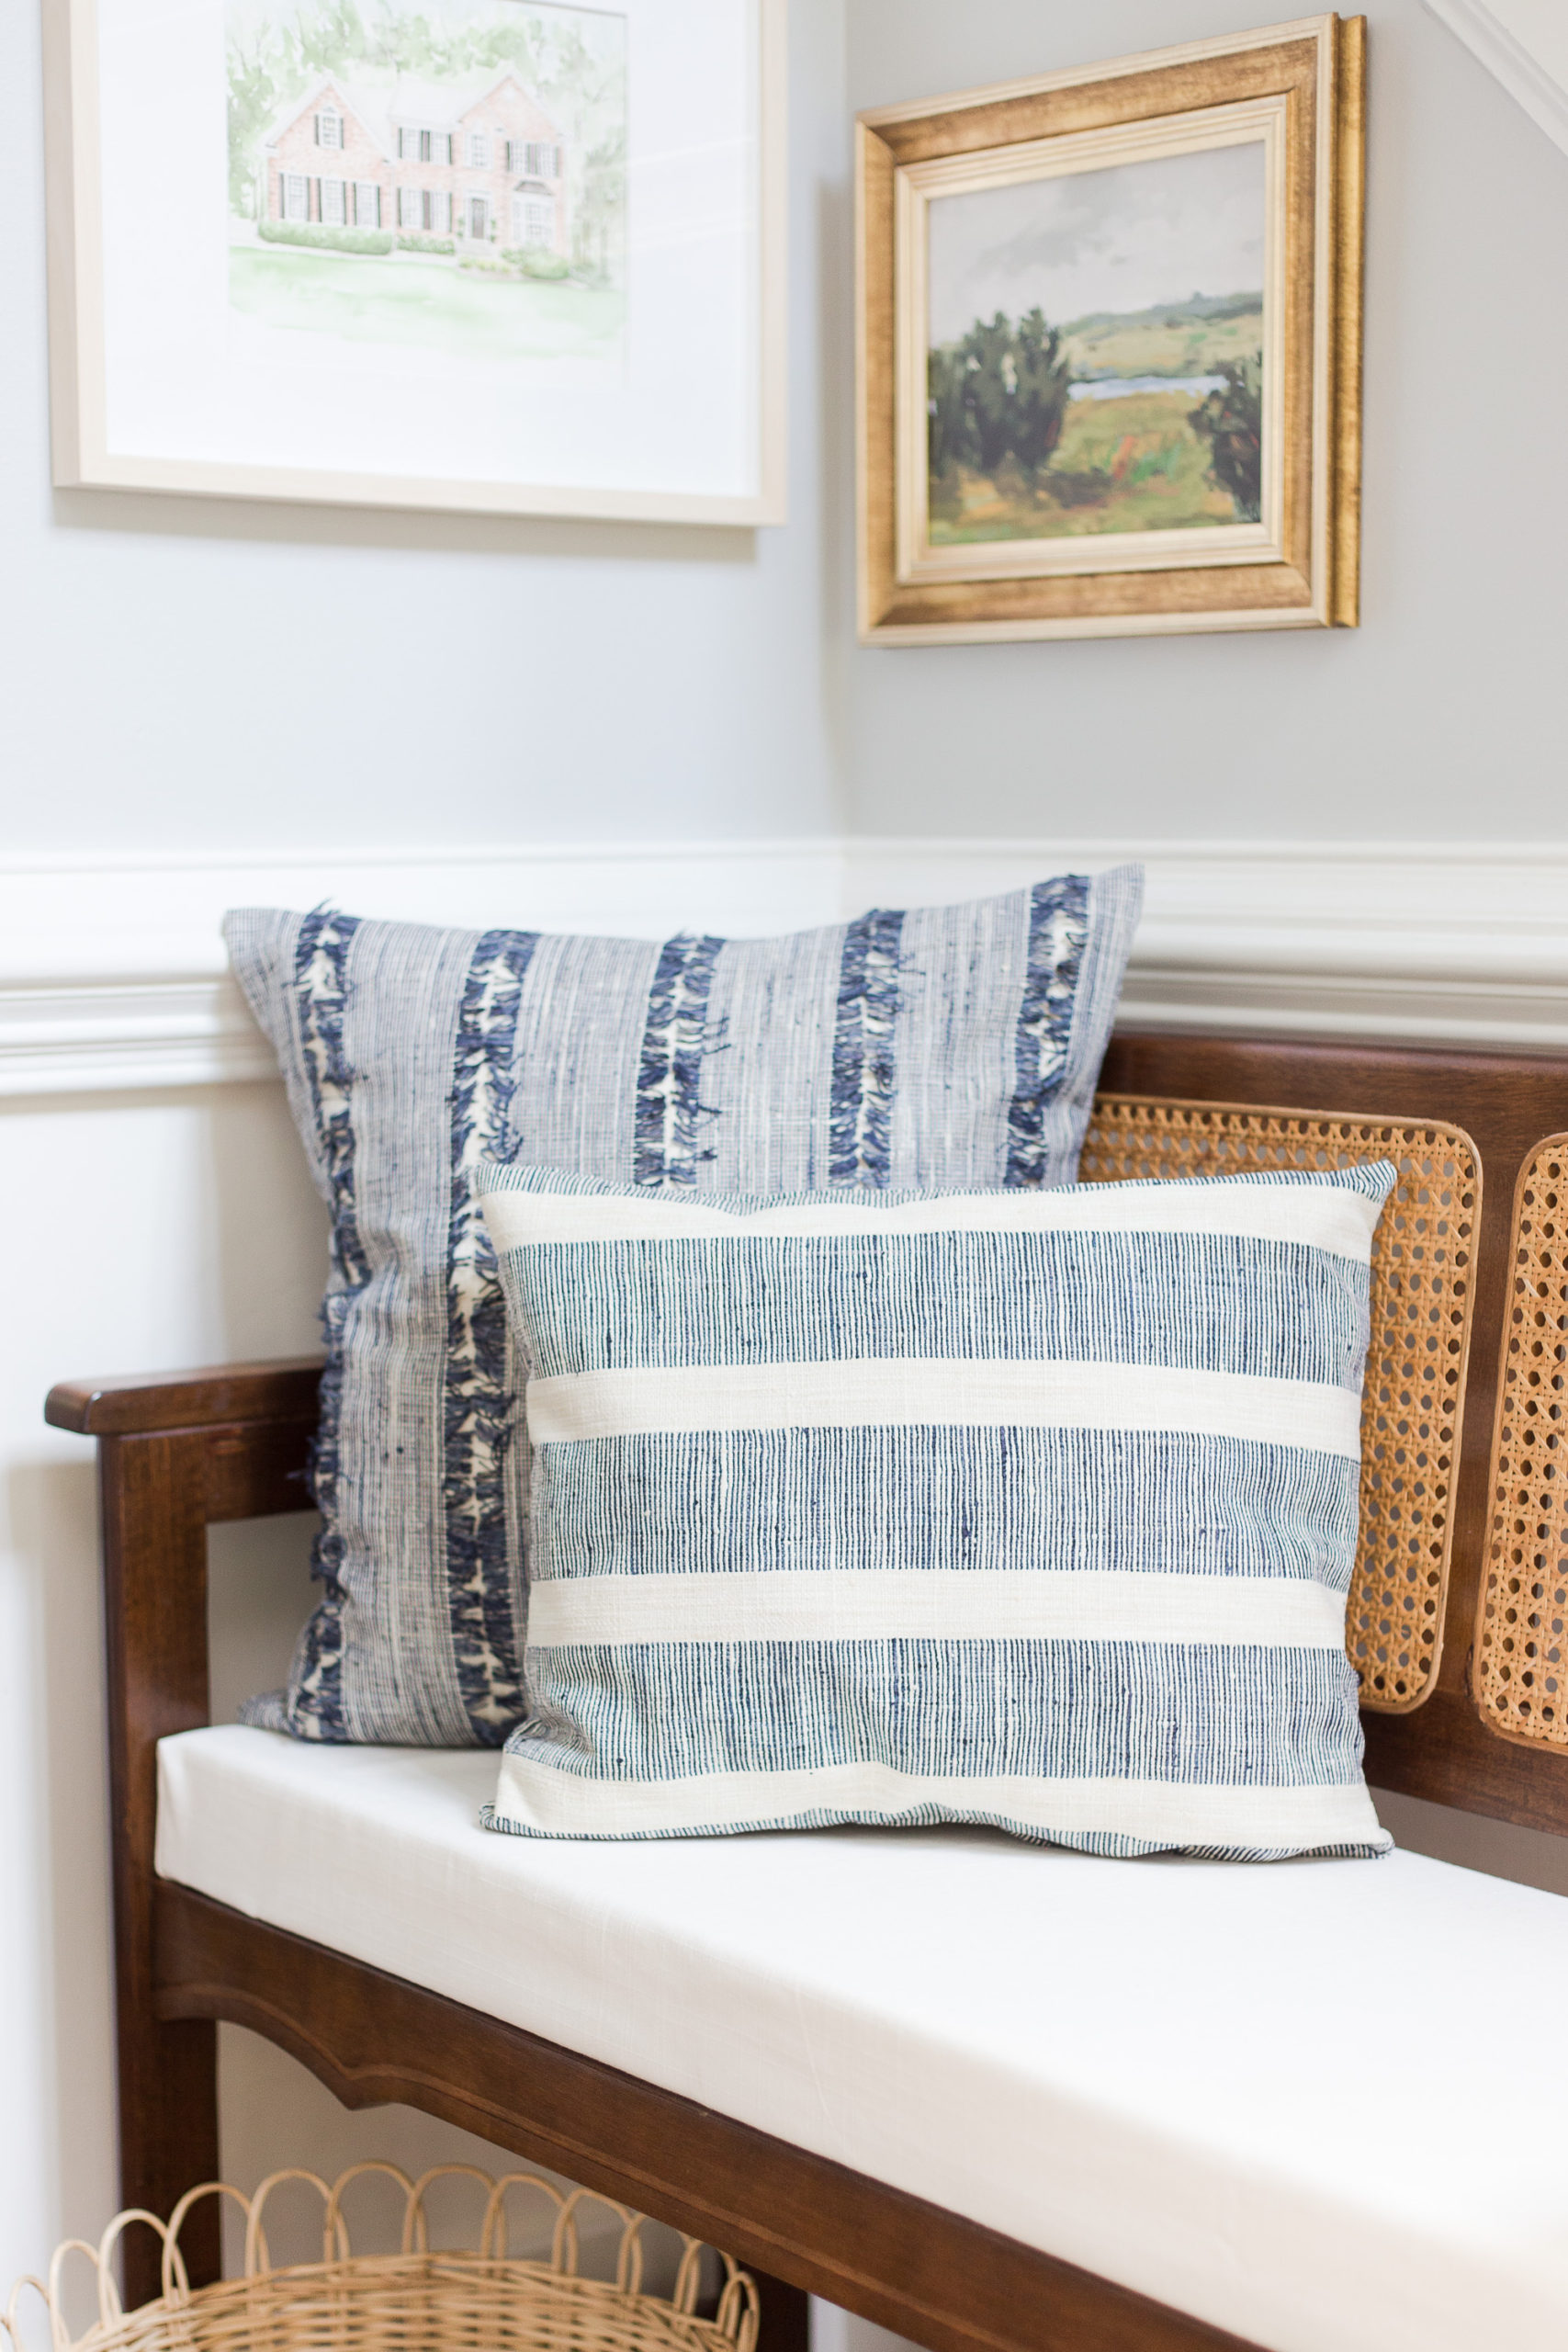
This easy envelope pillow cover tutorial is an easy way to update your throw pillows without breaking the bank. Even if you aren’t a seasoned sewer, anyone can make these easy to sew pillows.
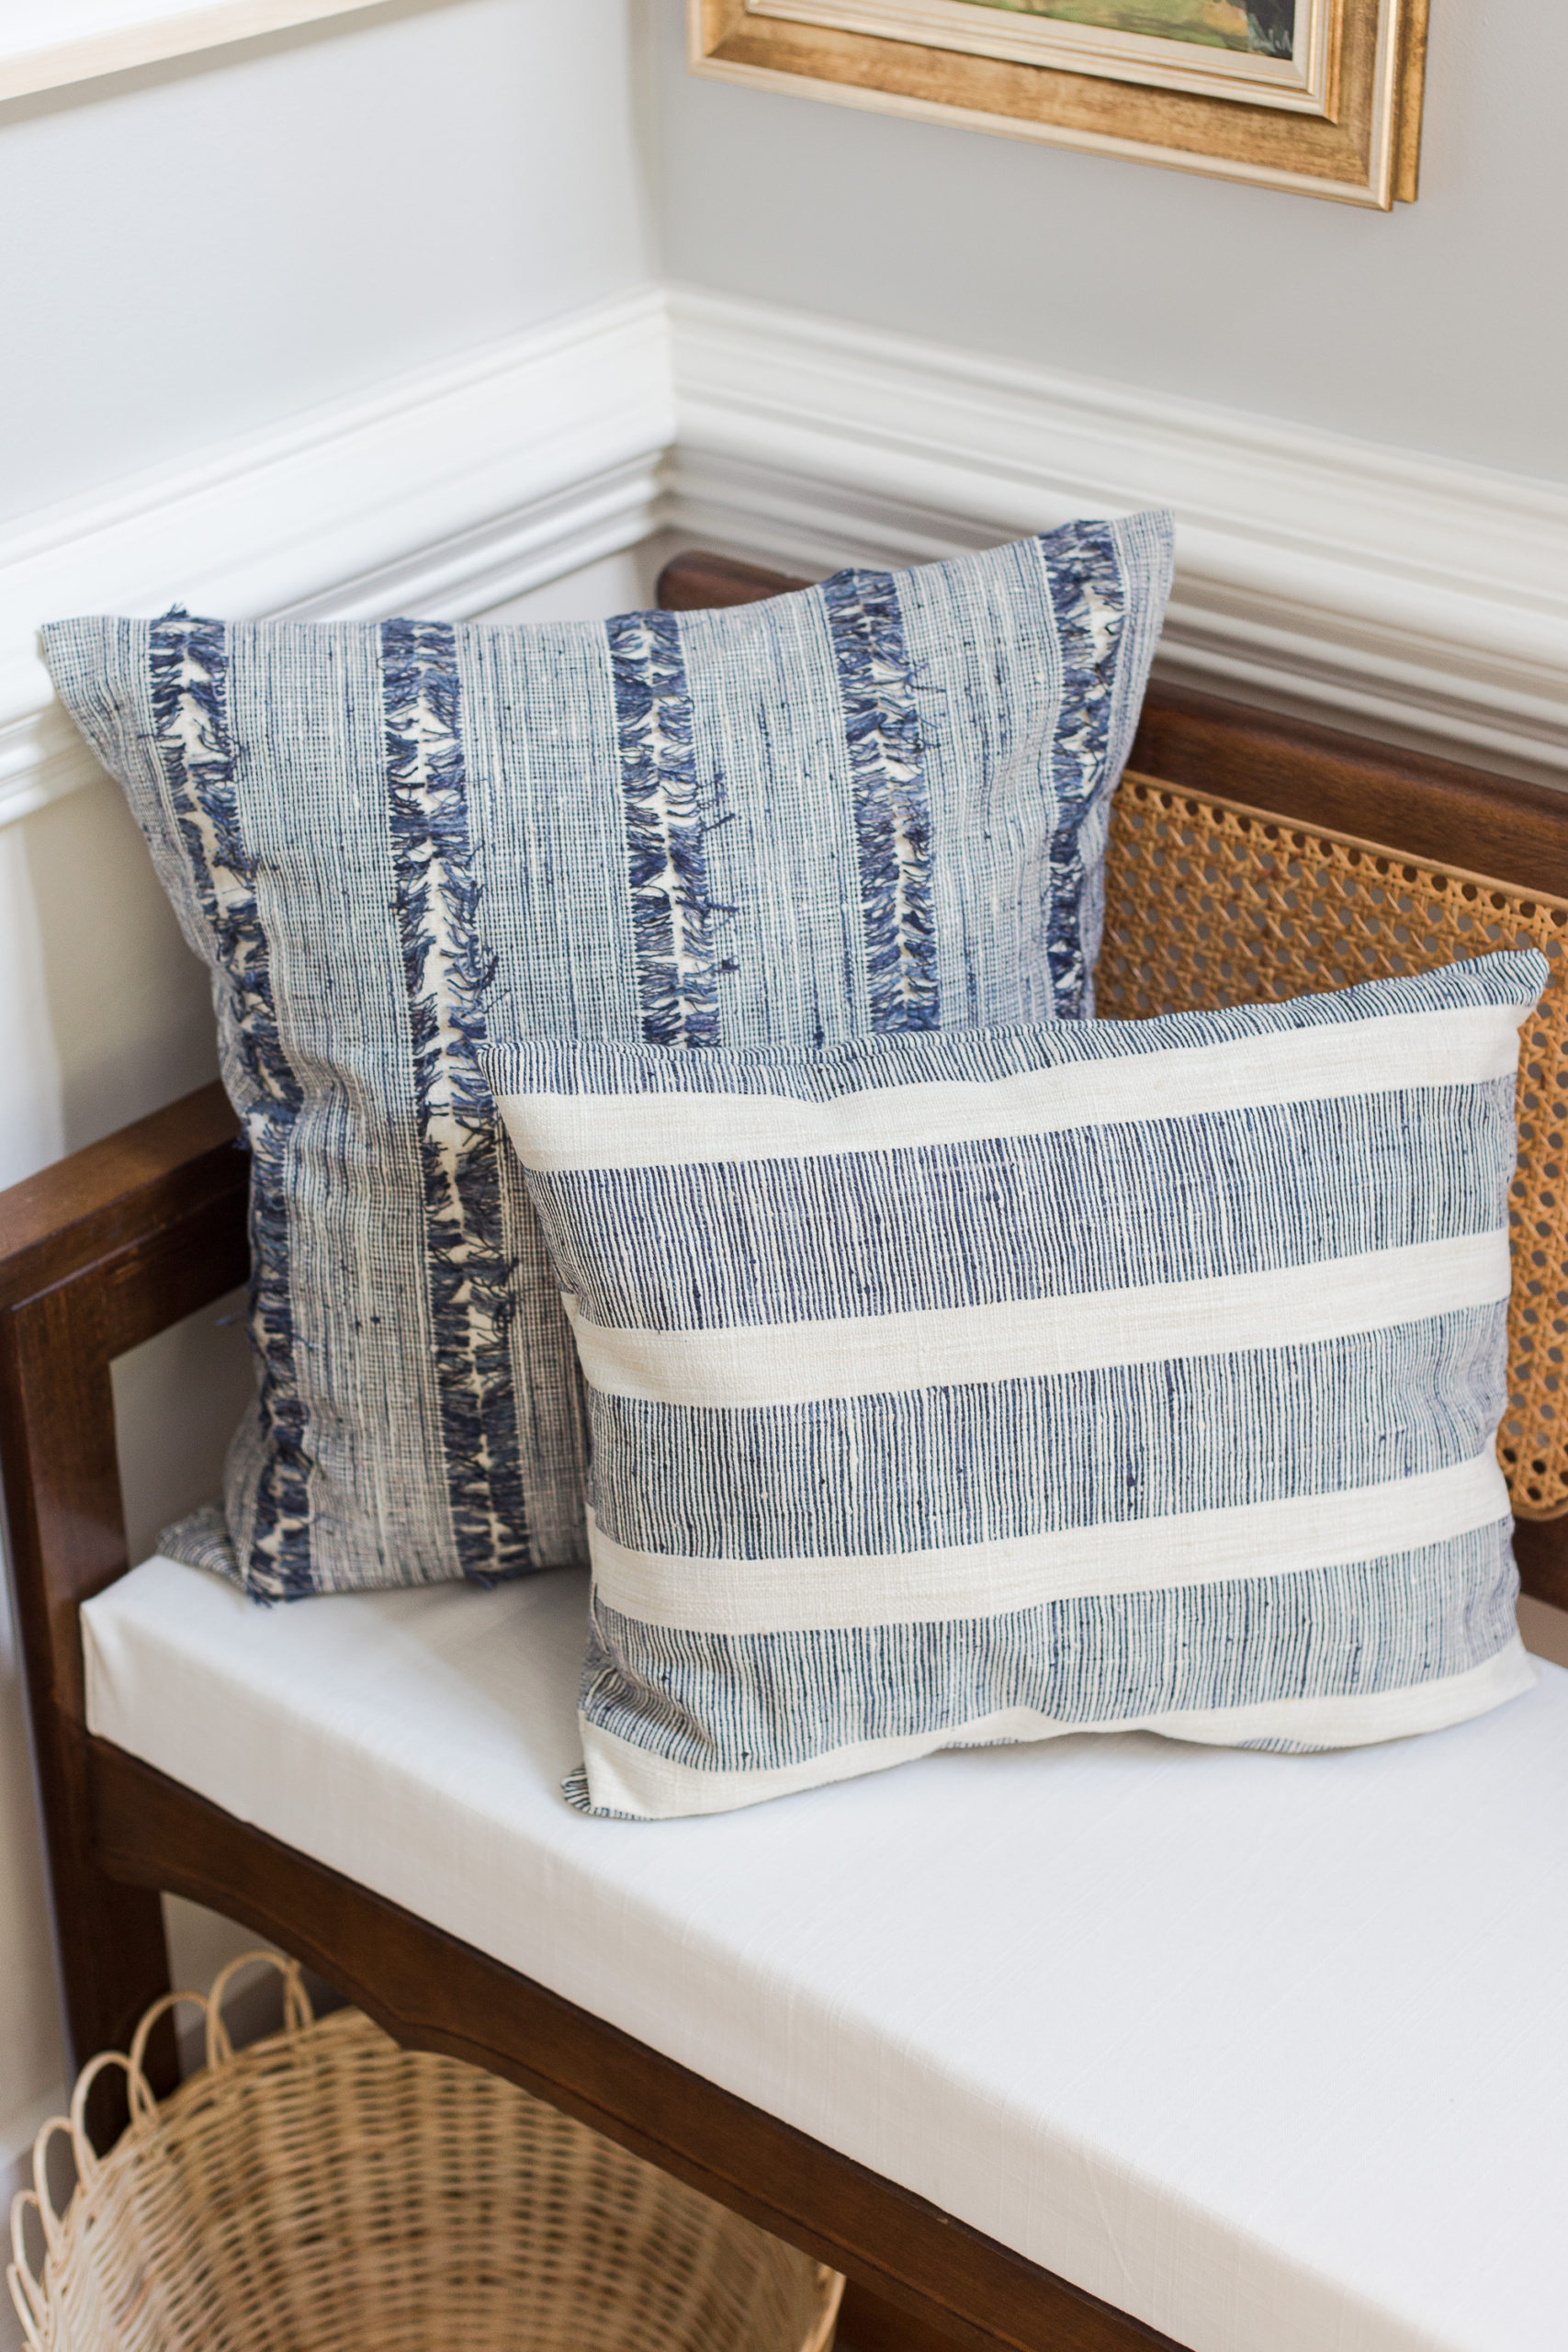
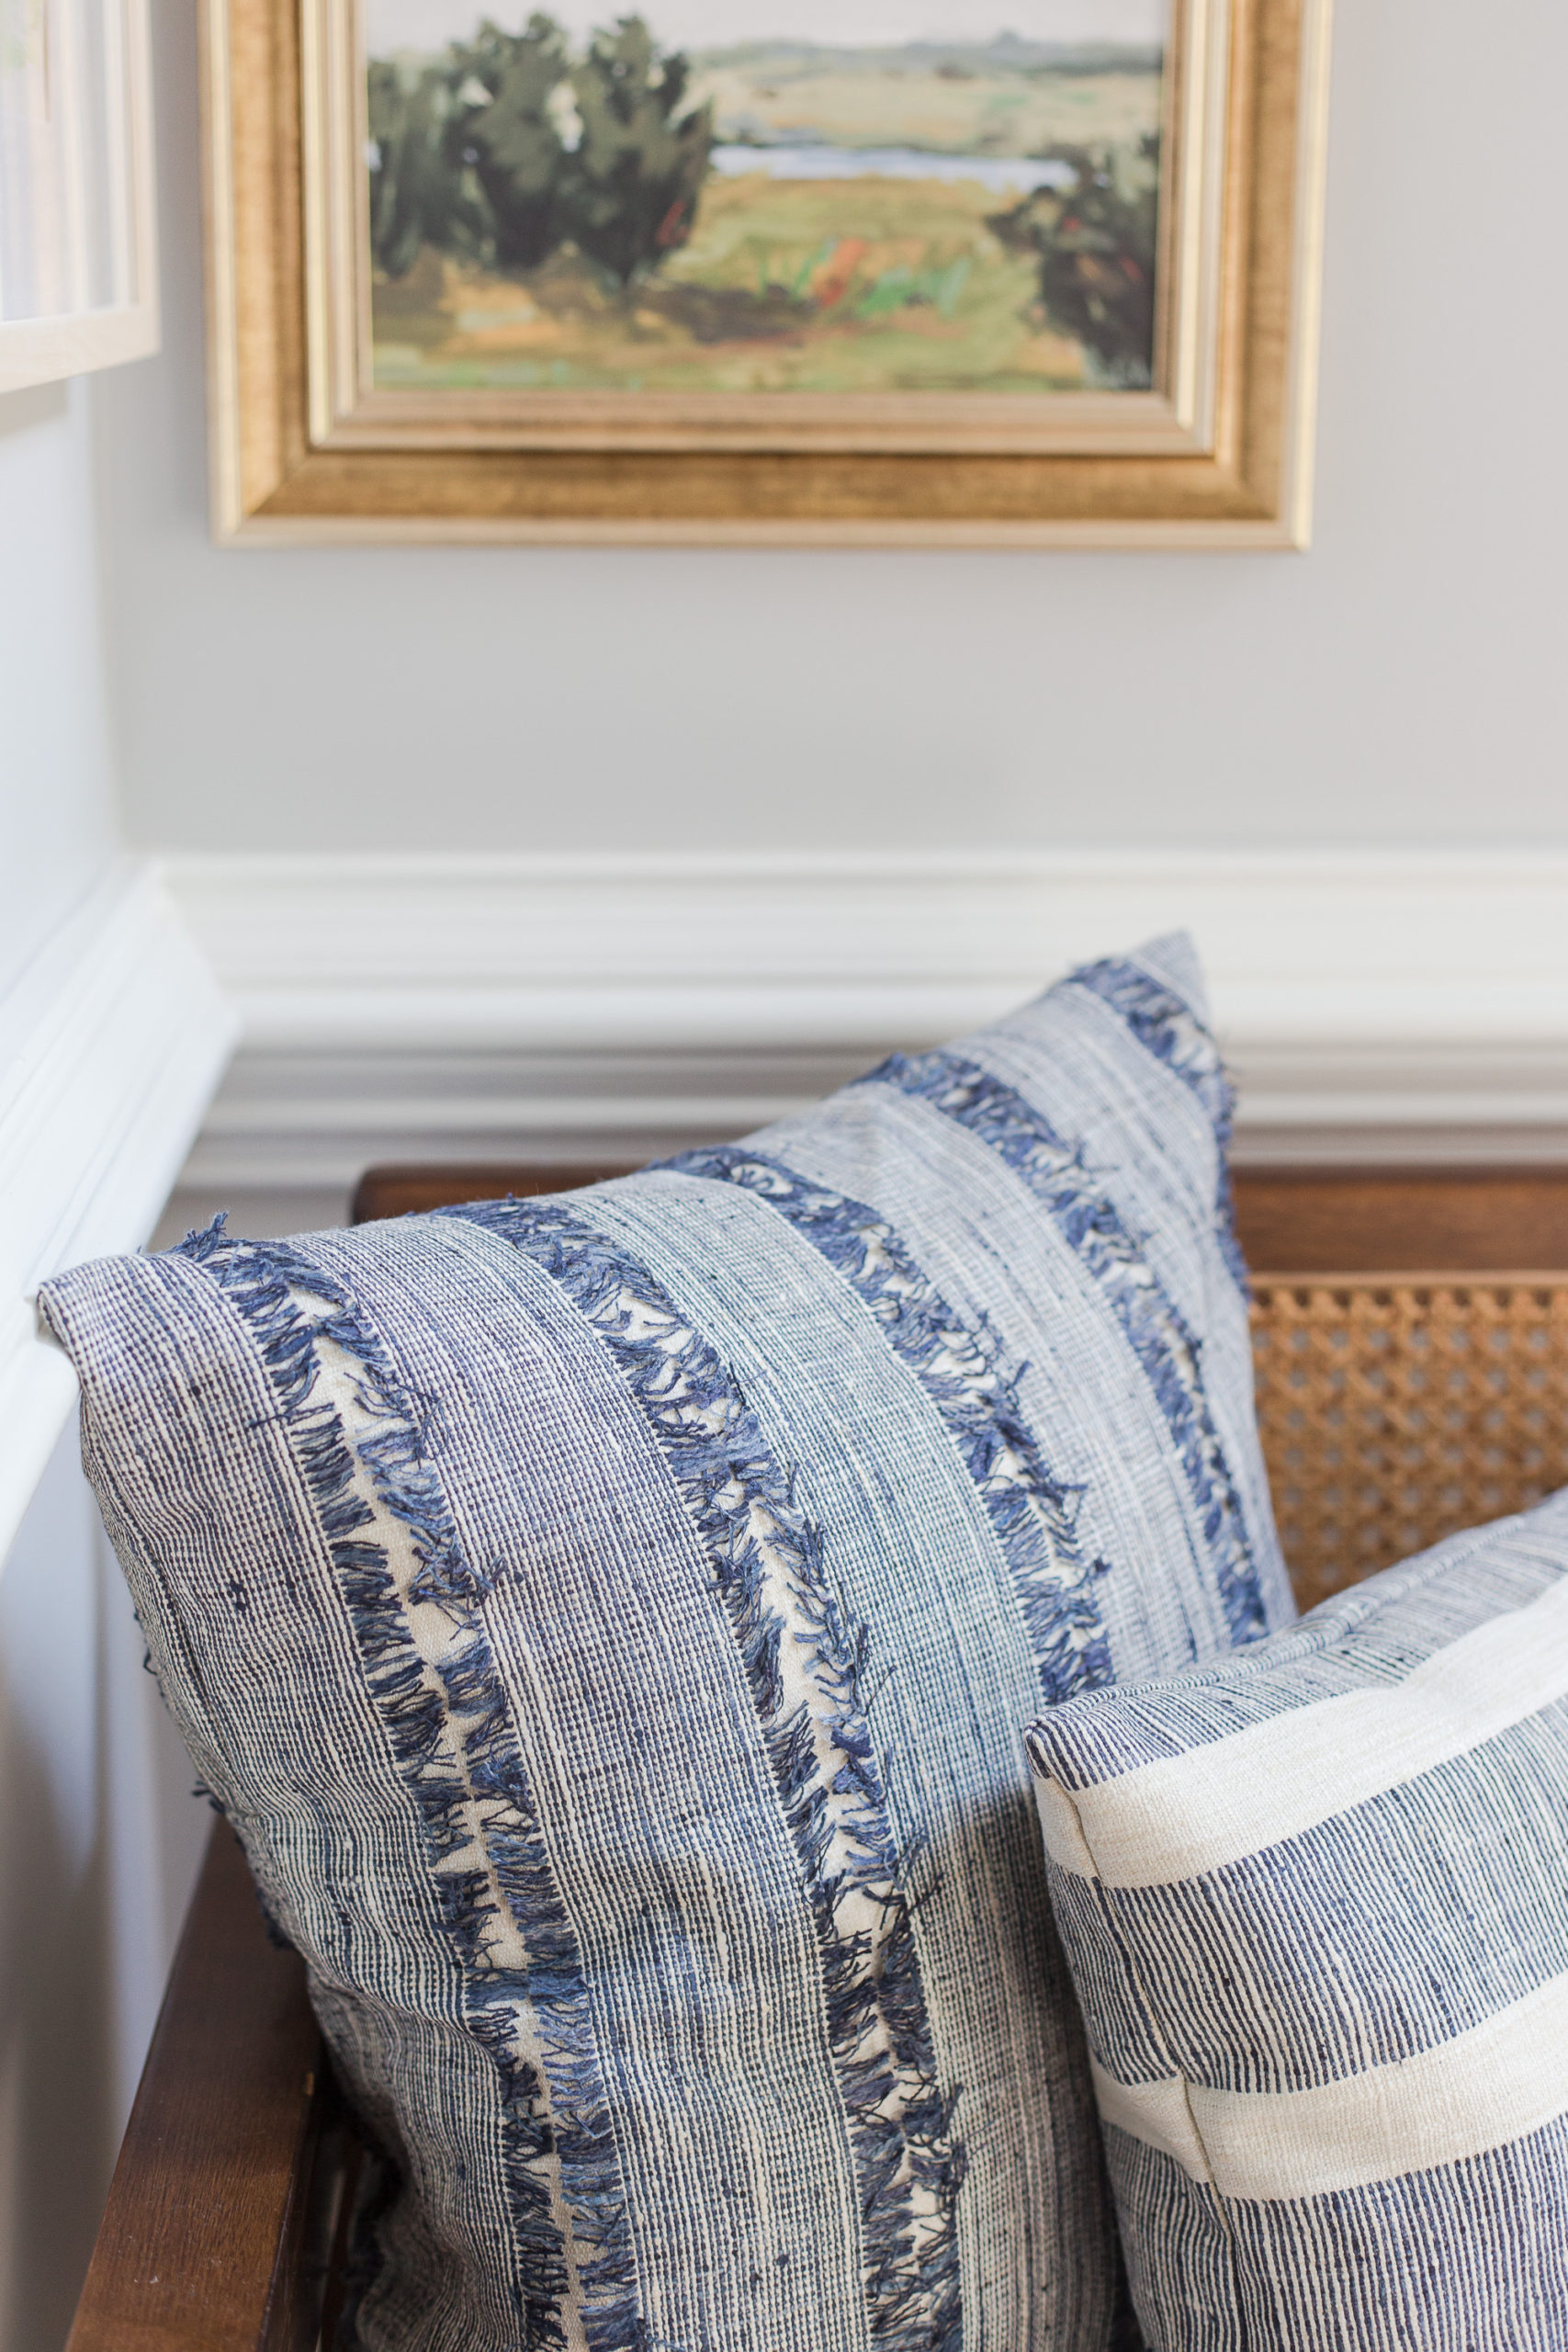
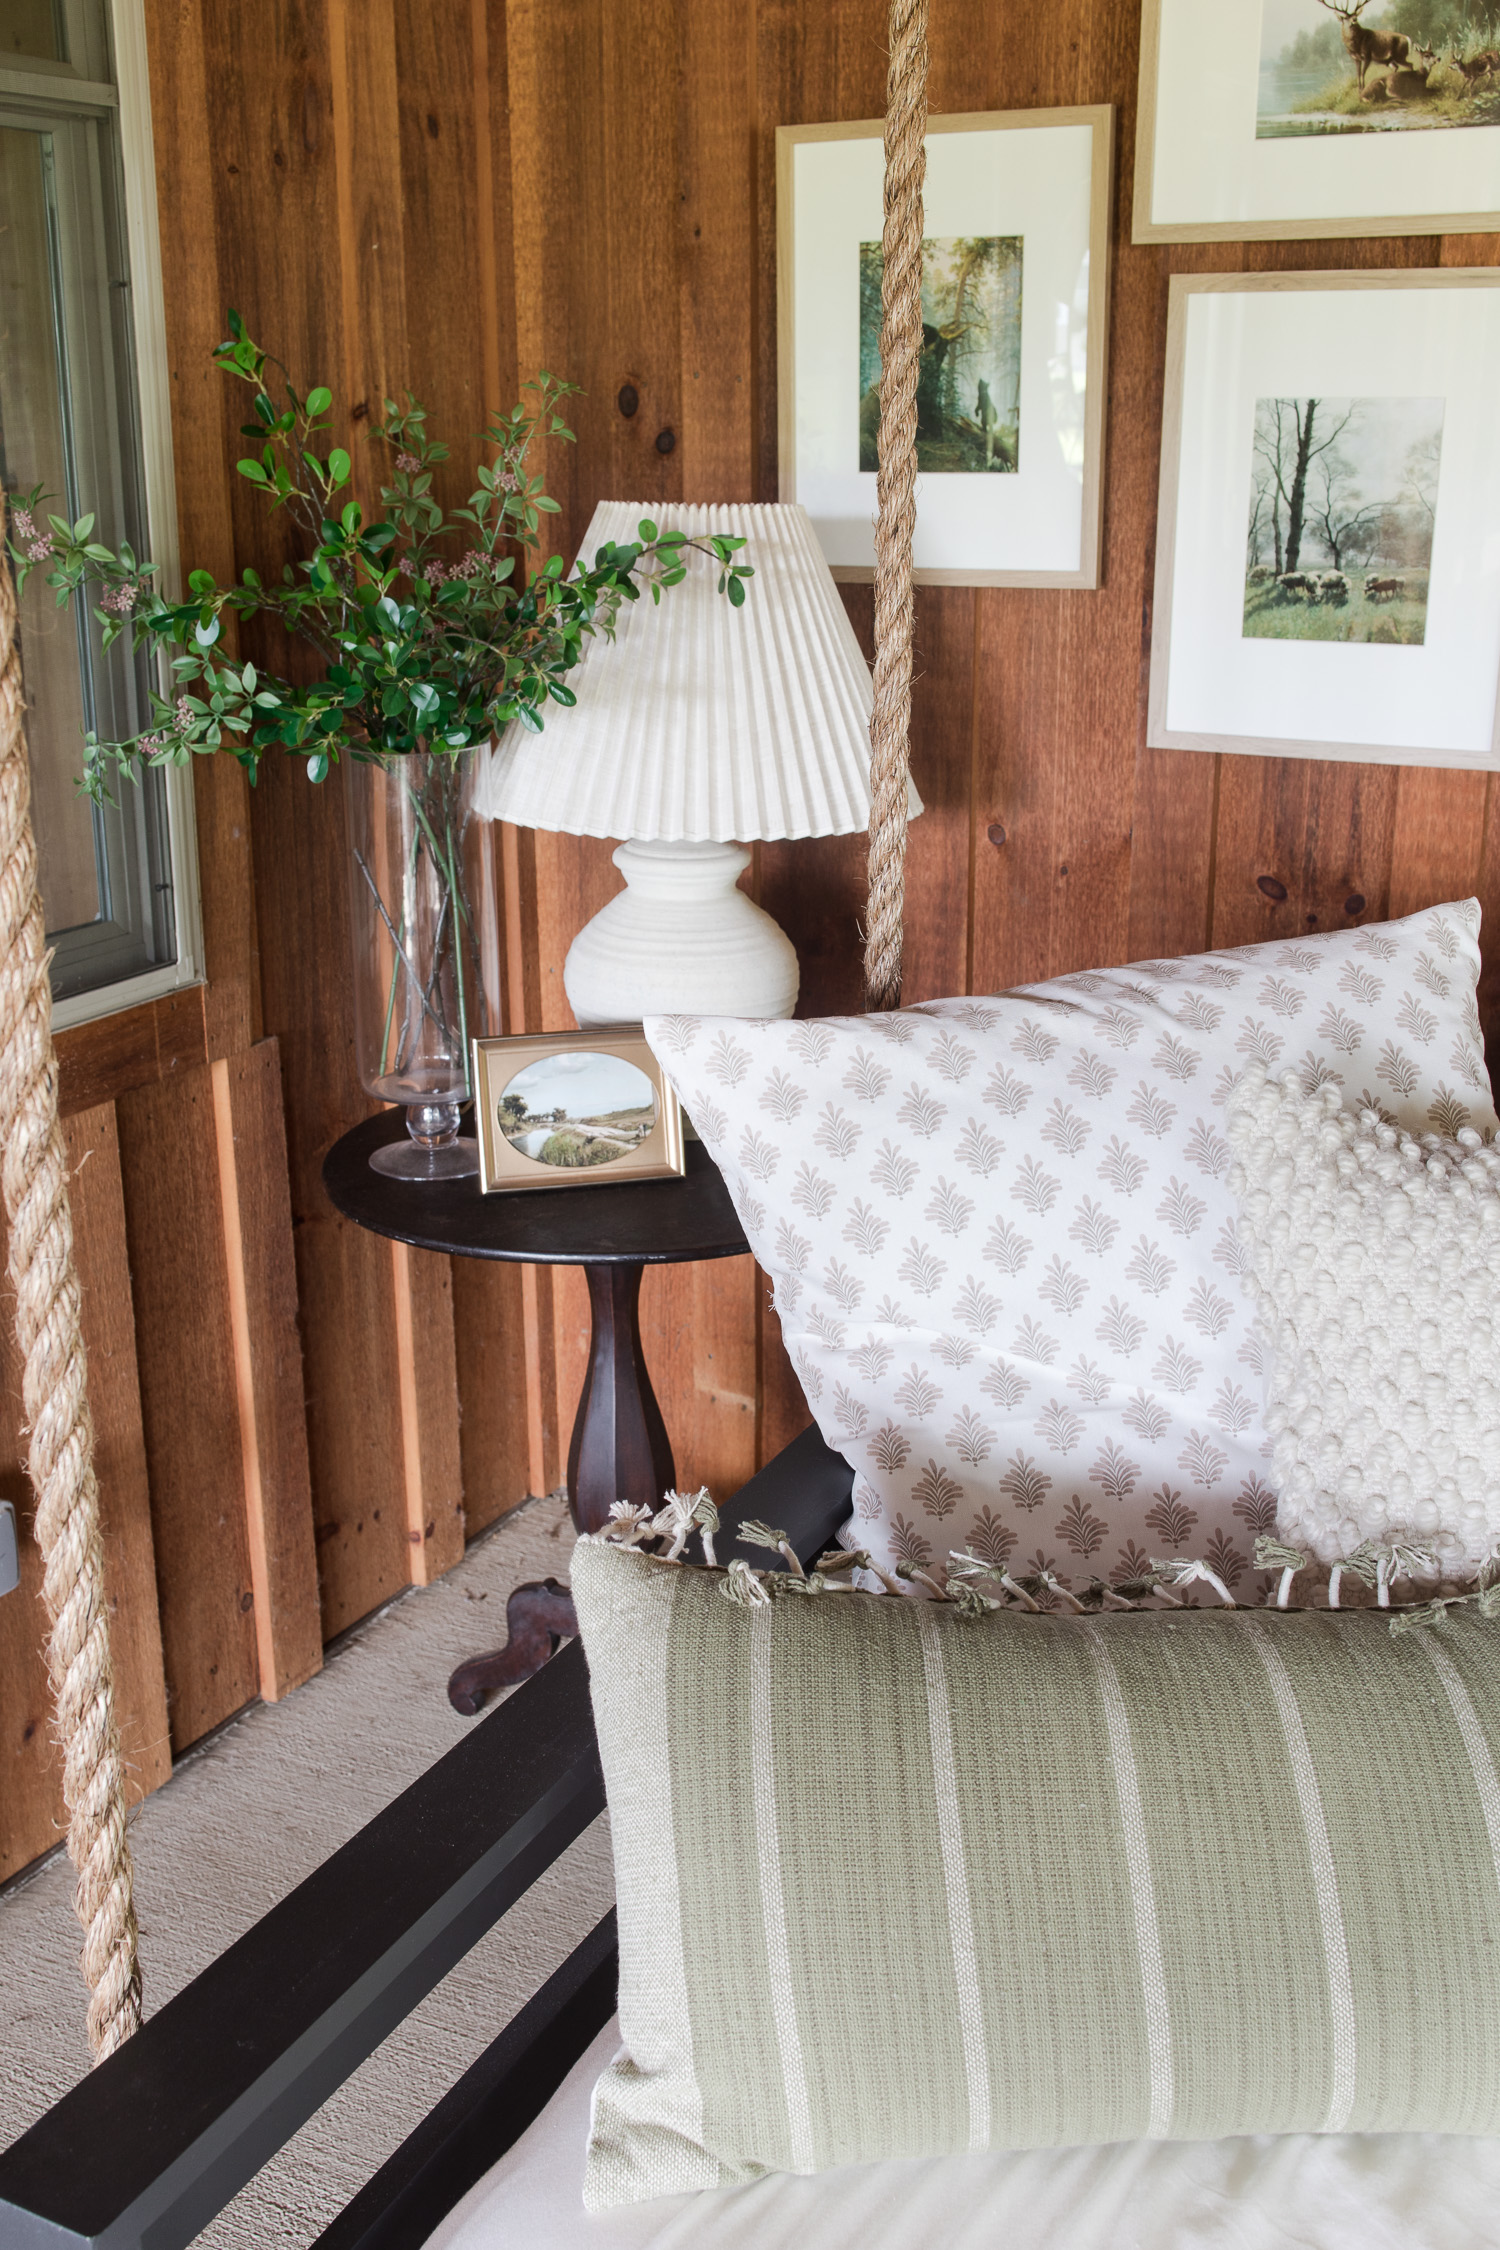
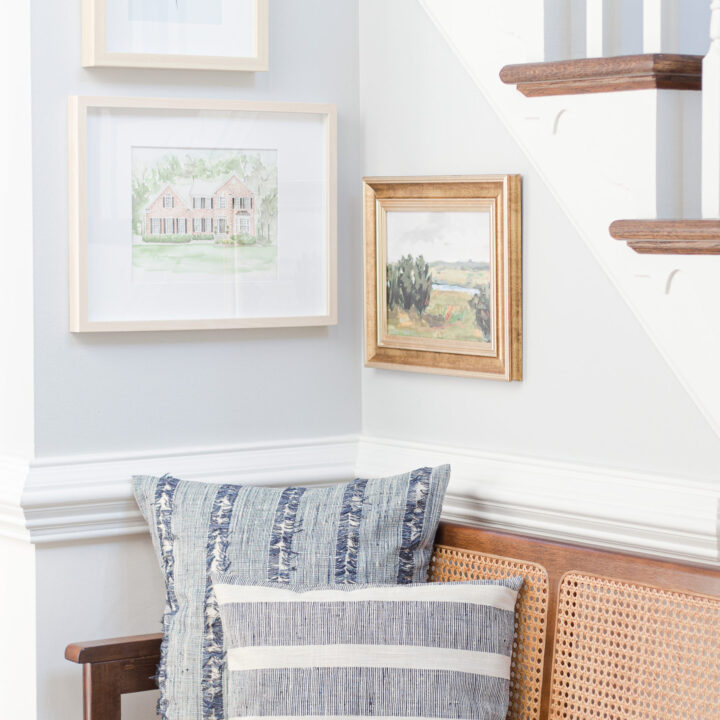
One of my favorite ways to refresh a room is to change out the pillows. Throw pillow covers are the easiest way to update any space for each and every season and help you transition from one to the next. Follow this easy envelope throw pillow cover tutorial for custom throw pillows.
This post contains affiliate links where I can receive commission from your purchases, thank your support. Please read my full disclosure.


Envelope Pillow Cover Tutorial
An easy sewing project that even I can do…you can do this too! Making your own throw pillow covers is fast, easy and can be done seasonally to update a space. Update pillows throughout any room of your house. These envelope pillow covers only takes 15 minutes to make and the best part, you don’t need a zipper for this project. It’s an easy sewing project because it’s all straight lines and a few passes with your sewing machine.
It’s no secret that I am not a seamstress, so…if I can make these easy one piece fabric throw pillow covers you can too! You don’t need any special skills…trust me, you can do this! It’s straight line sewing and the measuring and the cutting is very simple.
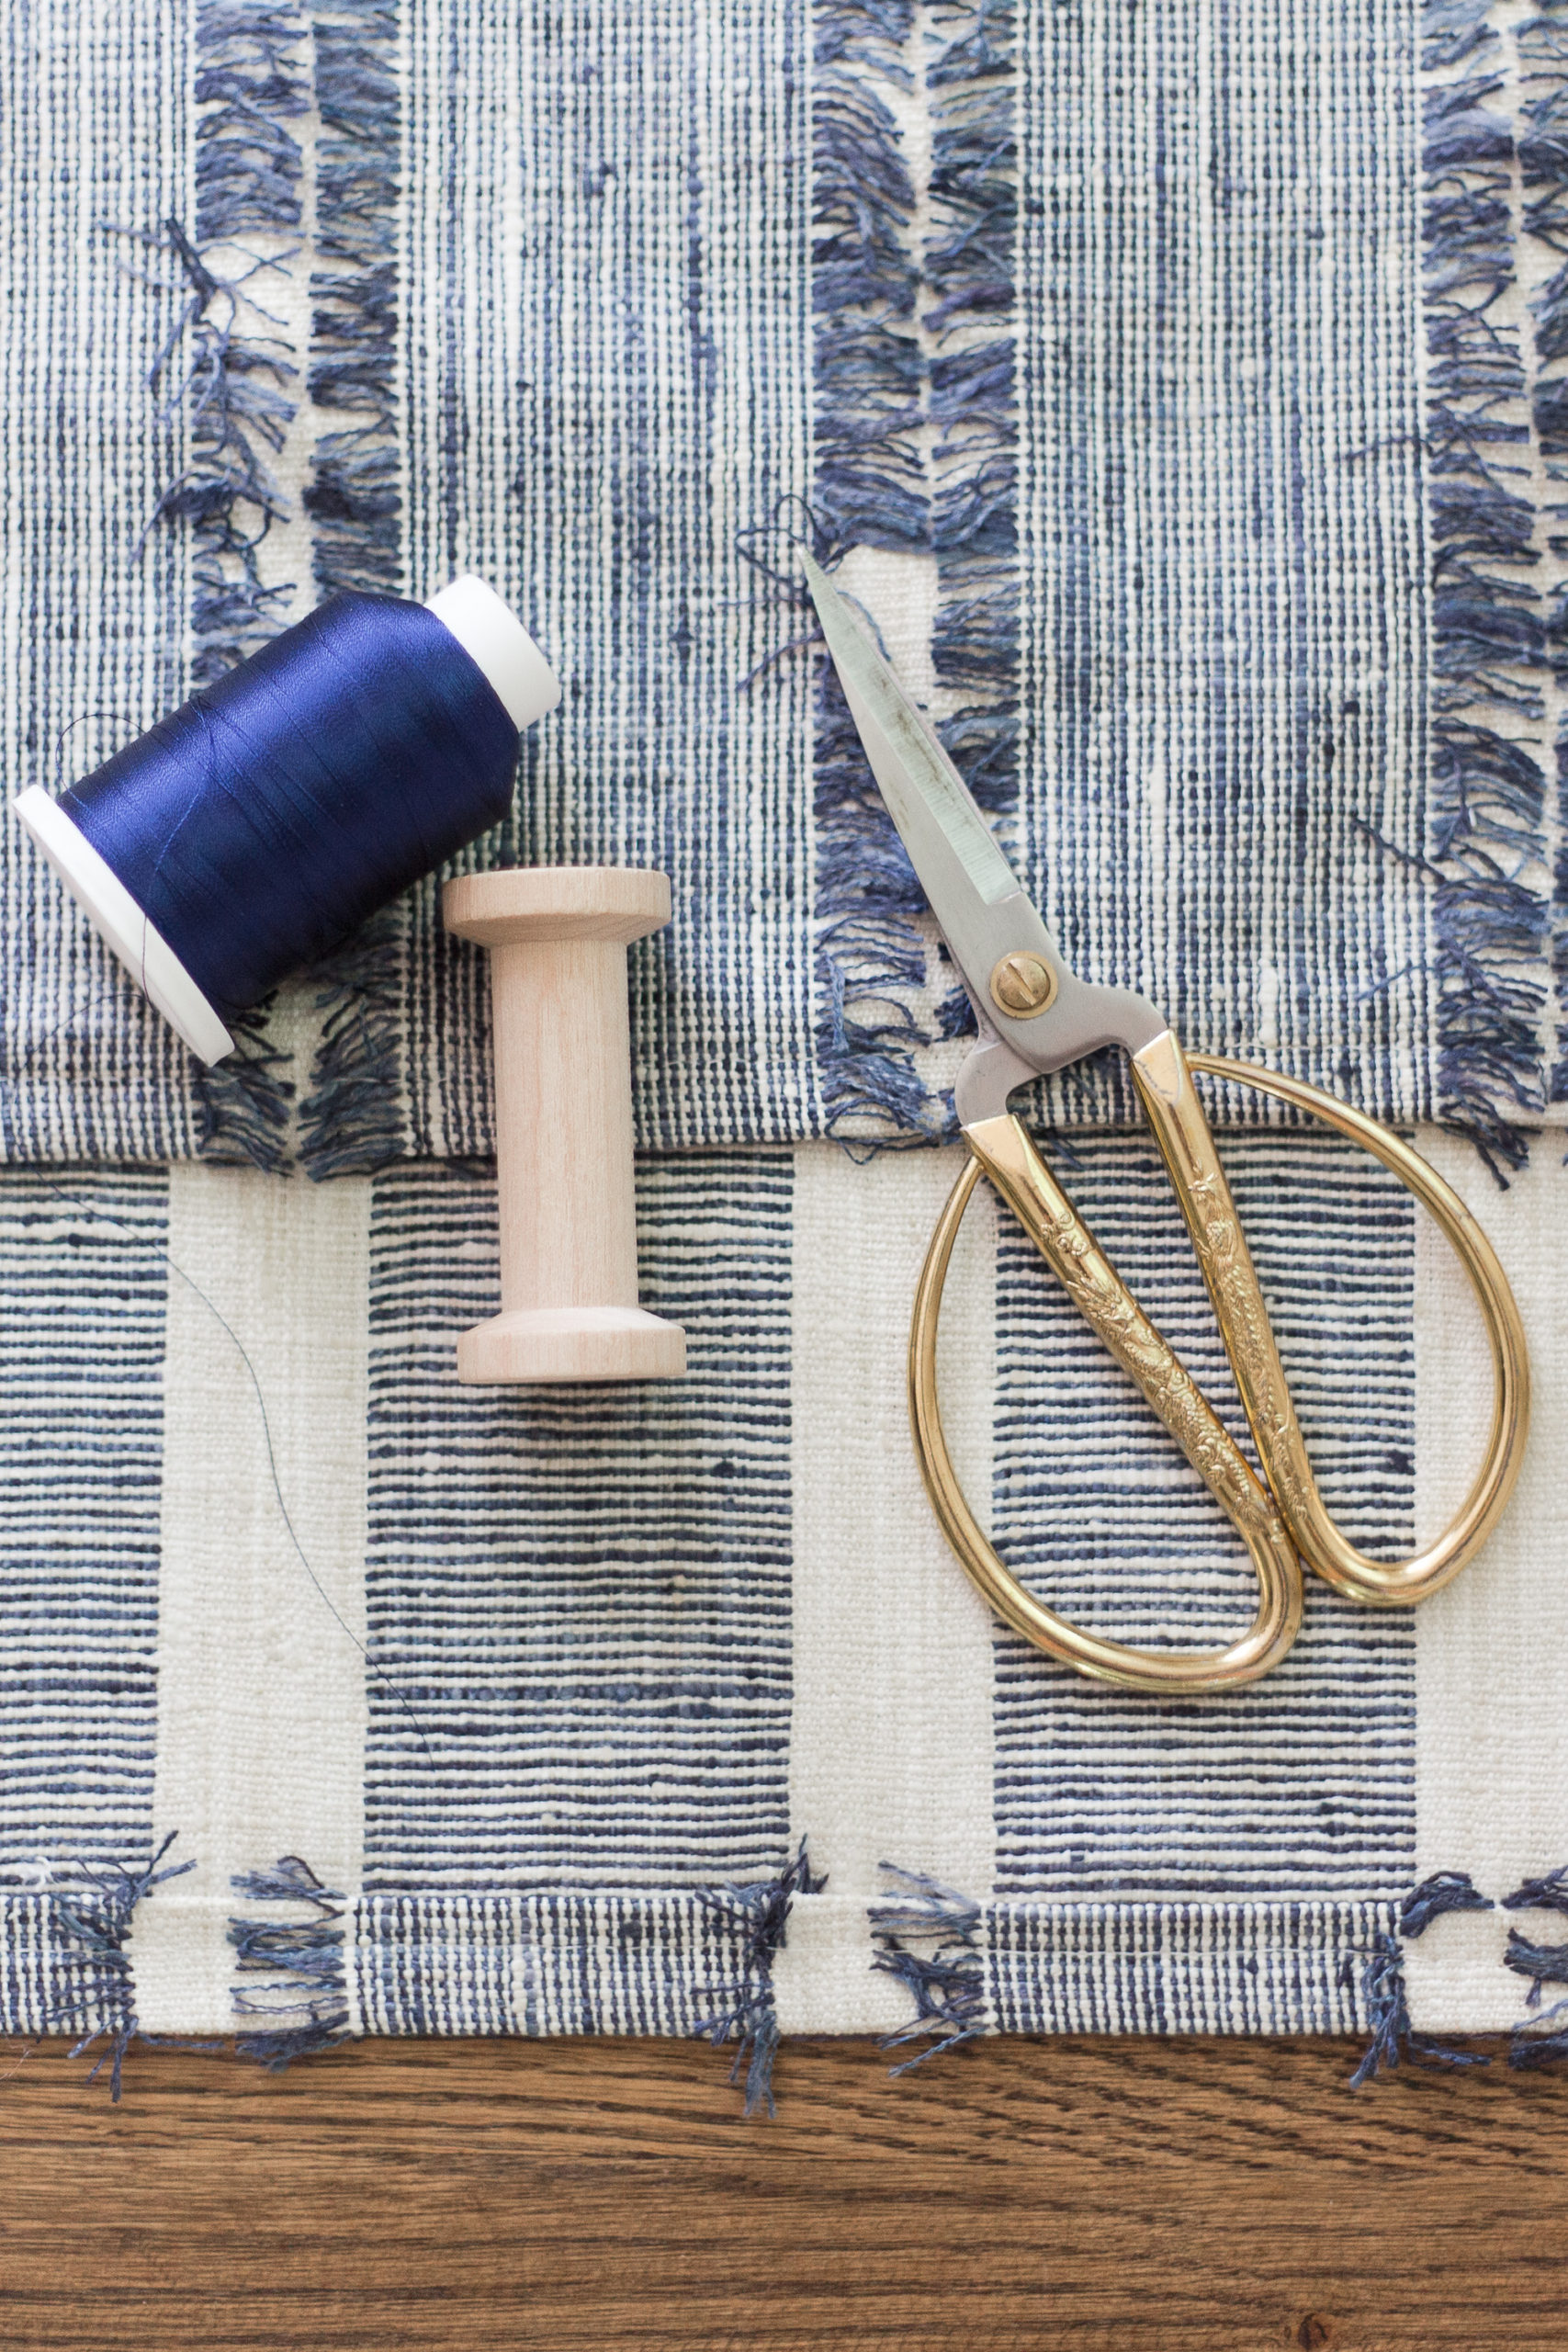
Envelope Pillow Cover Supply List
You will only need a few supplies to make this pillow cover. The amount of fabric you need will be determined by the size of the finished pillow cover you make.
- Fabric from fabric Store
- Pillow Insert or Pillow Insert
- Thread (color based on fabric)
- Pins
Envelope Pillow Cover Tools
You could sew this pillow by hand, but I don’t recommend it. If you don’t have a sewing machine it’s going to be tough to make these easy pillow covers. A basic sewing machine is inexpensive and can be used for so many other sewing DIY projects.
Fabric Sources
You can buy fabric online or at a few select retail stores. There aren’t a whole lot of places to buy fabric in person anymore but there are a few. Here is a list, but by no means an exhaustive list.
Check out these other posts:
Our Barndominium Porch
DIY Wood Pipe Desk
Best Pillow Inserts
How to Make an Envelope Pillow Cover
An envelope pillow cover pattern is not needed; just some basic math to cut the right size piece of fabric! It’s all based on the size of the pillow you’re covering, making this a super easy way to cover a pillow. An envelope pillow cover consists of two main fabric pieces that overlap each other to create a closure. The back piece of the cover is usually divided into two sections, with one section slightly larger than the other.
Envelope pillow covers are relatively simple to make and require fewer sewing steps compared using a zipper or buttons to close the cover with. Making this pillow cover is easy and straight forward so let’s get going.
1. Determine the Size of Your Envelope Pillow Cover
Determine the size of your pillow cover. Standard size pillow covers are 18×18, 20×20, 22×22 and 24×24. For this envelope pillow tutorial we will be making a 20×20.
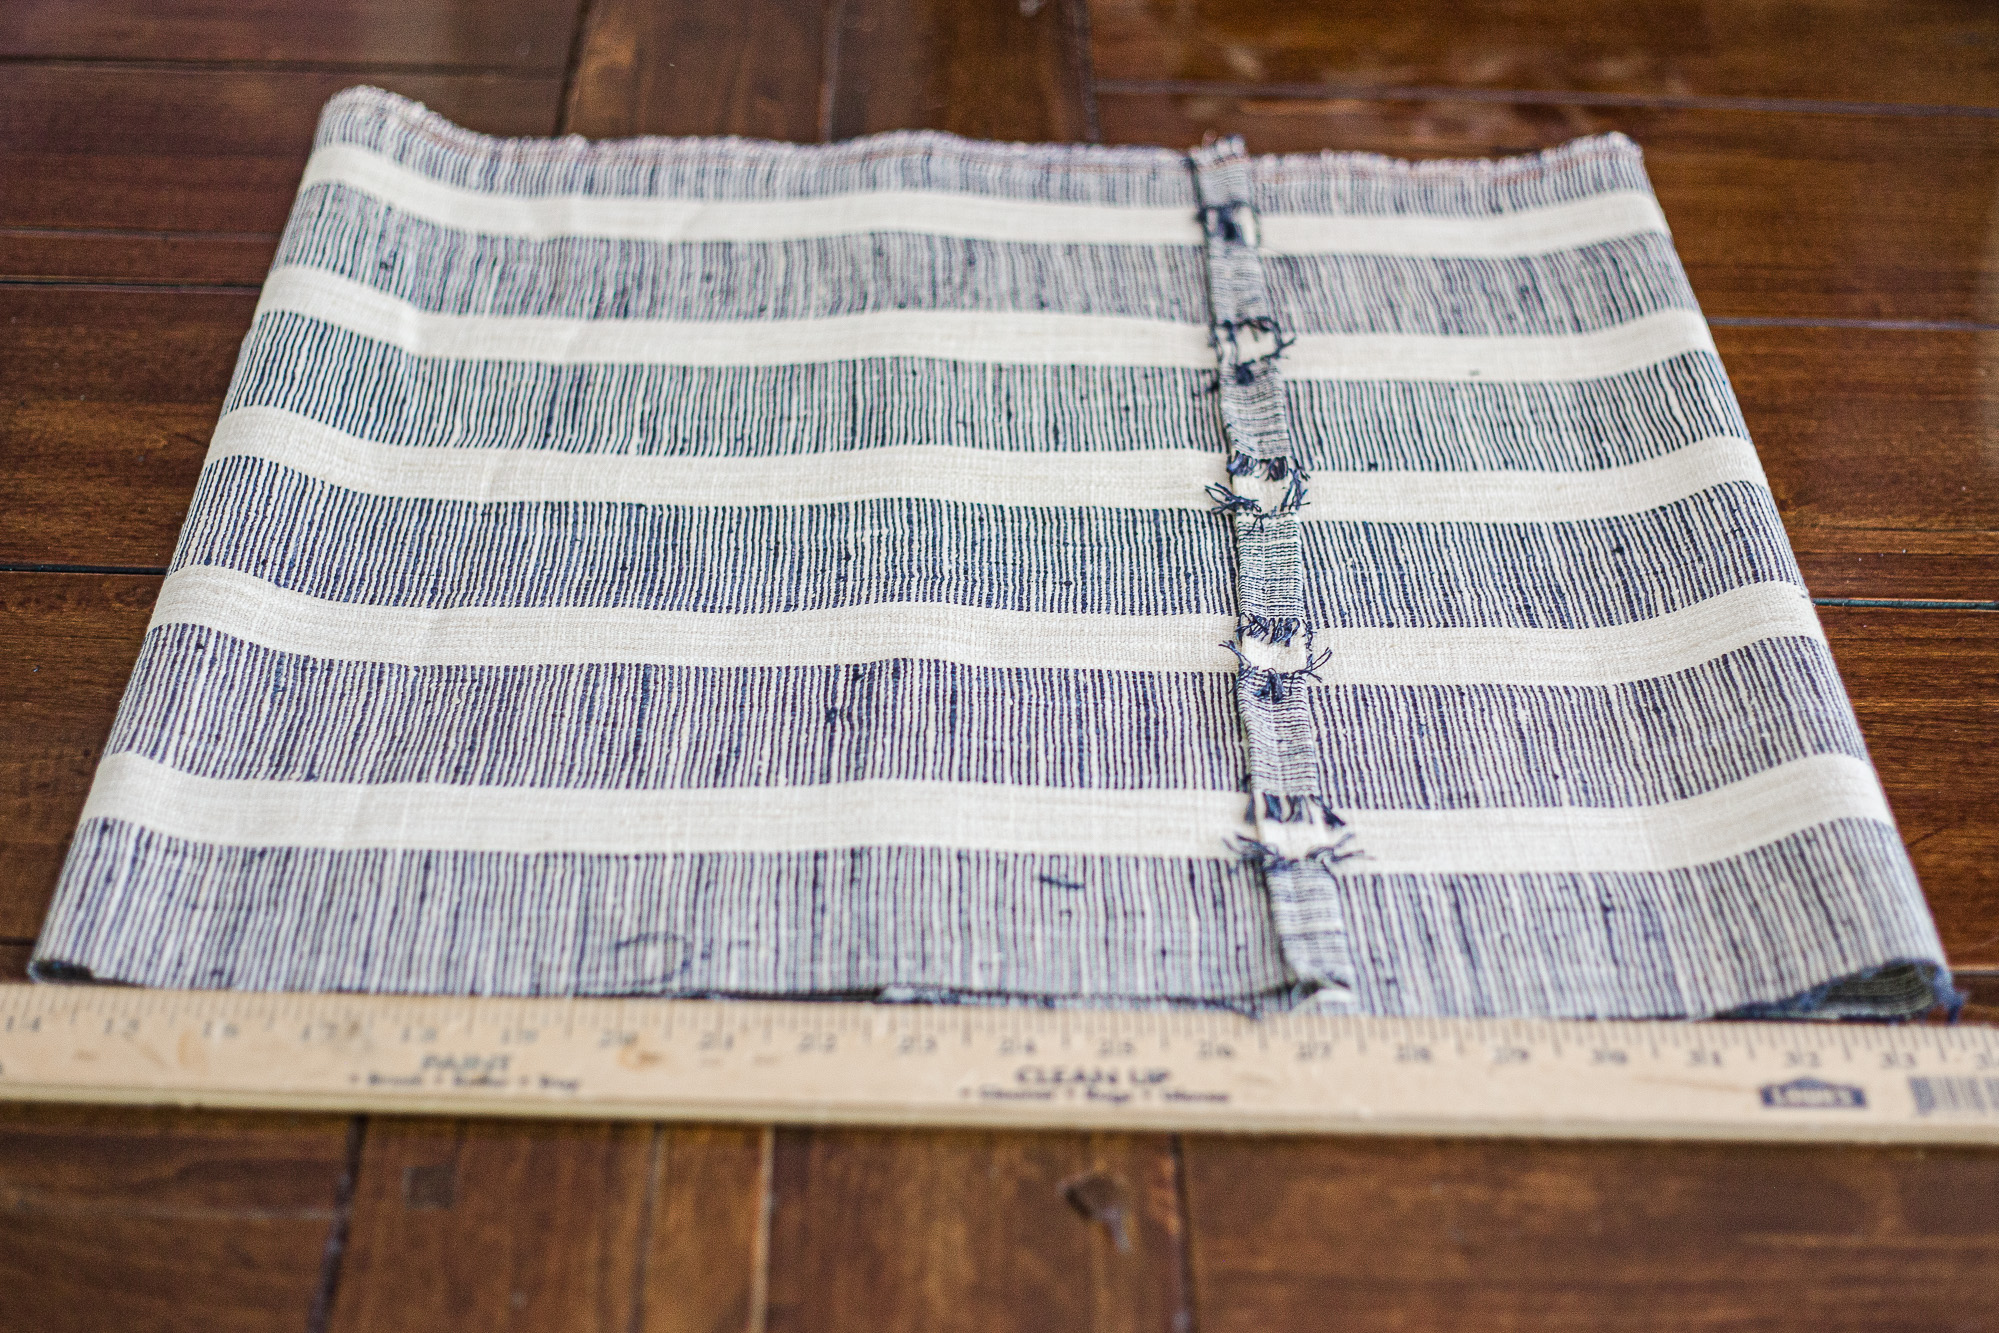
2. Cut Fabric for Envelope Pillow Cover
This is a one piece of fabric project. The formula for your fabric cut is your pillow size times 2 plus 6. So for example a pillow that is 20×20 — 20x 2 + 6=46.”
I need to cut my fabric 20″x46.” Just one piece of fabric – that’s all!
Follow this chart for basic pillow sizes and the size fabric you will need to cut:
- 16×16 pillow cover – measure fabric 16×38
- 18×18 pillow cover – measure fabric 18×42
- 20×20 pillow cover – measure fabric 20×46
- 24×24 pillow cover – measure fabric 24×54
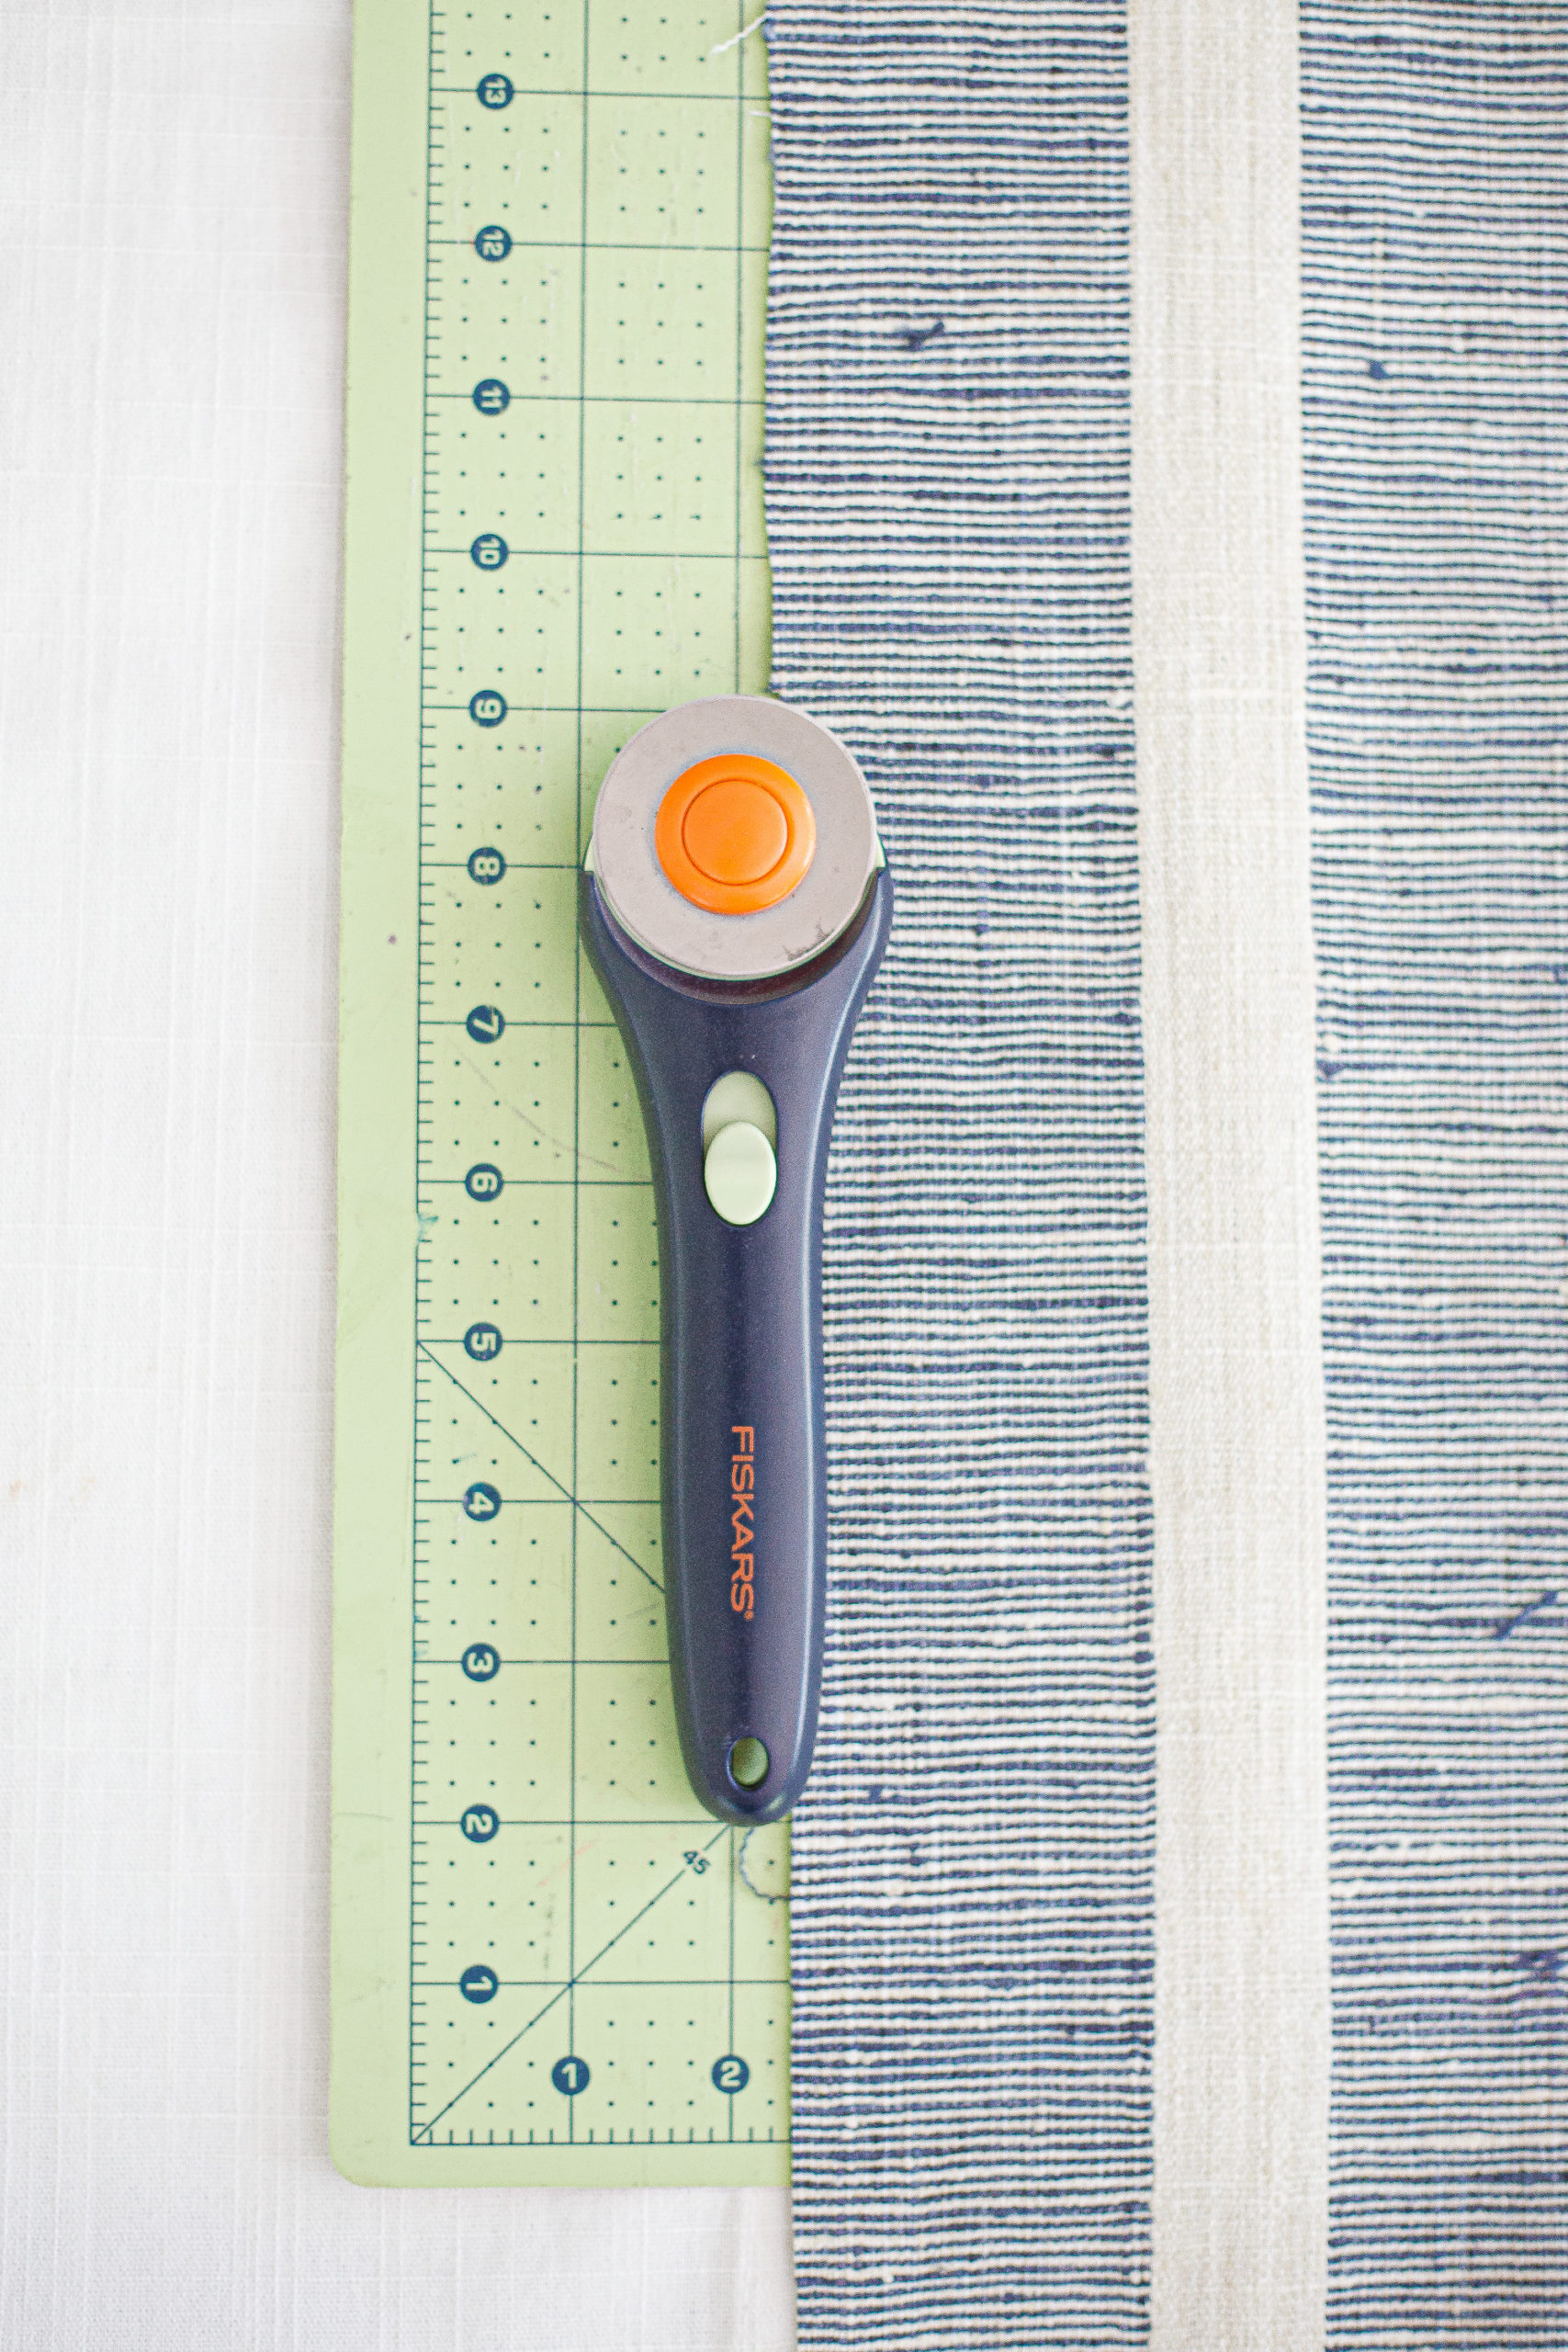
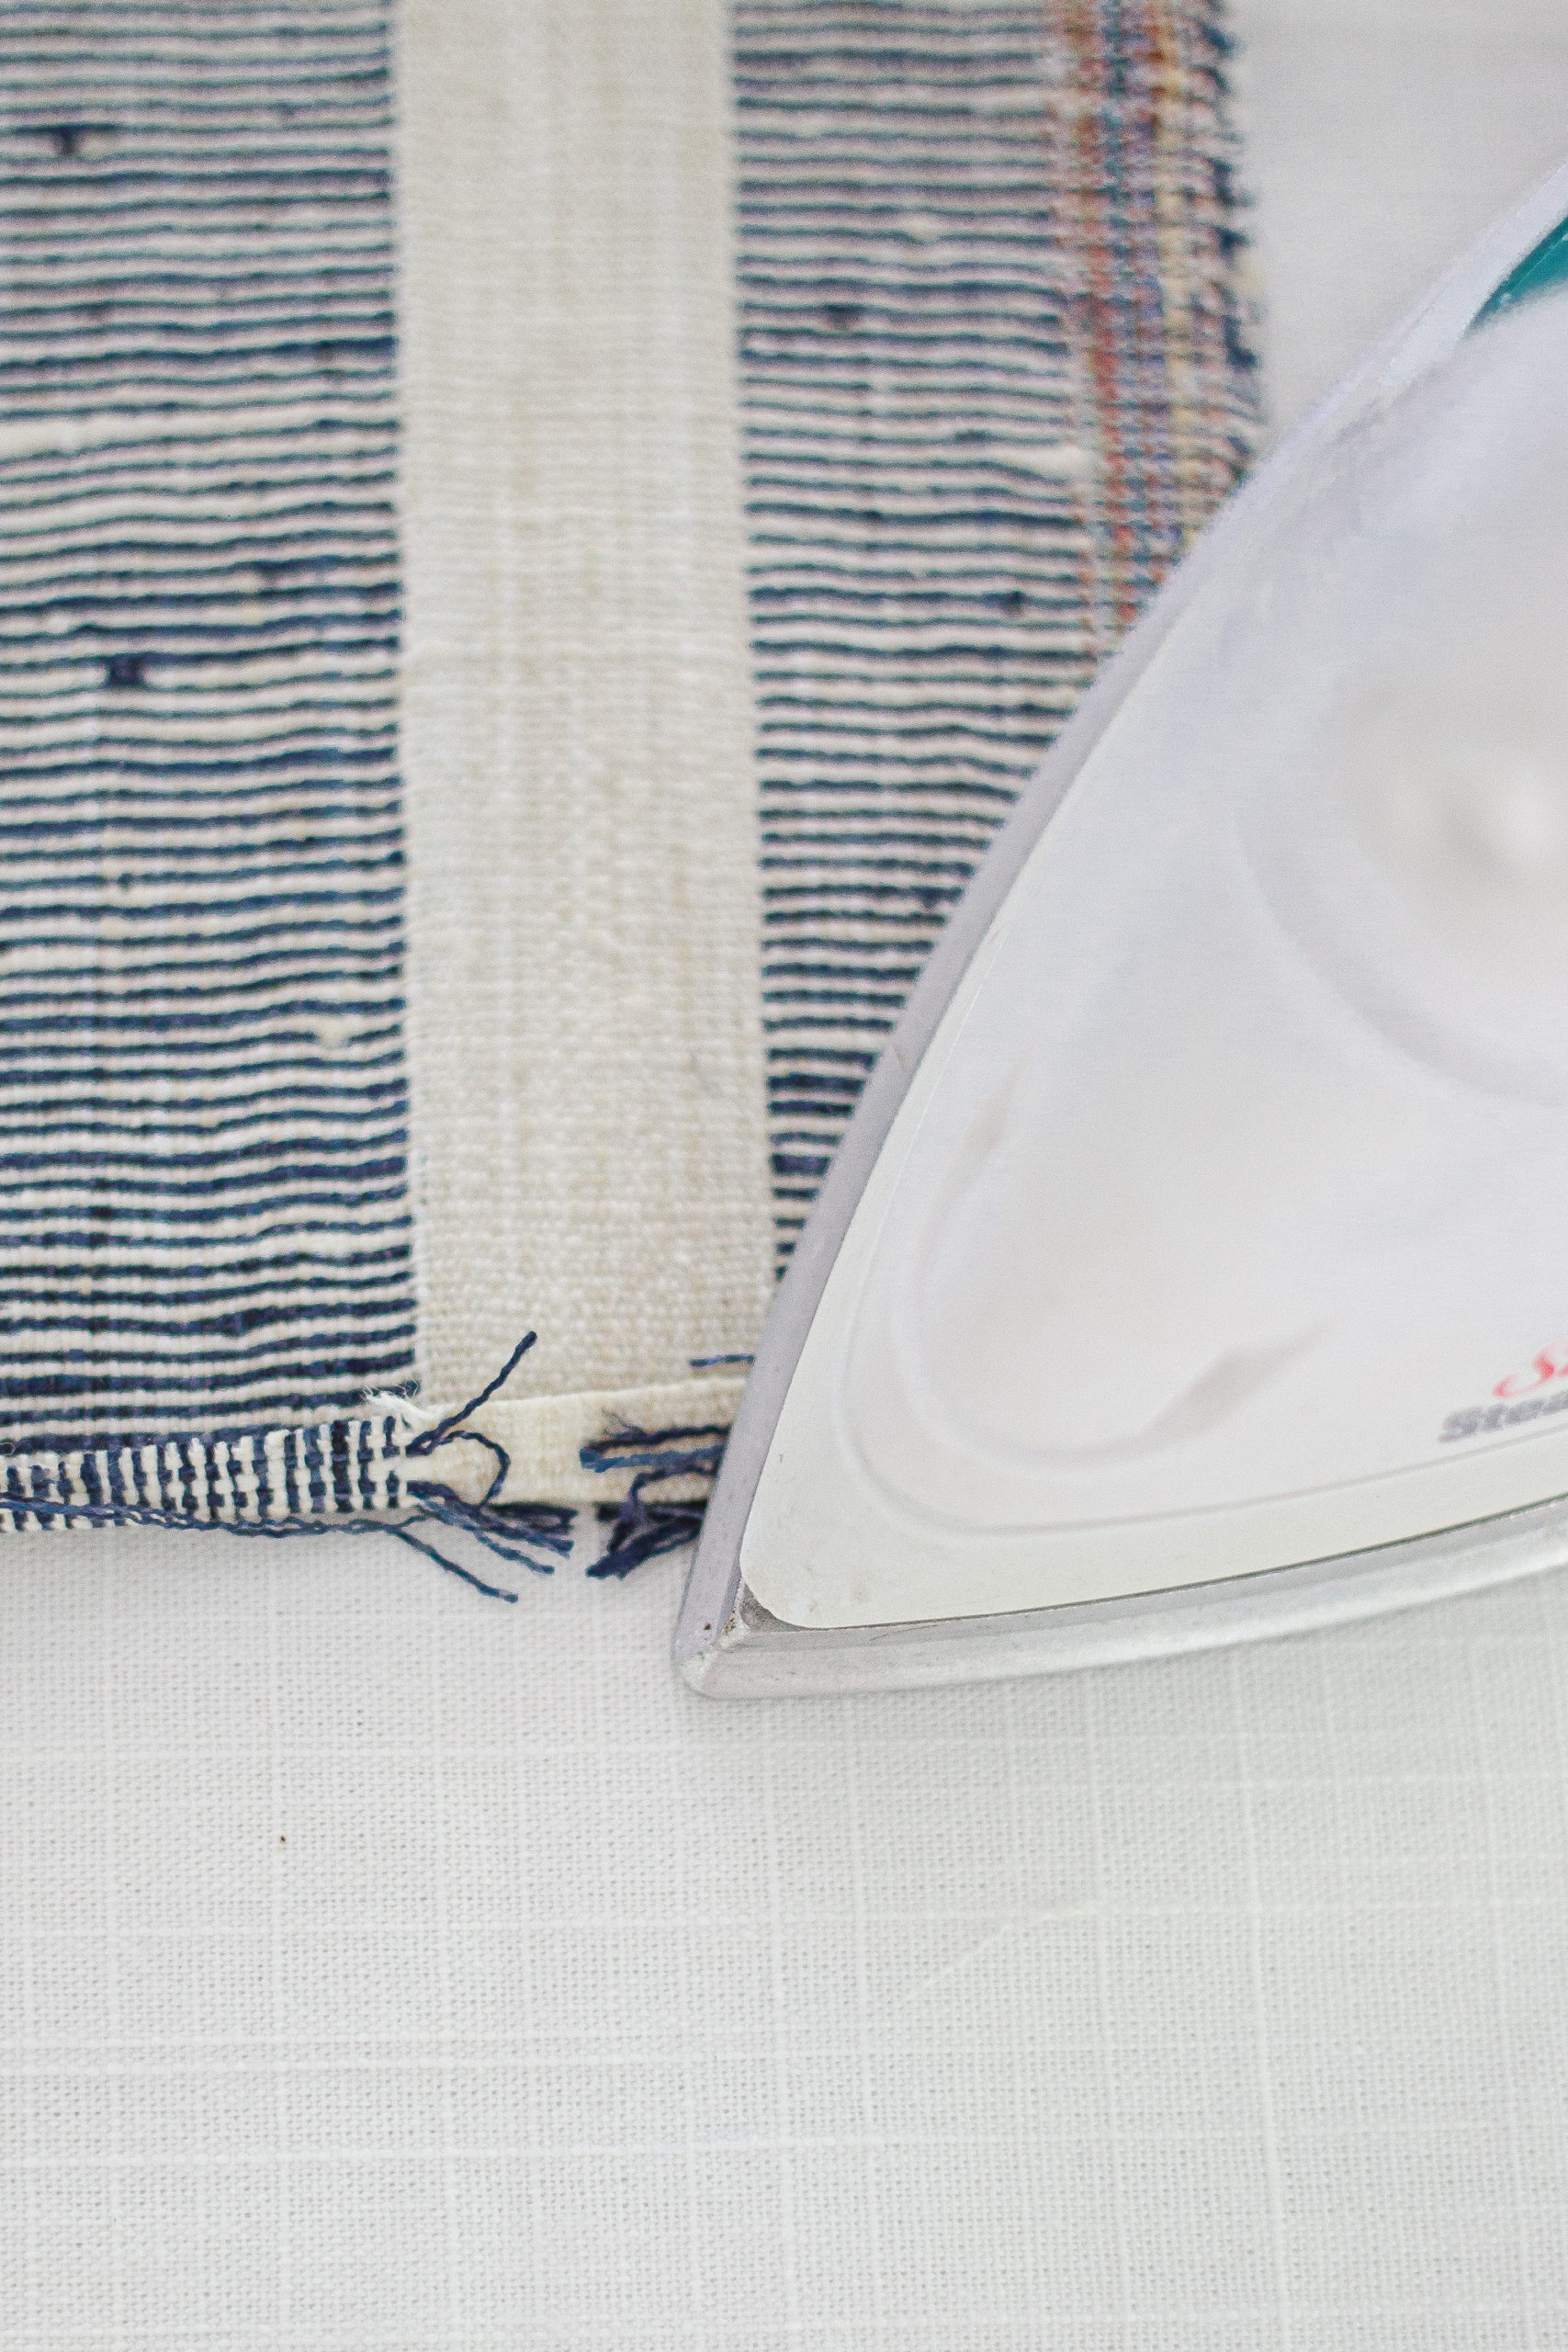
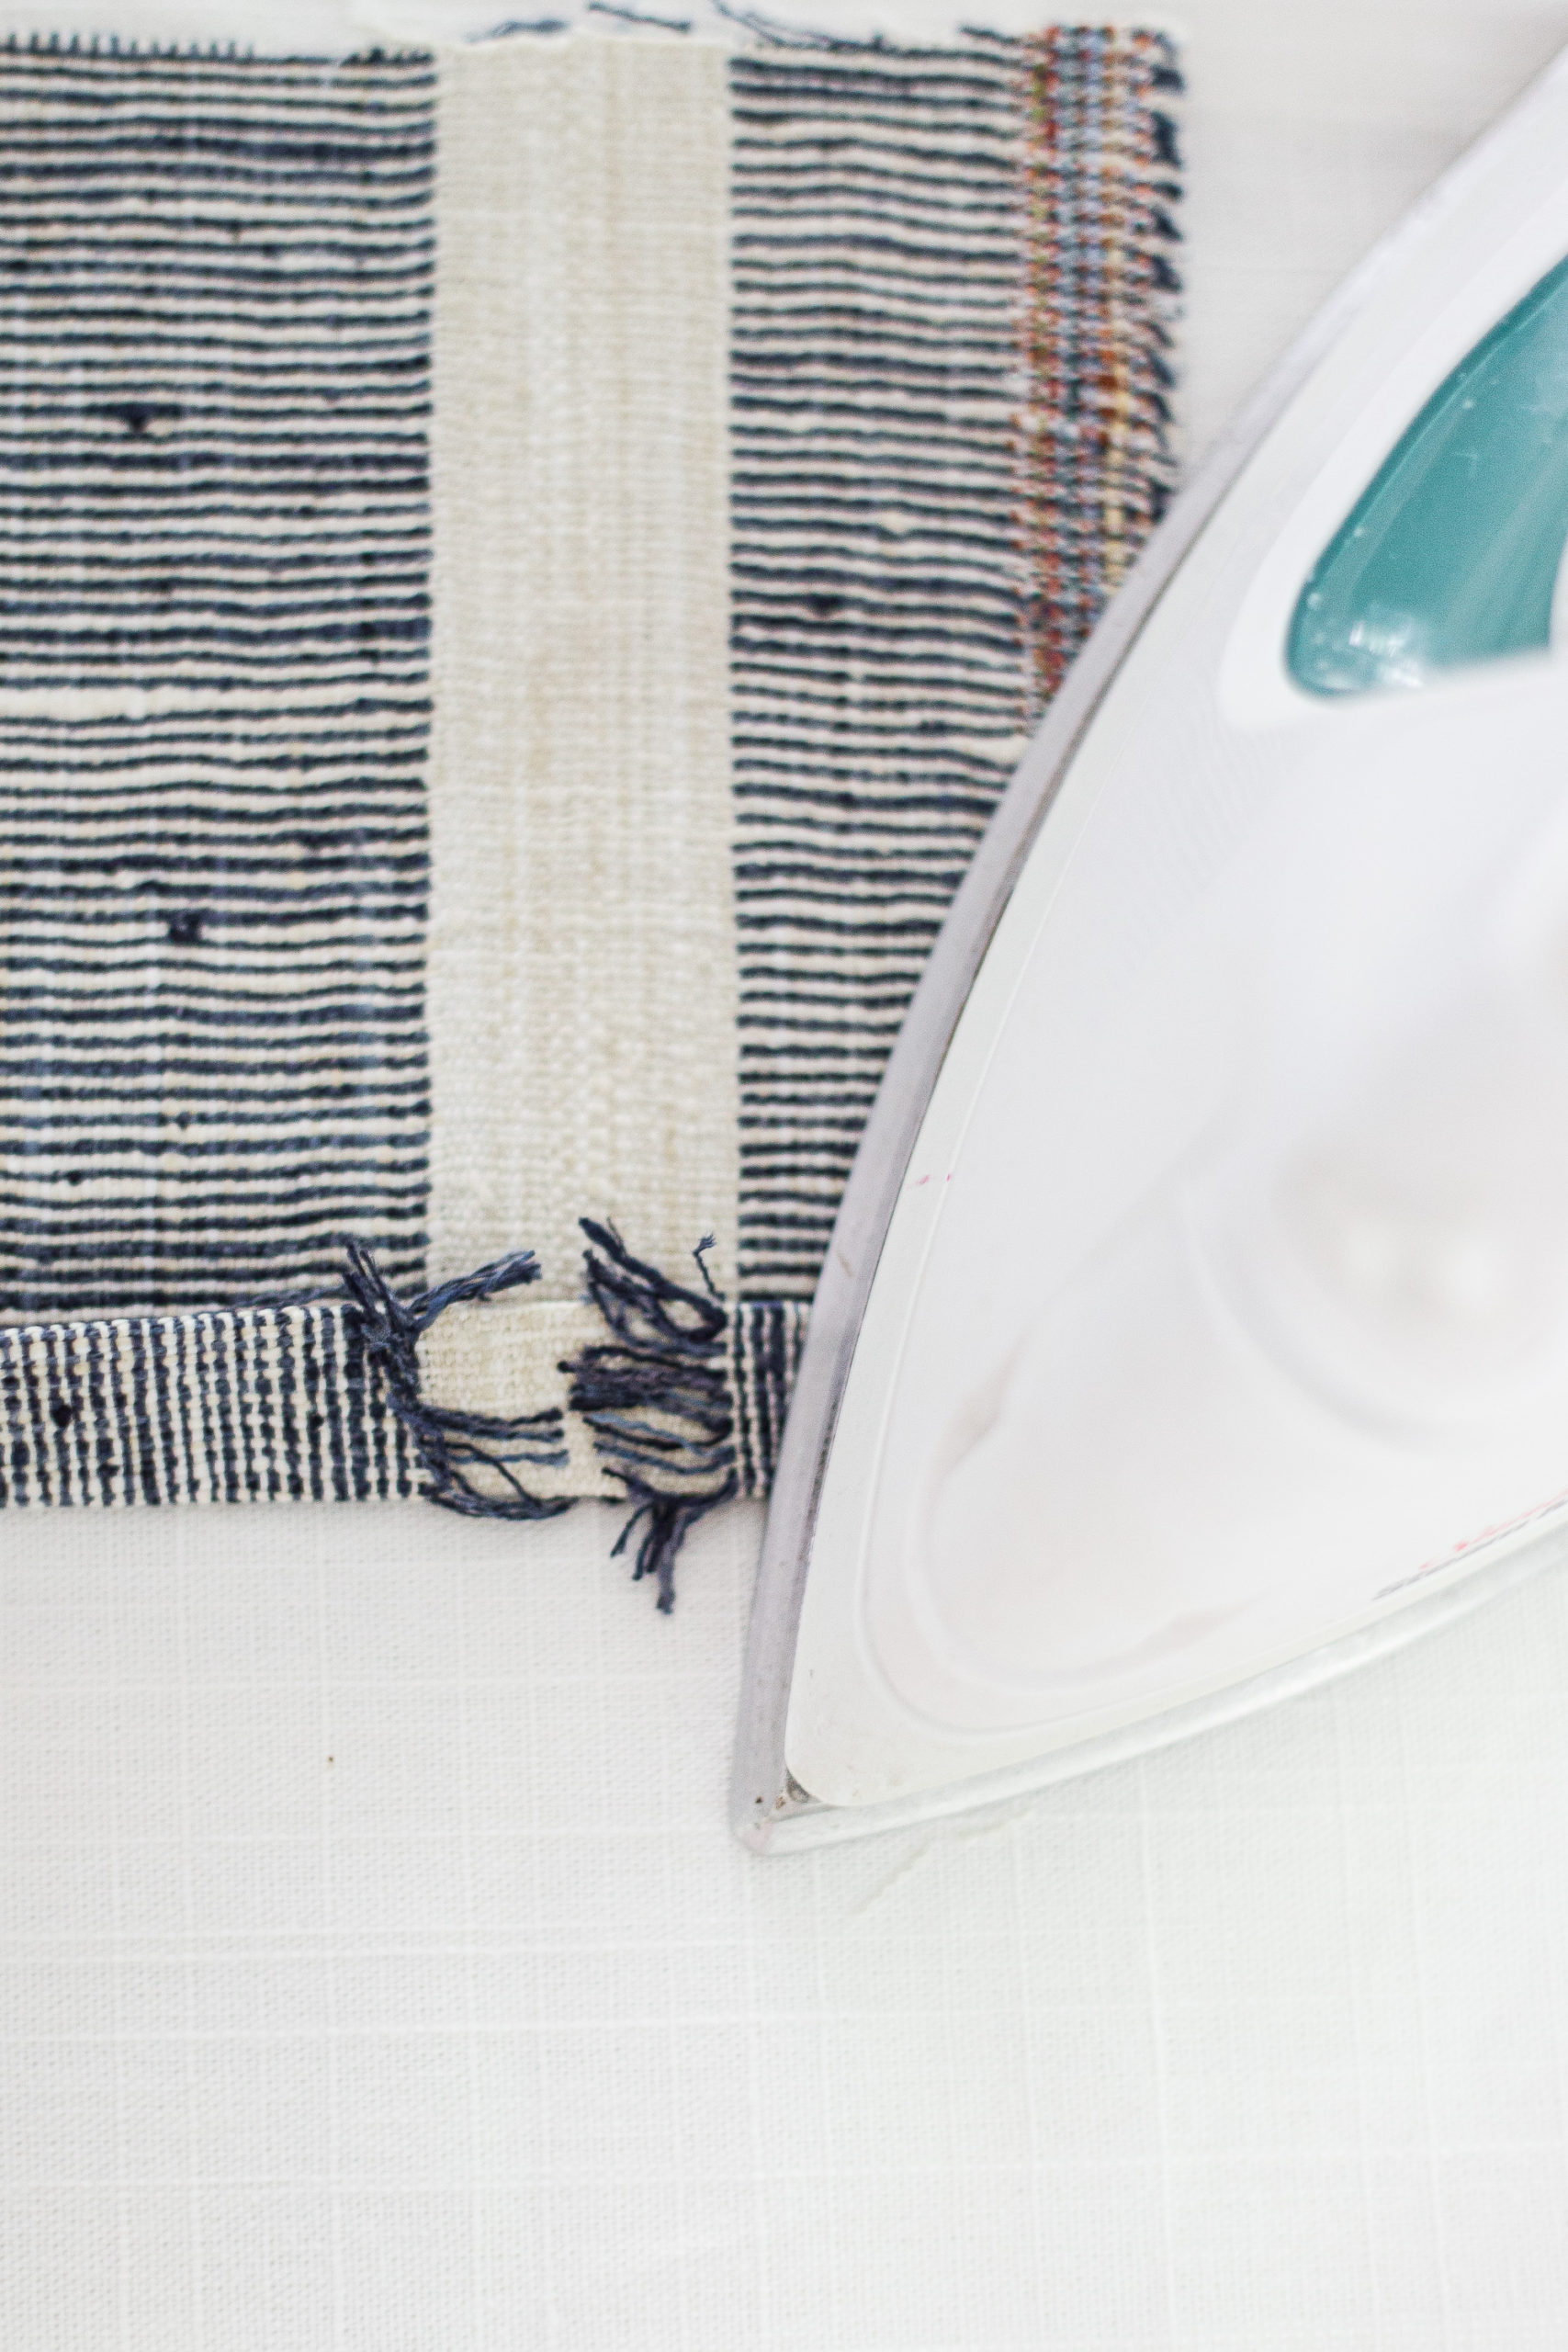
2. Iron a 1/4 Inch Seam on Short Sides of Your Fabric
Now that your fabric is cut you want to create your even edges. On your ironing board, iron one of the short ends over 1/4 inch. Turn that edge over 1/4 inch again and press well. Repeat this step for the other short end.
This will ensure your ends are nice and neat; it gives the seam a nice clean edge without all the loose threads.
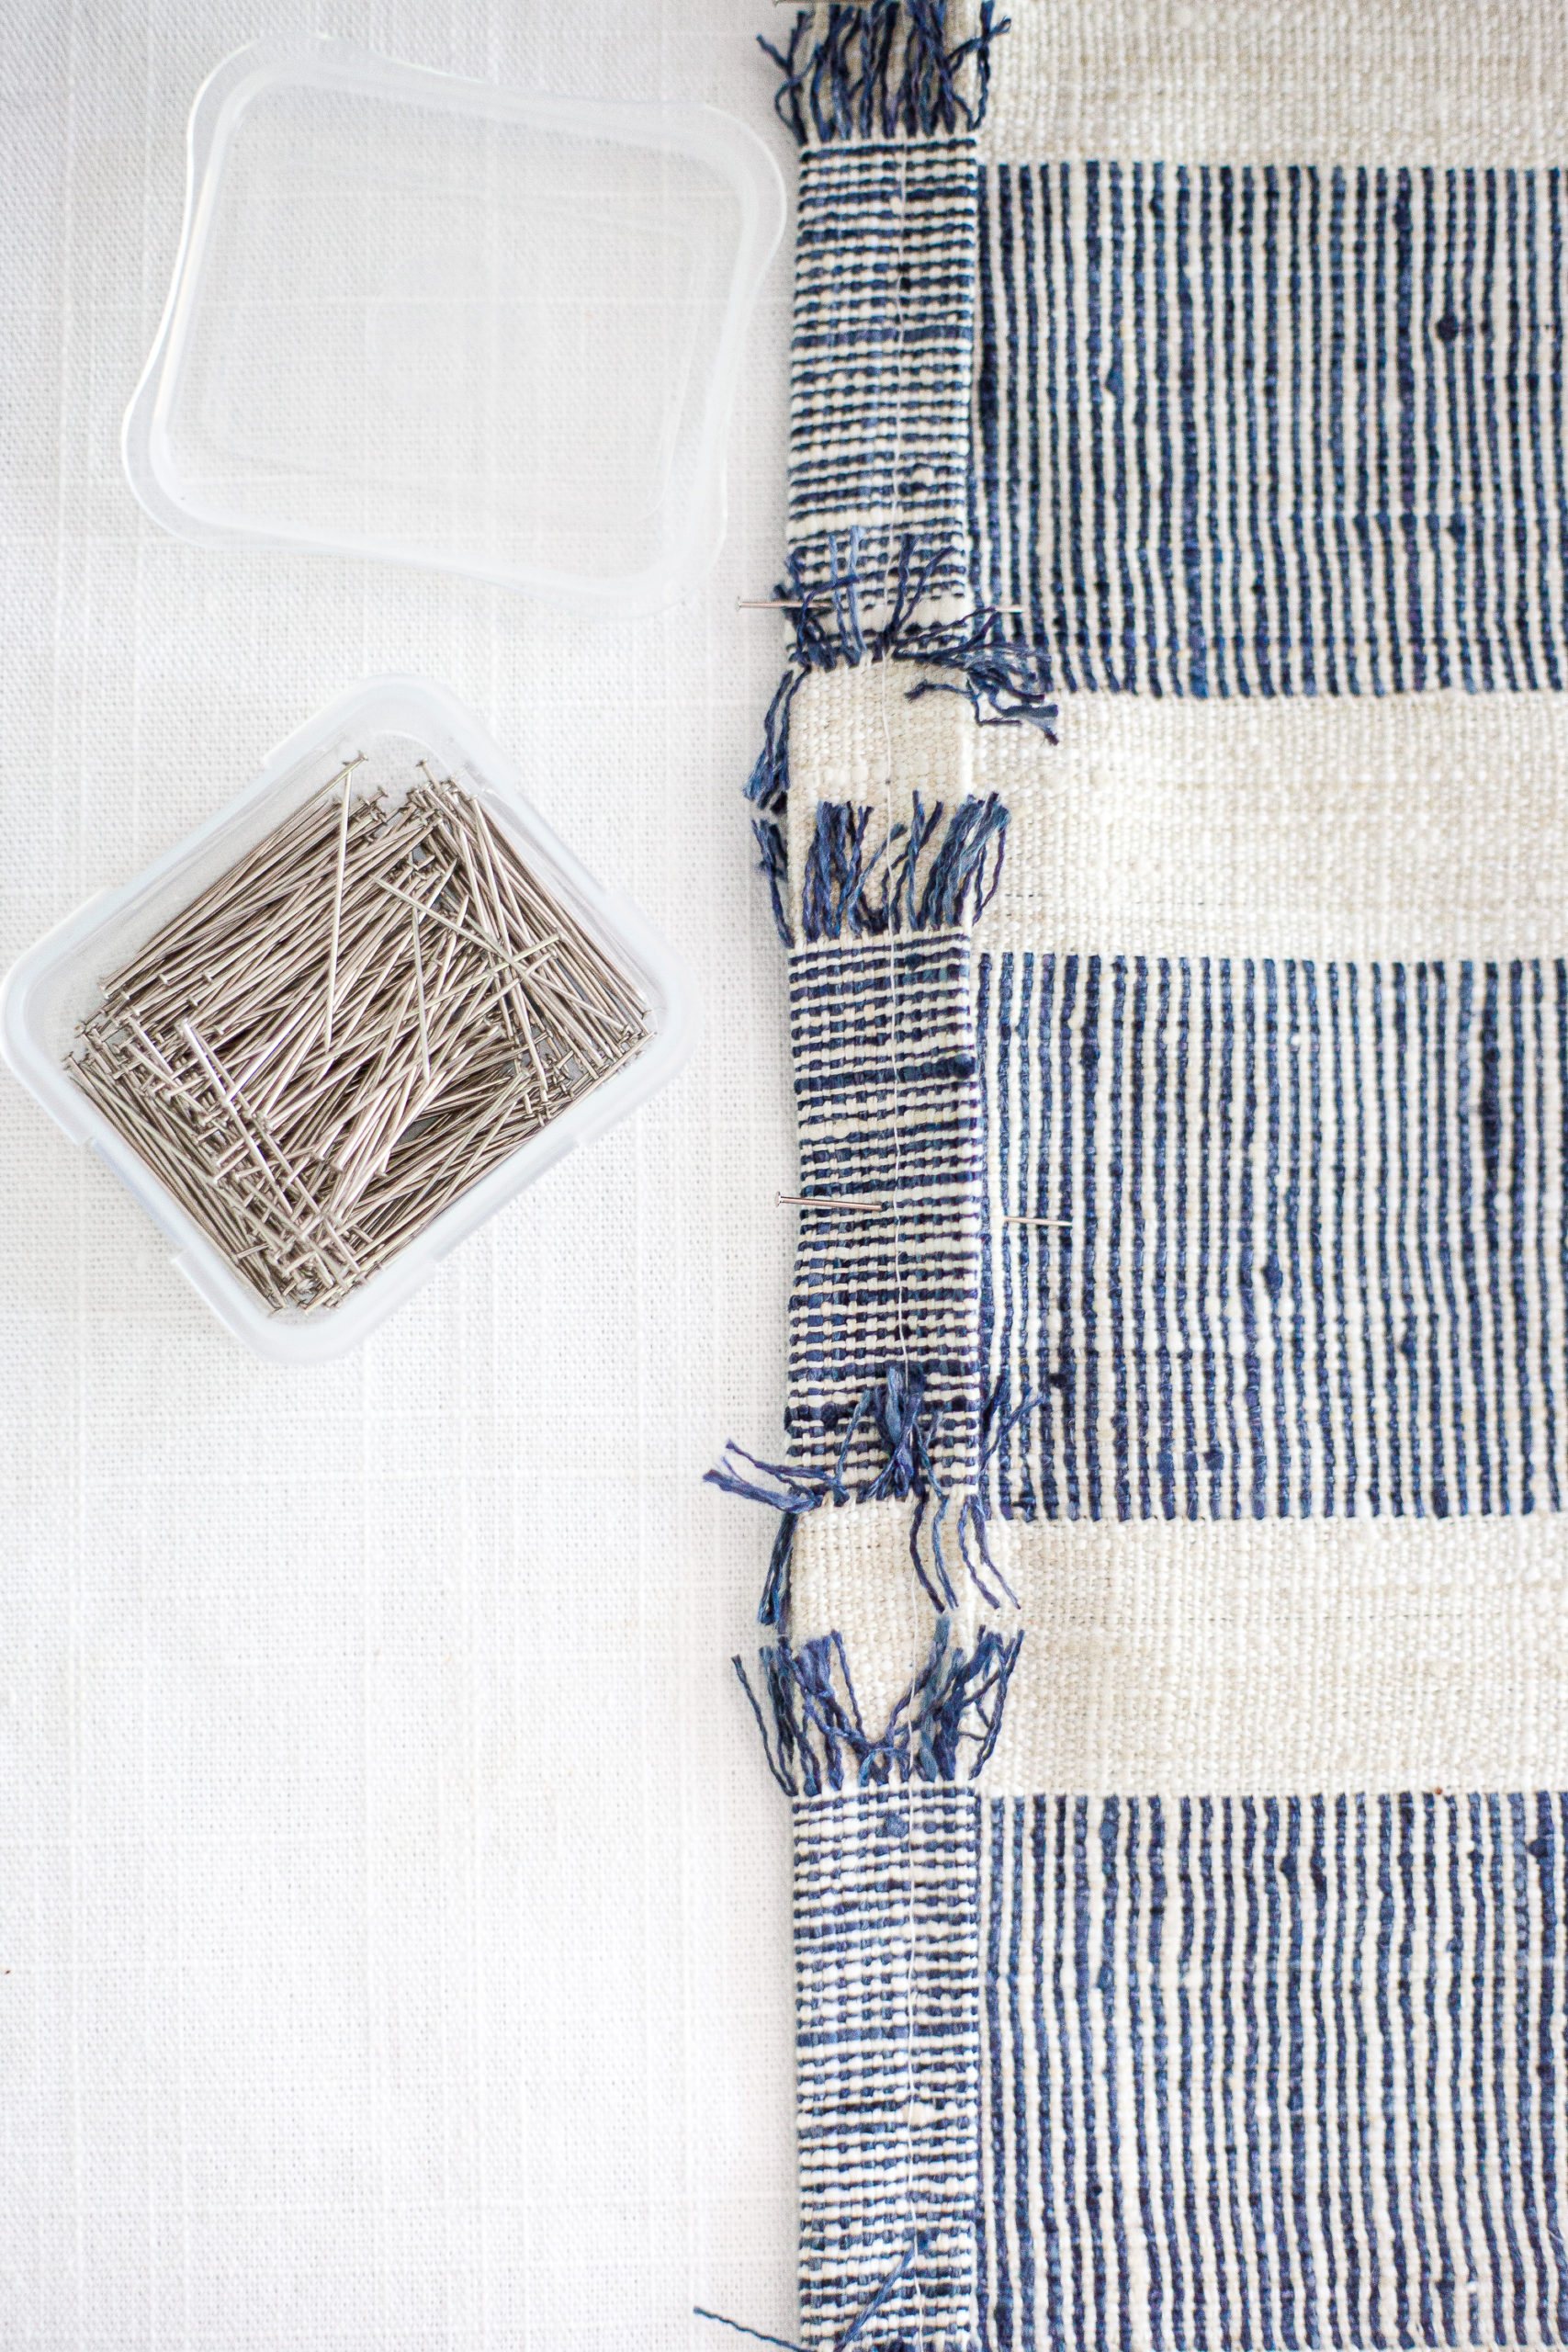
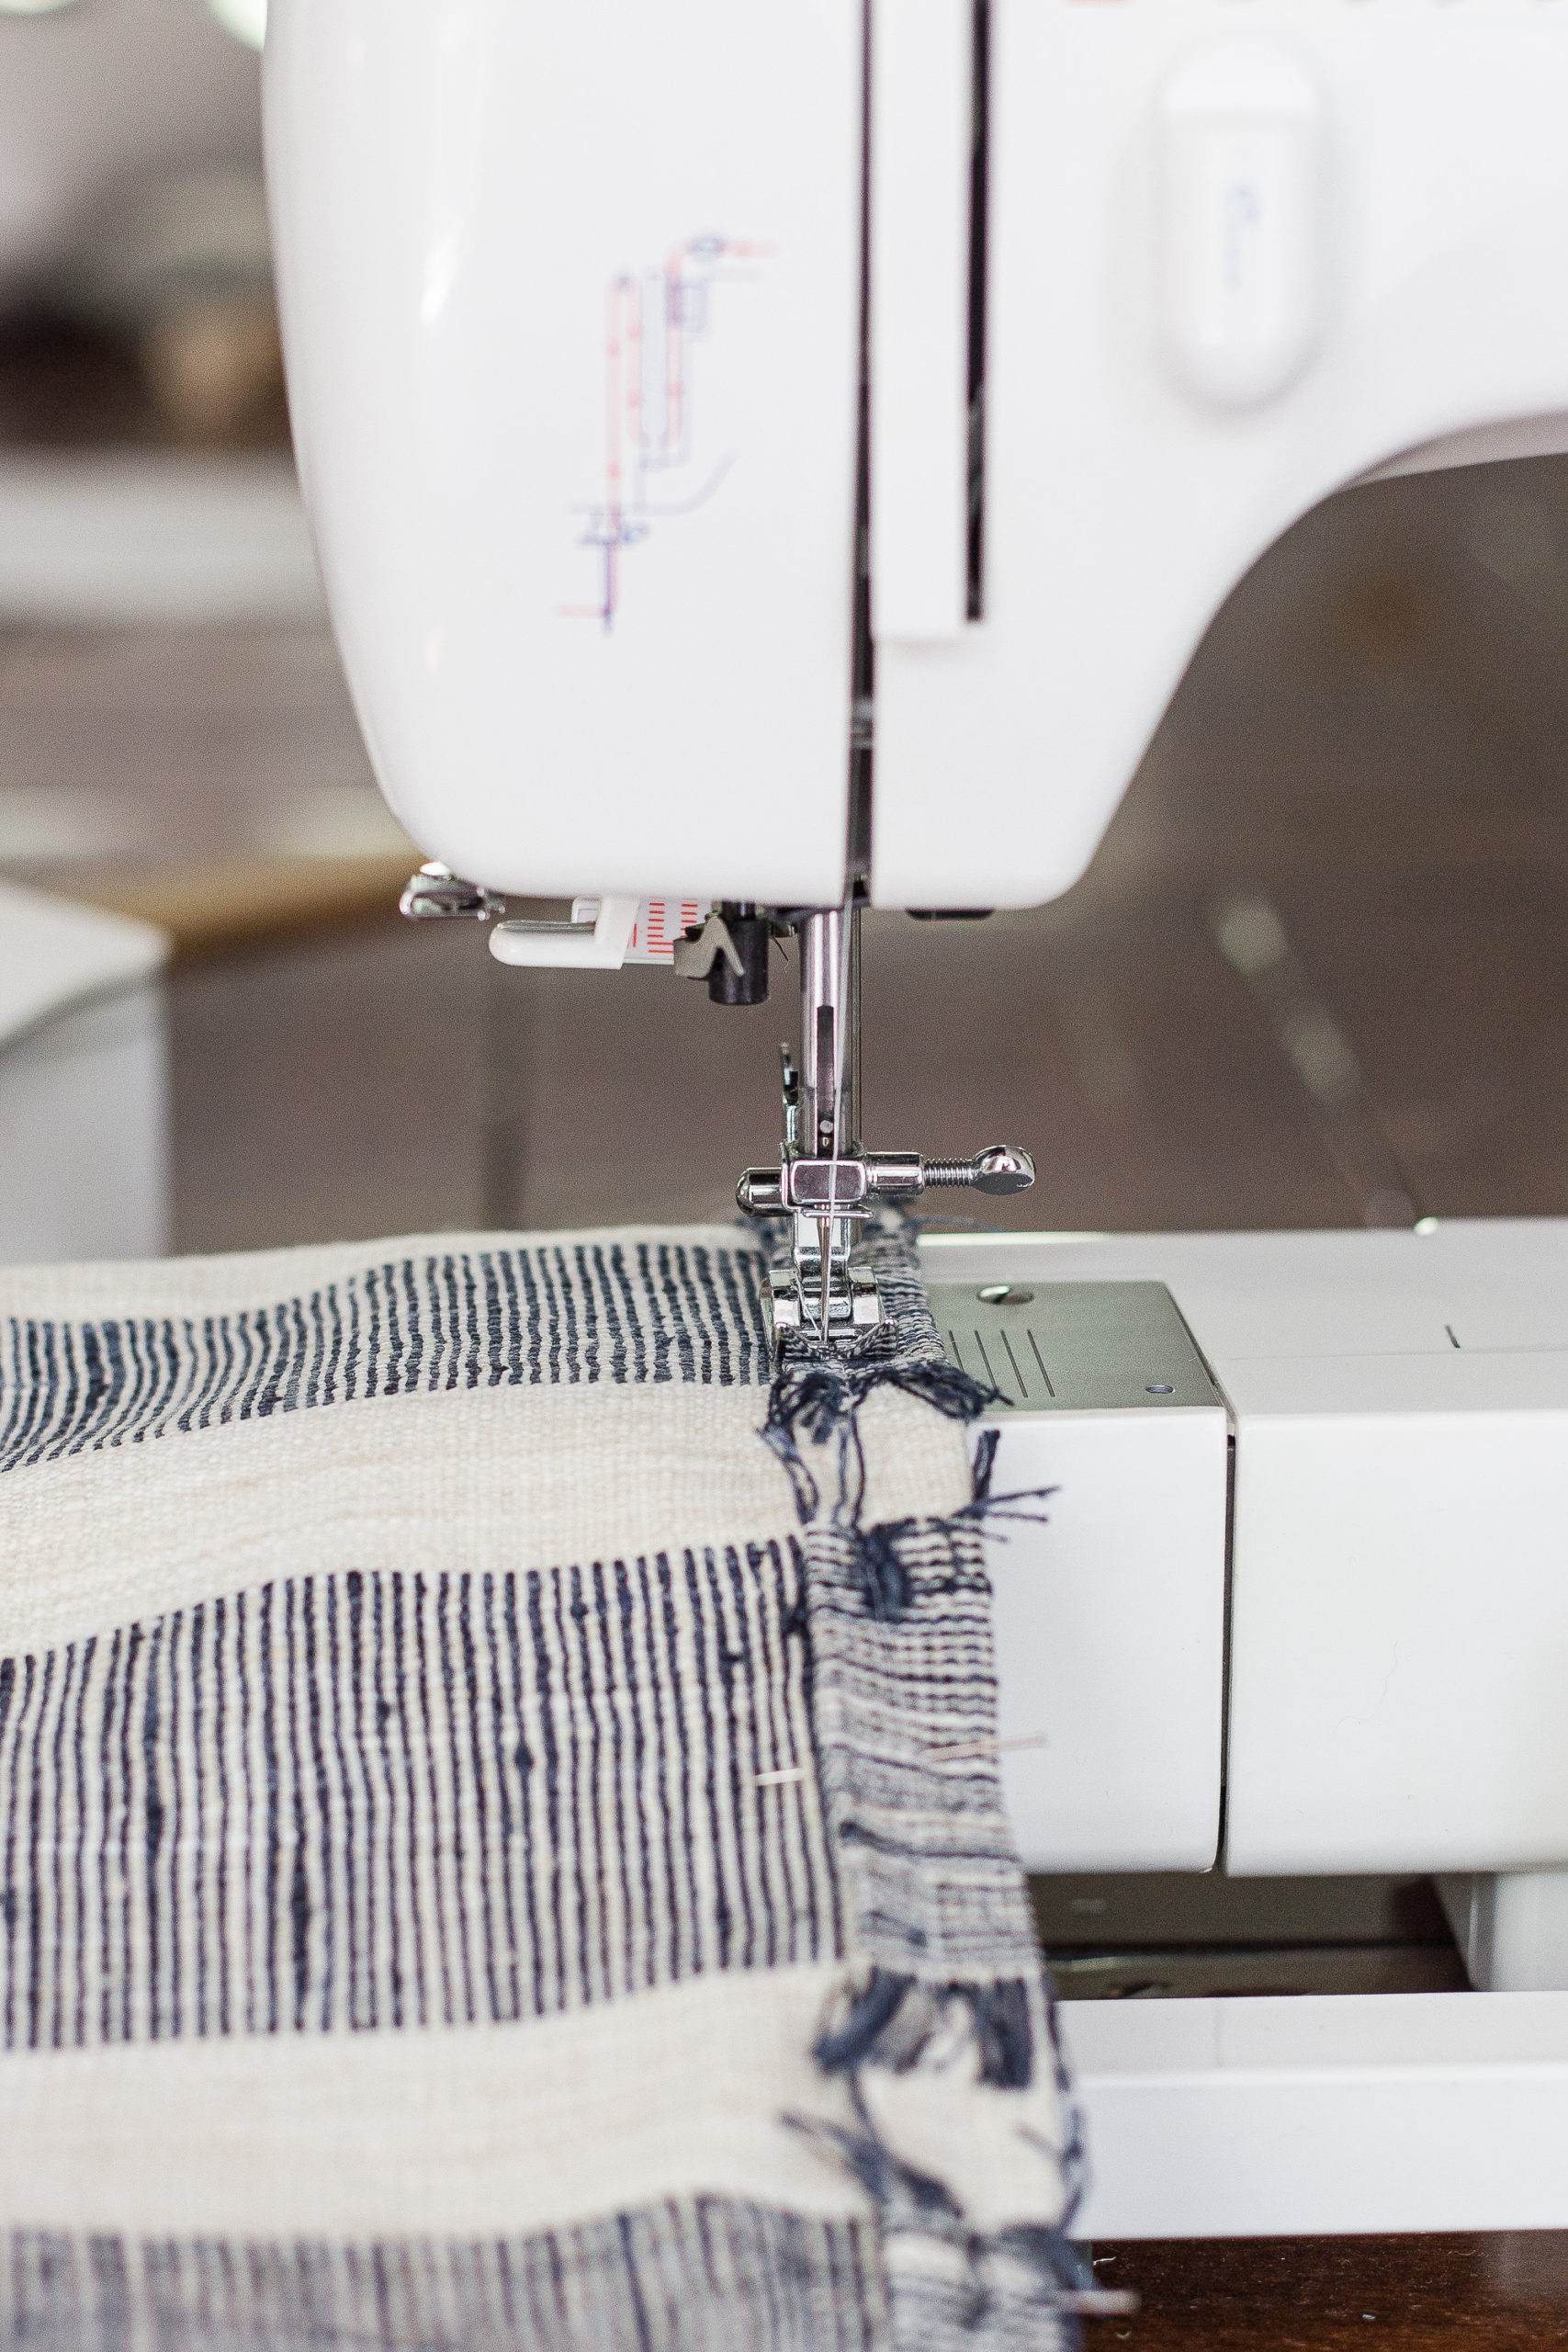
4. Pin and Stitch Seams
Once your short end seams are folded and pressed; pin them so they are ready to be stitched together. Now, stitch each seam together using the sewing machine and remove the pins. You want a nice finished edge so it doesn’t fray and looks neat and clean.
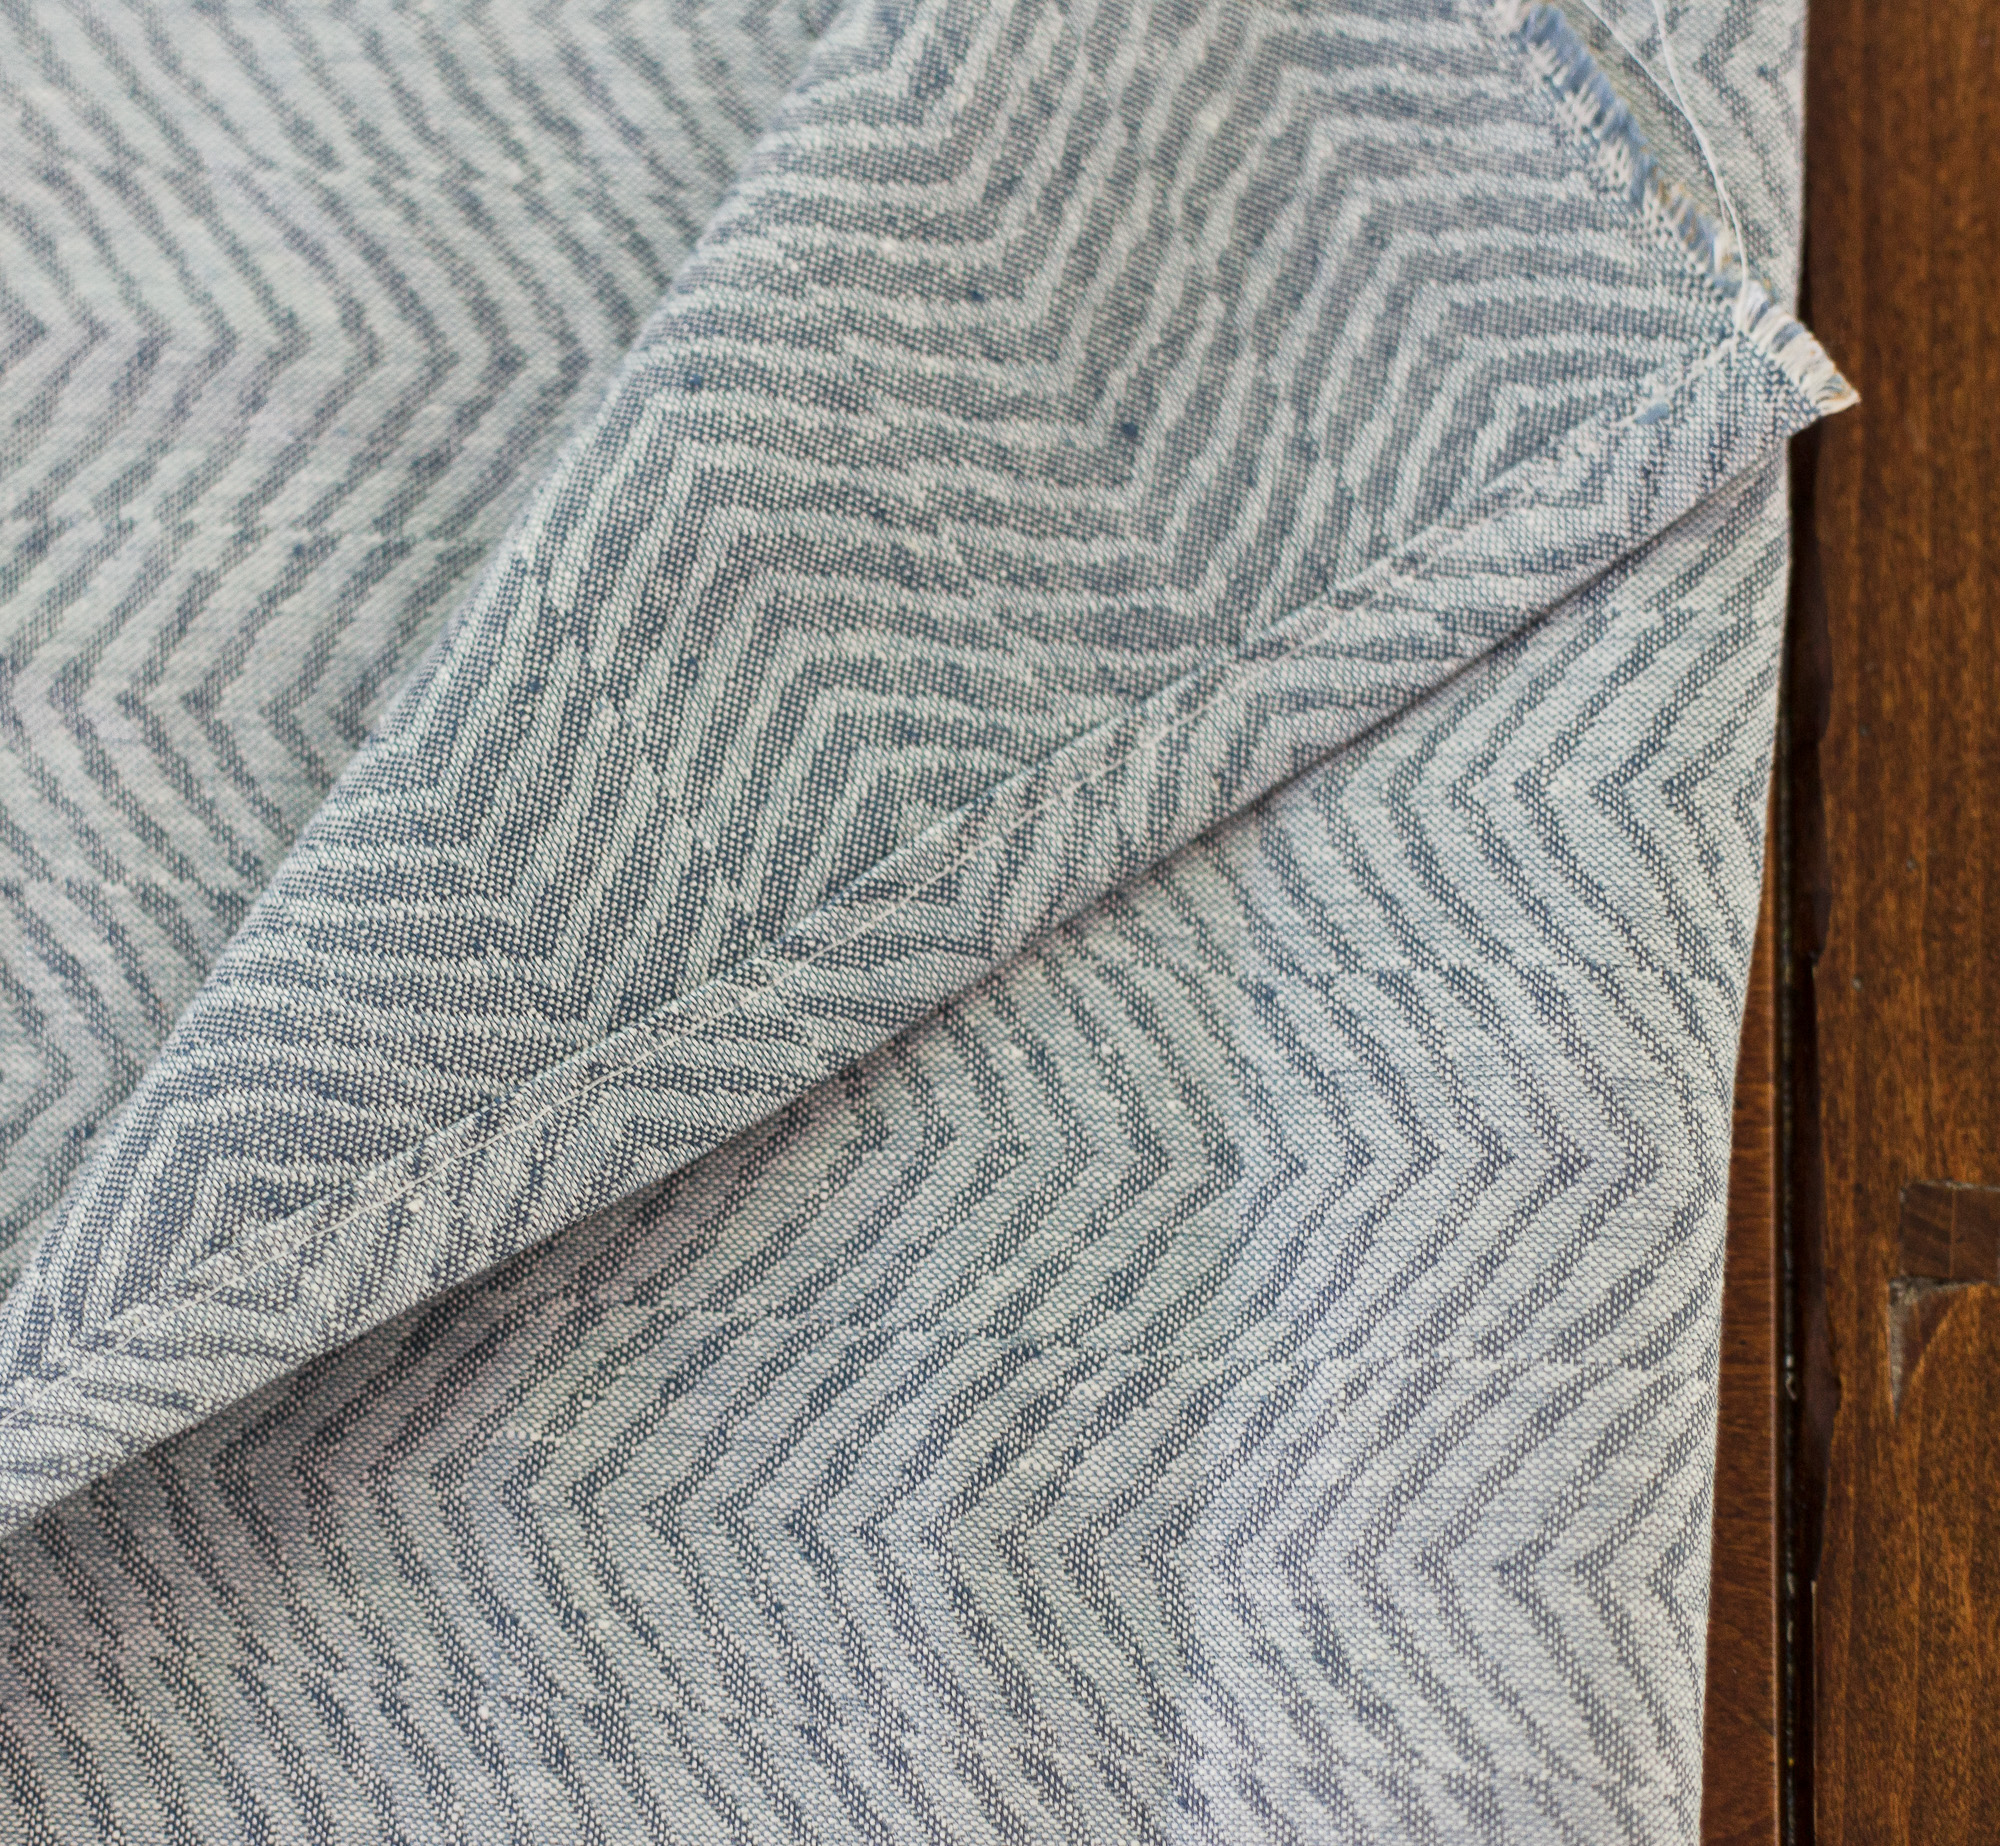
5. Fold Fabric
Lay your piece of fabric on a flat surface. Pretty side down. Fold each end of the fabric over itself so that it measures the size of your pillow. My square is 20x 20. The two previously sewn seams will overlap each other in the center to create your envelope enclosure.
6. Pin Open Ends and Sew Closed
Remember your fabric is WRONG sides together. Pin the two remaining open ends on the outer edges of the pillow cover and sew them closed. Remove pins after sewing and turn your pillow cover right side out.

7. Add Insert to The Pillow Cover
Place your pillow insert into the cover and you are all set!
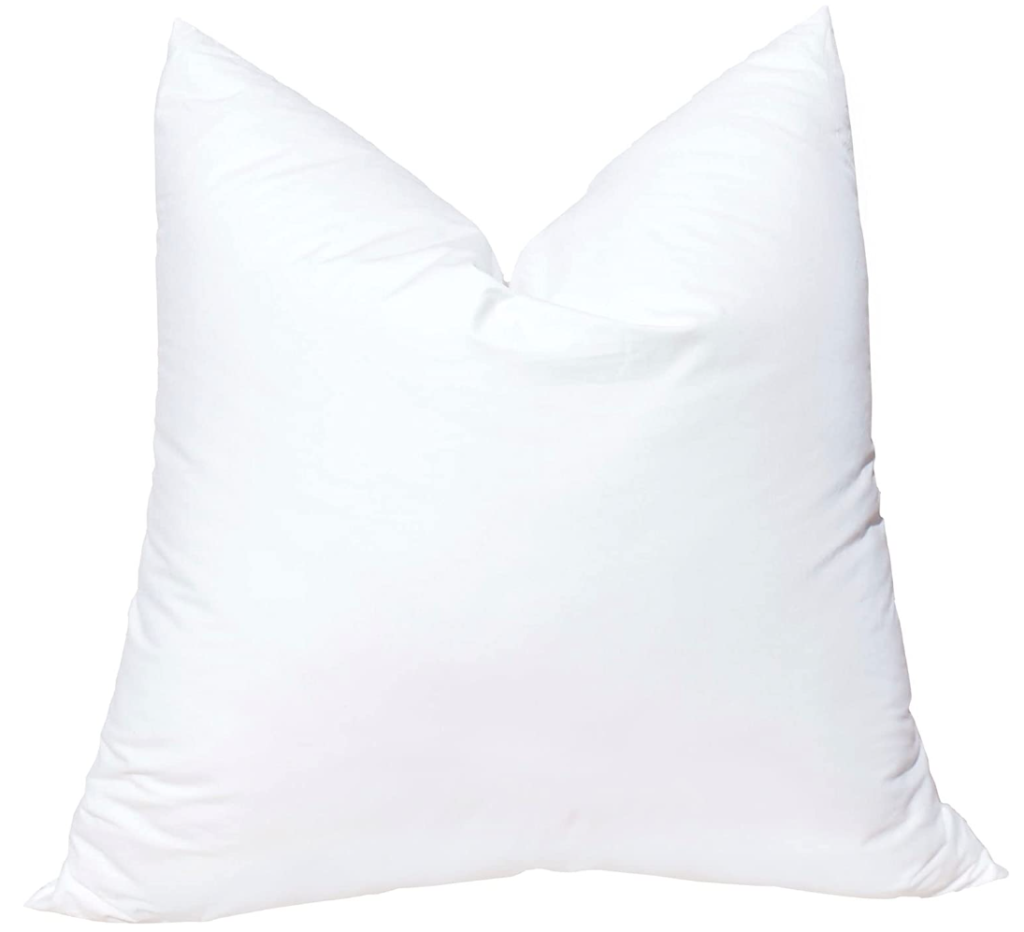
Making Throw Pillows Look Full
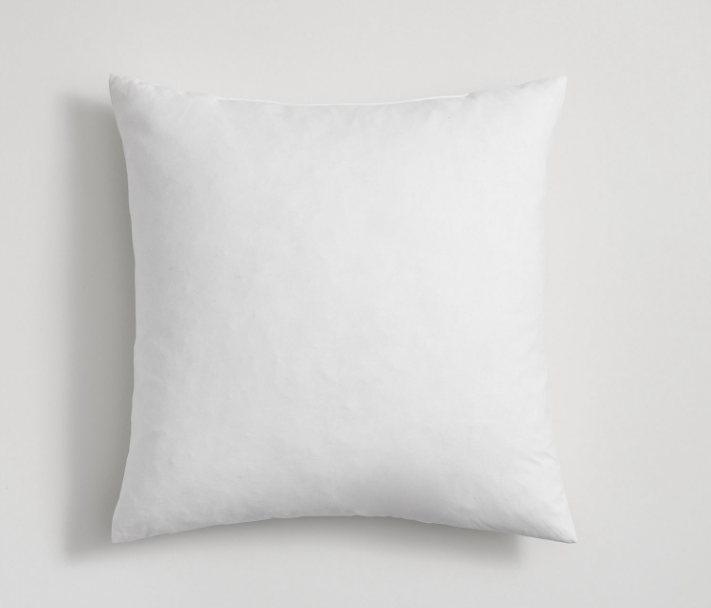
Flat and lifeless throw pillows can make your perfectly designed space look less than perfect. The right pillow insert is key to ensuring your pillows look full and luxurious.
Use only a high quality pillow insert. There are two kinds of inserts – down or polyester. Down feels more luxurious and is easier to fluff. If you are allergic to down use a high quality polyester alternative. Polyester can be less expensive than down also.
Use larger pillow inserts than the finished size of your pillow cover. Always size up. If you have a 20×20 pillow cover use a 22×22 insert. This will give the pillow that extra fullness that looks so nice!

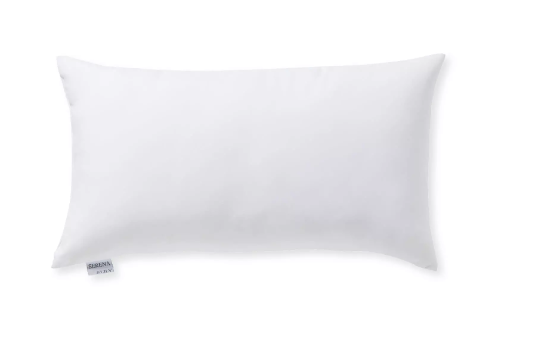
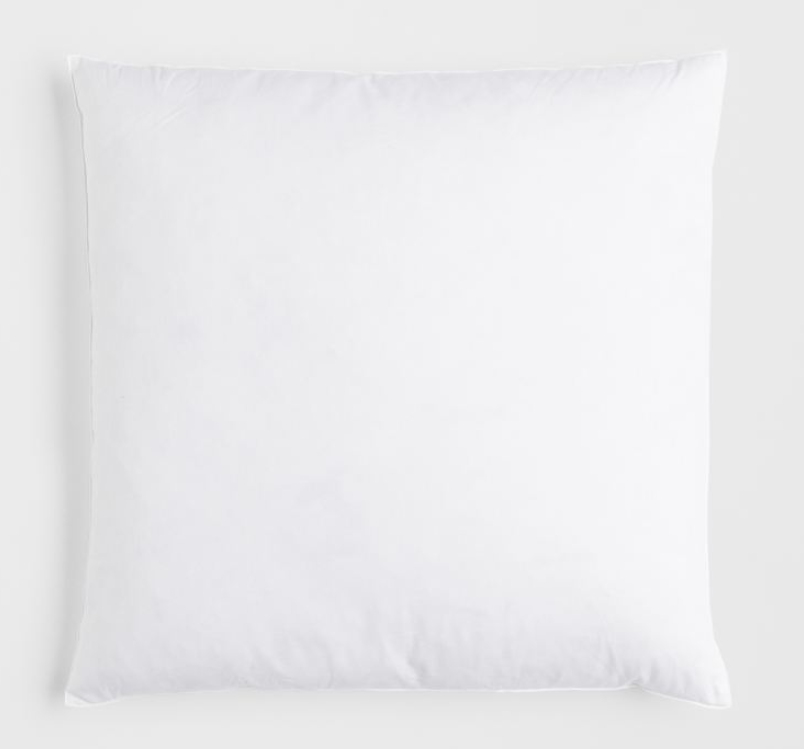
Sources
Down Feather Inserts
These are my favorite down inserts as they are nice quality and feel soft and luxurious.
White Feather and Down Insert
This is a lovely combo of white feathers and down.
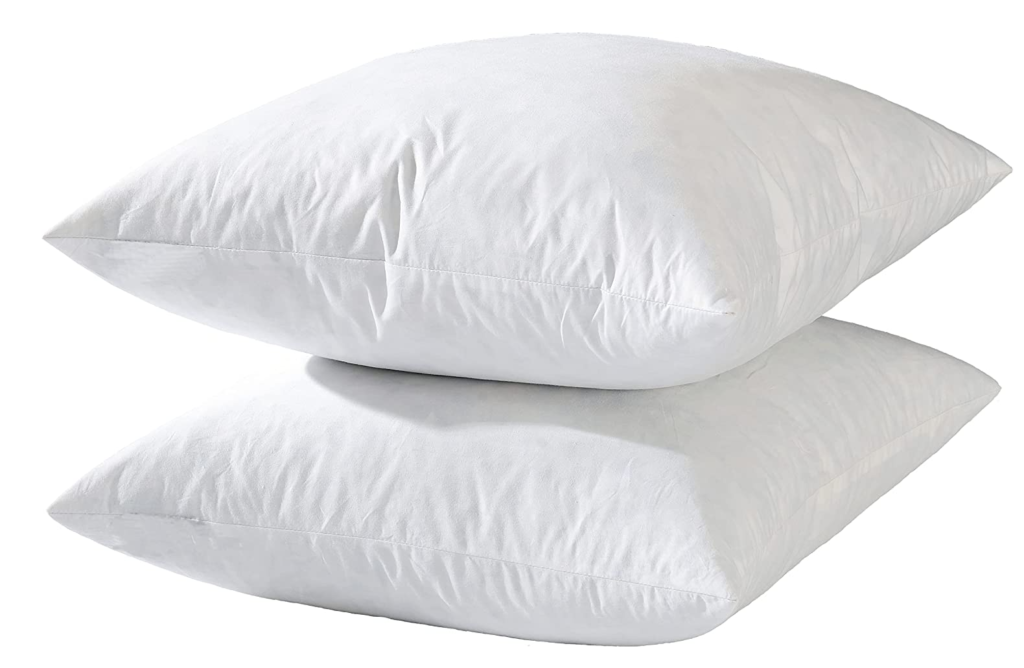
Set of Two inserts
Great affordable down insert options. Set of two $36.99.
Click on any image to shop:
Frequently Asked Questions
There should be 6-8 inches added to the measurements for the overlap.
You can use any type of fabric you like such as cotton, linen, wool etc. If you want to elevate the look use home decor fabrics.
Yes, you can’t really get any easier than an envelope pillow cover. Straight cuts and sewing straight lines makes this a super easy project.
Follow for home decor, DIY and to shop: Instagram | Pinterest | LiketoKnowit
Easy Envelope Pillow Cover
This easy envelope pillow cover tutorial is an easy way to update your throw pillows without breaking the bank. Even if you aren't a seasoned sewer, anyone can make these easy to sew pillows.
Materials
- Fabric from fabric Store
- Pillow Insert or Pillow Insert
- Thread (color based on fabric)
- Pins
Tools
- Sewing Machine
- Scissors
- Rotary Cutter and Mat
- Iron & Ironing Board
Instructions
- Pin and Stitch Seams
- Fold Fabric
- Pin Open Ends and Sew Closed
- Add Insert to The Pillow Cover
- Determine the Size of Your Envelope Pillow Cover
- Cut Fabric for Envelope Pillow Cover
- Iron a 1/4 Inch Seam on Short Sides of Your Fabric