How to Make a Tree Stump Table
Follow this step-by-step tutorial on how to make a tree stump table! This project is budget friendly and adds a unique piece to your home.
Fall is a great season to actually make a tree stump table. If you have ever thought about making a tree stump table, this is the perfect time to embark on this project. During the fall, people do a lot of tree trimming or there are downed trees from storms. This gives you easy access to tree trunks of all sorts of sizes.
This post contains affiliate links where I can receive commission from your purchases, thank your support. Please read my full disclosure.
Making a tree stump side table wasn’t exactly on my project to do list or something I was desirous to create. However, this rather happened on a whim and I am glad it did! Let’s get right into this!
Why a Tree Stump Table?
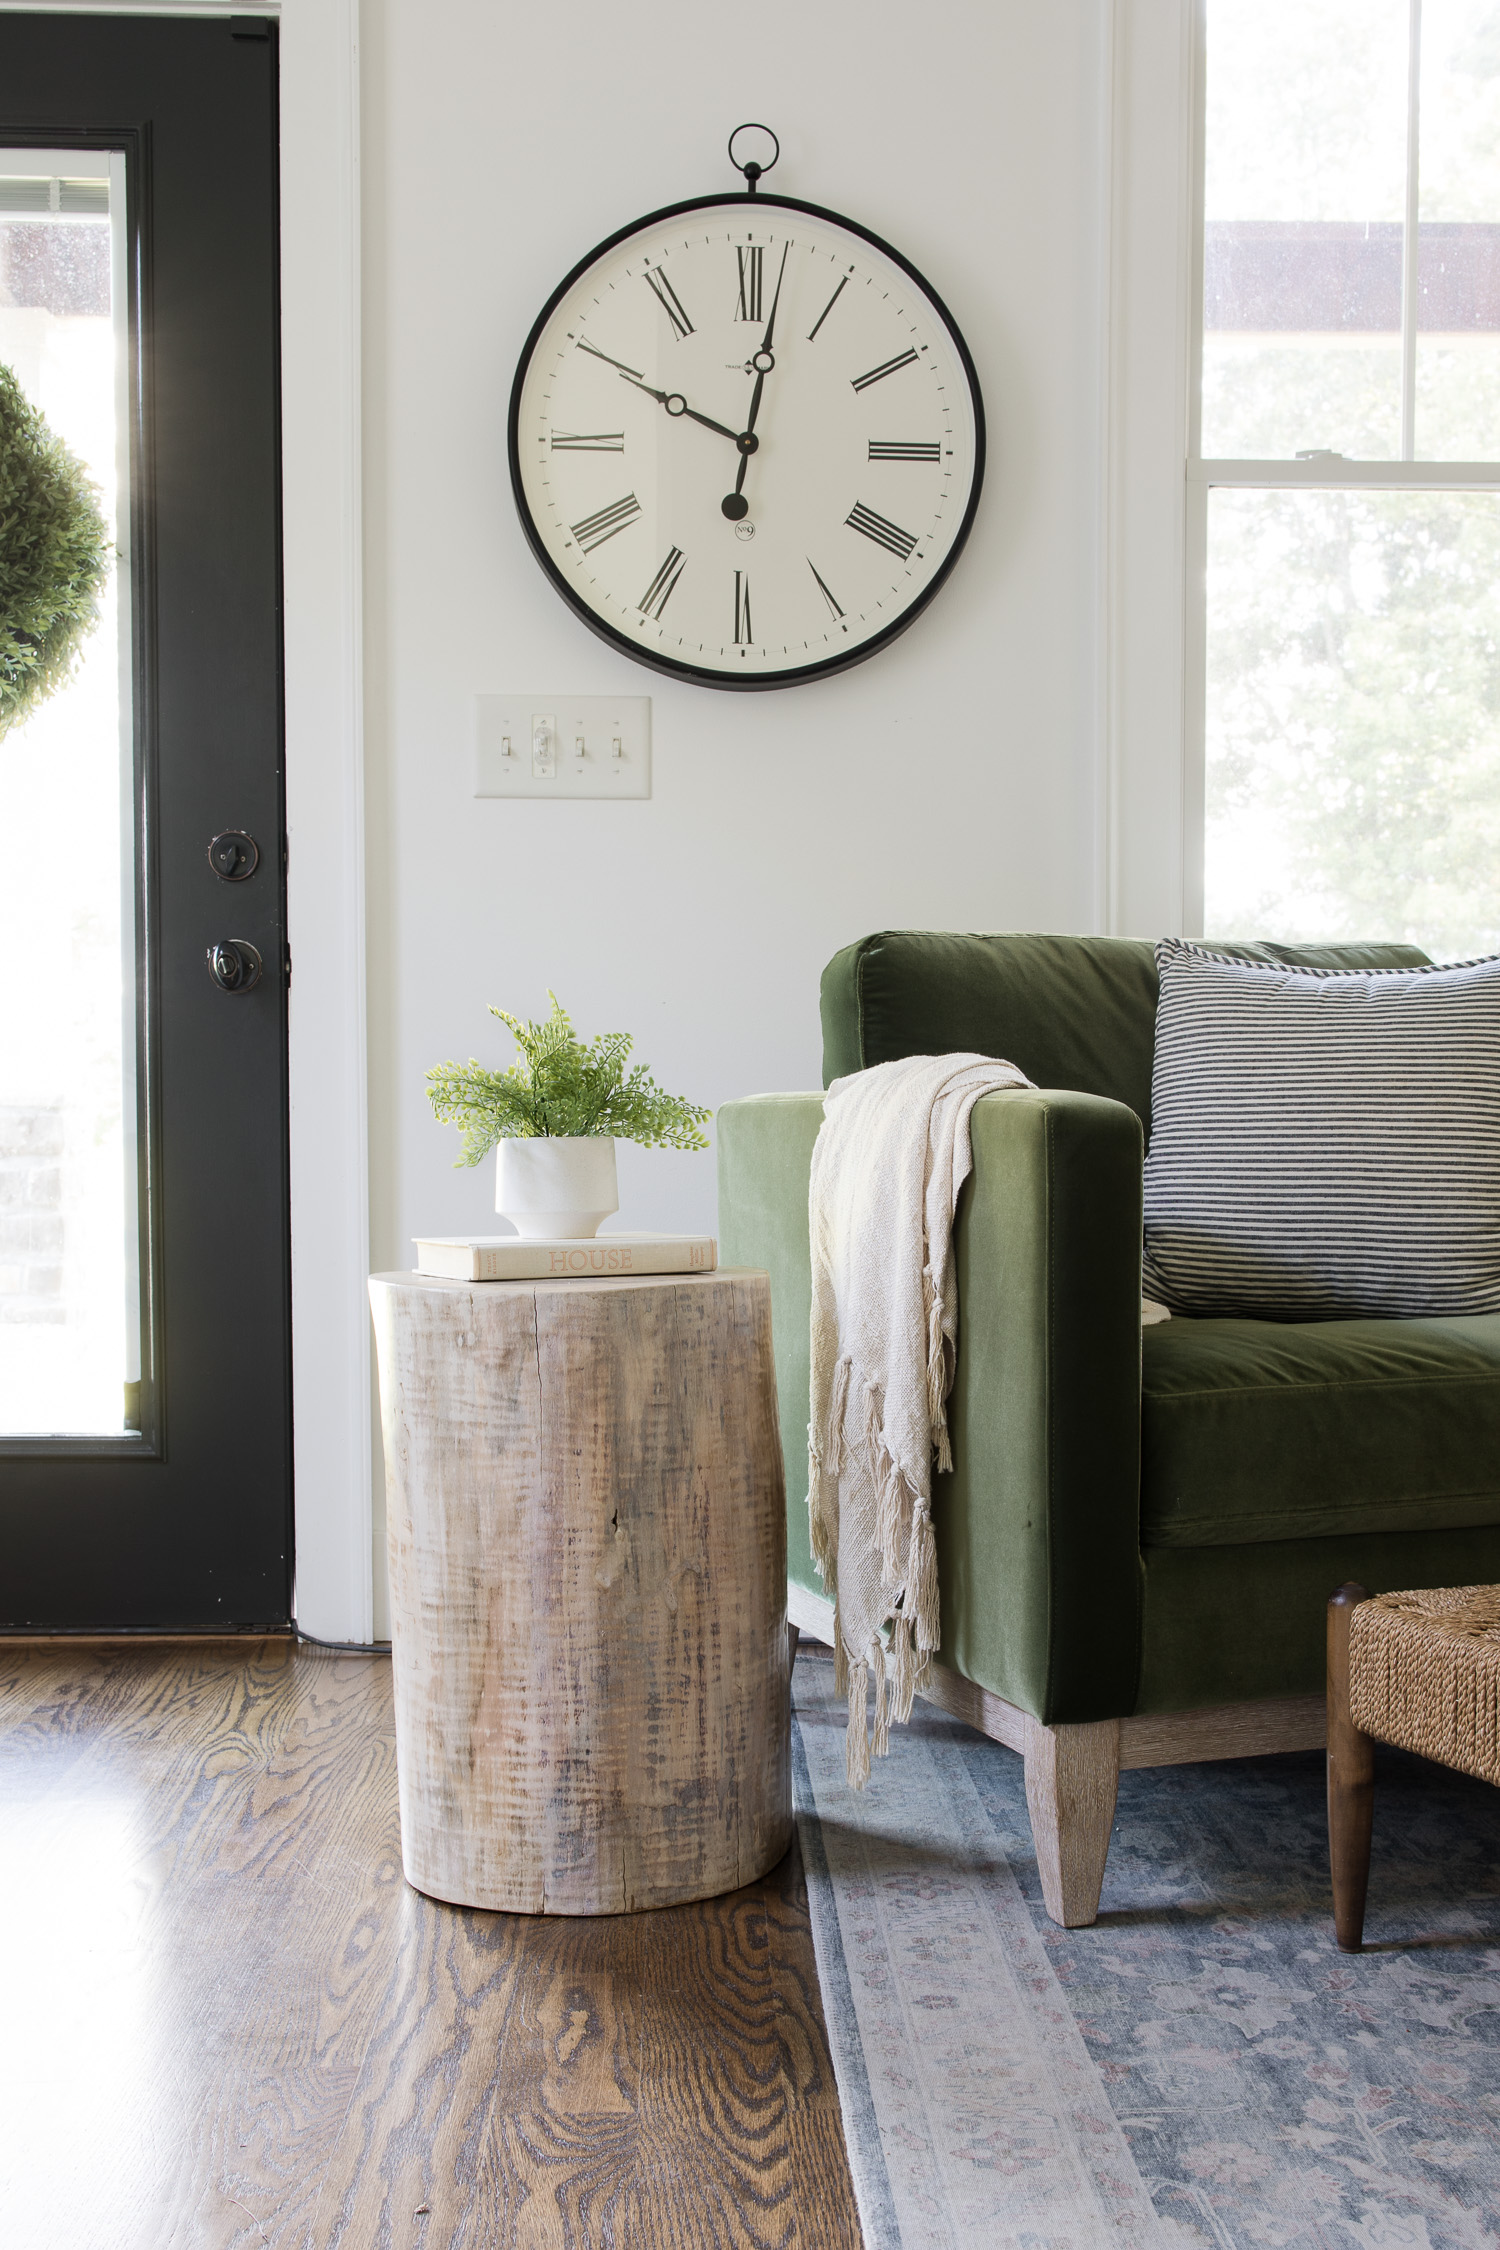
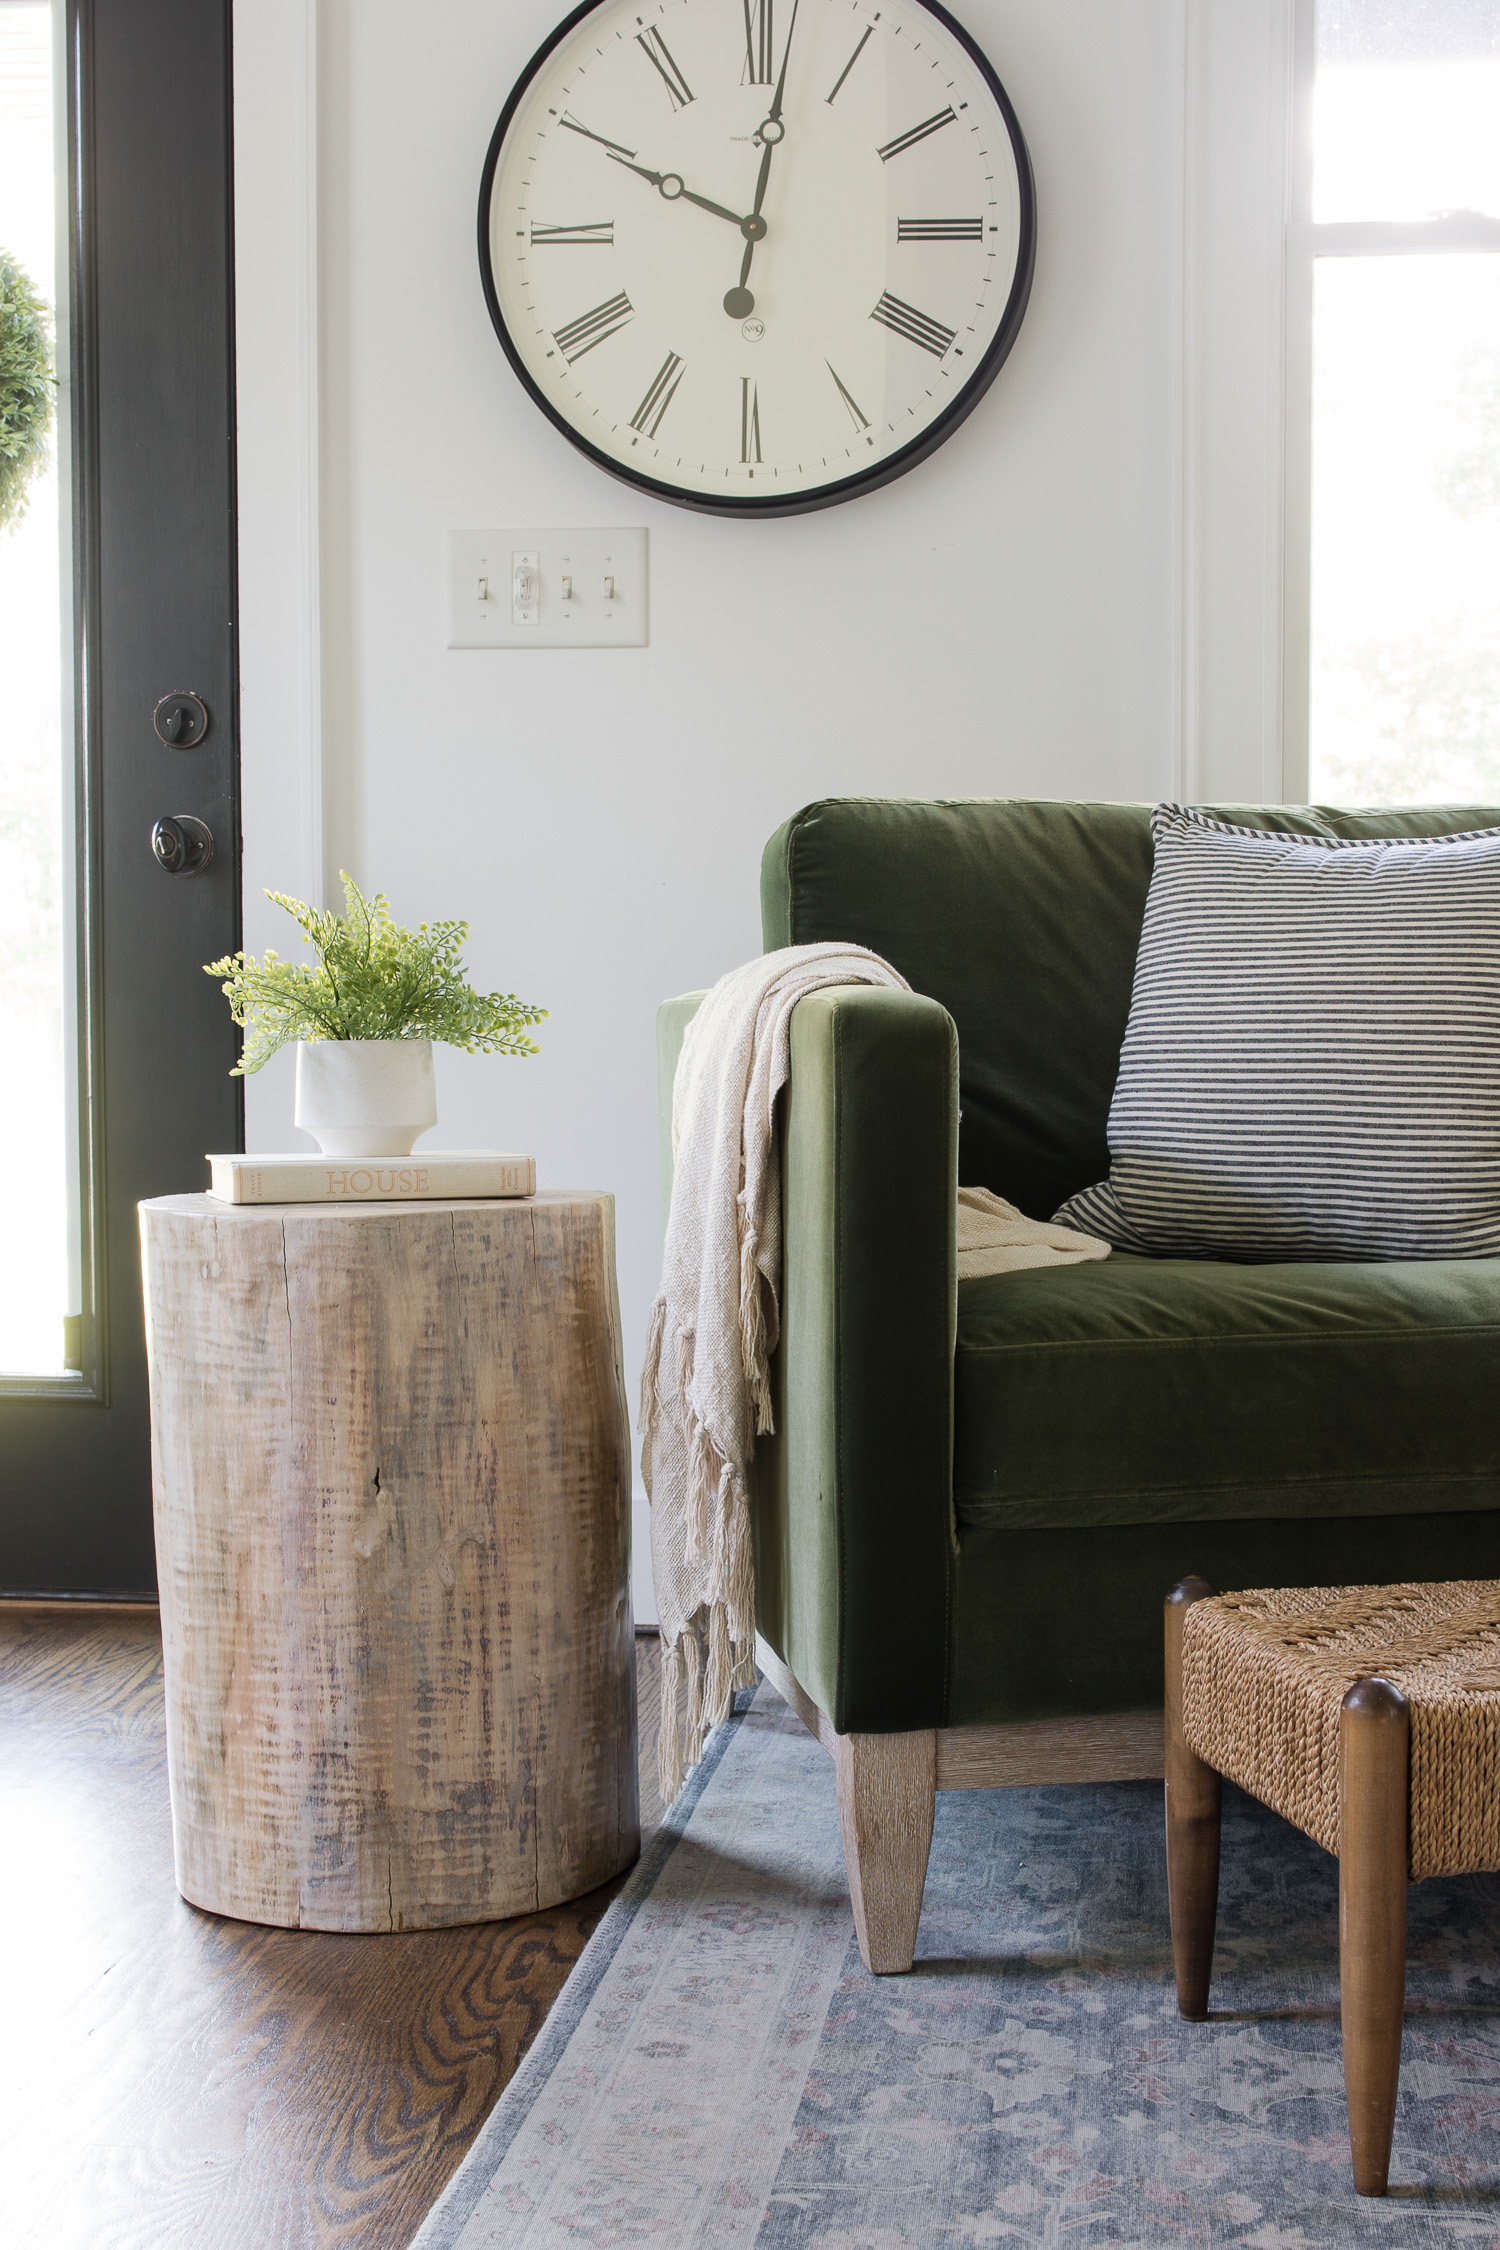
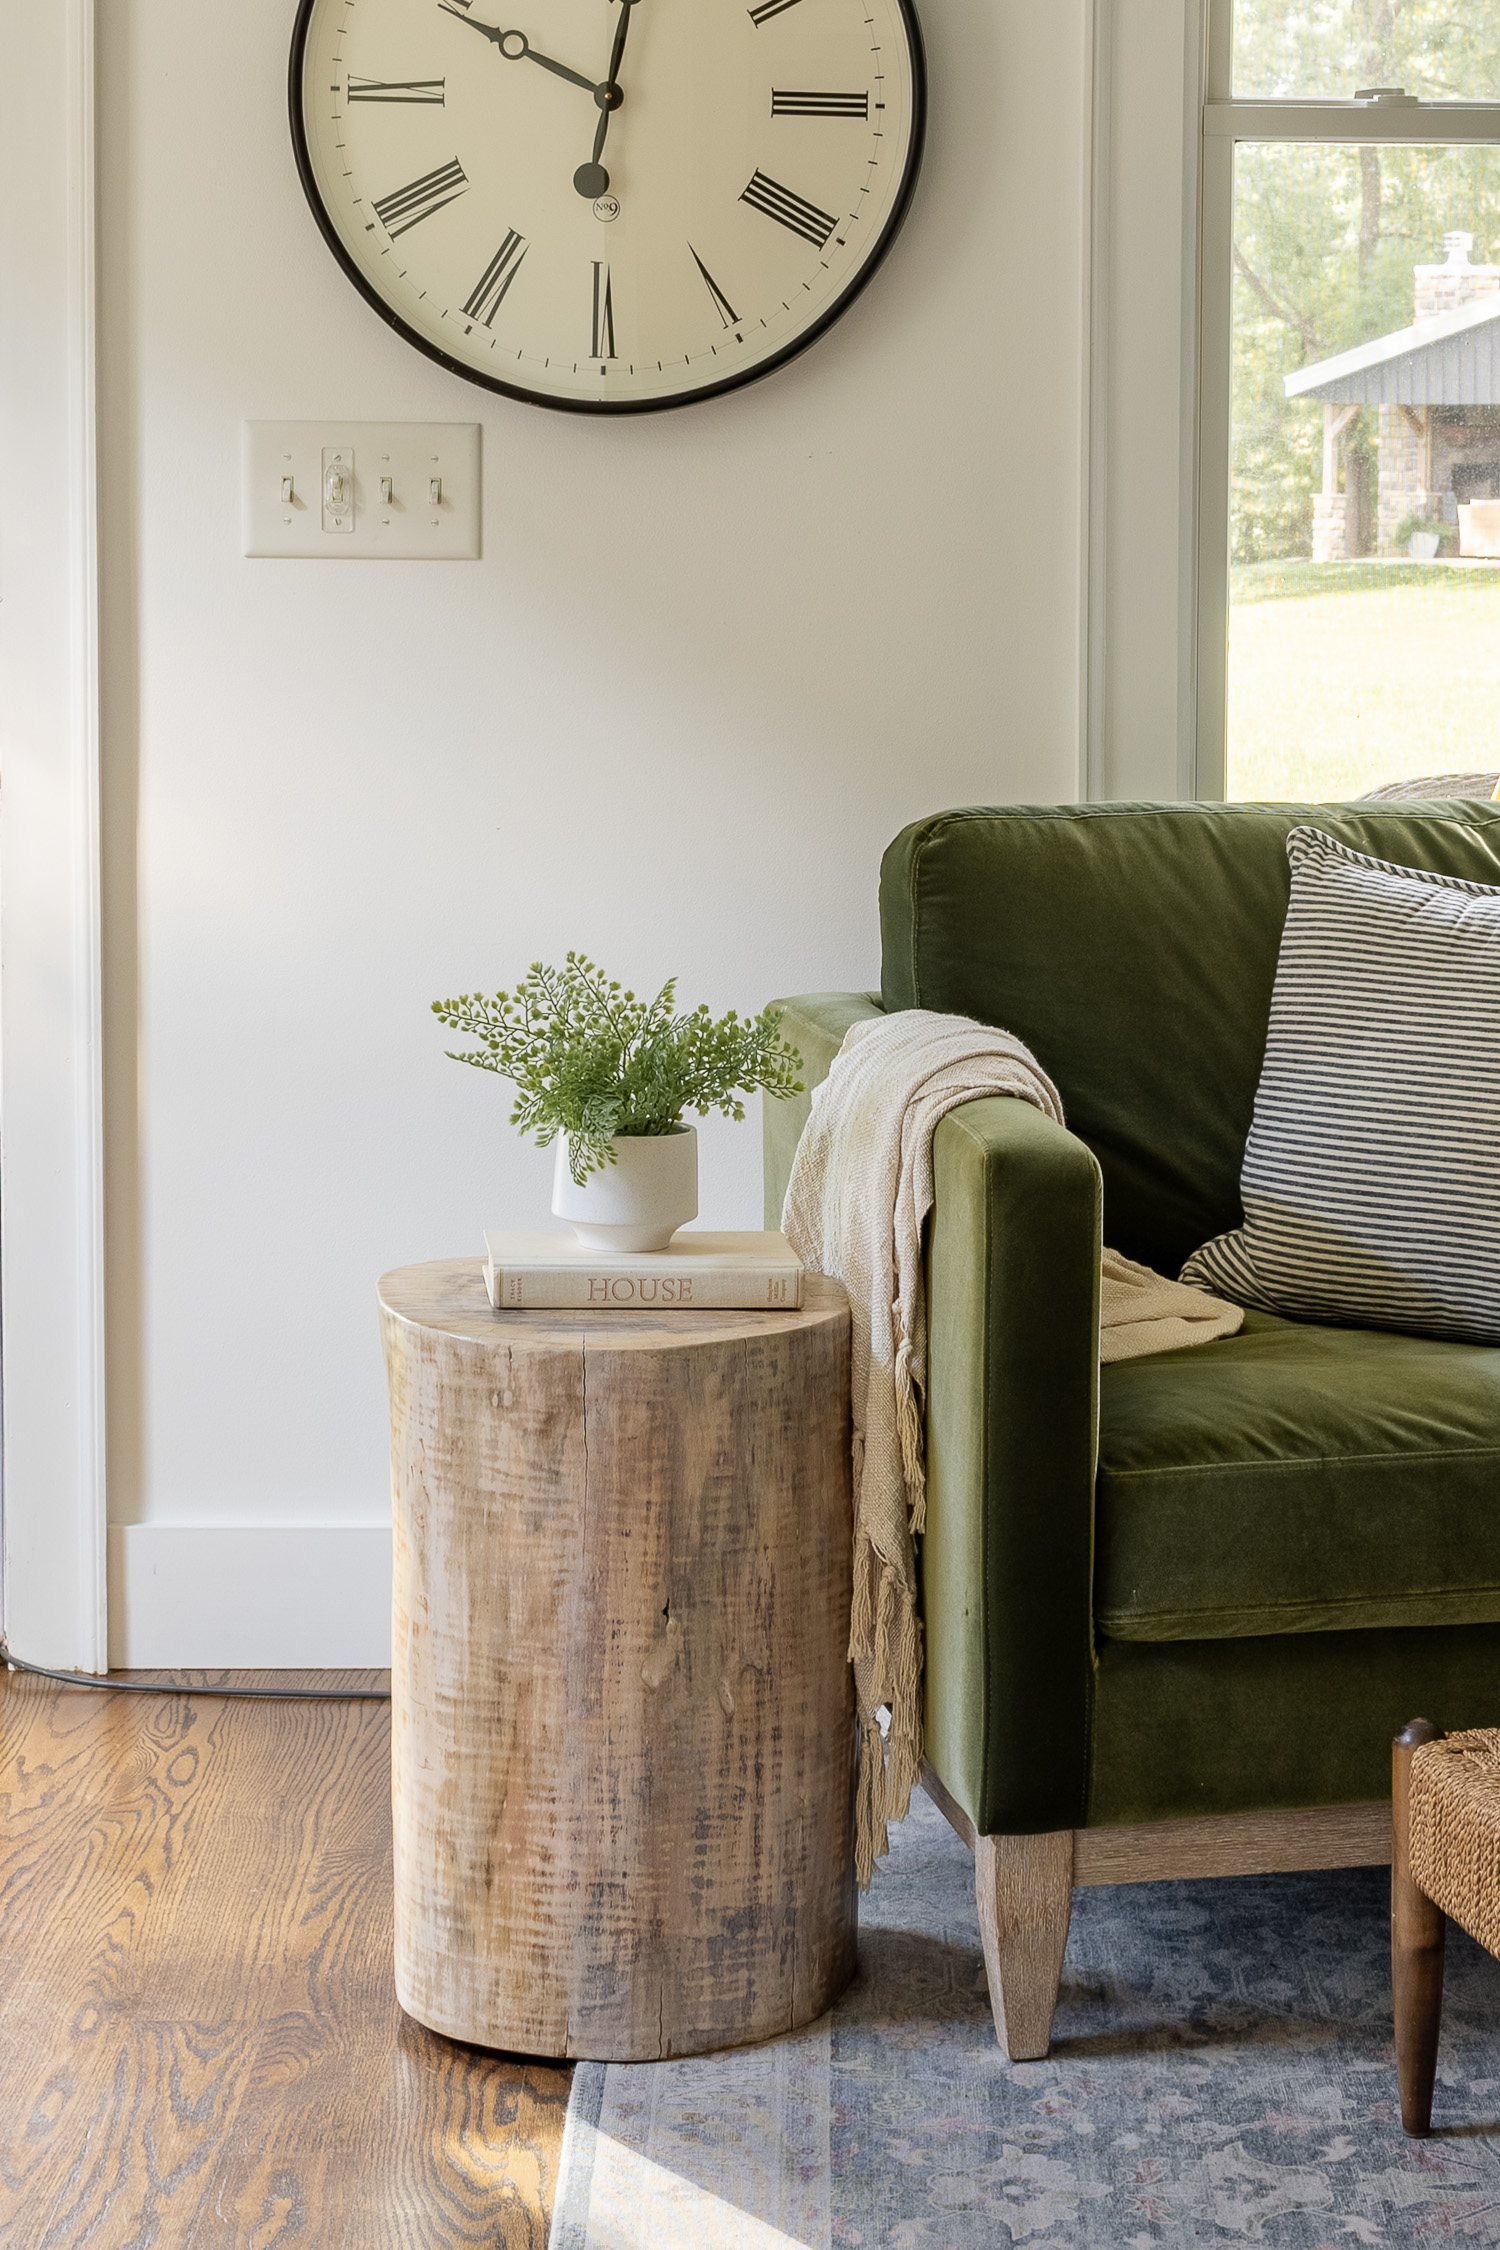
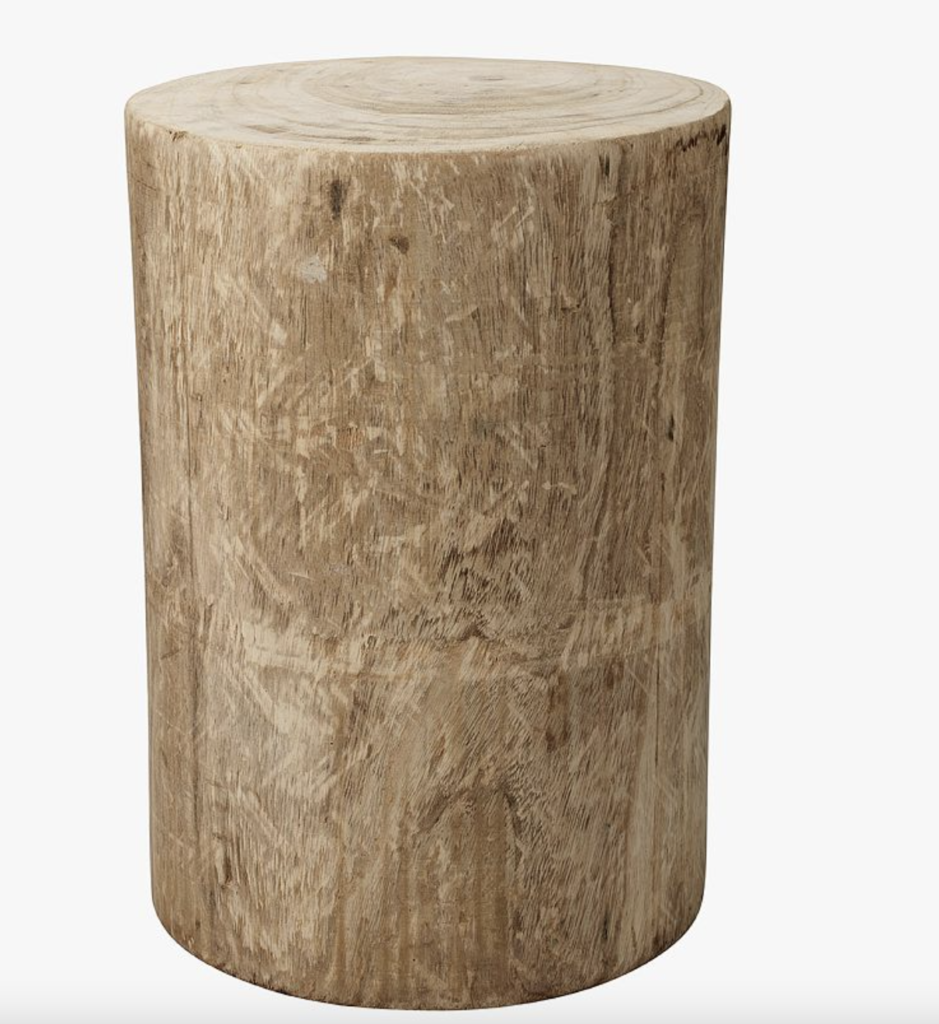
A tree stump table brings the outside in giving your room a cozy organic feel. With design now shifting to warmer, organic wood tones; a tree stump side table is the perfect addition to your space. A tree stump table is made out of a tree trunk that is a one part architectural piece that adds character and unique design to your home.
Depending on how you finish it; your table will evoke a modern or an organic feel. I like somewhere in the middle.
Making your own tree stump table is economical too especially if you have a stump from your property.
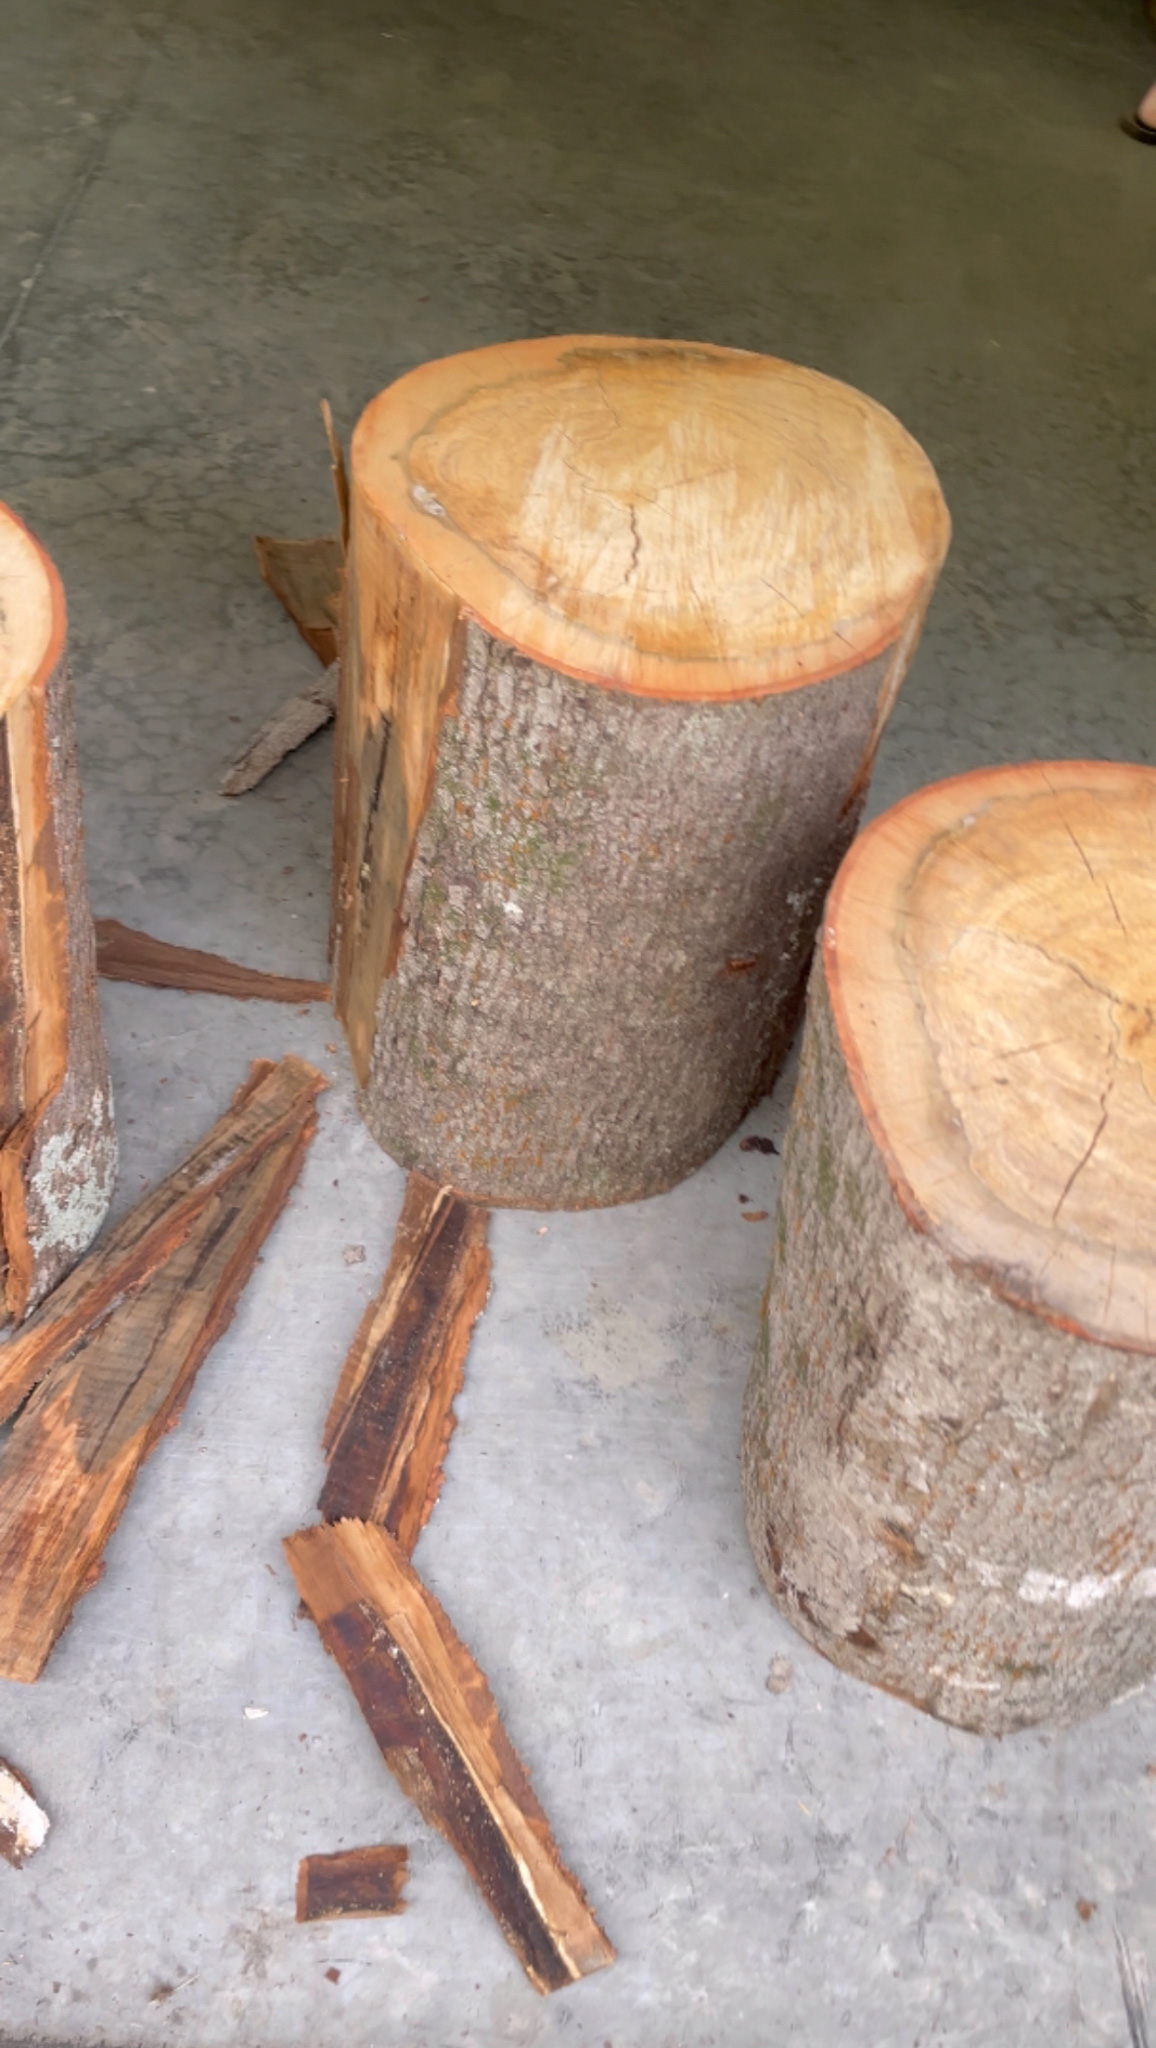
Where to Find a Tree Stump?
We had a large tree come down on the back of our property after a very bad storm. While my husband was cutting up the tree, the idea of making a log side table came to me. I asked him to save me a few logs, before being cut into fire wood.
Call up places near you that sell firewood and ask the for a stump or two. If you order firewood from them; they will likely deliver it with your firewood order.
Check out Facebook Marketplace for tree stumps. You might be surprised what you find.
Also be on the lookout for private tree companies taking down trees. Pull over, ask them if they have a section of a branch large enough for a table. If you are having trees cut down; have the workers save you a few stumps. That way, your tree stump table is from your own property.

Check out these other posts!
Easy DIY Coffee Table
How to Strip and Bleach Mahogany Furniture
How to Make a Fake Tree
Tree Stump Table Size
How large should your tree stump be for a table? That really is personal preference, but there are standard end table and coffee table dimensions. Following these makes it easier when you use the tables while seated at a sofa or chair.
Standard height for end tables range between 18-24 inches with an average width of around 16-22 inches. A coffee table is around 16-18 inches in height.
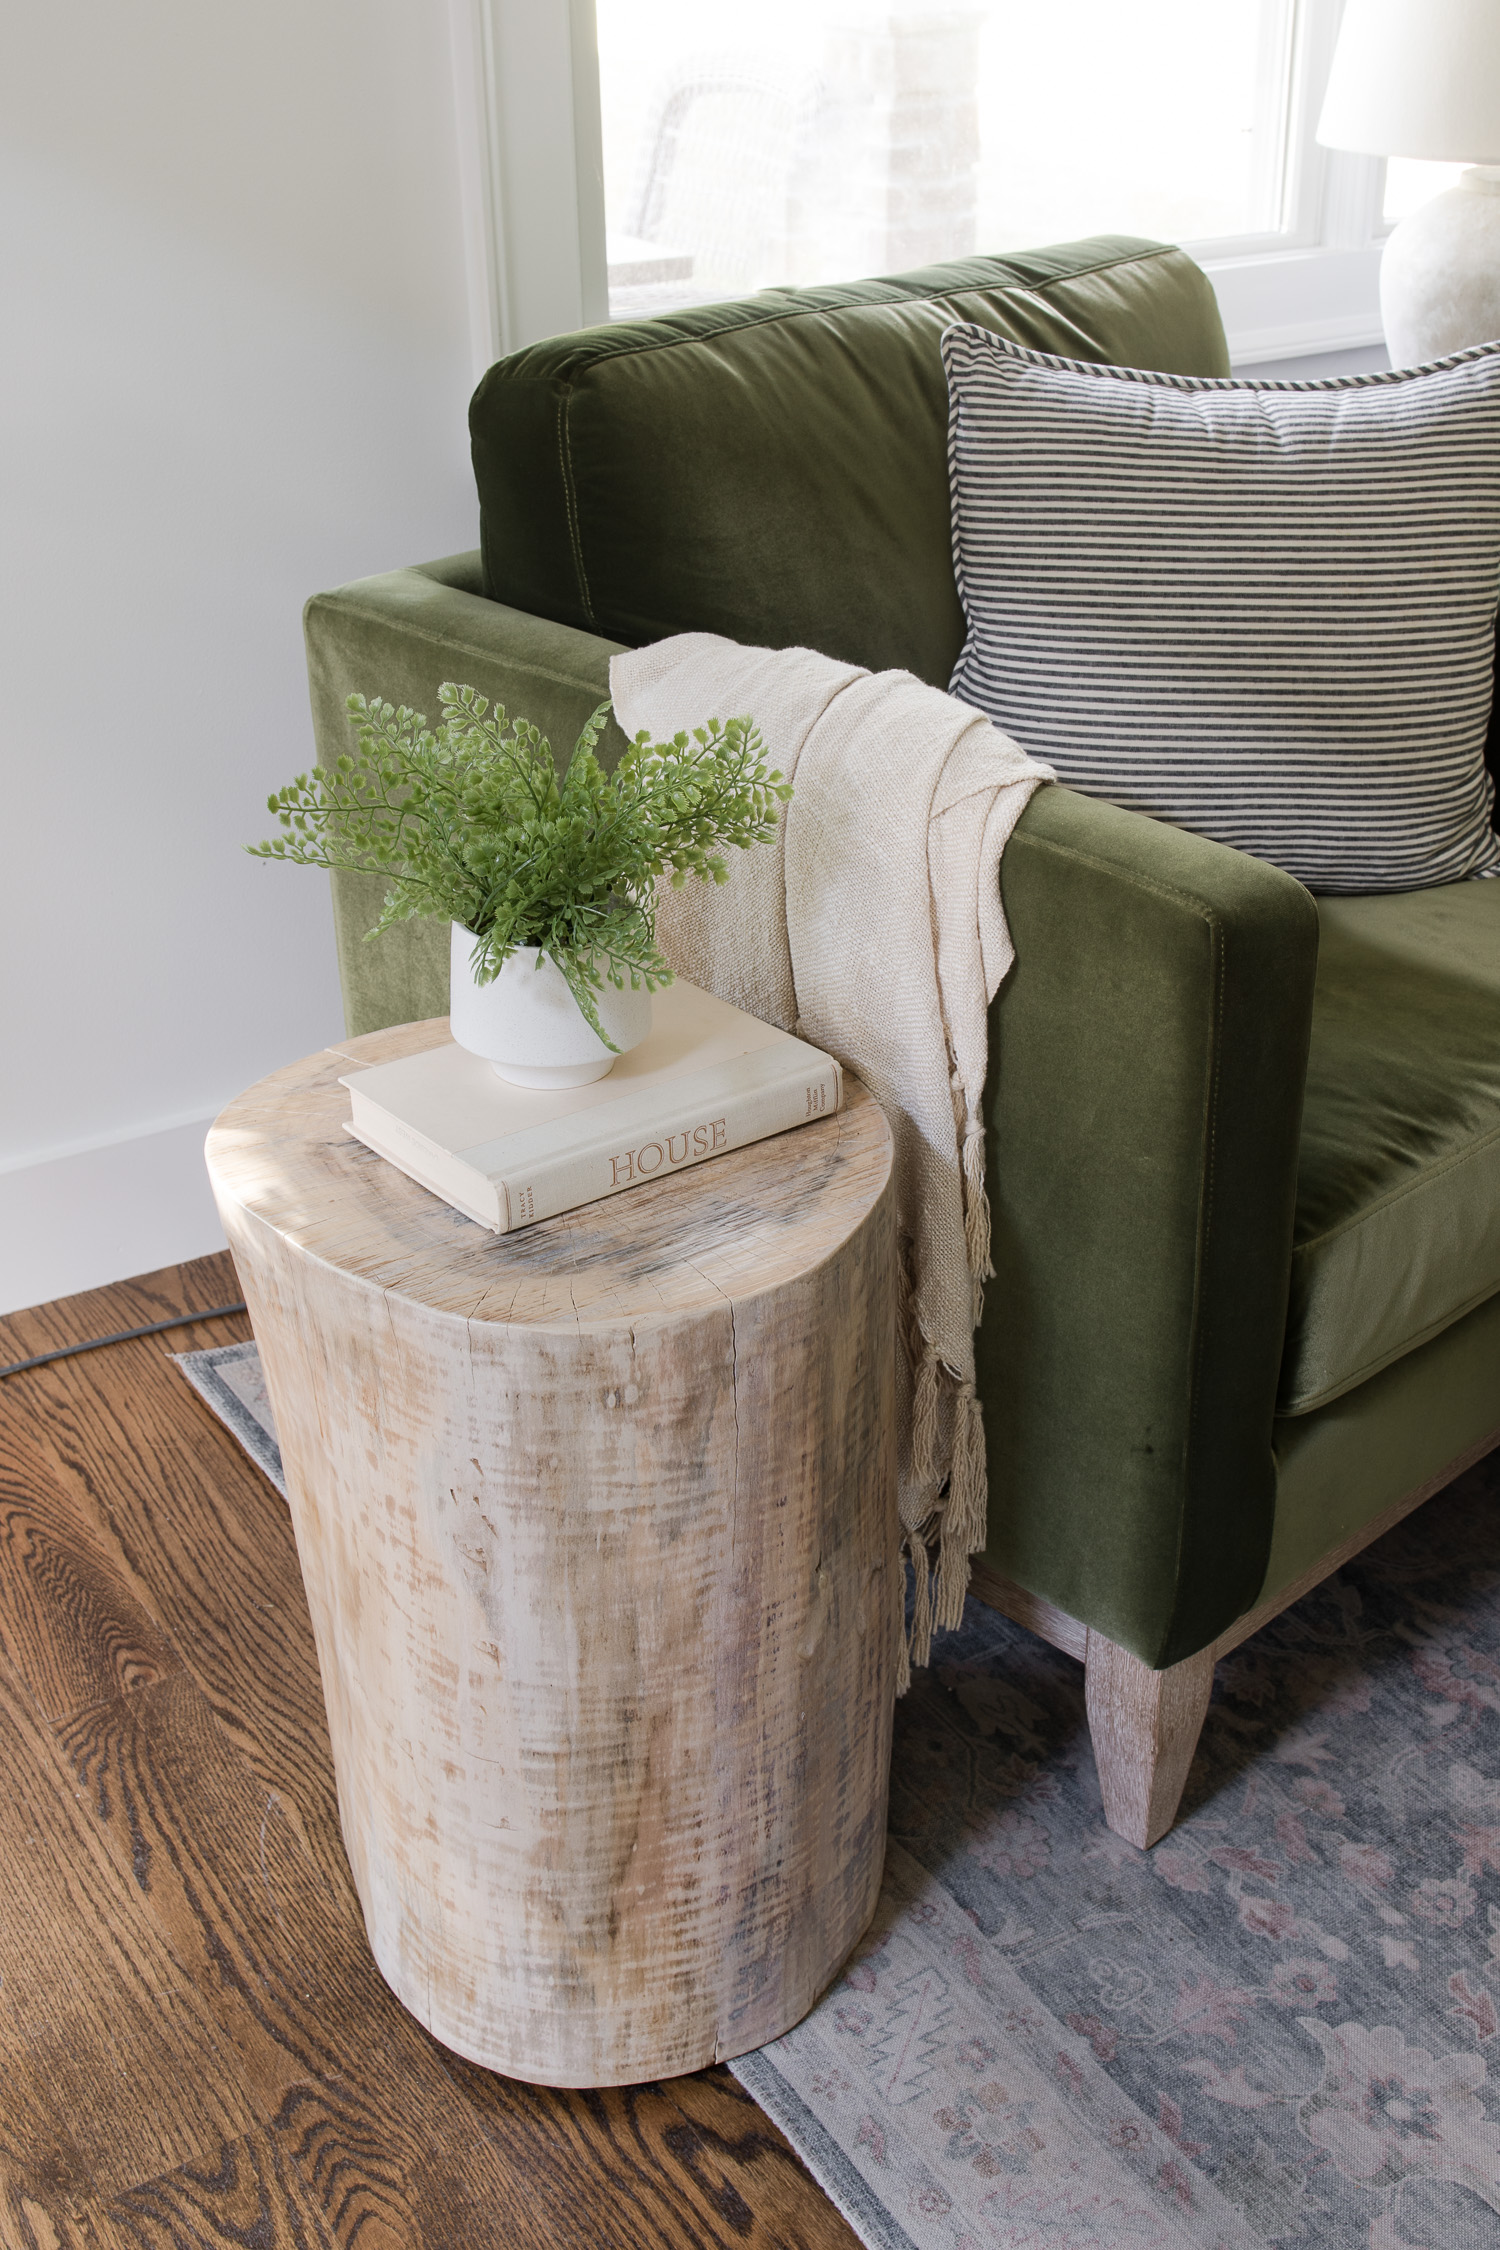
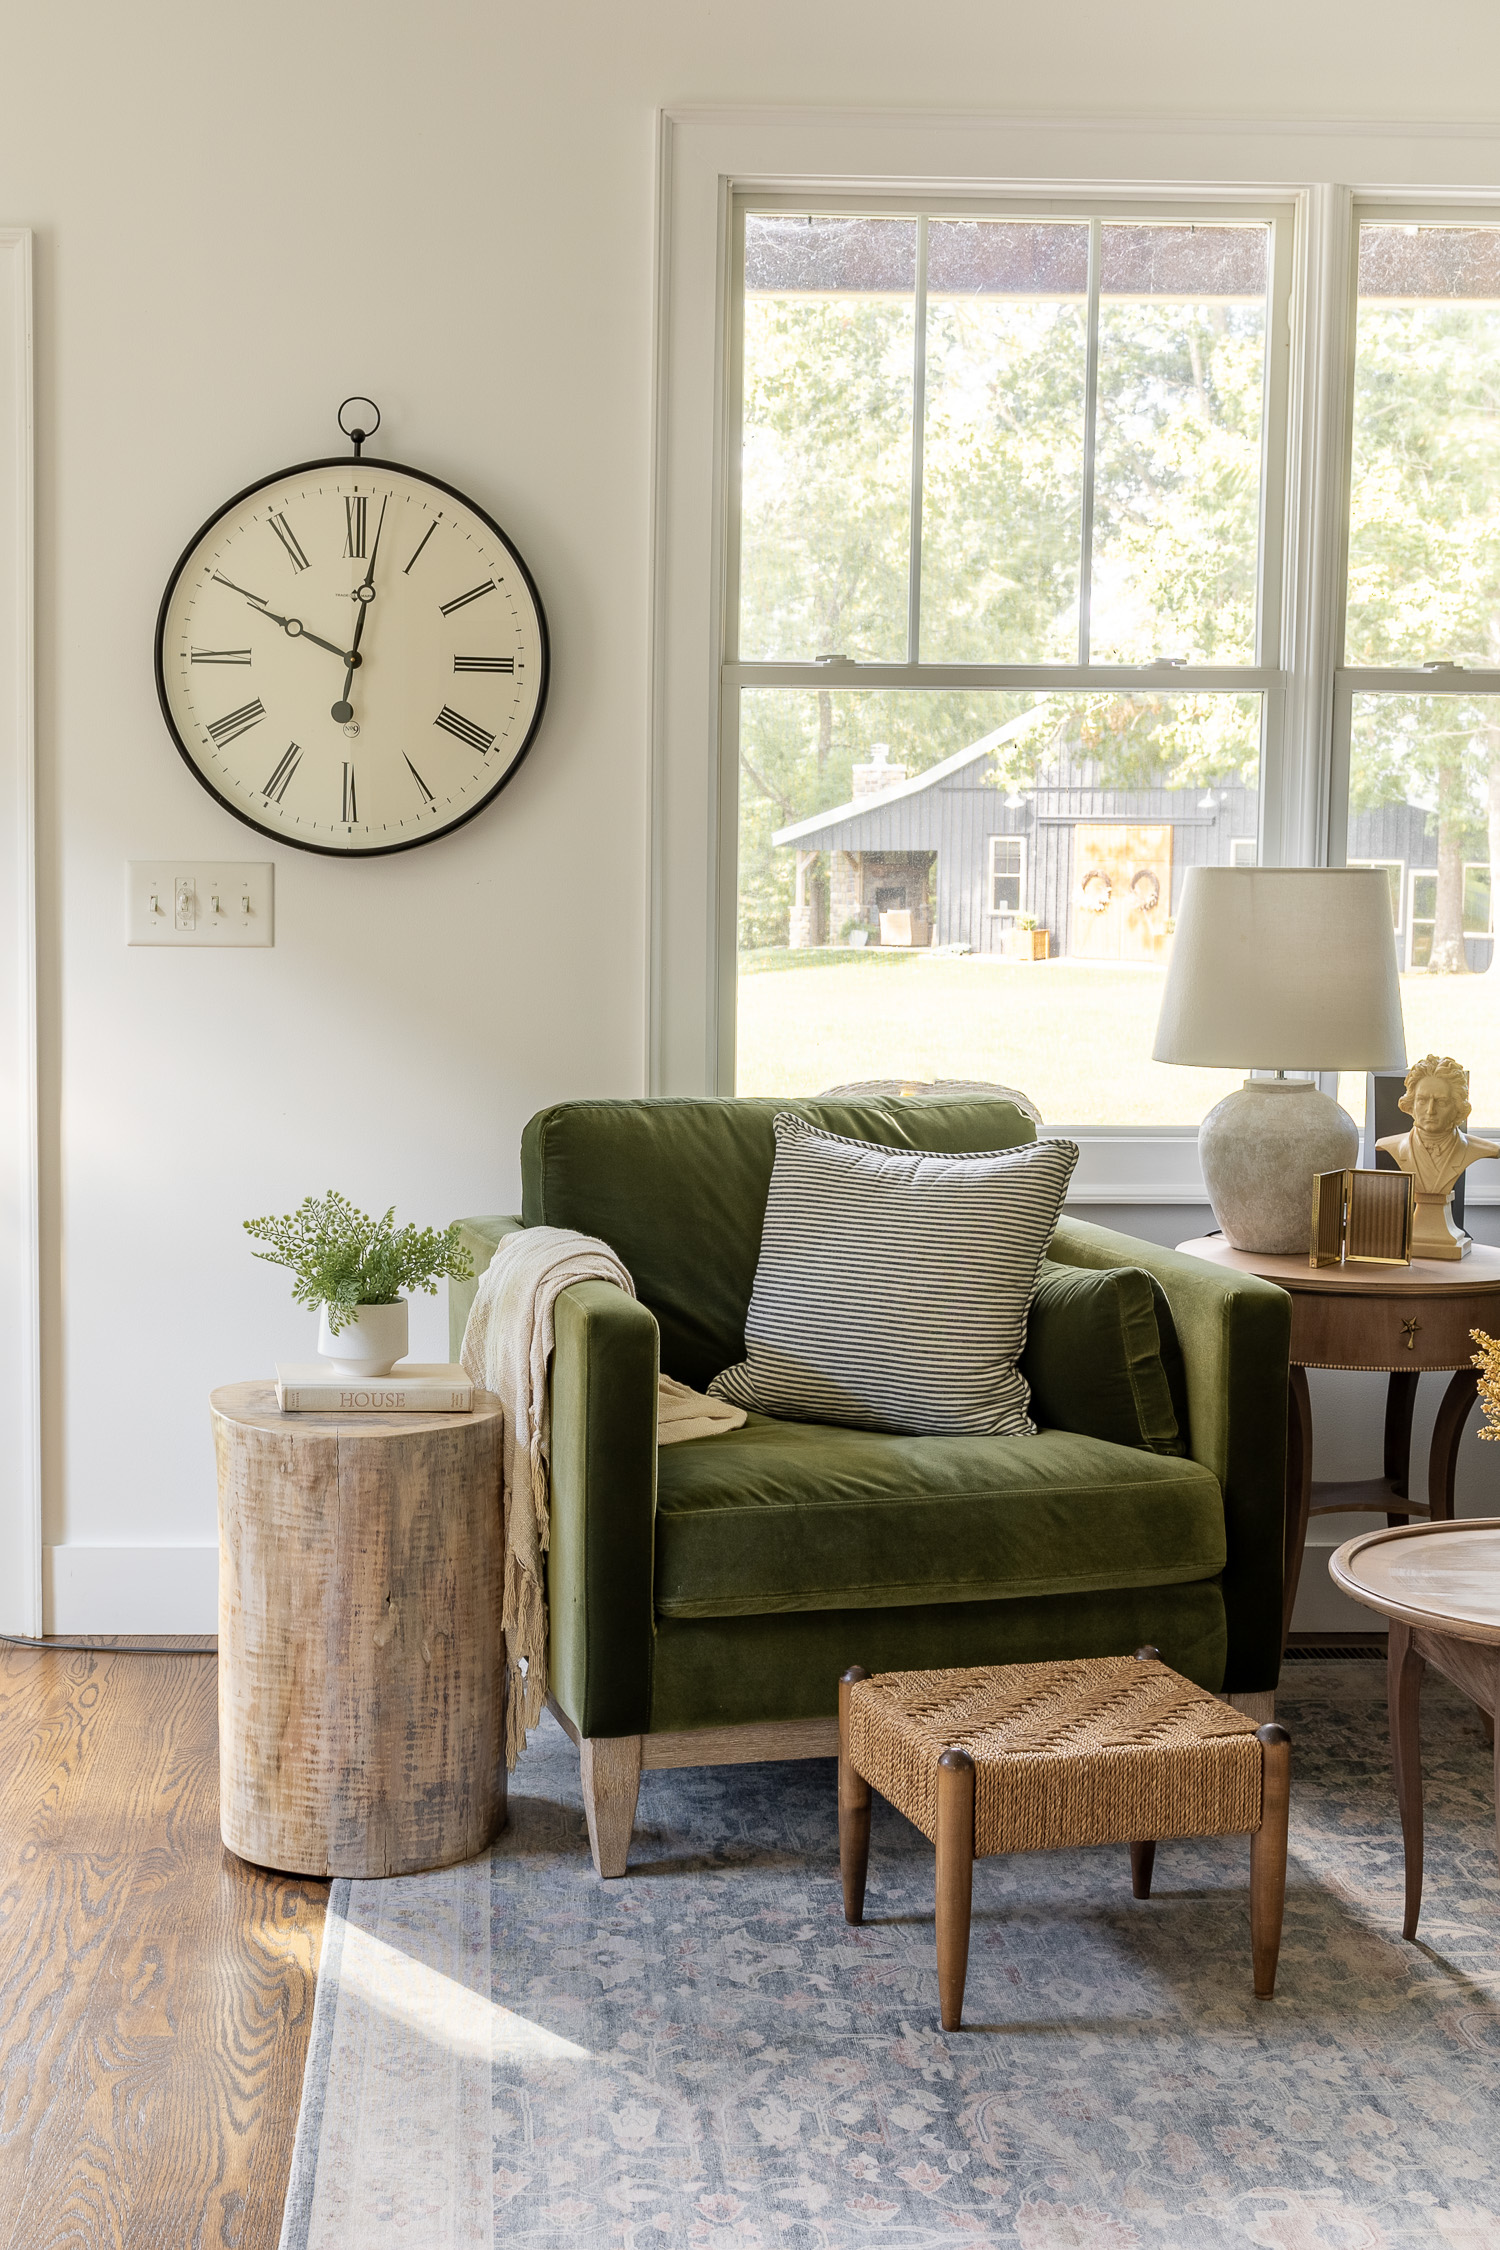
Our tree stump end tables are 16 inches in diameter and 21 inches high. If you have a location you want to place these; base the height of your table off the height of the arms of your sofa. Make sense? I just made a standard size height and they work just fine.
Tree Stump Table Materials and Tools
Many of these tools and supplies you might already have laying around so this project should be fairly inexpensive. Really a chisel, to remove the bark, is all you need and some sandpaper. If you want to finish your table like I did you will need a few more supplies, but not much.
- Tree stump – cut down to correct height
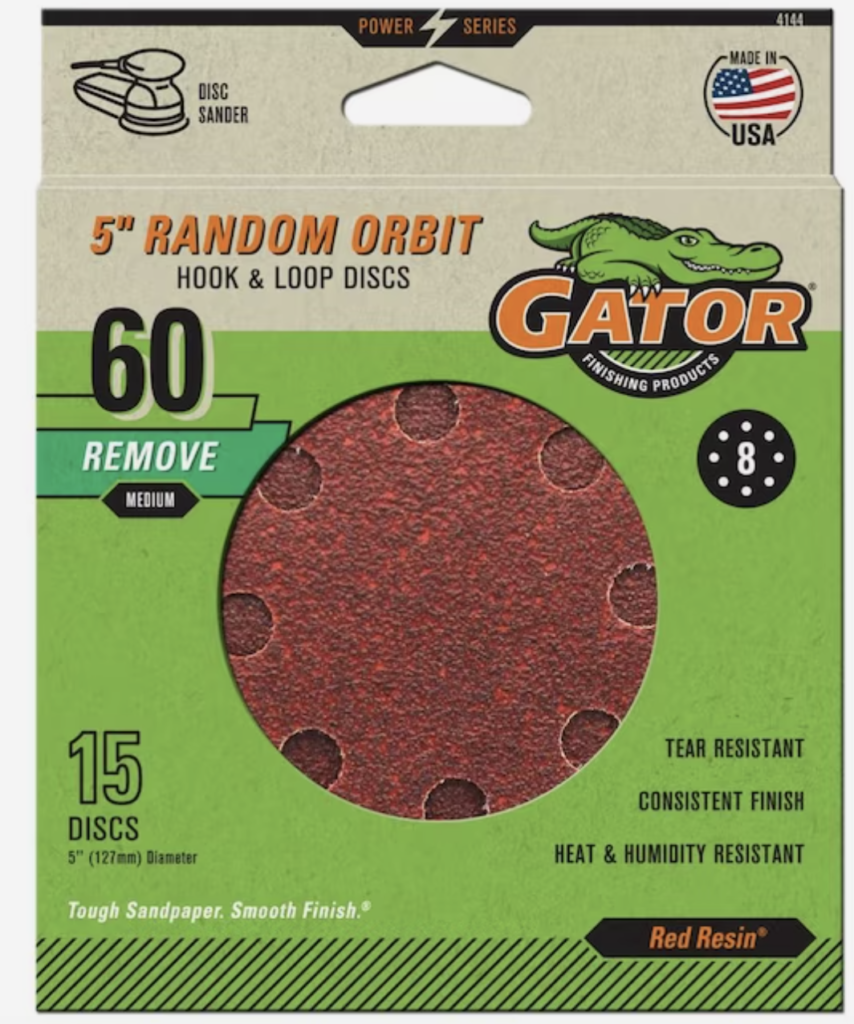
- Sandpaper – medium to fine grit, but I used 60 grit sandpaper
- Orbital sander – (optional) but better than sanding by hand
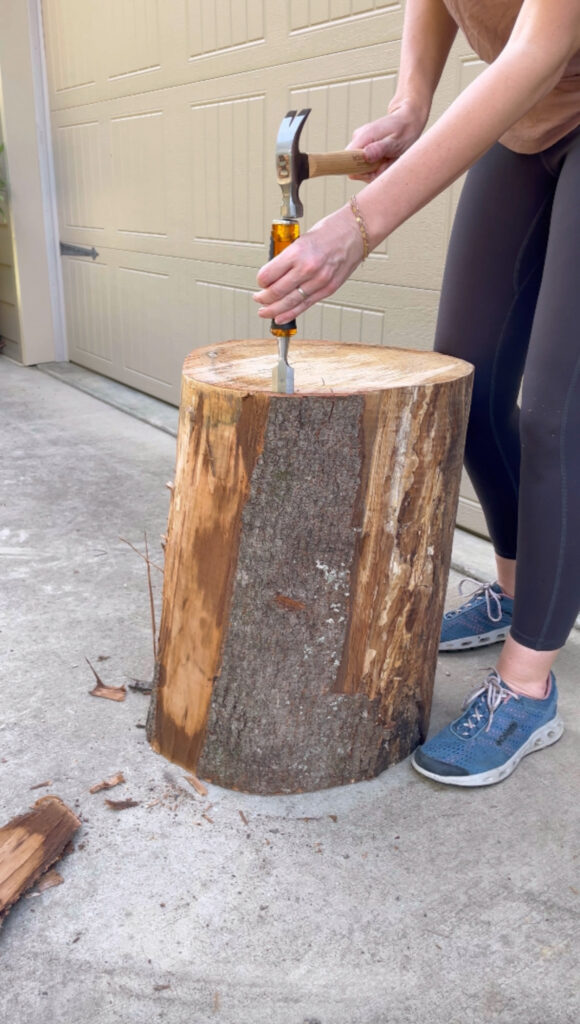
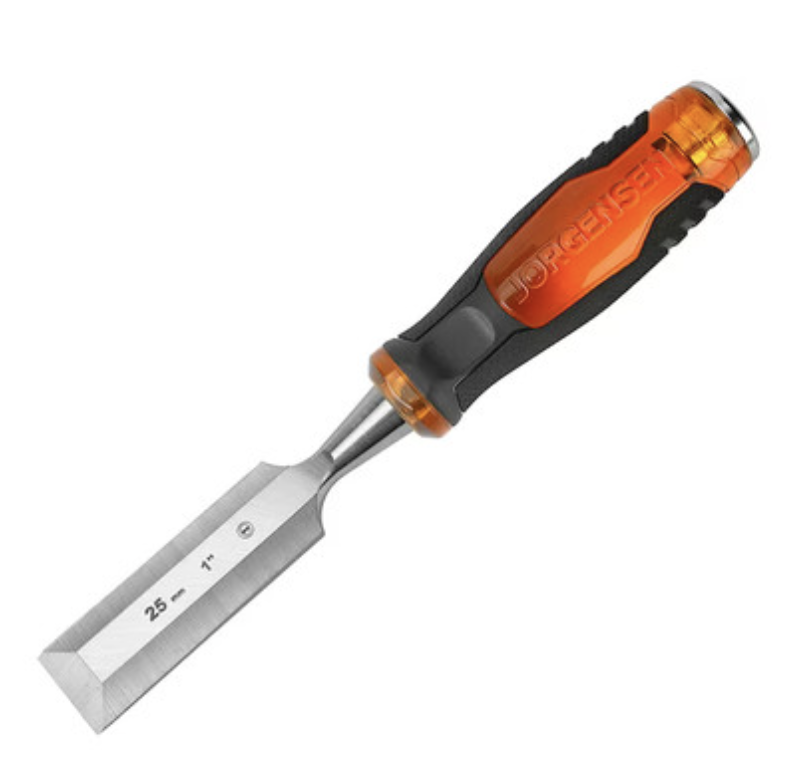
- Chisel – to remove bark
- Hammer – to use with the chisel
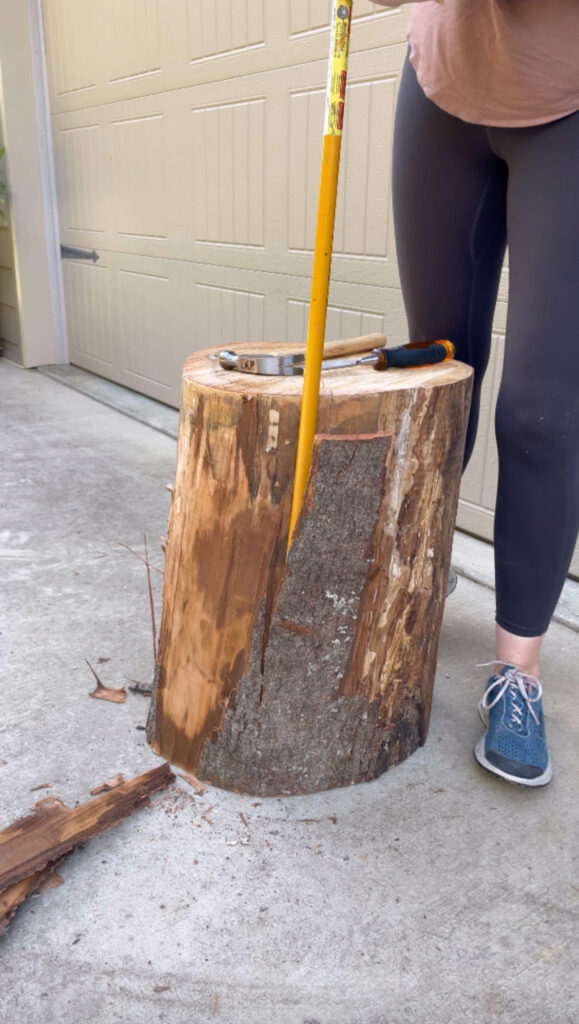
- Crow bar – to peel away the bark
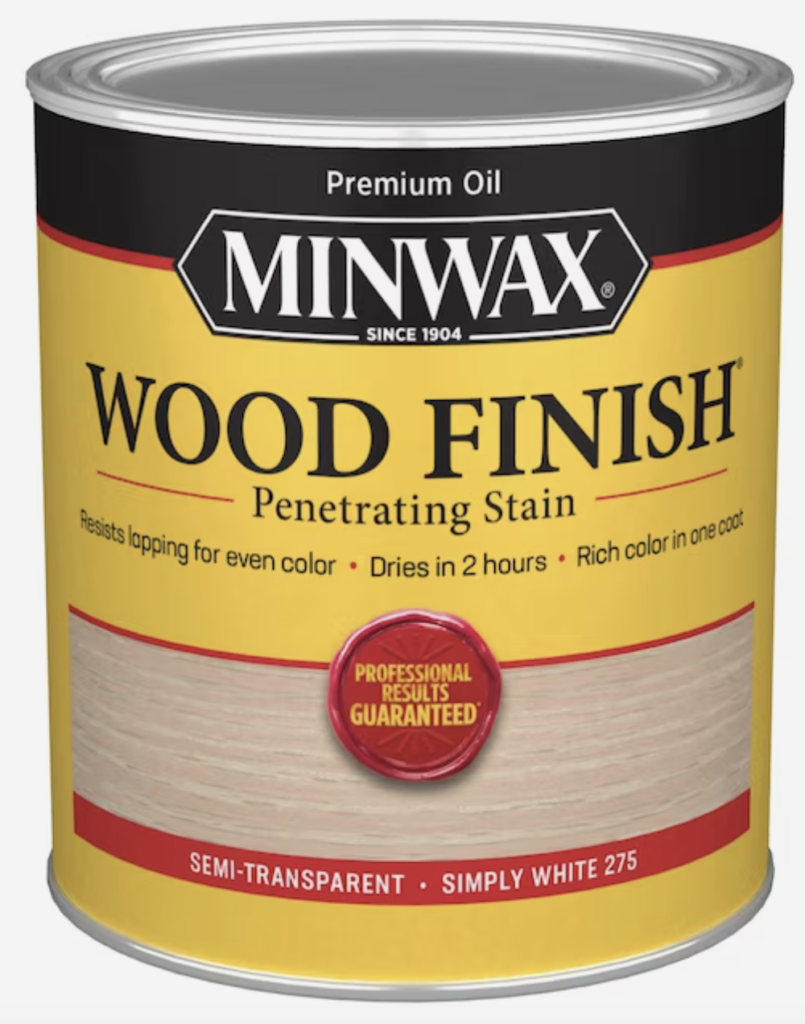
- Simply White Stain – (optional)this helps remove the orange/red tones of the wood
- Lint free rags – to use for the stain
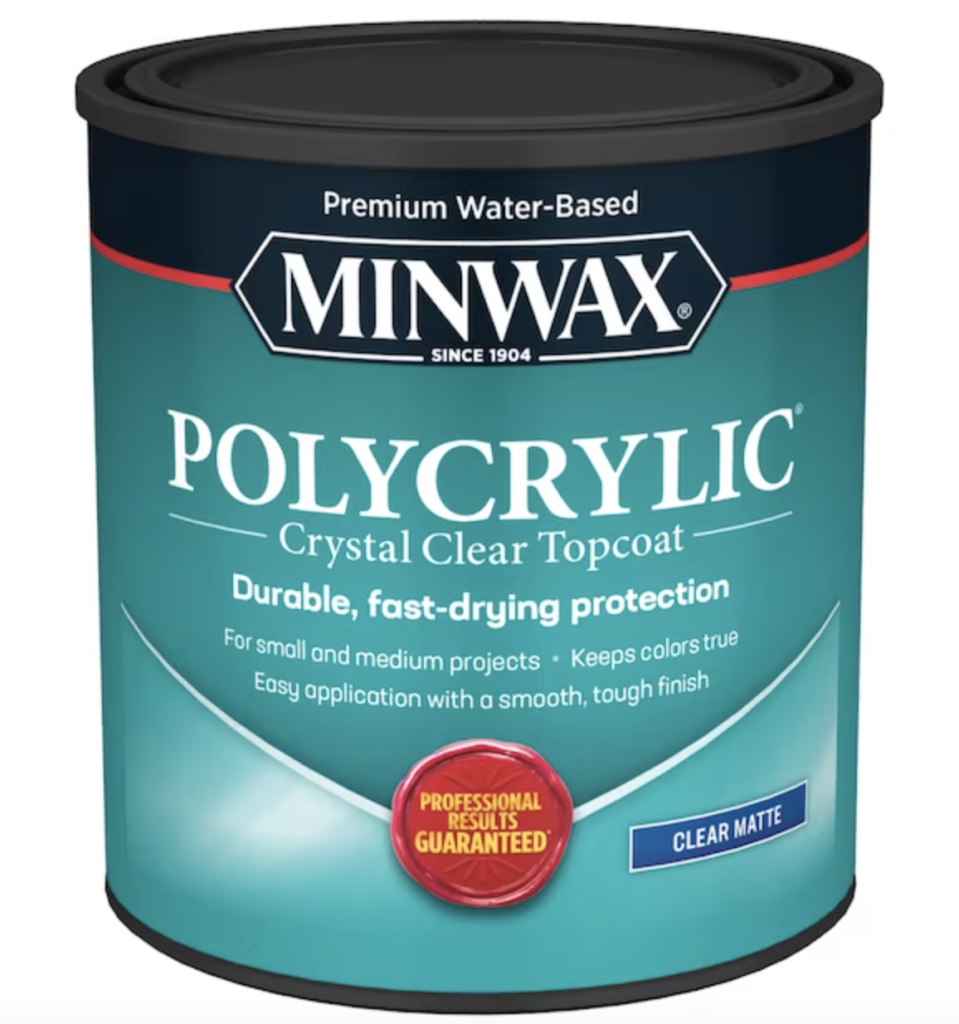
- Polycrylic (optional)
- Paint brush – for applying polyurethane
How to Make a Tree Stump Table
This is an easy DIY, but it did take some time. You can’t just cut down your stump and then make the table. The longest part is allowing the stump to dry out some. I waited three months before beginning the project. Once its dry, the process goes pretty quickly.
Step 1 – Dry Out the Stump
Allowing the stump to dry out it will make it easier to remove the bark. Allow your stump to dry out for at least a month but I think longer. It’s great to begin the drying out process in the summer when it’s the hottest. Then, in September you can complete the project and your tables are ready for the fall.
We cut our stumps from our downed tree the beginning of June and I finished this project completely toward the end of September. Keep your stumps in a hot garage, or sitting out in the sun on your driveway.
If you can get your stumps in to a hot attic that is better. Our stumps were way to heavy to carry to the attic so they had sun time and hot garage time.
NOTE: if your stumps are drying in the sun, keep an eye on the weather. If rain is coming, move them inside.
Step 2 – Remove the Bark for the tree stump table
Let’s get working on these!
The bark has to be removed and sometimes it’s easy and sometimes it isn’t. It really depends on the type of wood and how dry the stump is. Again, don’t rush the drying process.
- Using a hammer and a chisel, loosen the bark away from the stump. Just peel it away with this step.
- Now, take the crow bar and insert it in between the bark and the stump and push down. You should be able to remove an entire strip of bark this way.
- Repeat this process around entire stump.
TIP – If you are just using a chisel and hammer it will take longer because you will only peel off small sections. My husband was the brilliant one who incorporated the crow bar. It was genius let me tell you.
Step 3 -Dry it Again
Once the bark was fully removed I allowed the stump to dry for two weeks. I sat it in the sun, put it in the garage and made sure it was as dry as it could be without being able to put it in a kiln.
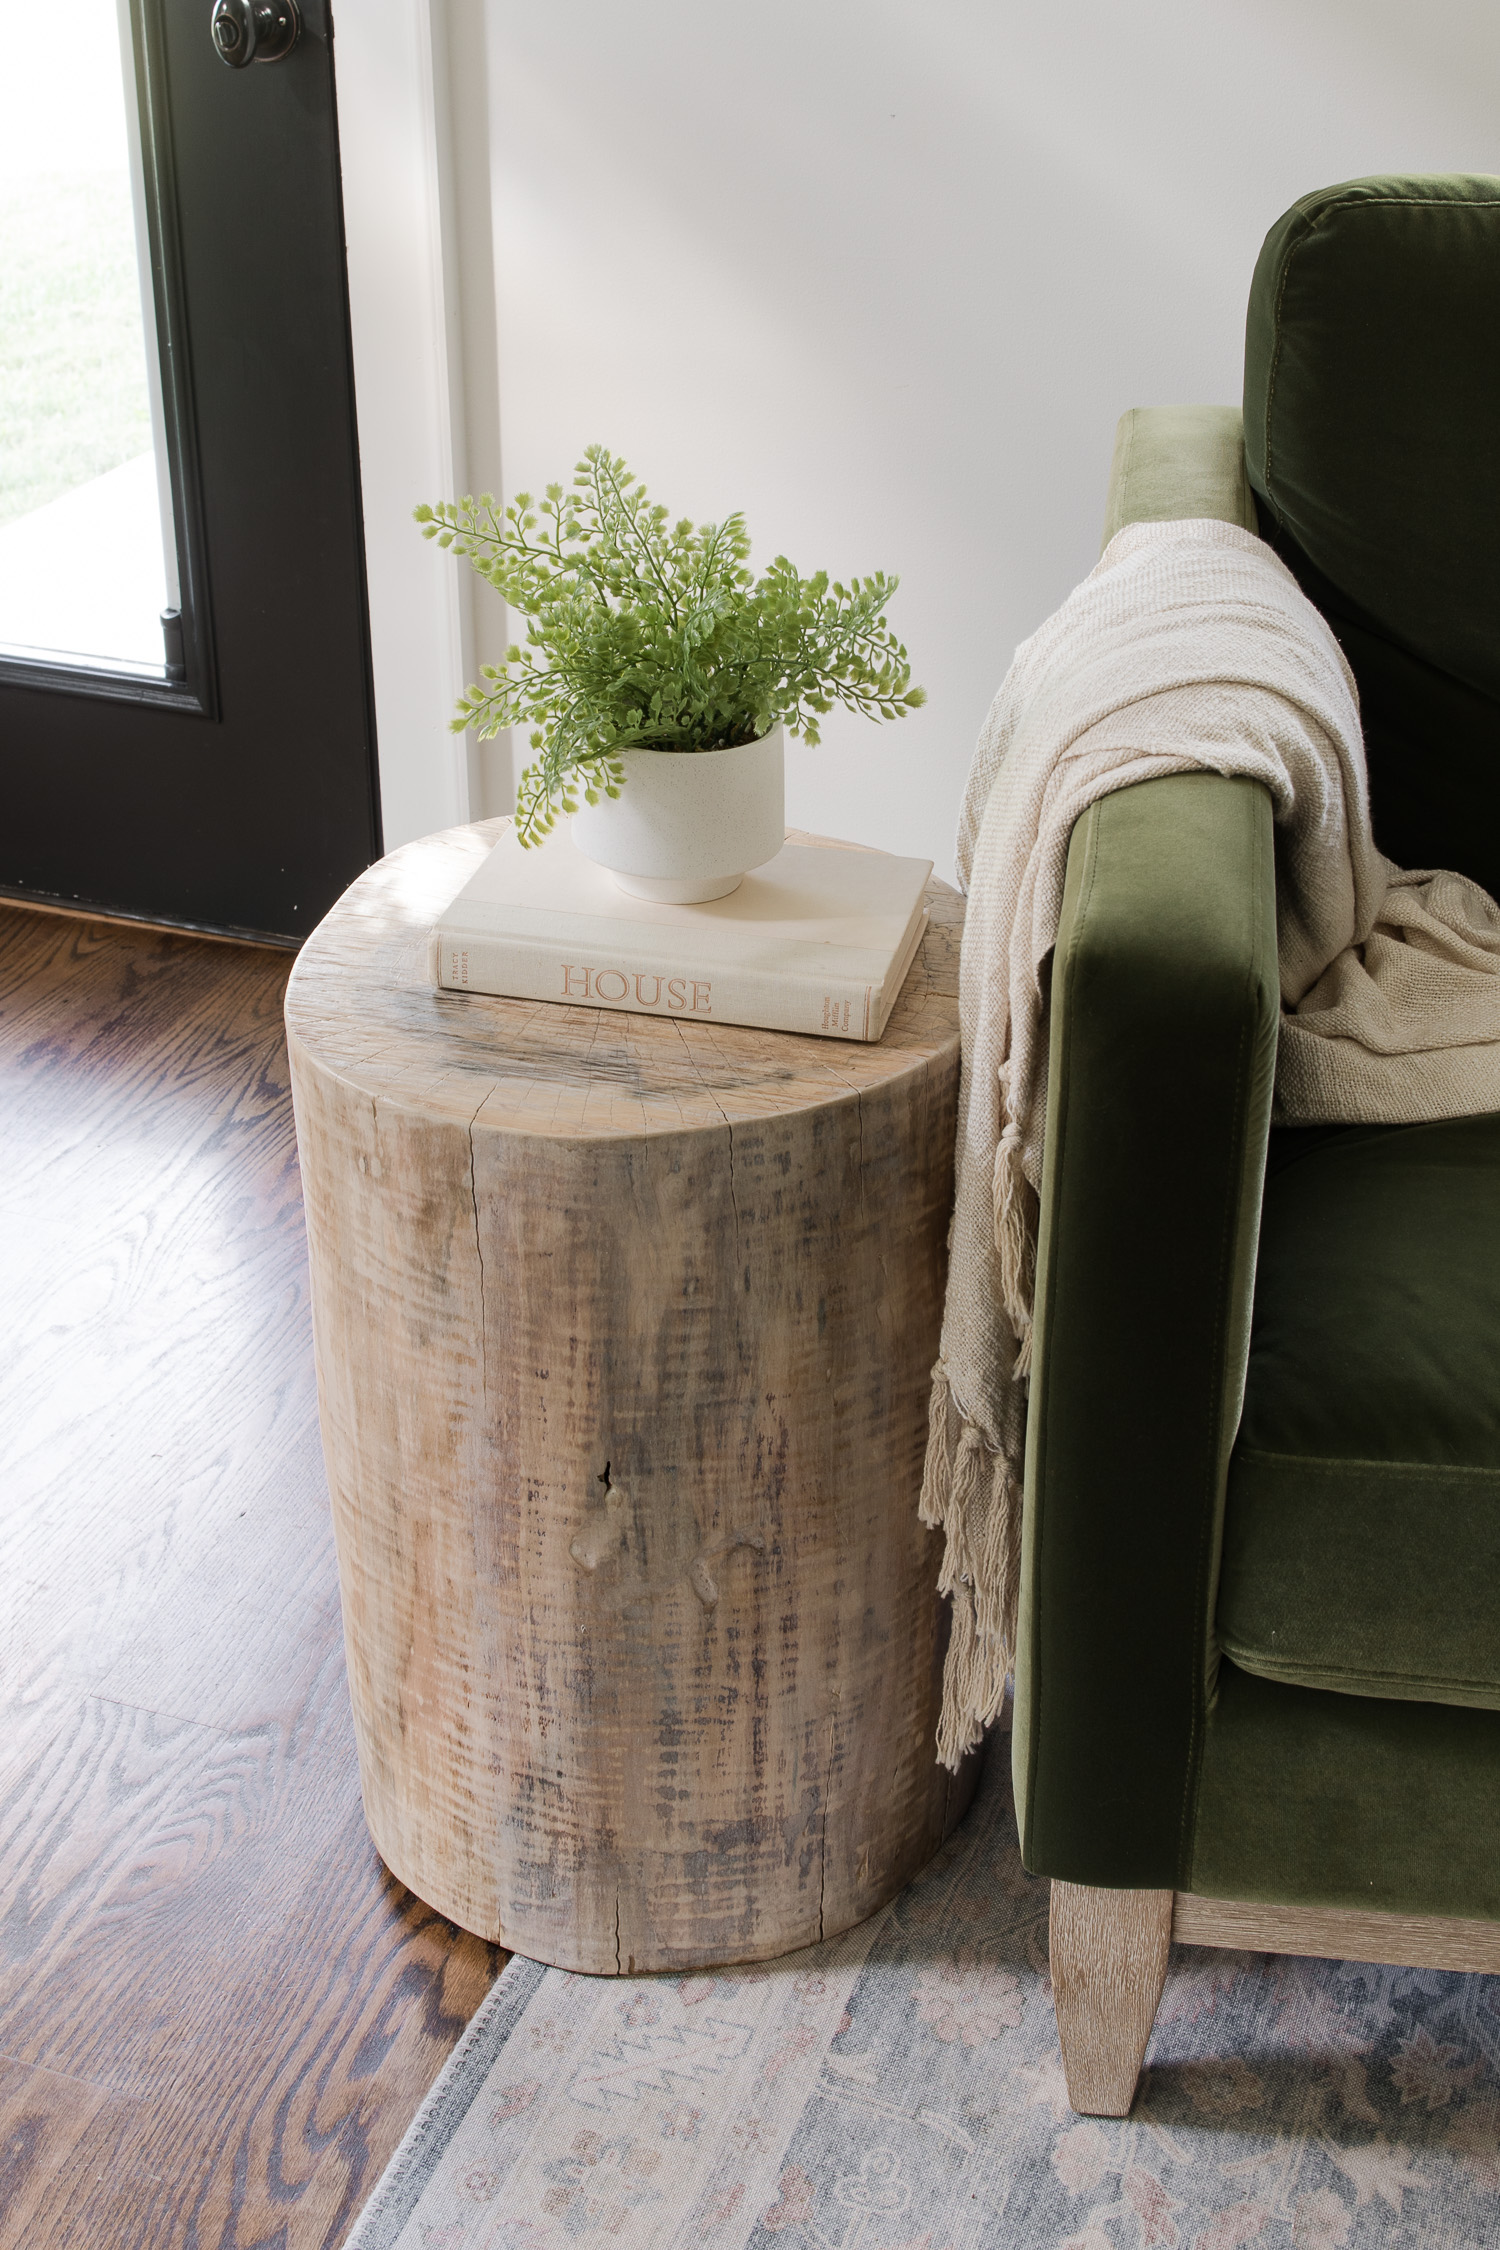
After the bark was removed and it was dry again; the stump split a bit. That’s O.K. because it adds character to your table.
Step 4 – Sand It
You want and need the stump to be smooth so you can finish it. Sanding it will he stump remove all the little hairs and slivers from it making it a finished piece of furniture.
You can use a variety of grits to achieve the desired finish, but I found that using 60 grit removed the leftover slivers and created a smooth finish.
Sand until you can run your hand over the stump and it feels smooth.

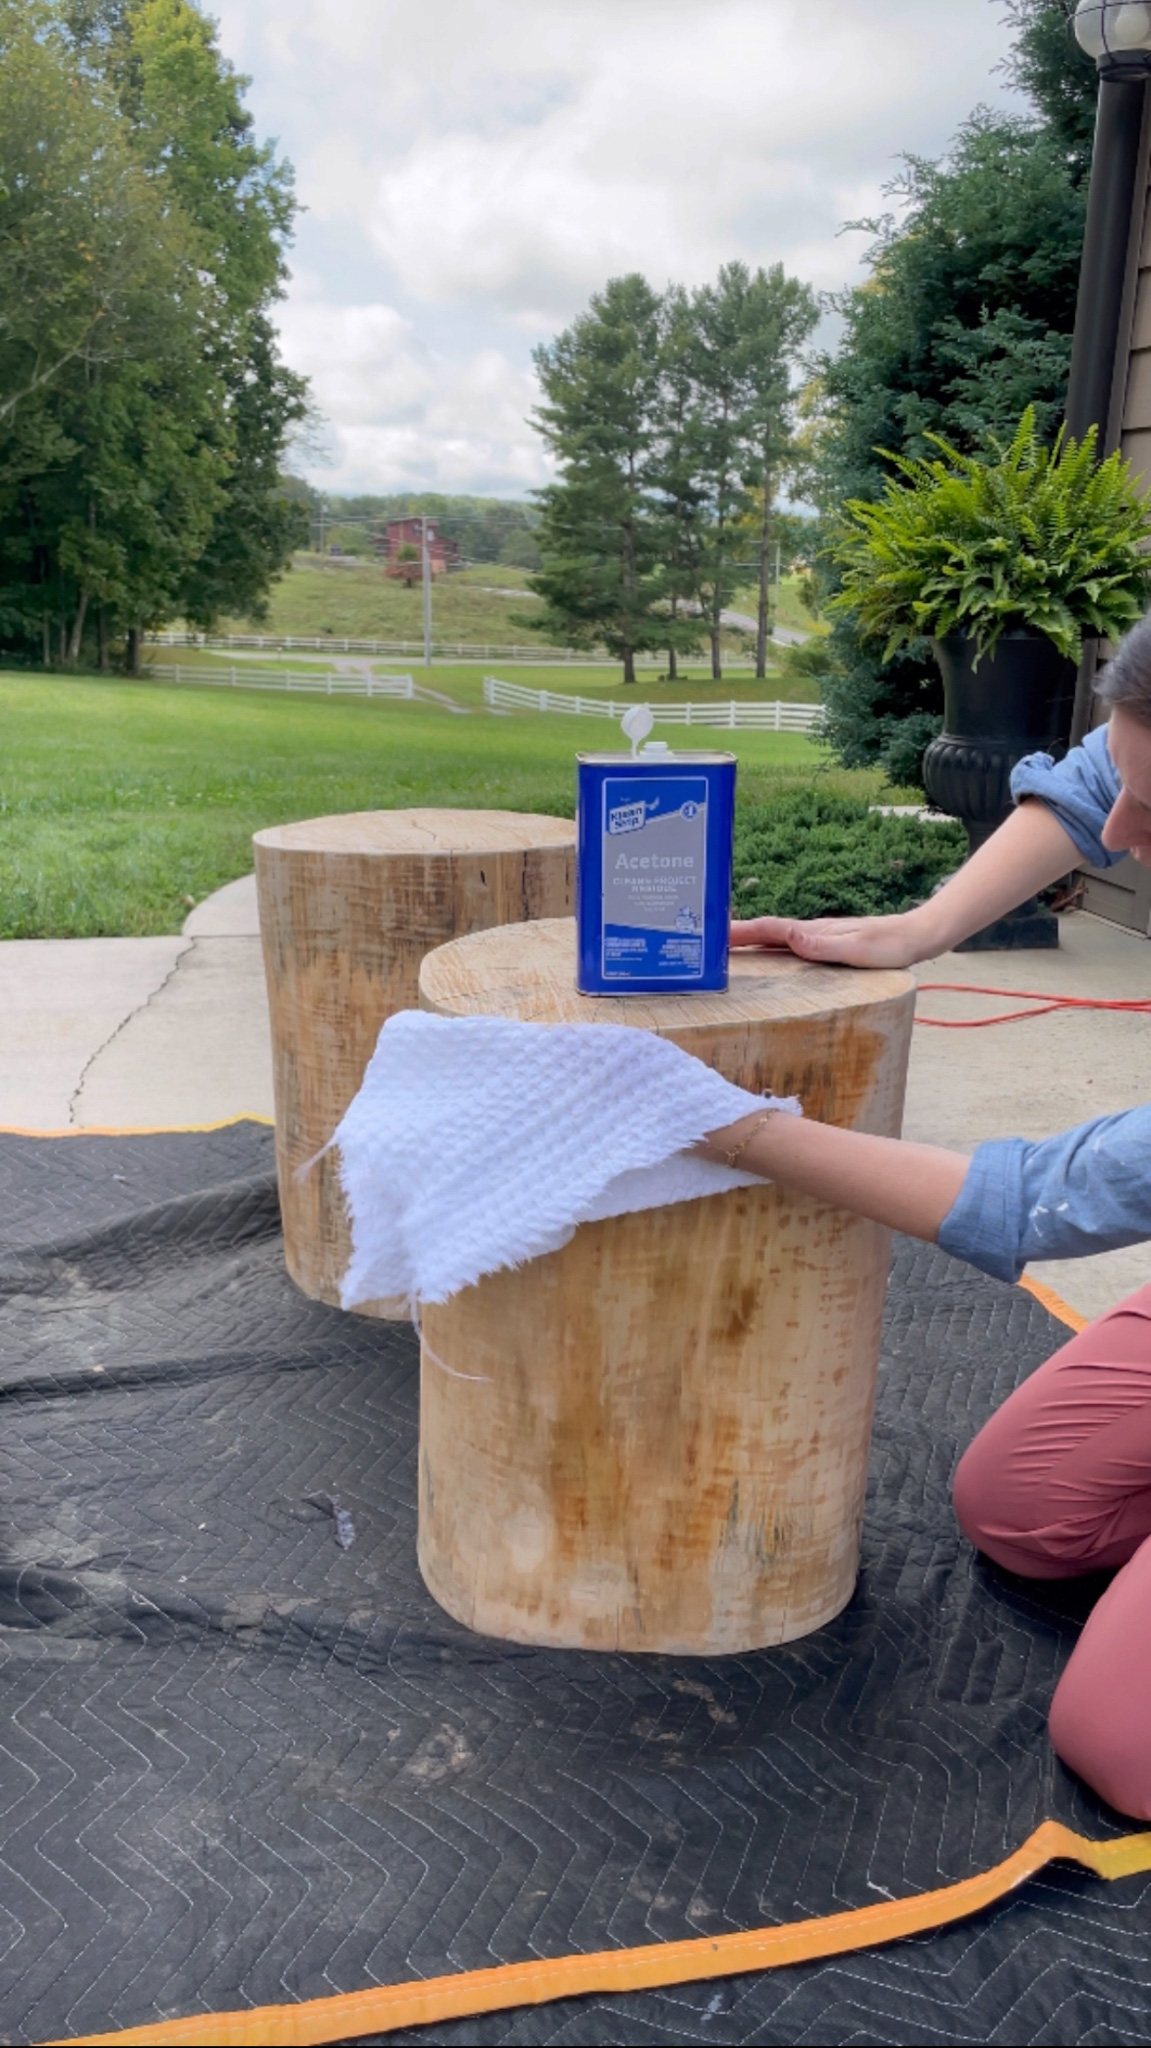
Step 5 – Clean It
Once your stump is smooth wipe over it with a lint free cloth. I like to use Acetone to clean all my sanding projects, but you don’t have to. A damp cloth is fine too.
A lot of wood dust will come off but keep wiping until your cloth comes away clean.
That’s it really – your table is done. You can put a finish on it, but it’s not necessary if you don’t want to.
Finishing Your Tree Stump Table
You can end your project after the sanding and cleaning but you can also take it one step further. Personal preference here.
I wanted the table to have a finished look so I used a stain and a polyurethane to finish it off. Here’s how I did it.

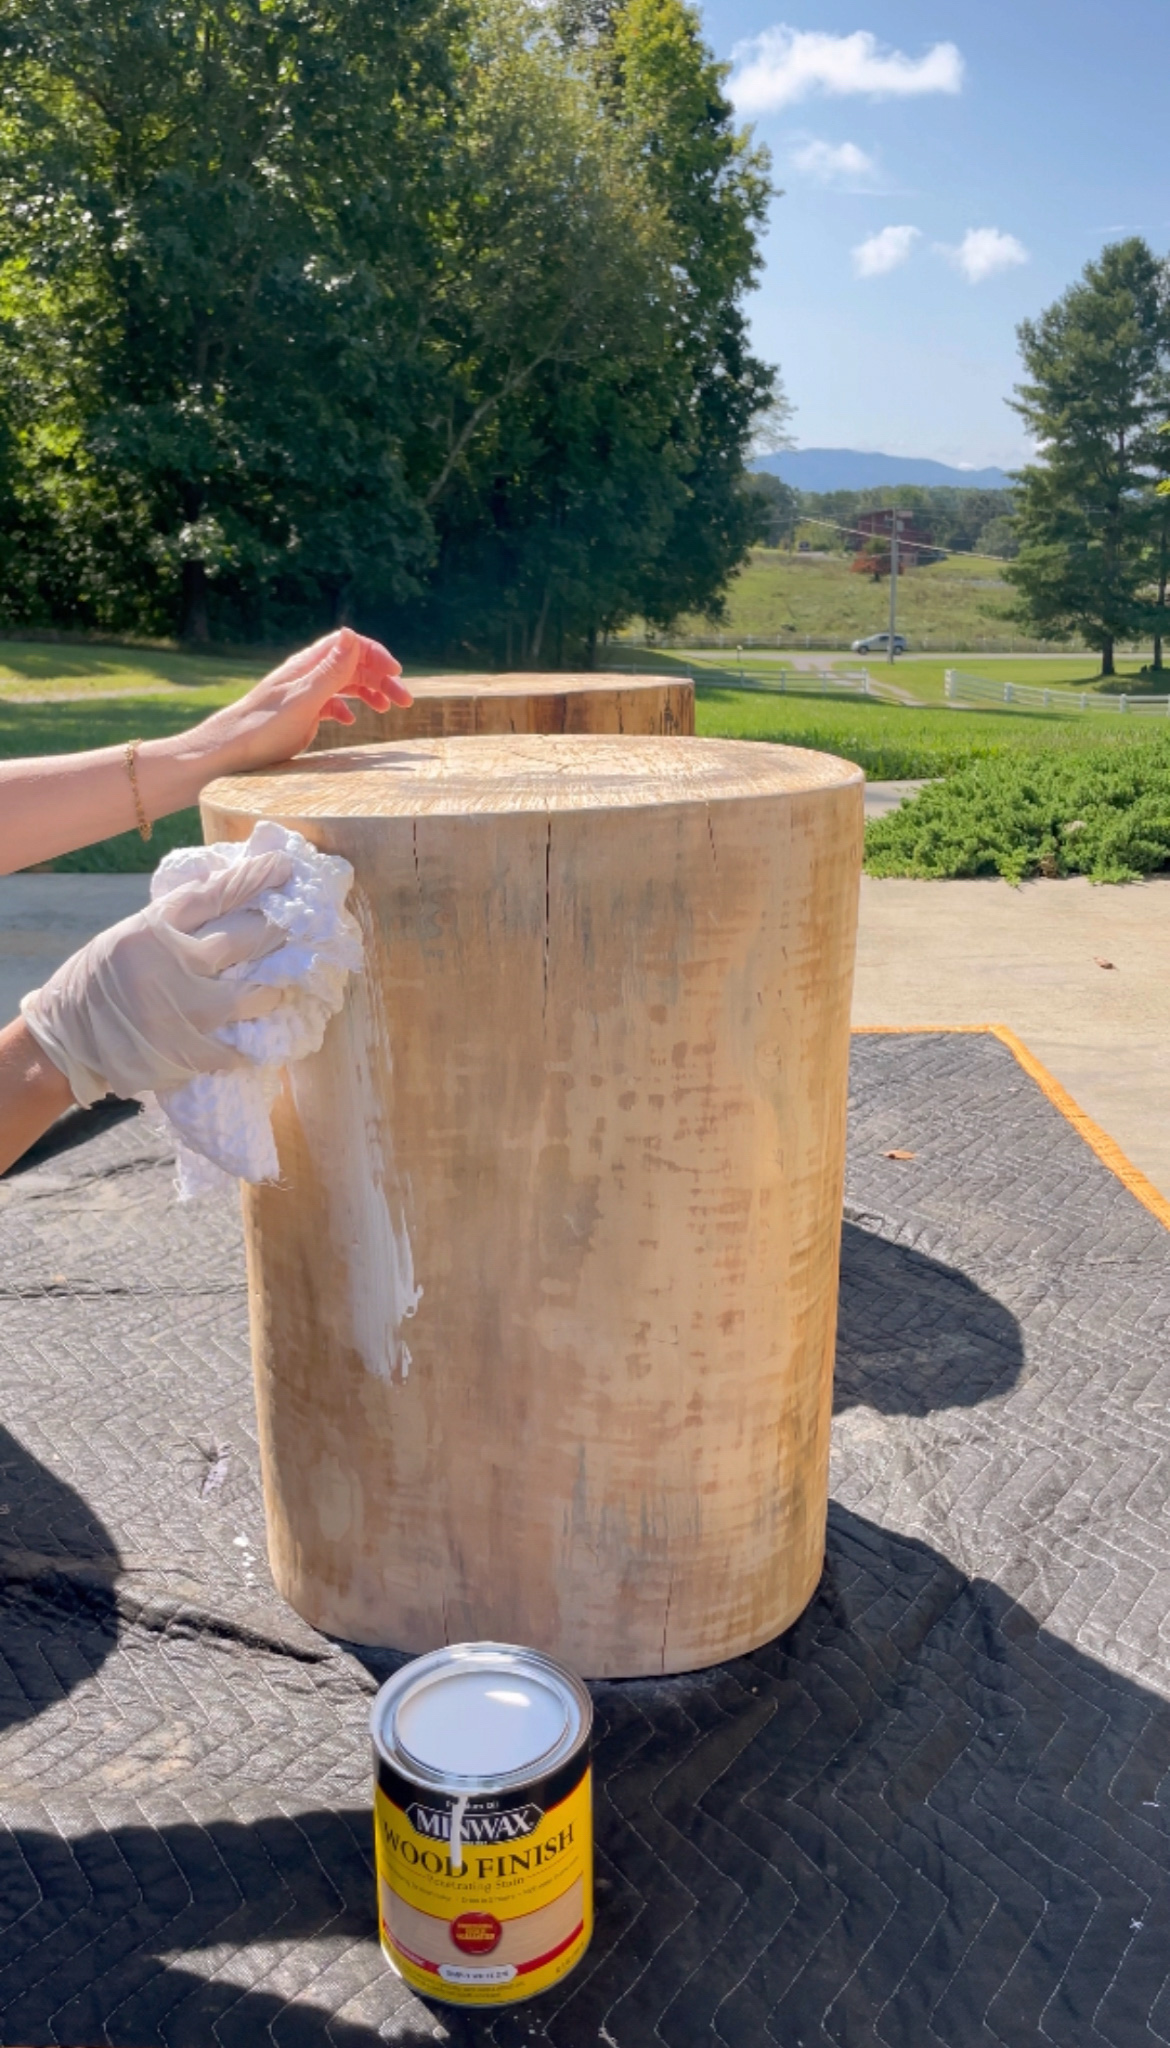
Step 1 – Stain the Stump
Sounds a little silly, but I did stain the stump. You can use any stain color you want here really. I’ve seen black stained tree stump tables and other stains used. I used Minwax Simply White because I wanted to cut down on any orange or red tones after I added the polyurethane. Sometimes a poly can make furniture darker and pull out tones you might not want.
I added one coat of Simply White and removed it immediately. Don’t allow it to dry as it will be hard to remove from the stump.
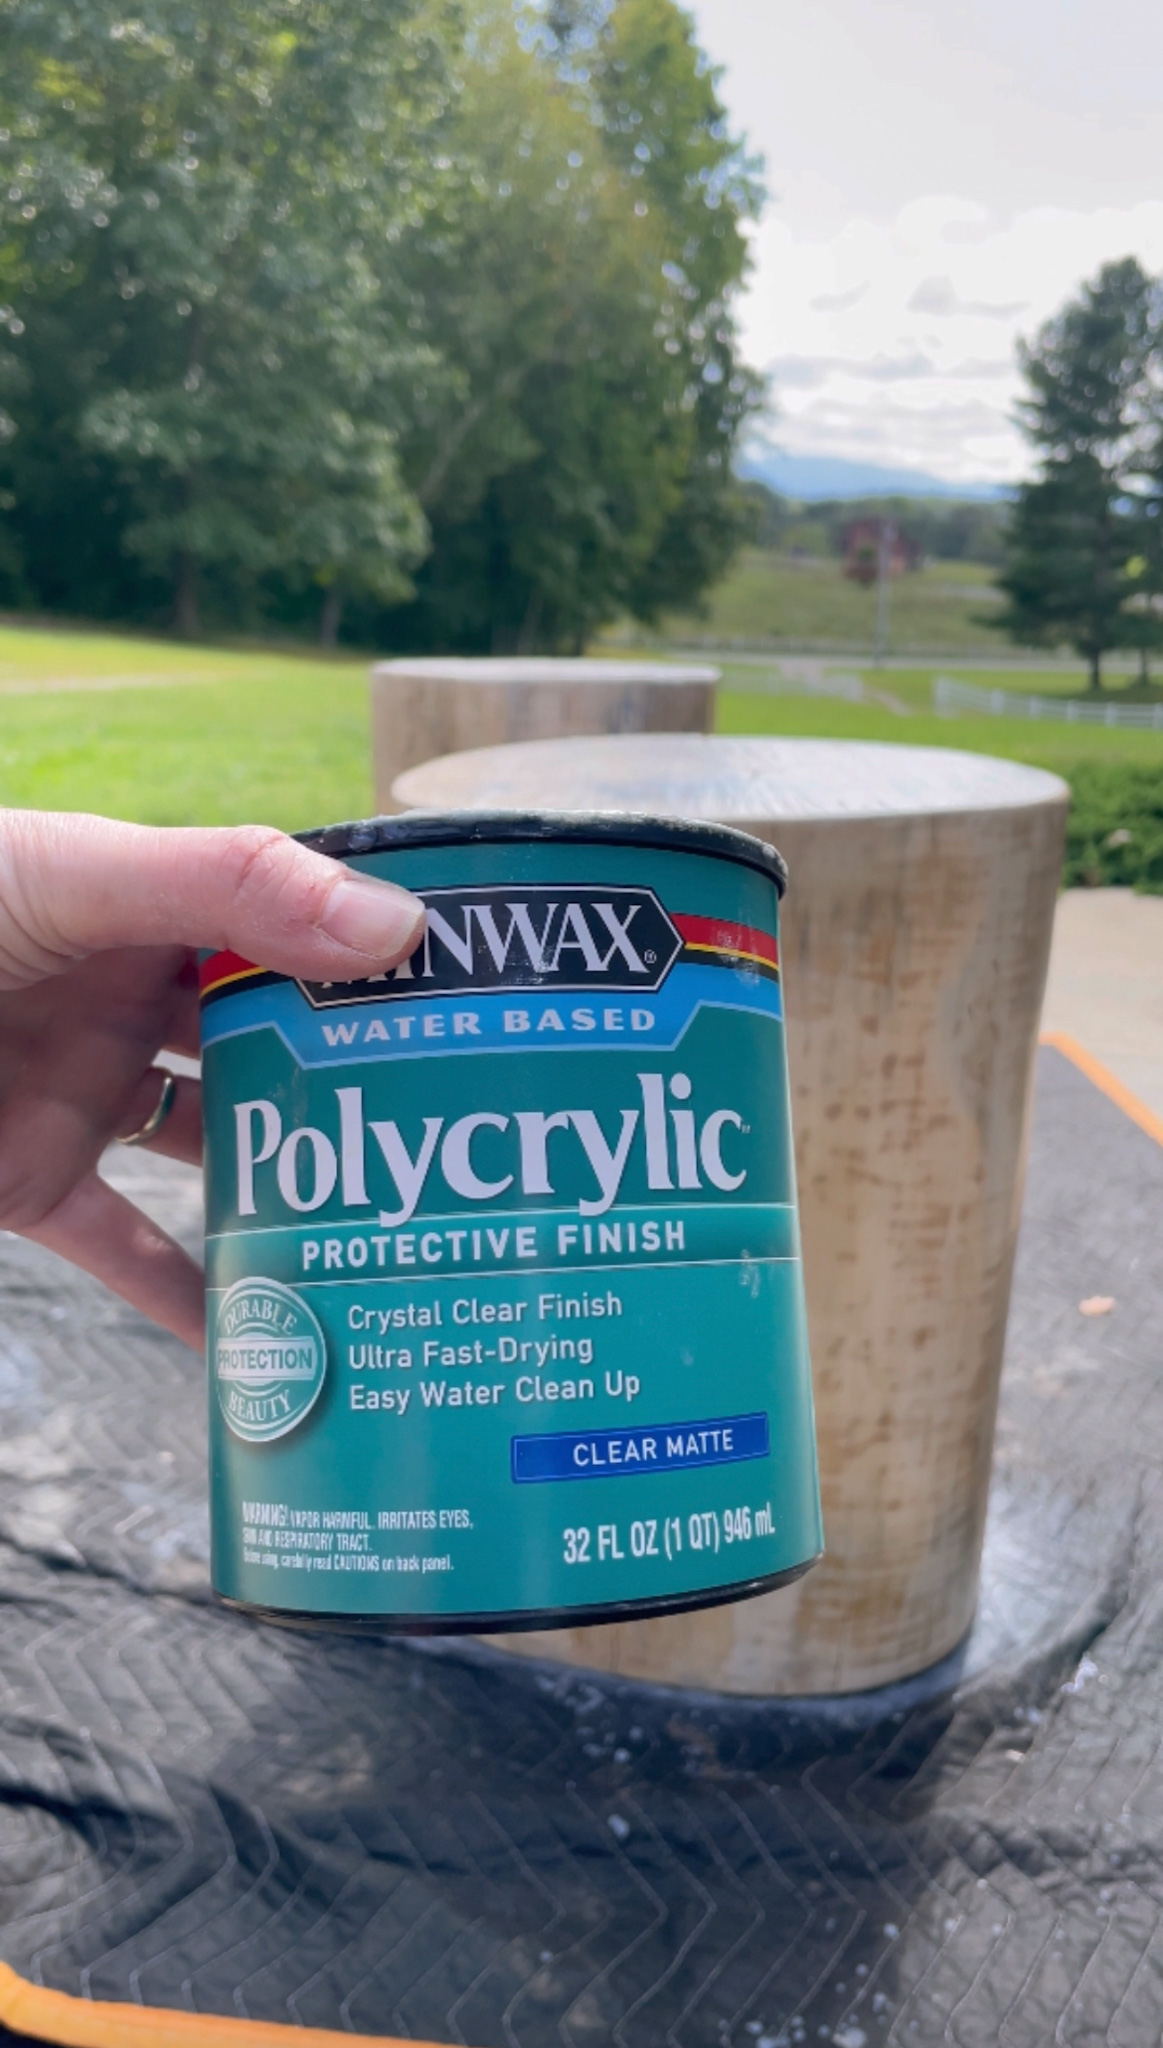
Step 2 – Apply Polyurethane or Polycrylic
This is preference here, but I wanted the table to have a finish to it as I know it will be used. I used a matte finish polycrylic I already had on hand. Giving it three coats gave it a nice smooth finish. Wait in between coats to add another coat. This poly dries very quickly so adding the subsequent coats went pretty quickly.
I think I ended up doing about five coats on the table top.
A matte poly is usually my preference, but you can use any sheen you want depending on how shiny you want the table to be.
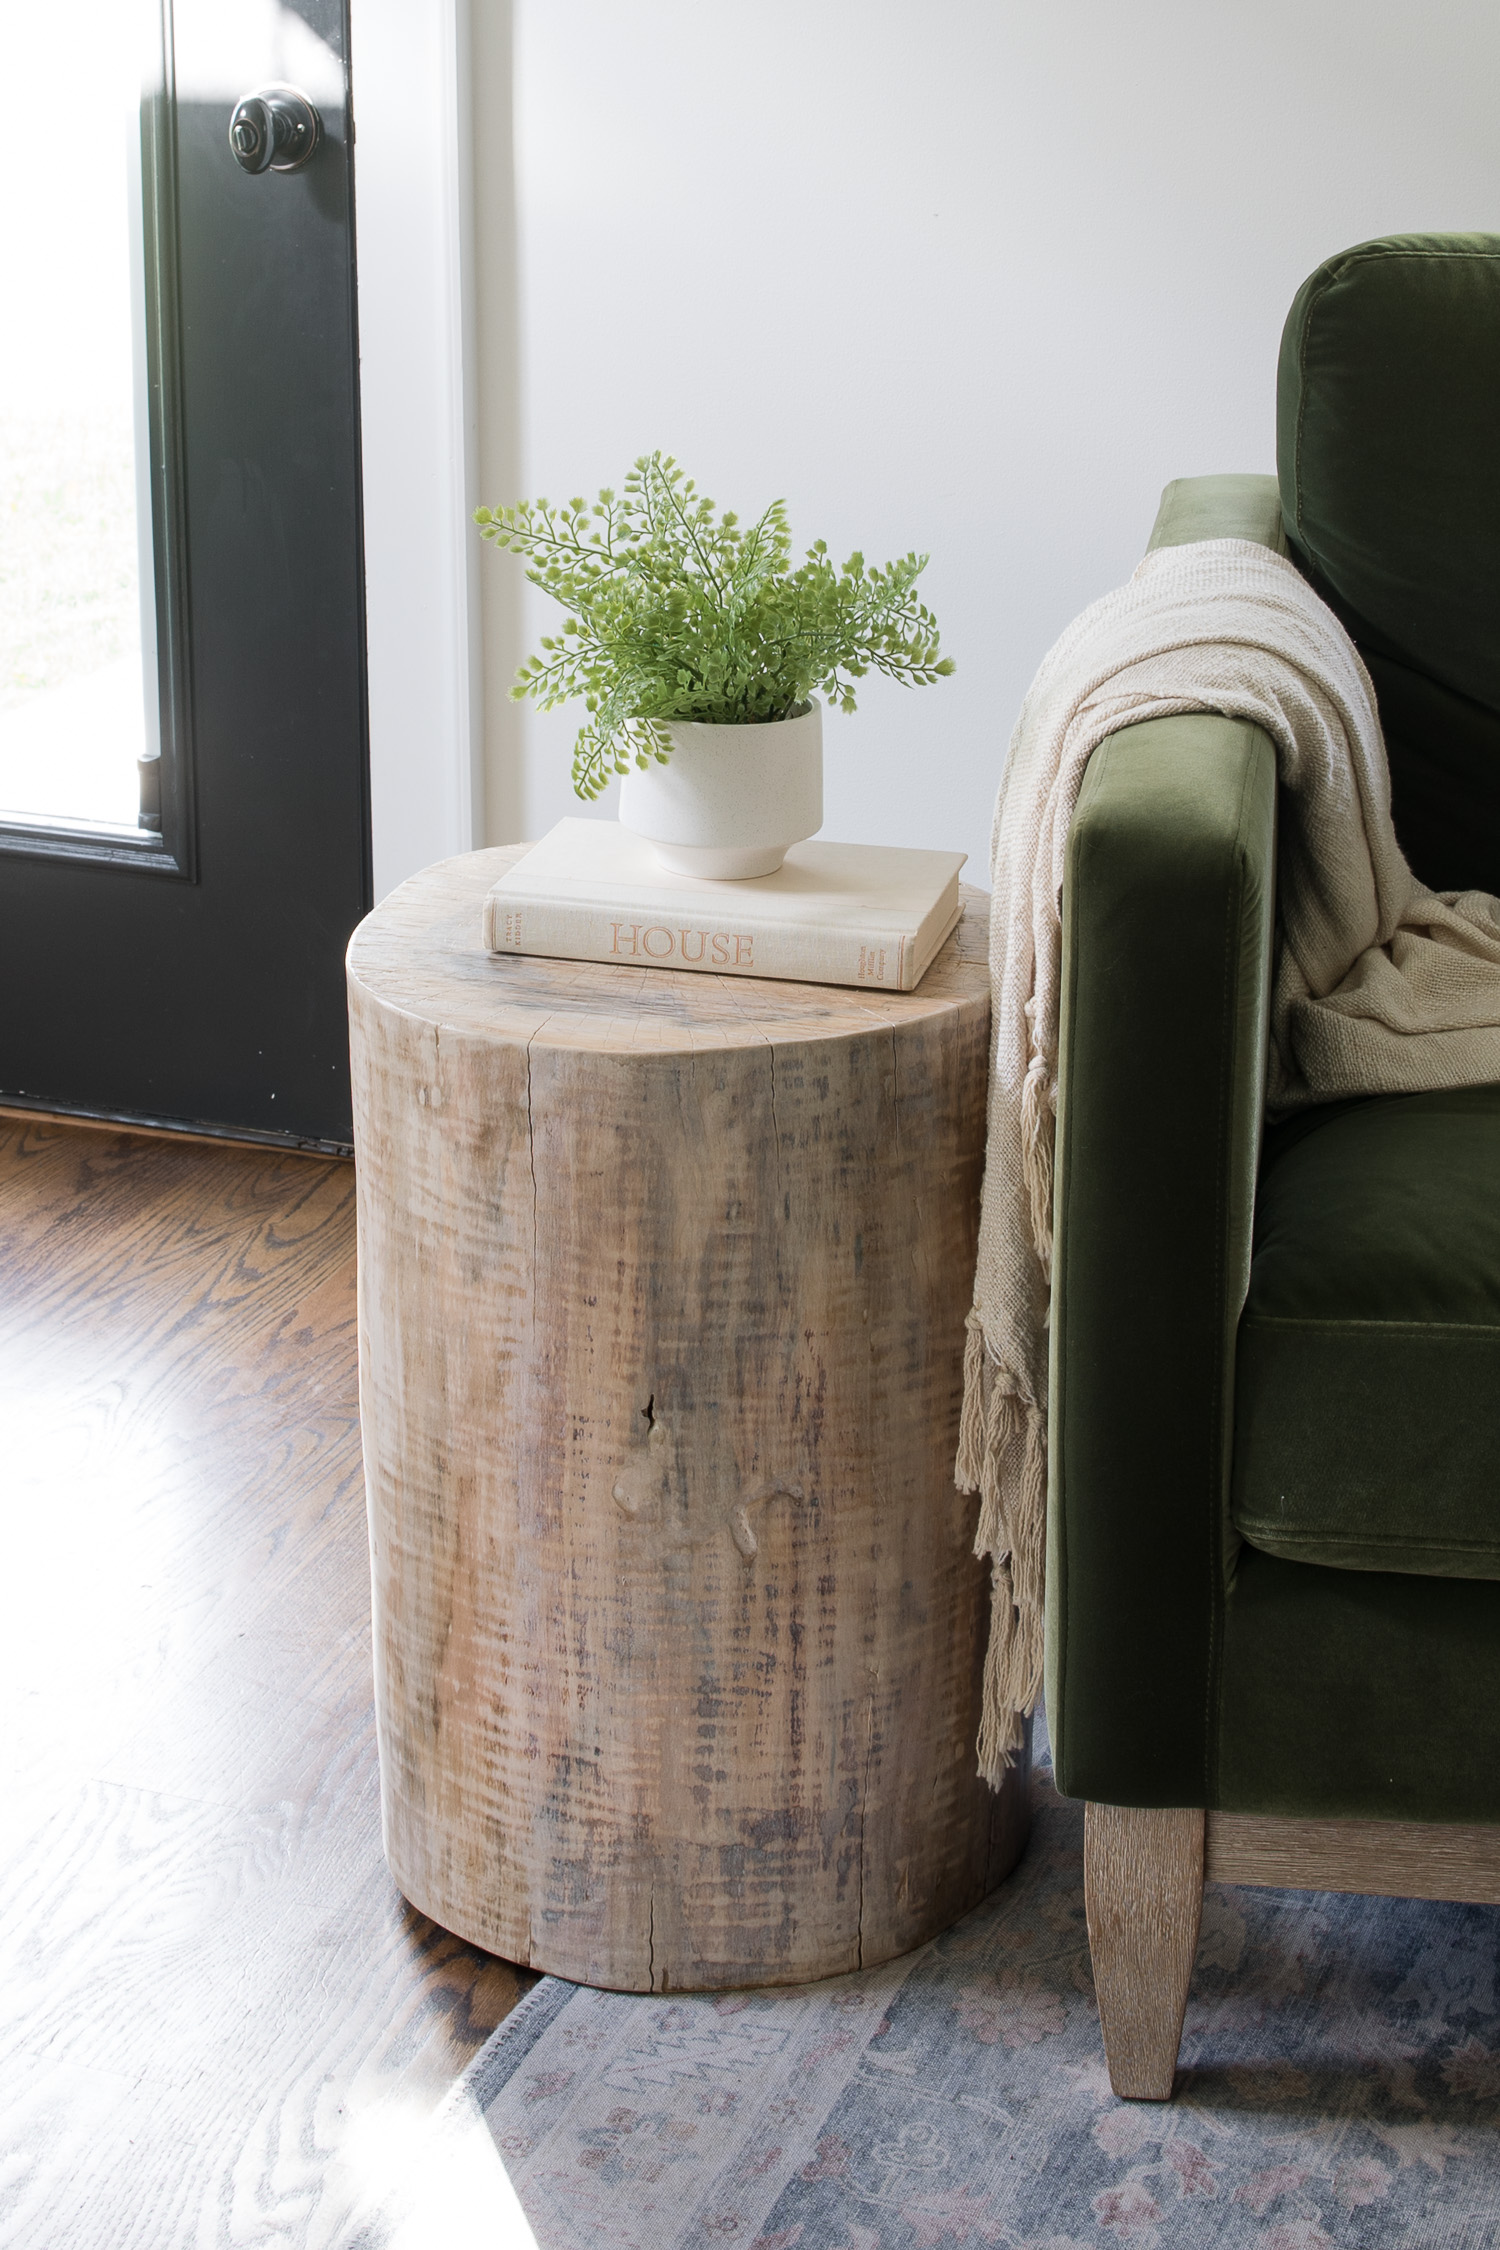
Enjoy Your Table
Tools & Materials
Click on any image to shop:
Finished Log Tables
If you don’t want to make your own tree stump table or can’t, you can always purchase one.

Amazon Storefront
Follow my Amazon Storefront to find more looks for less and all our finds!
Frequently Asked Questions
Stumps from deciduous trees work best such as Ash, black walnut, birch, cypress, cherry, elm, maple and oak are all good choices.
AVOID conifers such as cedar, fir, juniper, pine, redwood, spruce, yew, larch should not be used. Those trees would be a sticky mess.
The stump was free and the tools were also free as we had them. With the sandpaper used, stain and polyurethane, it probably cost around $20.
Follow for home decor, DIY and to shop: Instagram | Pinterest | LiketoKnowit
What kind of tree did you use?
this is a white maple we believe. it feel, we cut it and used it to make the tables.