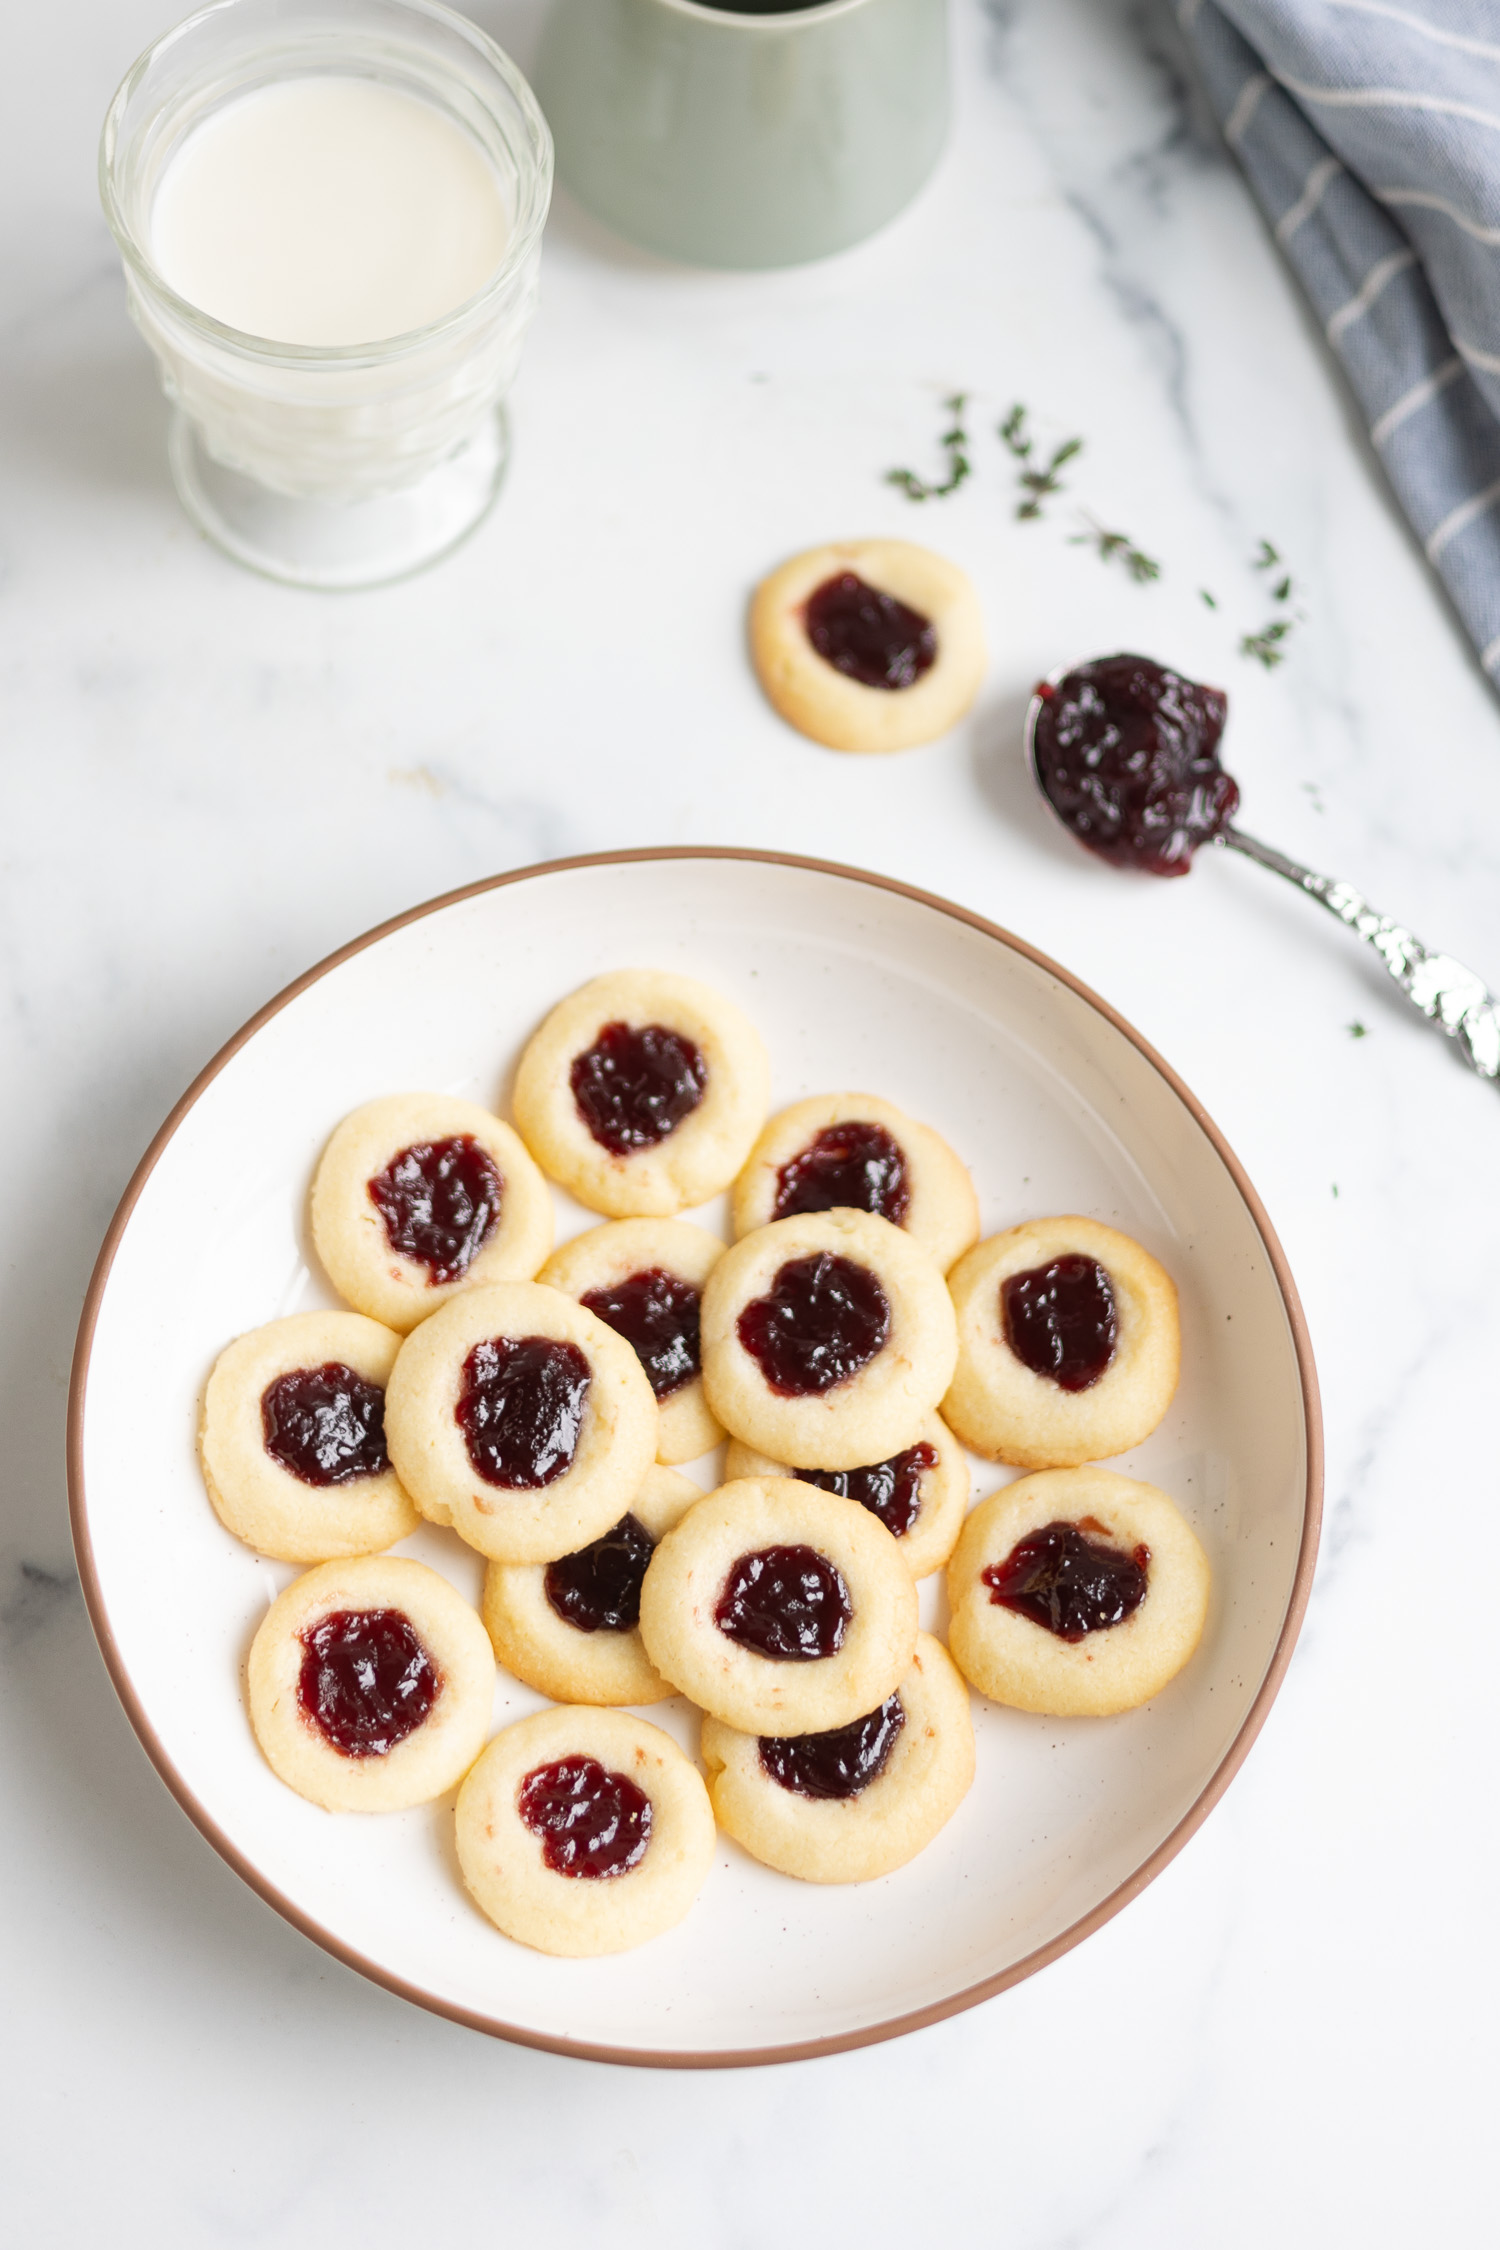
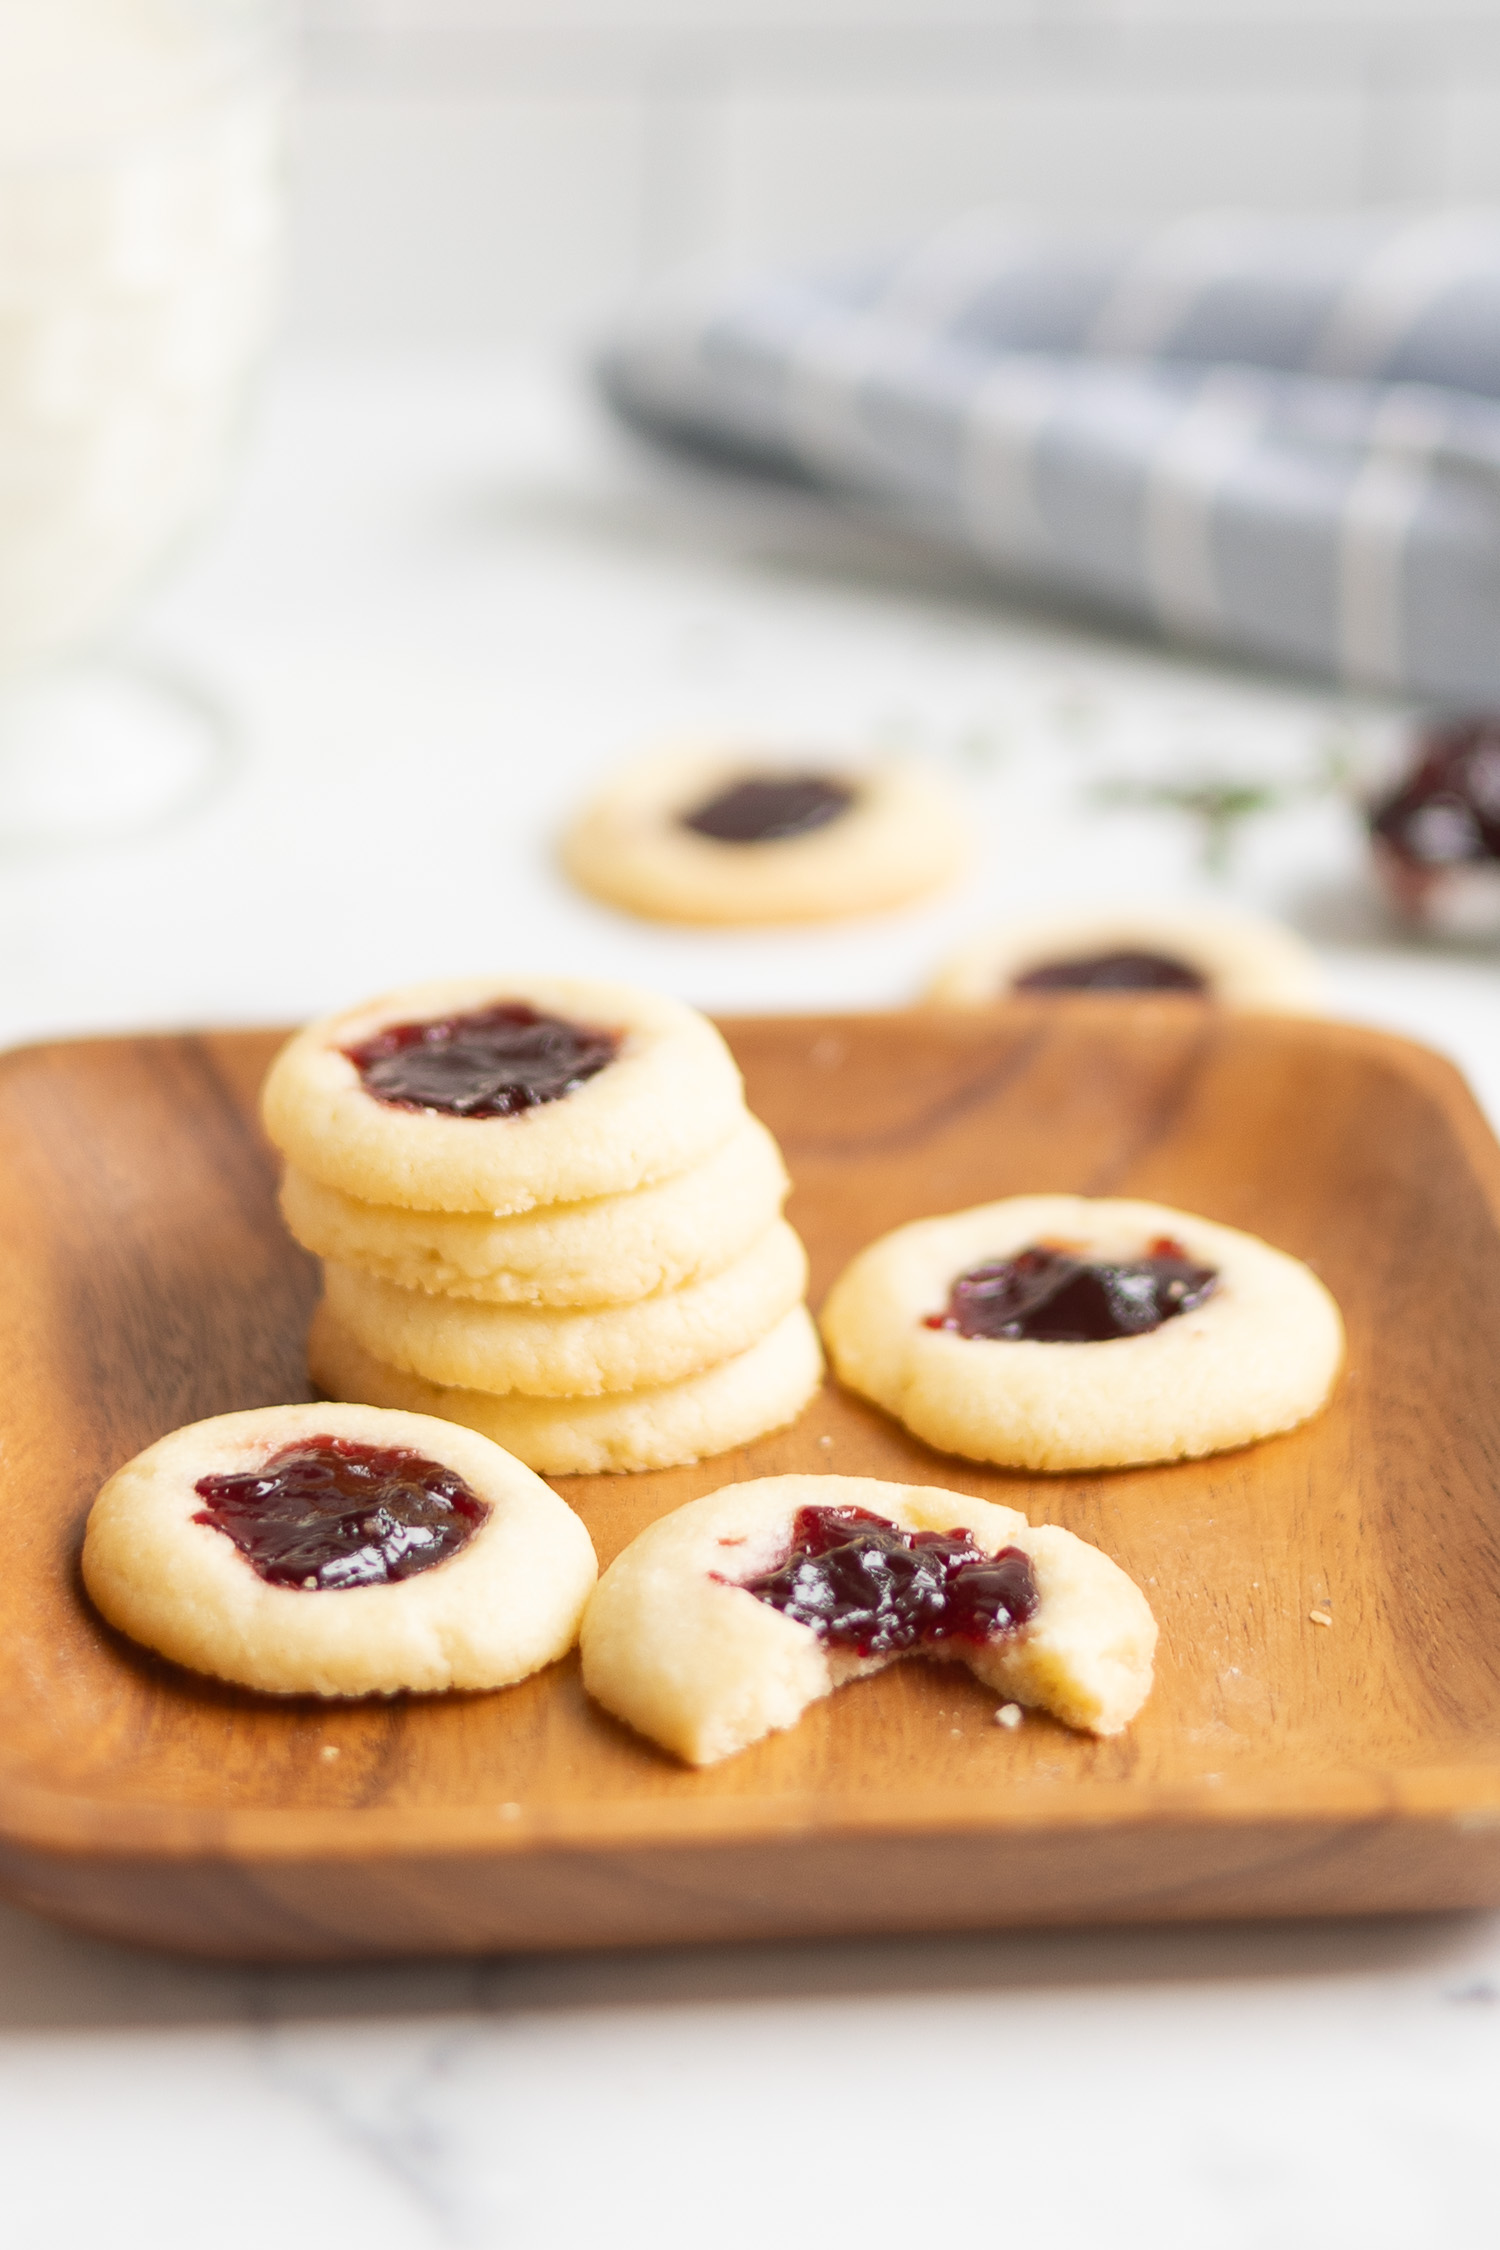
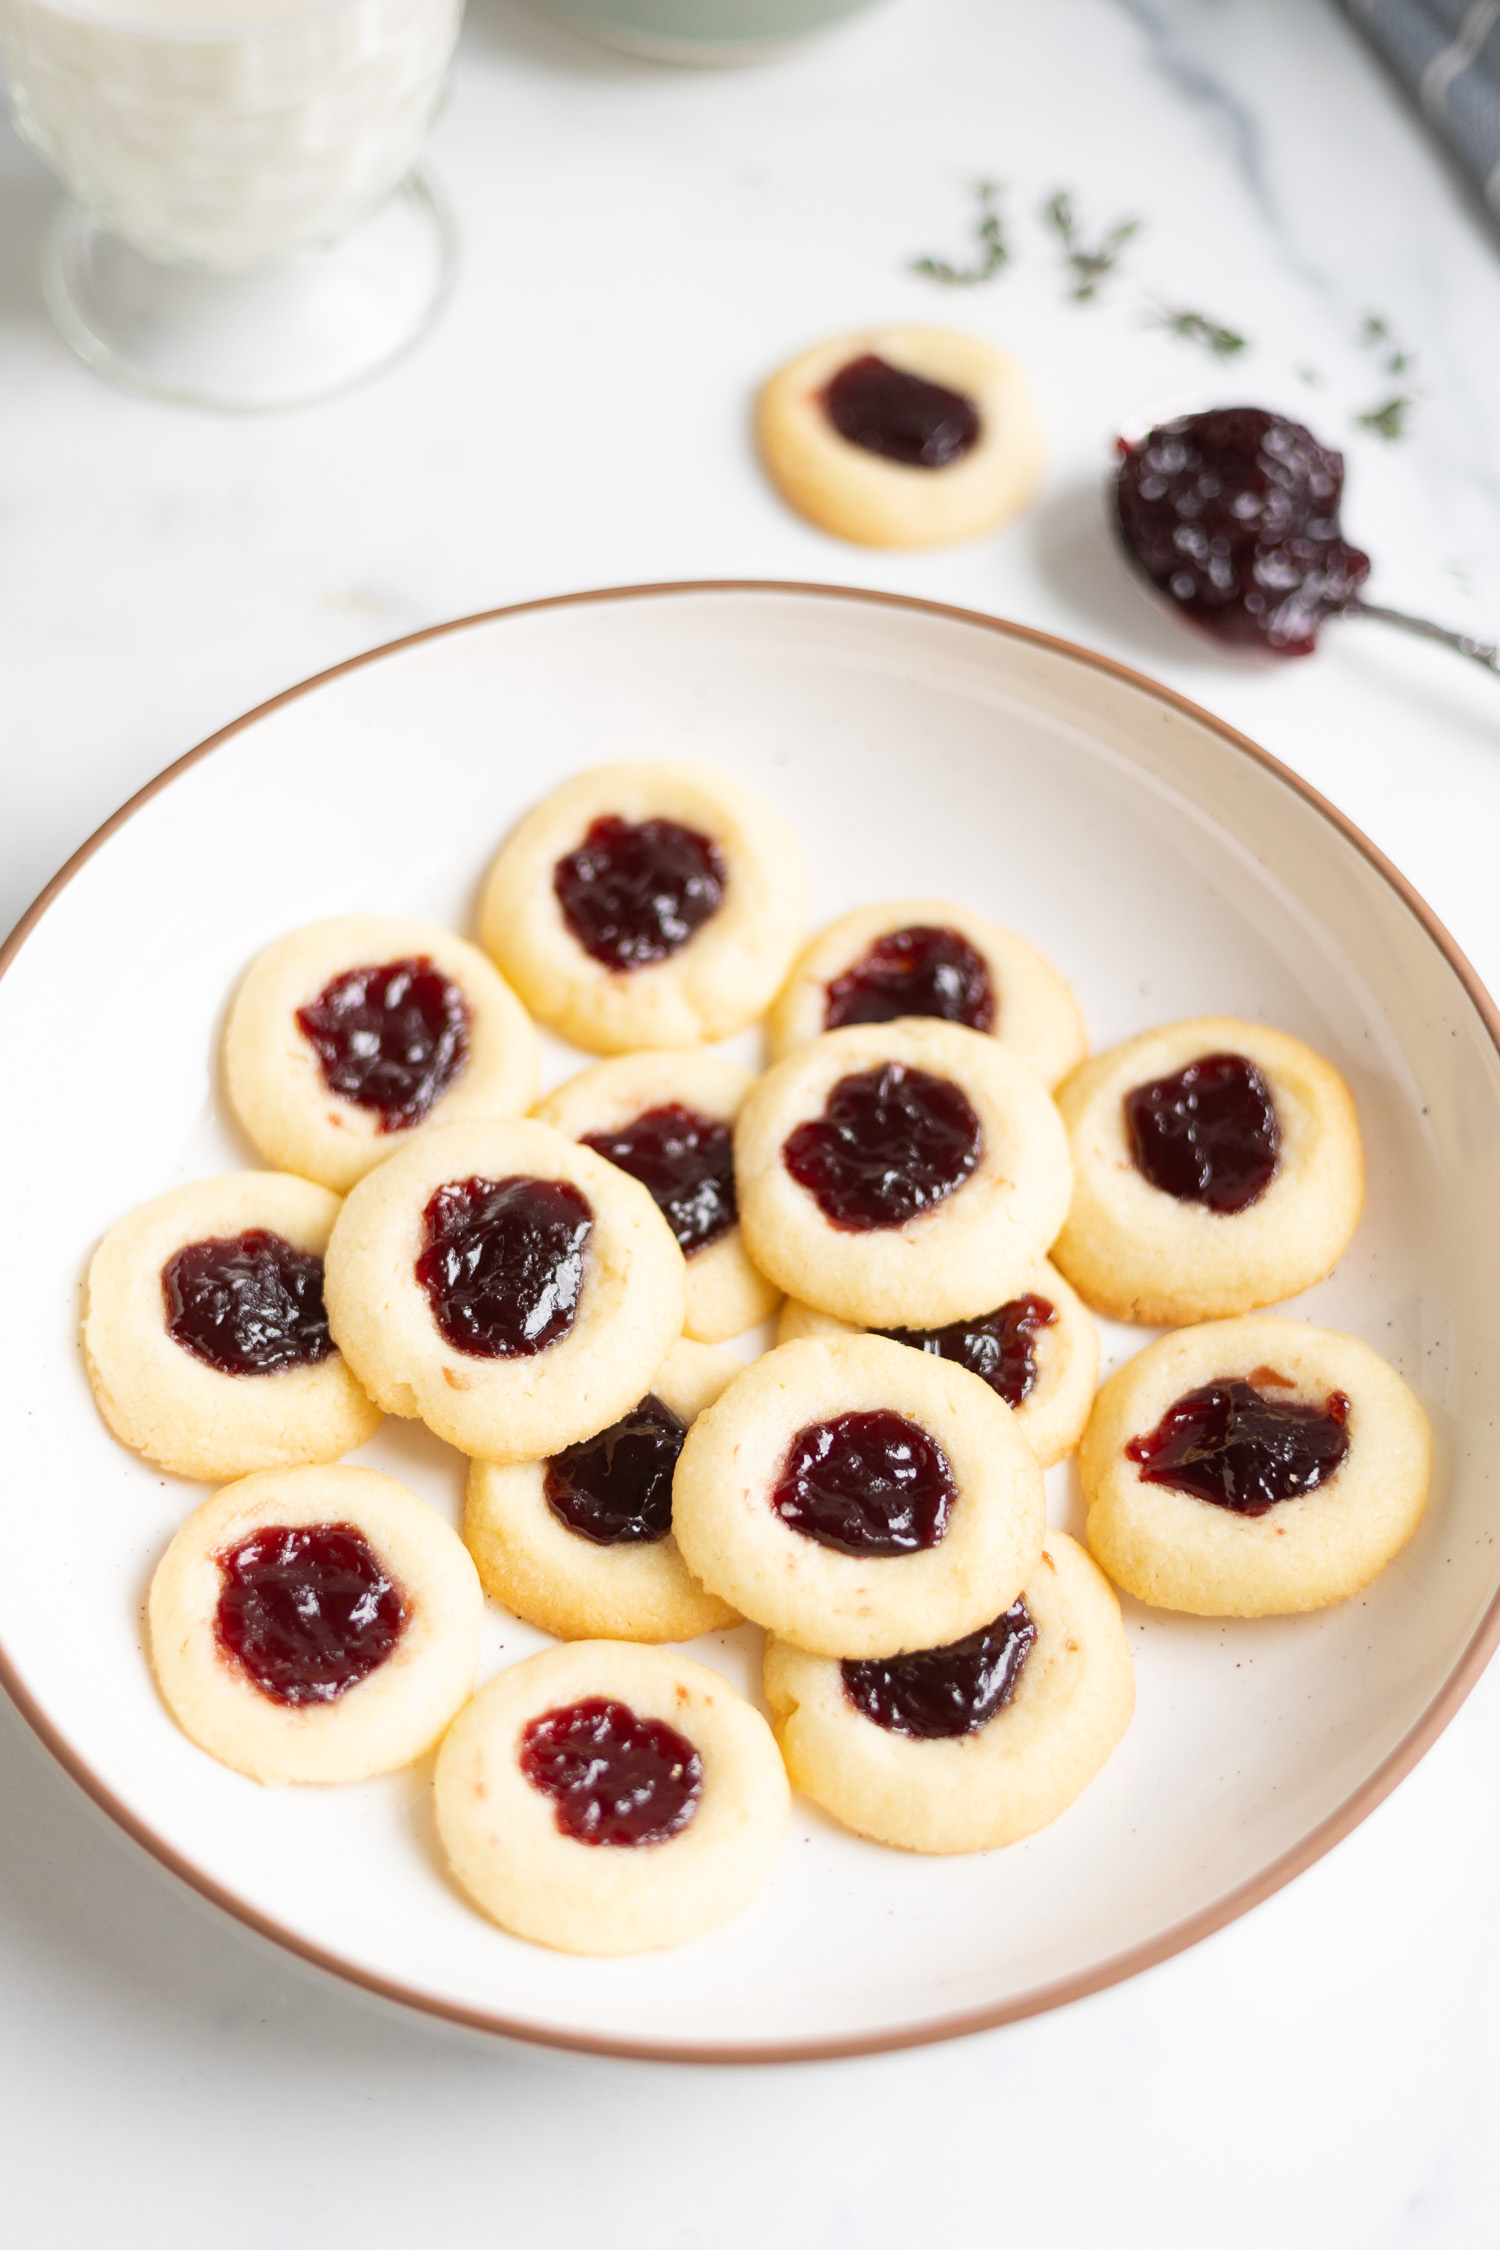
Classic Thumbprint Cookies Recipe
I love the sweet simplicity of classic thumbprint cookies. Each bite delivers a blend of a buttery cookie with a sweet jam center, a combination that’s stood the test of time.
One of my favorite cookies is the simple and classic thumbprint cookie. I hadn’t had them in a while, but then a friend brought me a tray of her homemade Christmas cookies. I LOVED all her cookies, but I couldn’t stop eating the jam filled thumbprint cookies. I devoured them.
Disclosure: This post may contain affiliate links. As an Amazon Associate, I earn from qualifying purchases at no additional cost to you.

She shared this old time recipe me that she had on a stained hand written recipe card. When the card is stained you know you have a good recipe. With just a few simple staple ingredients you can make these to share and to enjoy!
What are Thumbprint Cookies?
Thumbprint cookies are buttery and a bit crumbly and have a very simple ingredient list. They are similar to a butter cookie.
After you make the dough, it is then rolled into balls, then an indentation is made in them (often with your thumb) – hence the name thumbprint cookies. You can use your thumb, the back of a spoon or a teaspoon makes a great indentation too.
The little well that is left from your thumb is then filled with jam. However, there are many variations on these cookies from being filled with buttercream frosting to chocolate ganache to lemon curd. Really…you can fill them with anything you want.
How to Make Thumbprint Cookies
These tasty treats couldn’t be easier to make. Just gather your ingredients, make the dough, roll them out, add the jam, bake and done.
These are a great cookie to make with young children too as they love to use their little hands to roll the dough.
Gather Your Ingredients
These buttery treats don’t require a lot of ingredients; just six in fact. These are easy and delicious!
- Softened Butter: The base for that rich, melt-in-your-mouth texture.
- Egg Yolks: To bind everything together.
- Vanilla Extract: A dash for that sweet, aromatic flavor.
- All-Purpose Flour: Sifted, to create the perfect cookie structure.
- Favorite Jam: Homemade or store-bought to fill those thumbprints.
We encourage you to get creative with these essentials. Try a different variety of jams to make these thumbprint cookies uniquely yours. This easy recipe welcomes variations, so feel free to mix and match fillings to your liking!
Jam to Use for Thumbprint Cookies
These cookies wouldn’t be as tasty without the jam. The buttery cookie and the jam go together like two peas in a pod. The cookie and the jam are equally important.
You can use any jam flavor you like and it can be seedless or have seeds. This is all up to your tastes. My favorite is raspberry or even blackberry, but there has never been a jam filled thumbprint cookie I have ever turned down.
Give these flavors a try:
- Raspberry Jam
- Orange Marmelade
- Strawberry Jam
- Apricot Jam
- Blackberry Jam
Since the jam is what really adds flavor to these buttery cookies, it’s best to use a good quality jam. I like to use homemade jam or Bonne Maman preserves.
The Art of Making Thumbprint Cookies
- Prepare Your Dough: Begin by creaming together softened butter and sugar until the mixture is light and fluffy. Beat in an egg yolk and a dash of vanilla extract to add richness and flavor. Gradually mix in the flour until a cohesive dough forms.
- Shape the Cookies: Next, roll the dough into small balls, about one inch in diameter.
- Create the Signature Indent: Arrange the dough balls on a baking sheet lined with parchment paper. Press your thumb or the end of a spoon into the center of each ball to make a well for the jam. If the dough cracks, simply smooth it back together with your fingers.
- Add the Jam: Select your favorite jam and spoon a small amount of jam into the indent of each cookie. Remember not to overfill to prevent the jam from spilling out during baking.
- Bake to Perfection: Bake the cookies in a preheated oven at 350°F (177°C) for around 8 minutes or until the edges are lightly golden. Let them cool on the baking sheet for a few minutes before transferring them to a wire rack to cool completely.


Thumbprint Cookie Variations
Feel free to experiment with different nut and jam combinations to make these thumbprint cookies uniquely yours. Instead of jam you could try chocolate butter cream frosting, lemon curd or salted caramel sauce or Nutella.
Add almond extract to change the flavor of the cookies. Add in 1/4 or 1/2 teaspoon of almond extract and the rest vanilla extract to get to 1 teaspoon. You could also try orange extract as well, but make sure to use some vanilla extract even if changing flavors.
Check out these other posts!
Moist Dark Chocolate Cake Recipe
Mixed Berry Cobbler
Easy Berry Banana Bread Recipe
Perfecting Your Cookies with Expert Tips
- To help avoid cracking when making the indentations; ensure the dough balls are very smooth on the outside, press into the dough very gently/slowly, smooth small cracks over with your fingertips.
- Baking thumbprint cookies at precisely 350°F yields the best results—cooked through but still delightfully tender.
- A lined baking sheet with parchment paper or a silicone baking mat is your best ally to keep the cookies from sticking
- Add about ½ teaspoon of the jam into each indentation; too much more and the jam will spill over.
- If your cookies run too much while baking; pop the sheet tray with the indented dough balls in the fridge for 30 minutes or so before baking
Tips
- Ensure the dough balls are not too large. Use about 1 1/2 tsps. of dough and rolled them into 1 inch balls.
- Careful not to over cook the cookies. The perfect timing to bake these cookies, at this size, is 8 minutes.

Storing Thumbprint Cookies
Once the cookies have cooled, store them in an airtight container to maintain their freshness. Whether on your countertop or in the pantry, they’ll stay delicious for up to 5 days.
Freezing Thumbprint Cookies
For those of you planning ahead, these little gems freeze beautifully for up to three months. Start by letting your freshly baked thumbprint cookies cool completely; patience is key here—warm cookies will result in condensation and sogginess when frozen. Once they’re at room temperature, arrange them in a single layer on a baking sheet and pop them into the freezer until they’re firmly frozen. This prevents the jams from sticking and cookies from losing their shape.
Next, transfer the frozen cookies into an airtight container or a resealable plastic bag. Layer them with sheets of parchment paper in between to prevent them from sticking together. Seal the container tightly; it’s pivotal to push out as much air as possible before sealing the bag if that’s your chosen route. When you’re ready to enjoy them, simply thaw your thumbprint cookies at room temperature for about an hour, and they’ll be ready to savor, tasting just as fresh as the day you baked them.
Baking Supplies
Click on Any Image to Shop:


Amazon Storefront
Follow my Amazon Storefront to find more looks for less and all our finds!
Frequently Asked Questions
My favorite is raspberry jam, but. you can use any flavor you like. Strawberry, blackberry, apricot or mixed berry make great thumbprint cookies. Or do a variety. Ensure your jam is thick and not runny.
Filling the cookies with jam before baking ensures they set up in the oven.
The butter should be at cool room temperature when making the dough. Ensure it is not super soft or greasy. Most importantly, make sure to chill the dough! After you form the cookies, place the unbaked cookies in the freezer for at least 30 minutes before baking. This will prevent them from spreading.
Yes, if you want to prep the dough ahead of time that is fine. You can freeze the dough for up to 1 month.

Follow for home decor, DIY and to shop: Instagram | Pinterest | LiketoKnowit

Classic Thumbprint Cookies
I love the sweet simplicity of classic thumbprint cookies. Each bite delivers a blend of a buttery cookie with a sweet jam center, a combination that’s stood the test of time.
My friend shared this old time recipe me that she had on a stained hand written recipe card. When the card is stained you know you have a good recipe. With just a few simple staple ingredients you can make these to share and to enjoy!
Ingredients
- 3 sticks butter
- 1 cup white sugar
- 2 egg yolks
- 3 3/4 cup all purpose flour
- 1/4 tsp. salt
- 1 tsp. vanilla extract
- Jam or preserves
Instructions
- Cream butter and sugar until fluffy
- Add egg yolks
- Sift flour and salt and blend into butter mixture.
- Add vanilla extract
- Chill dough for at least an hour
- Shape into 1inch balls and place on ungreased cookie sheet
- Make indentation in center of cookie using tsp.
- Fill the well with jam or preserves of choosing
- Bake at 350 for 8 minutes or until lightly browned
- Cool before serving