Easy Popover Recipe
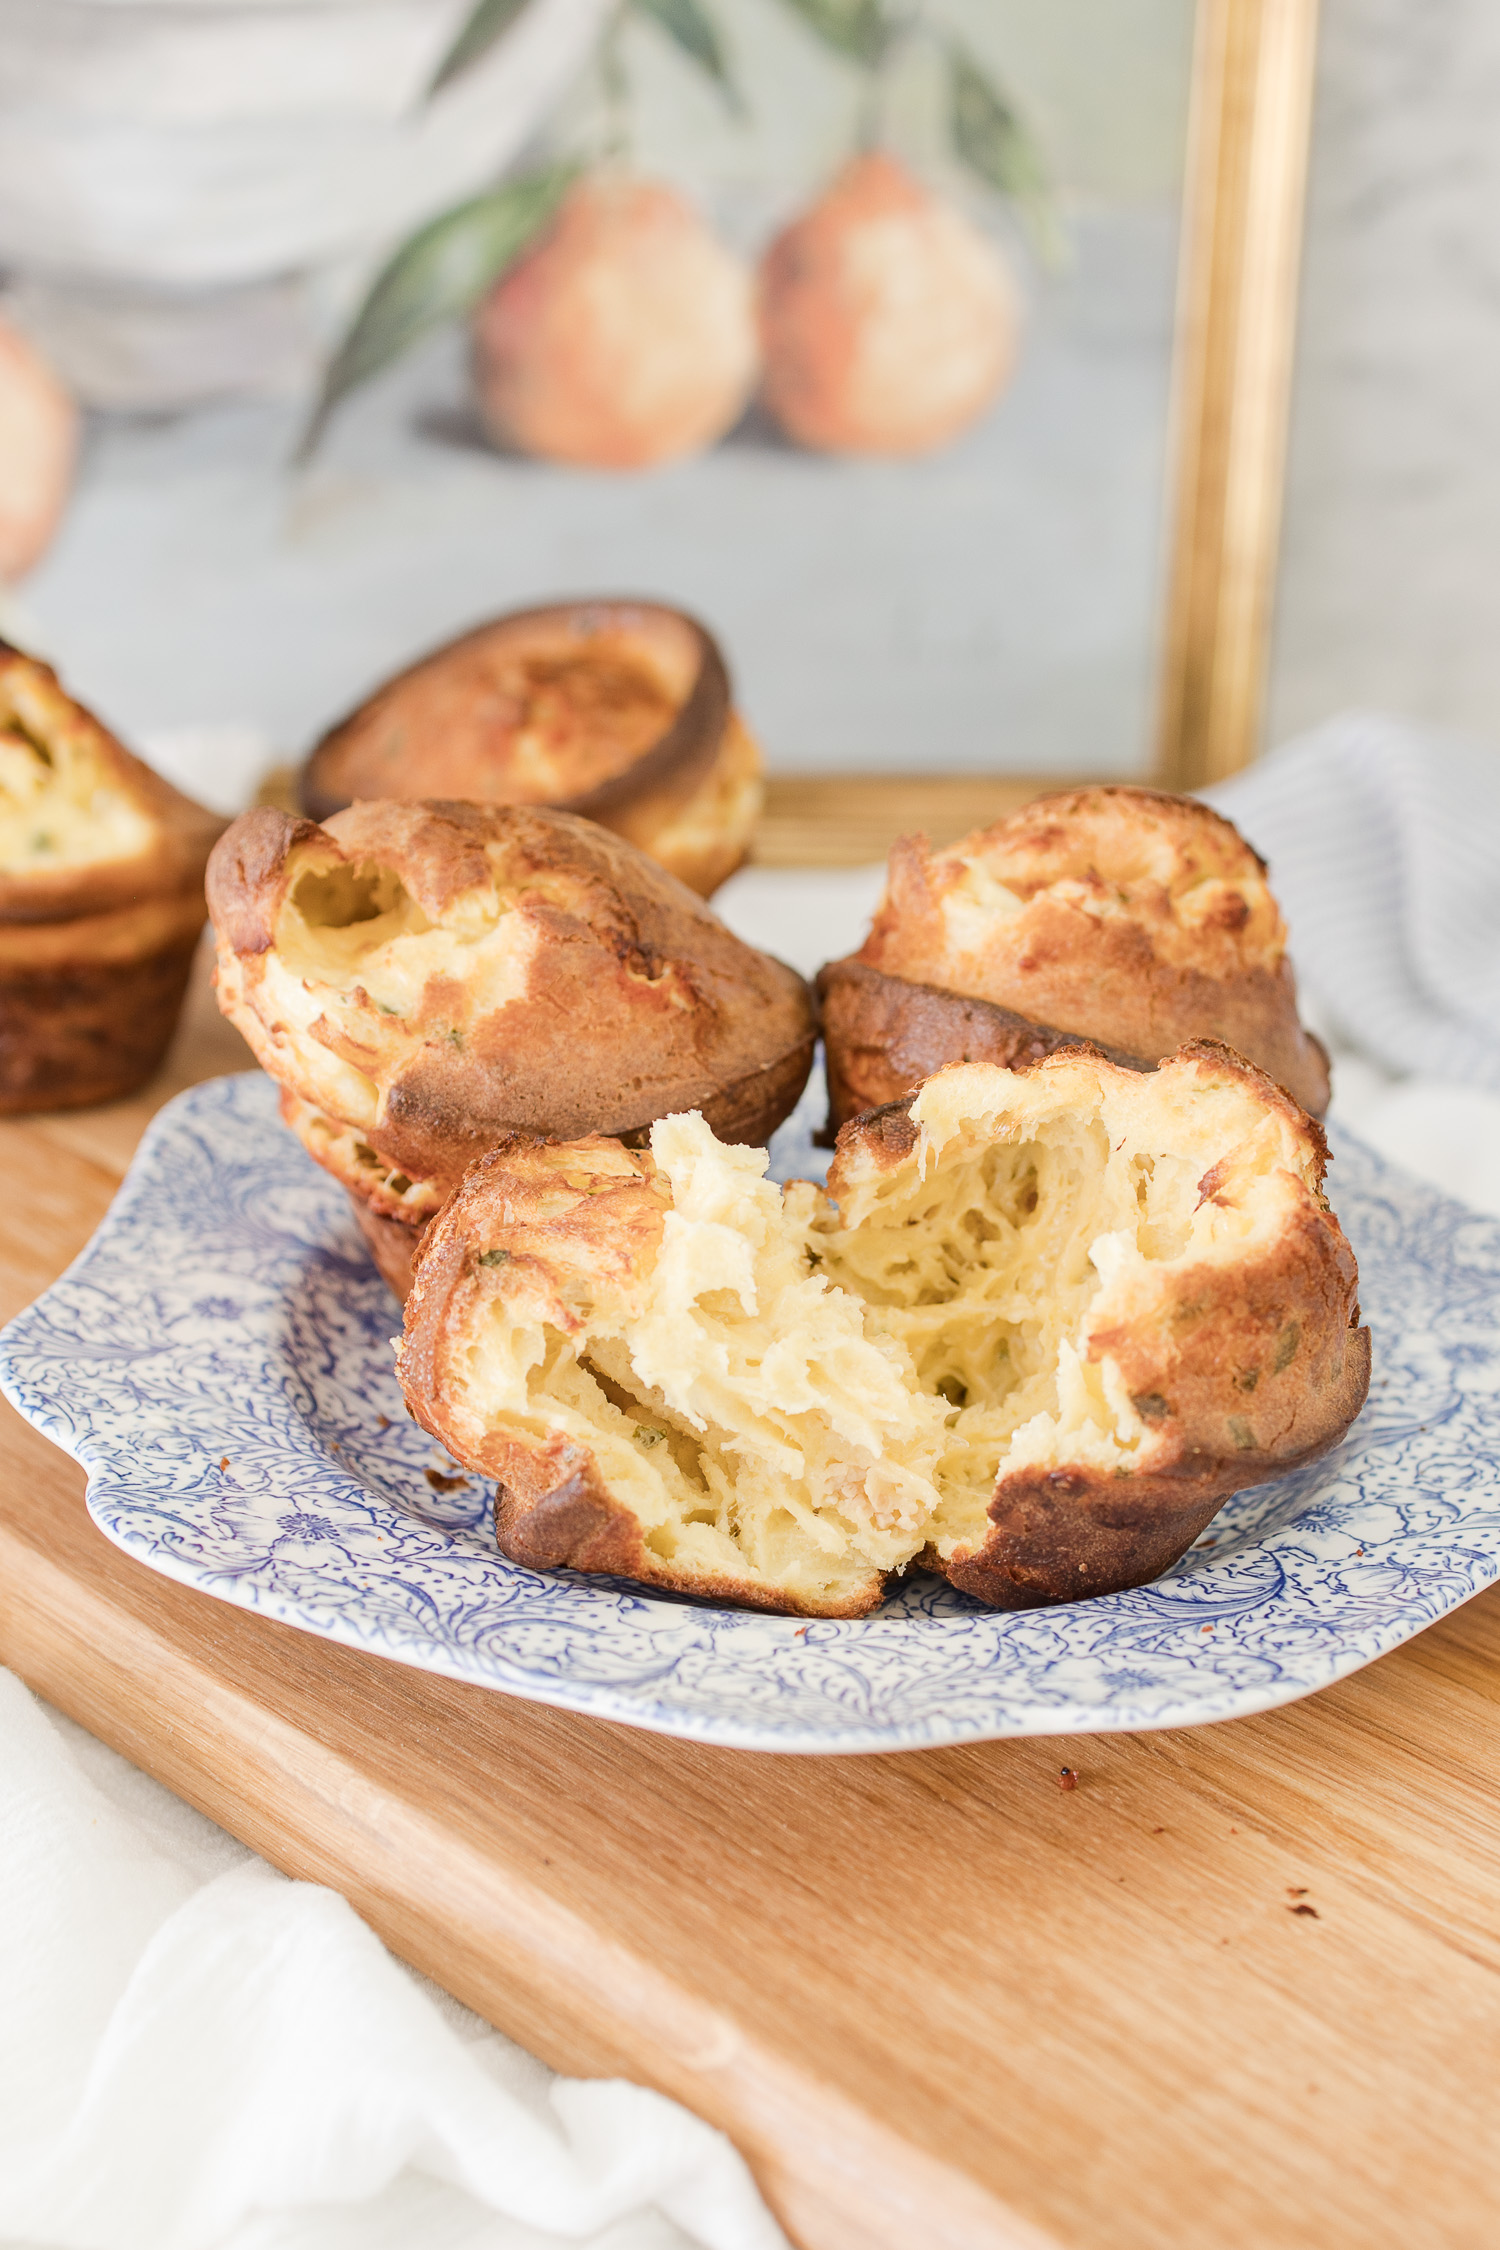
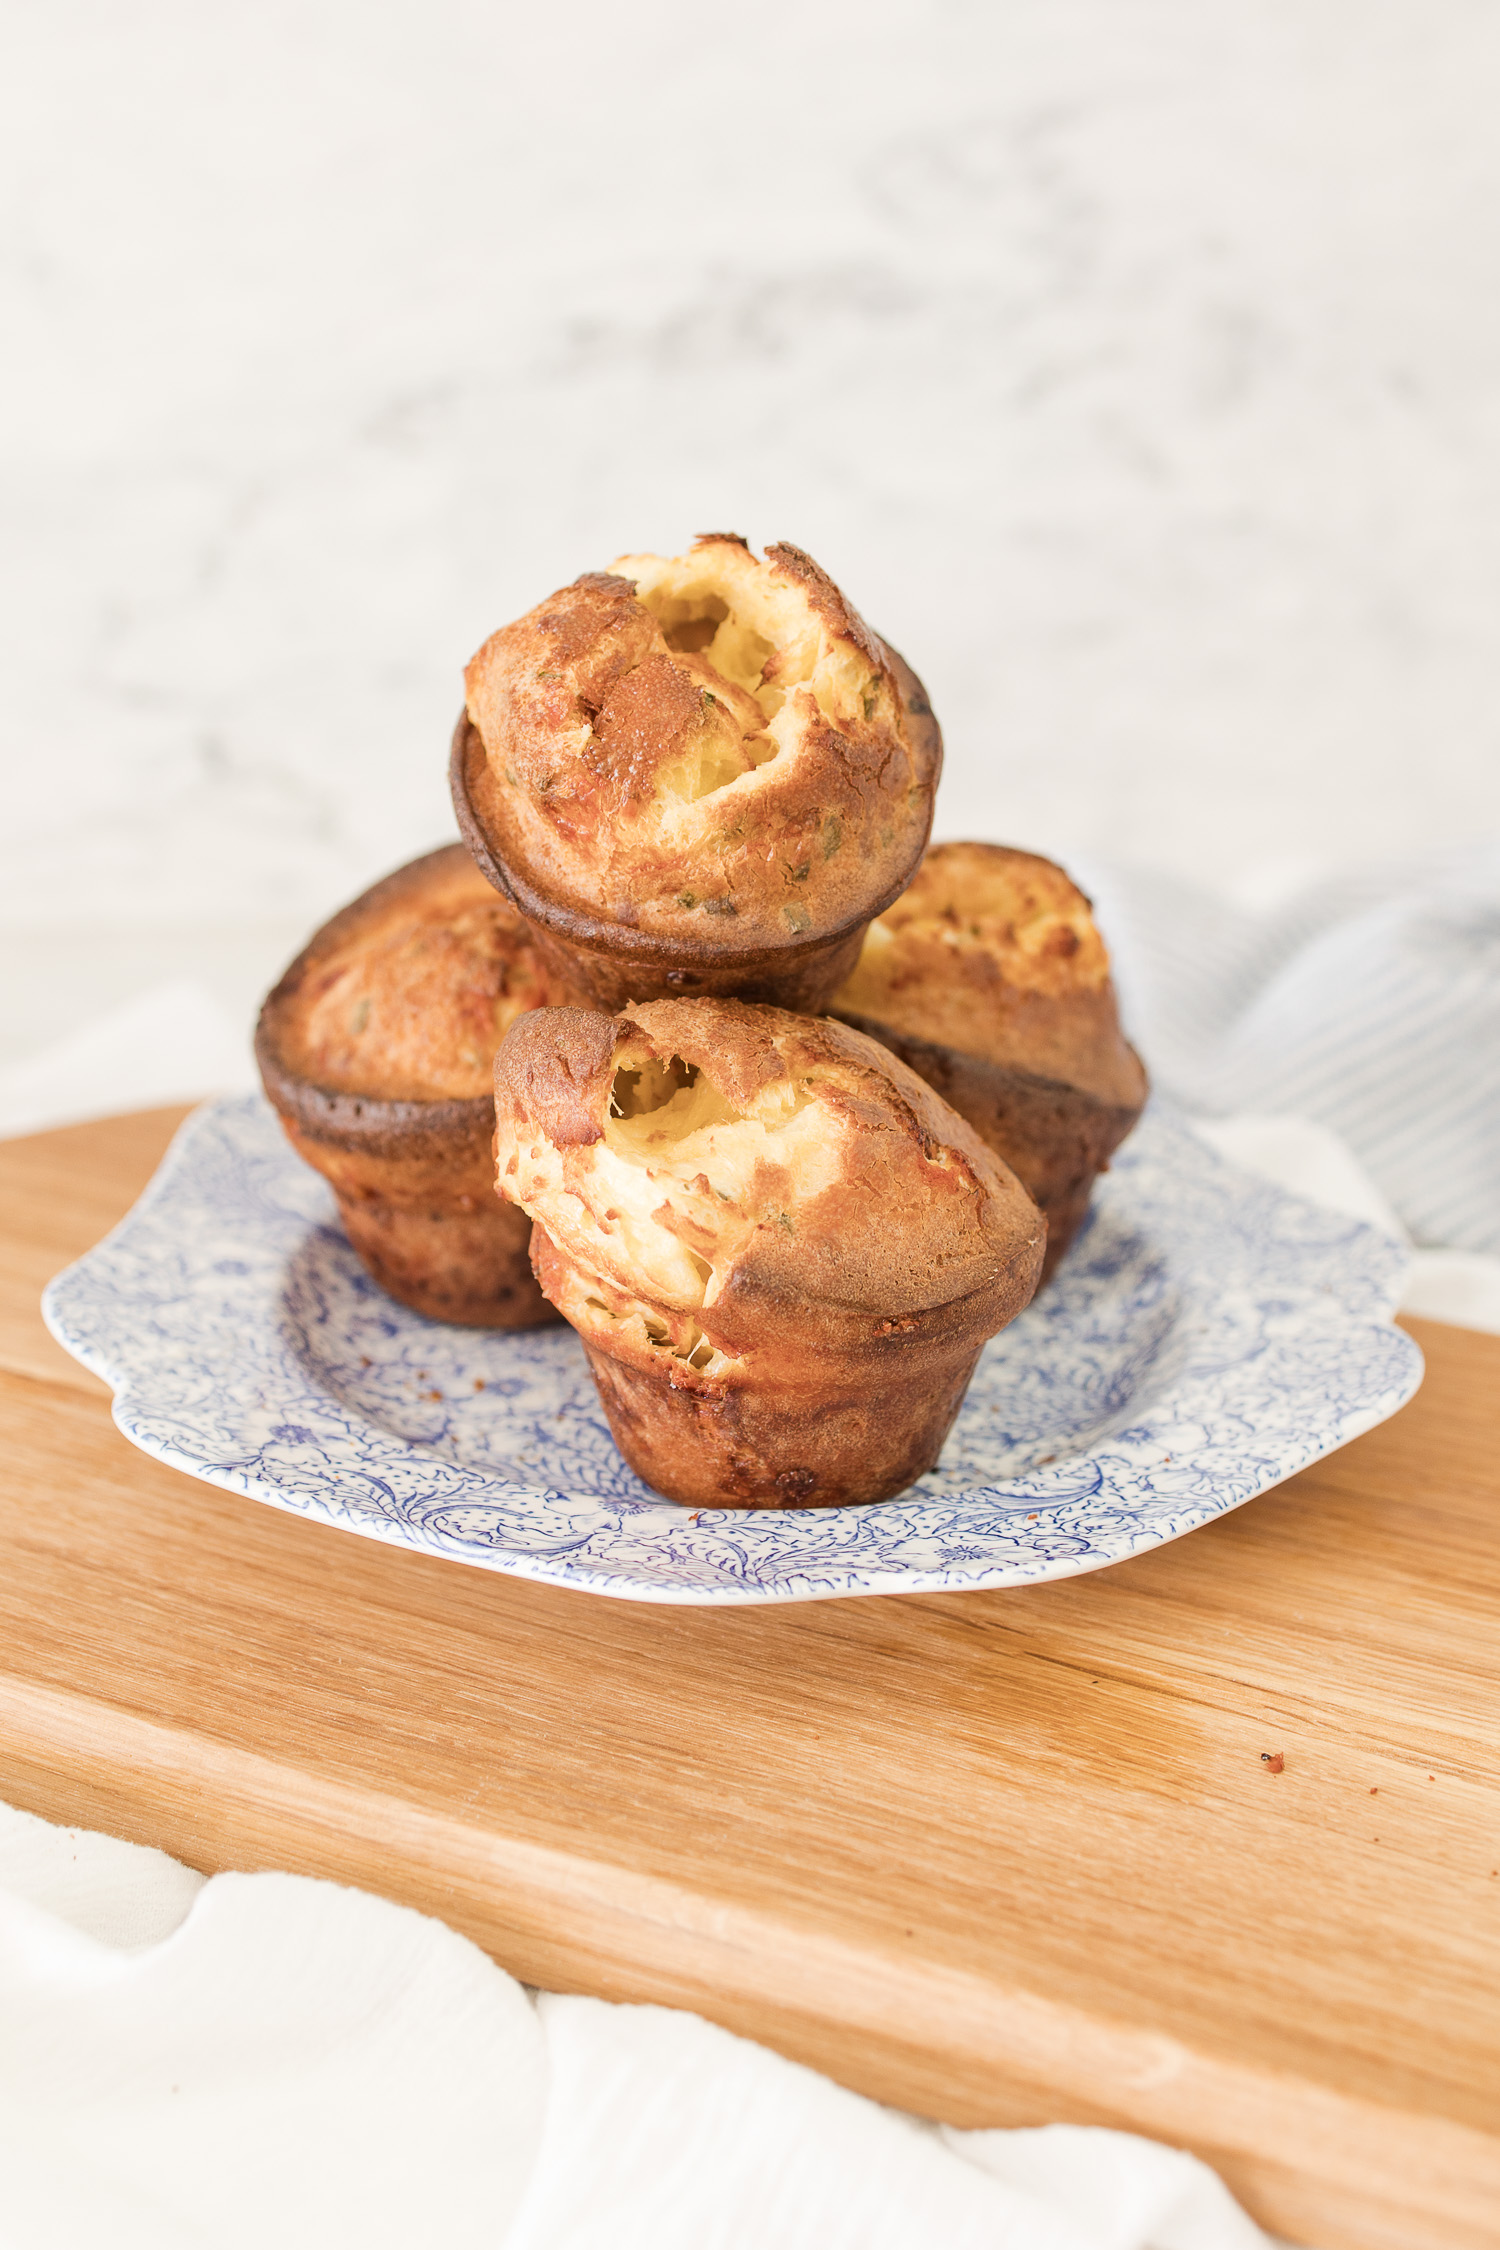
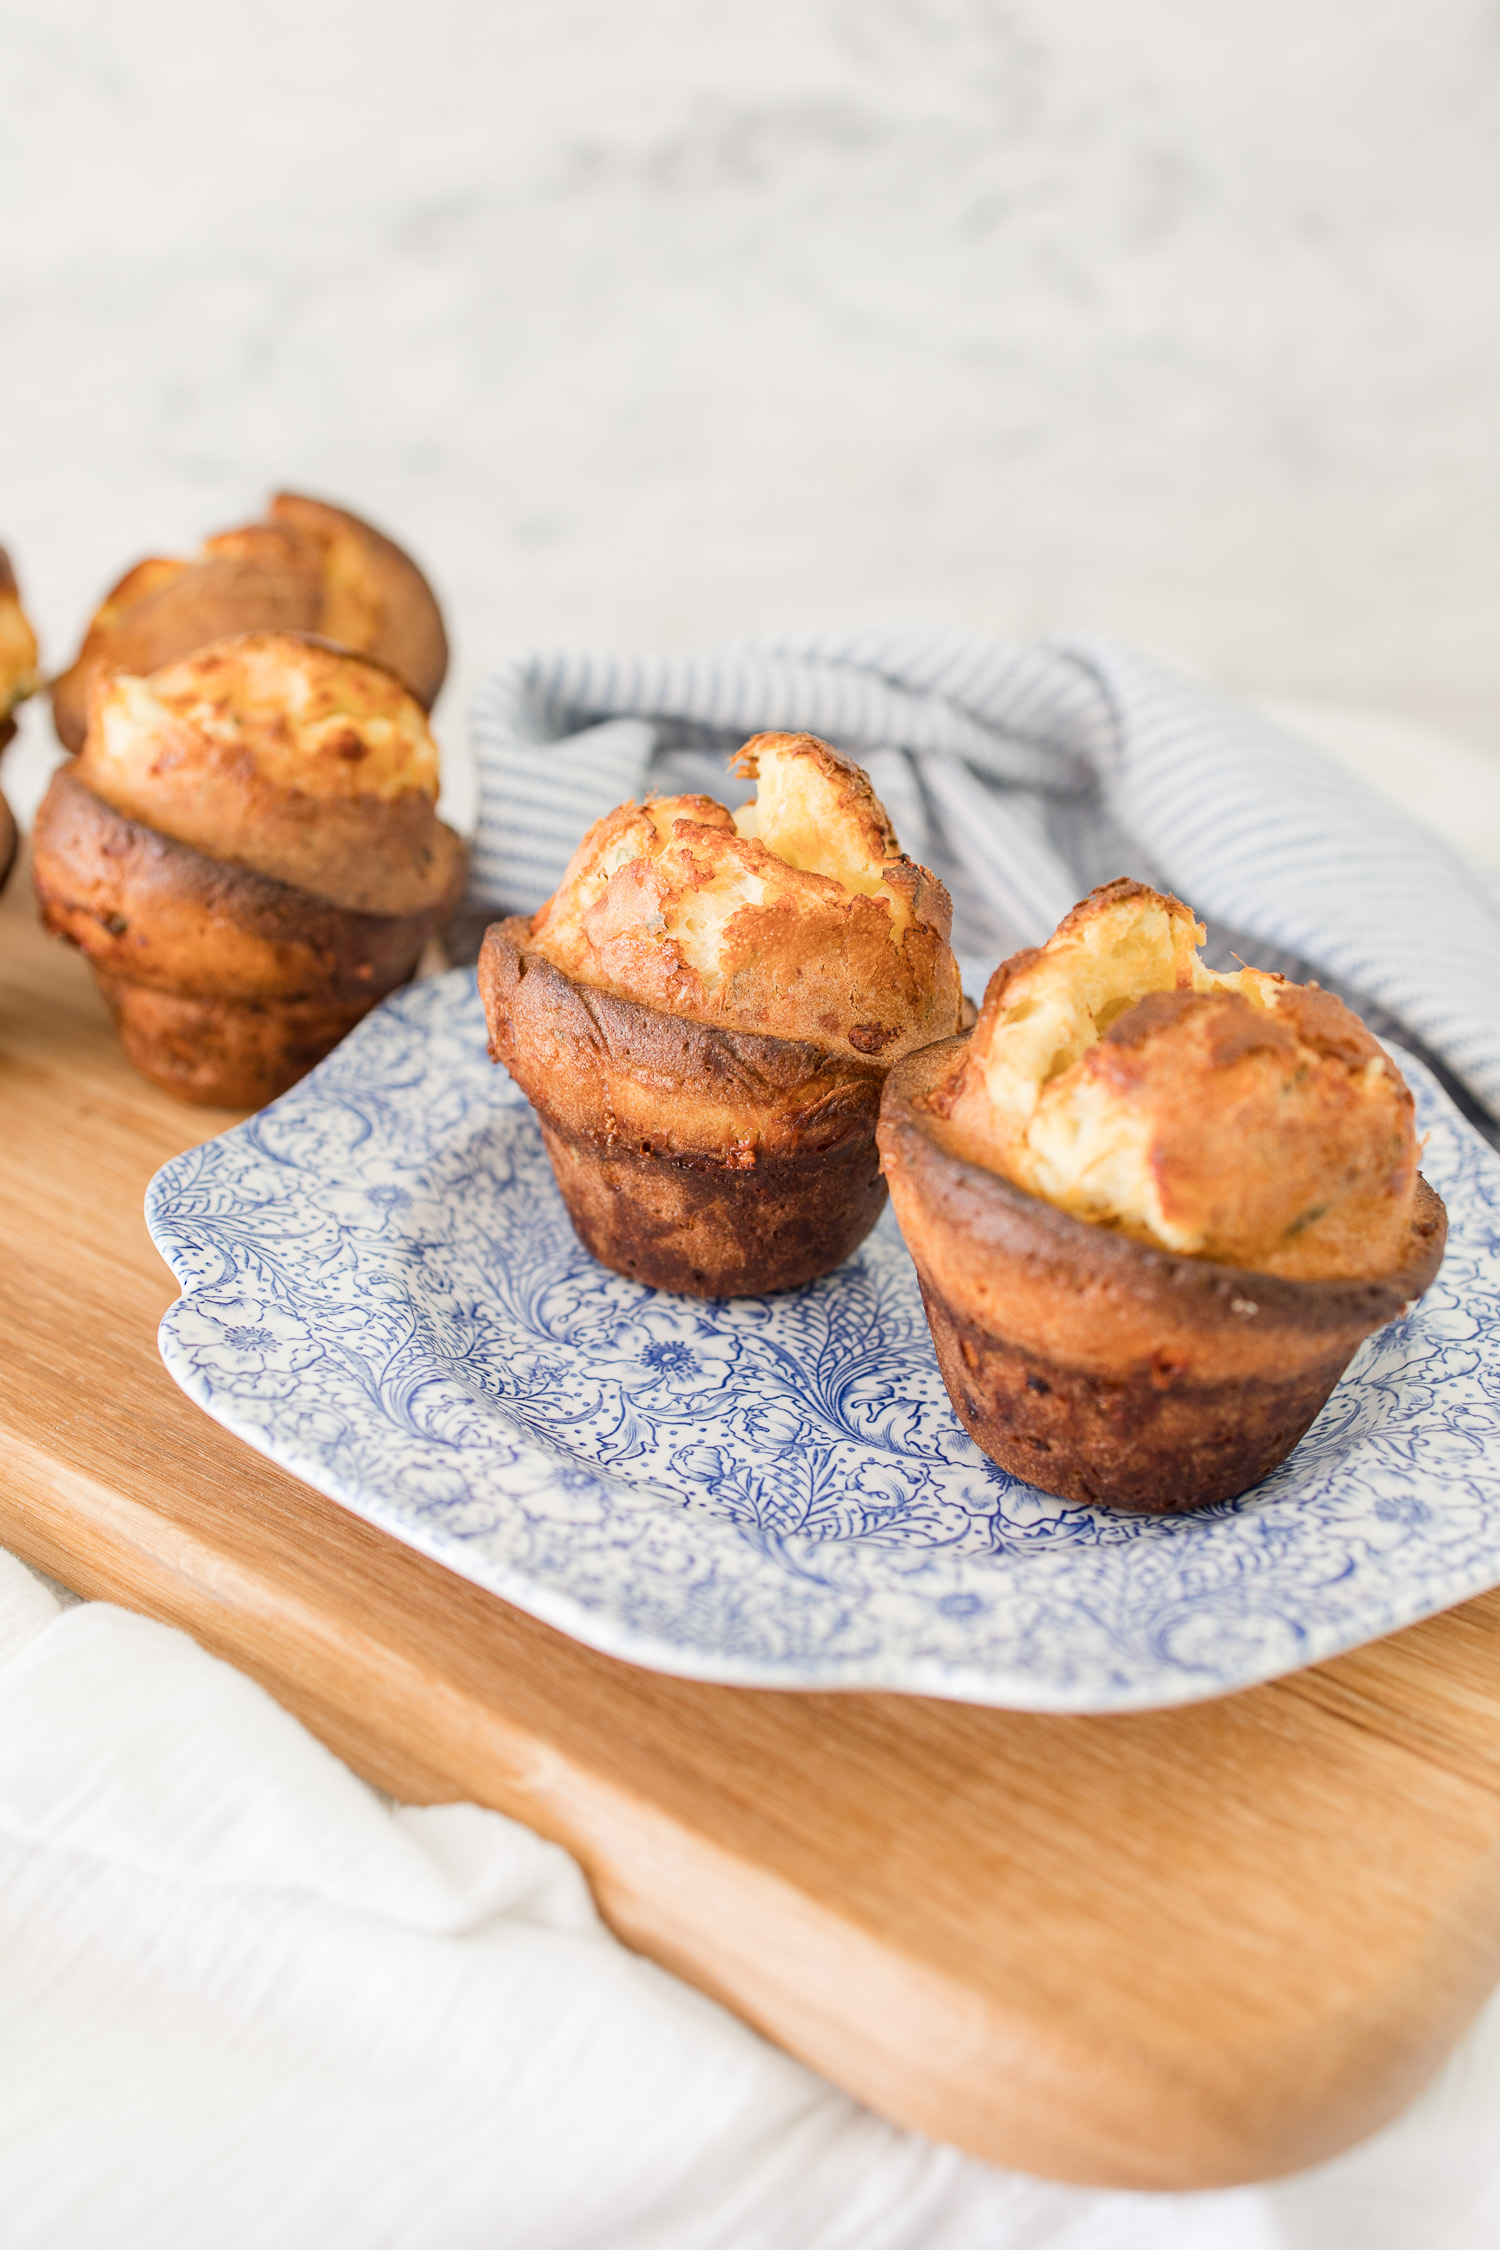
The best popovers are light, buttery, and fabulous and this classic popover recipe is easy to make for breakfast or dinner. These popovers rise up high with a crispy exterior and hollow interior.
I will never forget the first time I bit into a popover; a cheese and herb popover that melted in your mouth and left you longing for another, but I refrained. I thought about making my own batch but thought that maybe they were just too complicated. However, while on one of my recent thrift store trips I stumbled upon a popover pan for $4 that seemed brand new. Now was my chance…to make my own popovers, to eat as many as I wanted without shame and embarrassment.
And guess what? They are not difficult at all! It’s funny how we trick our minds into thinking something is too hard to do so we refrain and then somewhere along the line we get the courage to try only to find out we can do it. Ok…enough of the sentimental stuff…but honestly, I have learned lately to try new things and be brave.
This post contains affiliate links where I can receive commission from your purchases, thank your support. Please read my full disclosure.
What is a Popover
A popover is a light roll made from an egg batter and no yeast!) that is baked in a special pan that has deep wells and straight-walled sides. The origin of the Popover is English-inspired with settlers from Maine who founded Portland, Oregon Americanized the pudding from Yorkshire.
The popover is particularly popular in New England cities like Boston which is the area I am from. Yorkshire pudding batter is made from a combination of flour, salt, eggs, milk and butter with the only notable difference is the type of pan used. A popover is baked in a special popover pan whereas a Yorkshire pudding is traditionally made with a typical, angled muffin pan. The only other difference is a Yorkshire pudding is traditionally greased with beef fat and served as a savory dish. A popover can be either sweet or savory or just plain.
Why You’ll Love Popovers:
How to Make Popovers
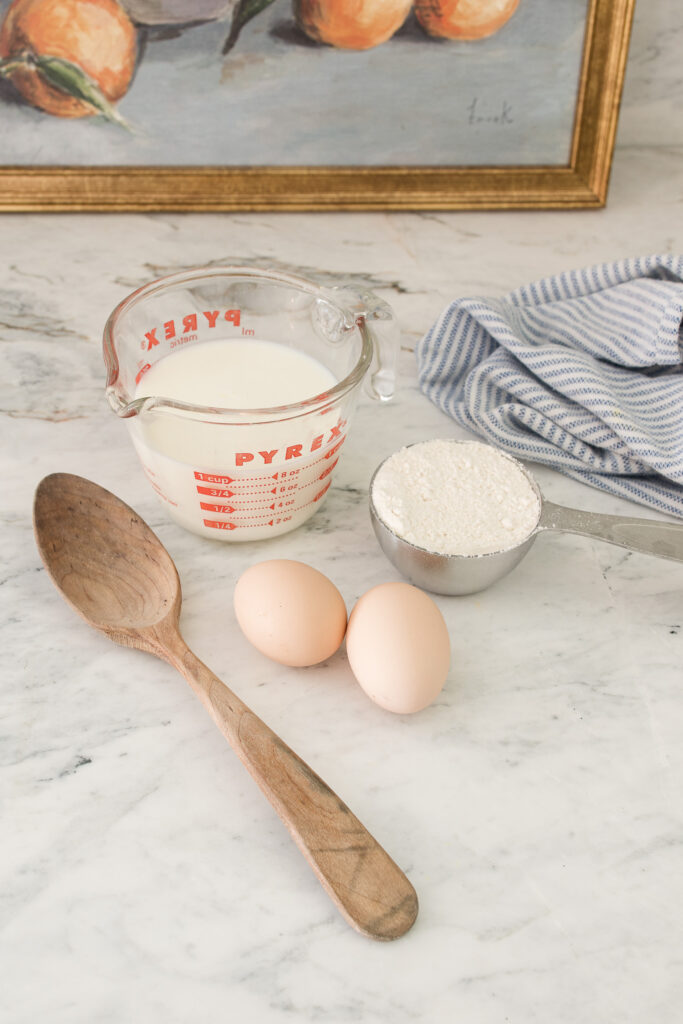
You only need five pantry items to make these rolls. Eggs, whole milk, all-purpose flour, butter, and salt and any stir ins you like (more on that later). They are so simple!
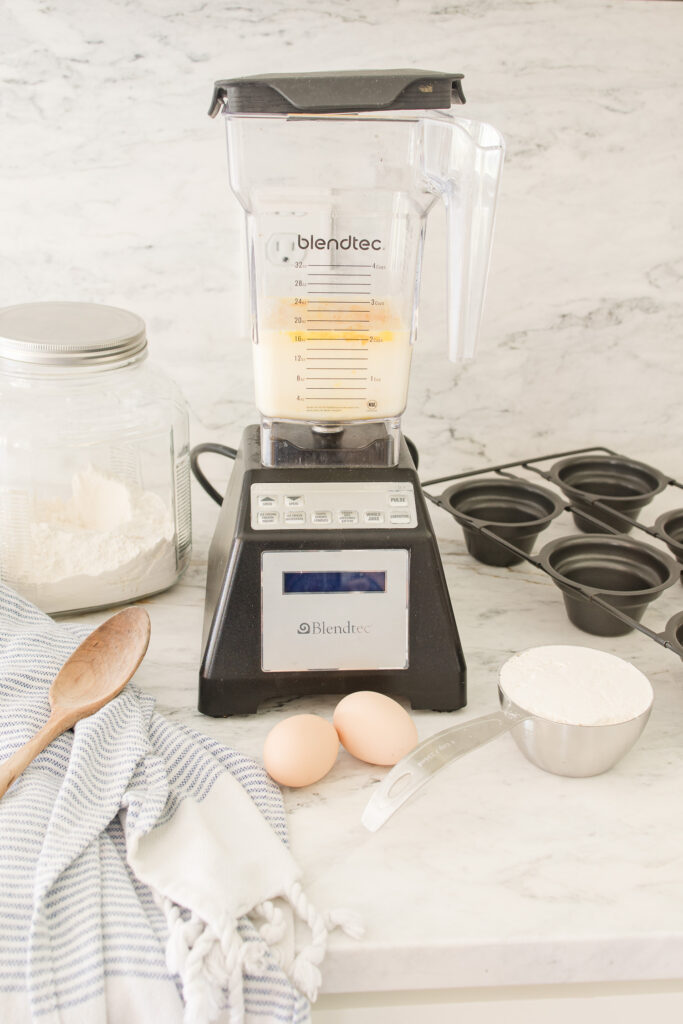
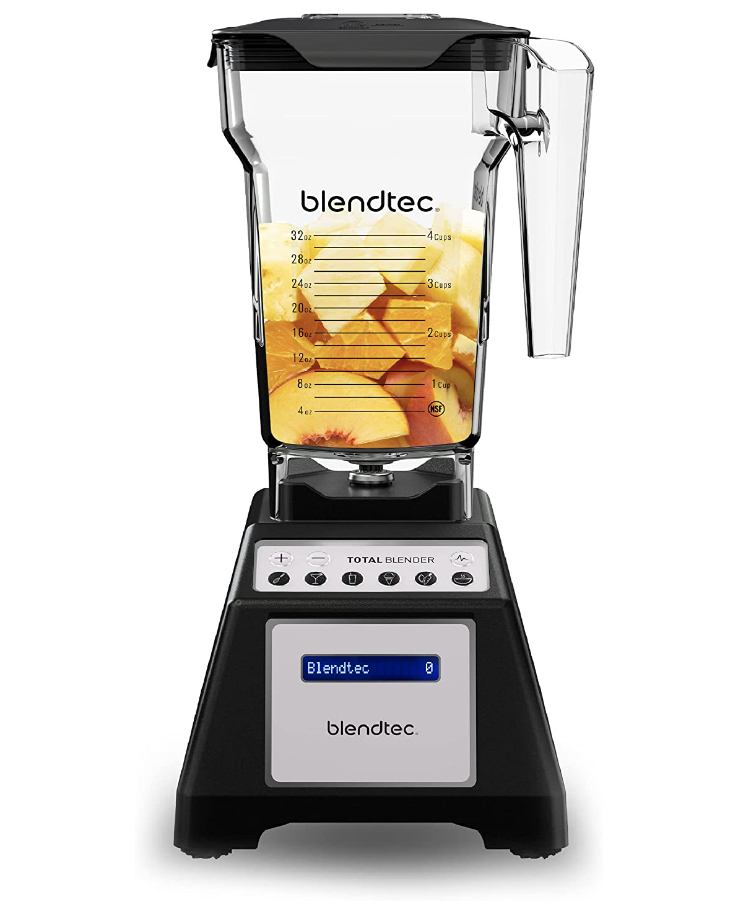
- Blend the eggs, milk, and salt in a blender. Add in flour, followed by the melted butter.
- Let batter rest while the oven preheats.
- Warm up the popover pan in the hot oven, then coat with nonstick spray or butter.
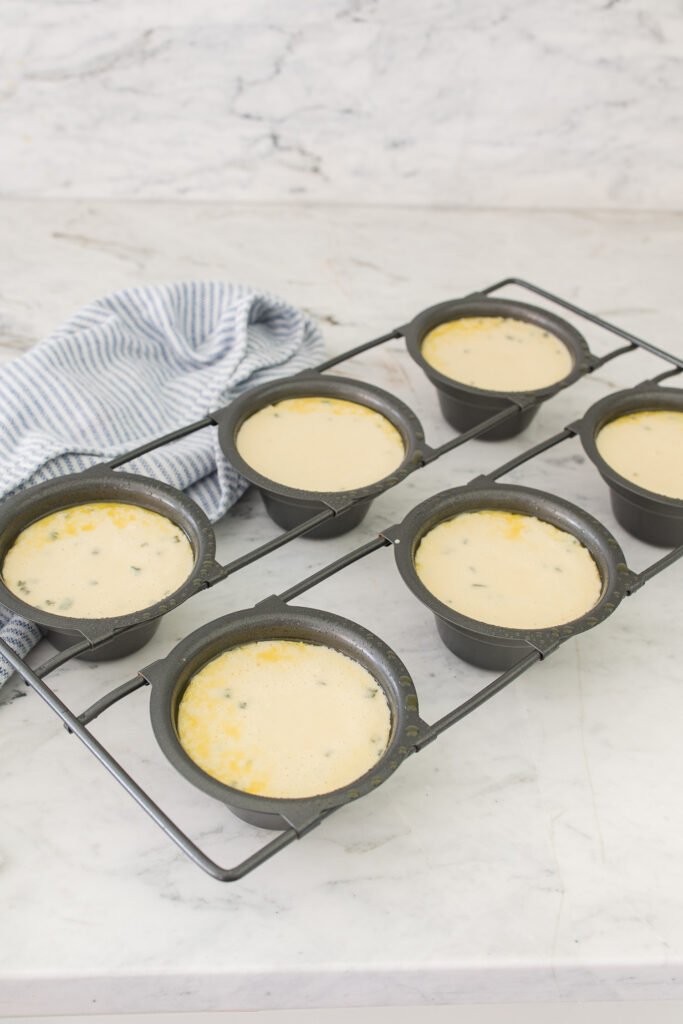
- Fill the tins with the batter.
- Bake at 450°F for 20 minutes, then reduce the heat to 350°F and bake another 10 minutes.
- Remove from the oven and pierce the top with a pairing knife to release steam.
- Slip them out of the pan and serve immediately.
Check Out These Other Recipes!
Easy Berry Banana Bread Recipe
Blackberry Greek Yogurt Muffins
Delicious Strawberry Muffins
Popover Recipe Tips
For the perfect popover here are some recipe tips to ensure your popovers are delicious.
- Before cracking the eggs, bring them to room temperature.
- Ensure your milk is warm before mixing it in with the eggs. This helps to trap the air and while baking, that trapped air expands and produces a fluffy popover.
- Don’t scoop! Spoon and level the flour to ensure you measure the proper amount.
- Be sure to really beat the eggs and milk well before adding the flour.
- Don’t over beat the batter once you’ve added the flour as this creates a slightly tougher texture.
- Preheat the pan before you grease it and add the batter. This is crucial to getting a good rise and crisp exterior.
- Allow the batter to rest at room temperature while the oven preheats. Resting the batter really does result in better-risen popovers with an airier texture (as opposed to chewy).
- Don’t open the oven door while they’re baking. This could cause them to deflate. IF they are browning too much, you can open the door toward the last 5 minutes and quickly place a cookie sheet on a top oven rack to shield the popover’s tops from the heat.
- Let the steam escape once done baking. Popovers lose their crispiness if left too long in the pan, so remove them onto a wire rack immediately and make a small slit in the side of each with a paring knife release the steam.
Do You Need a Special Pan to Make Popovers?
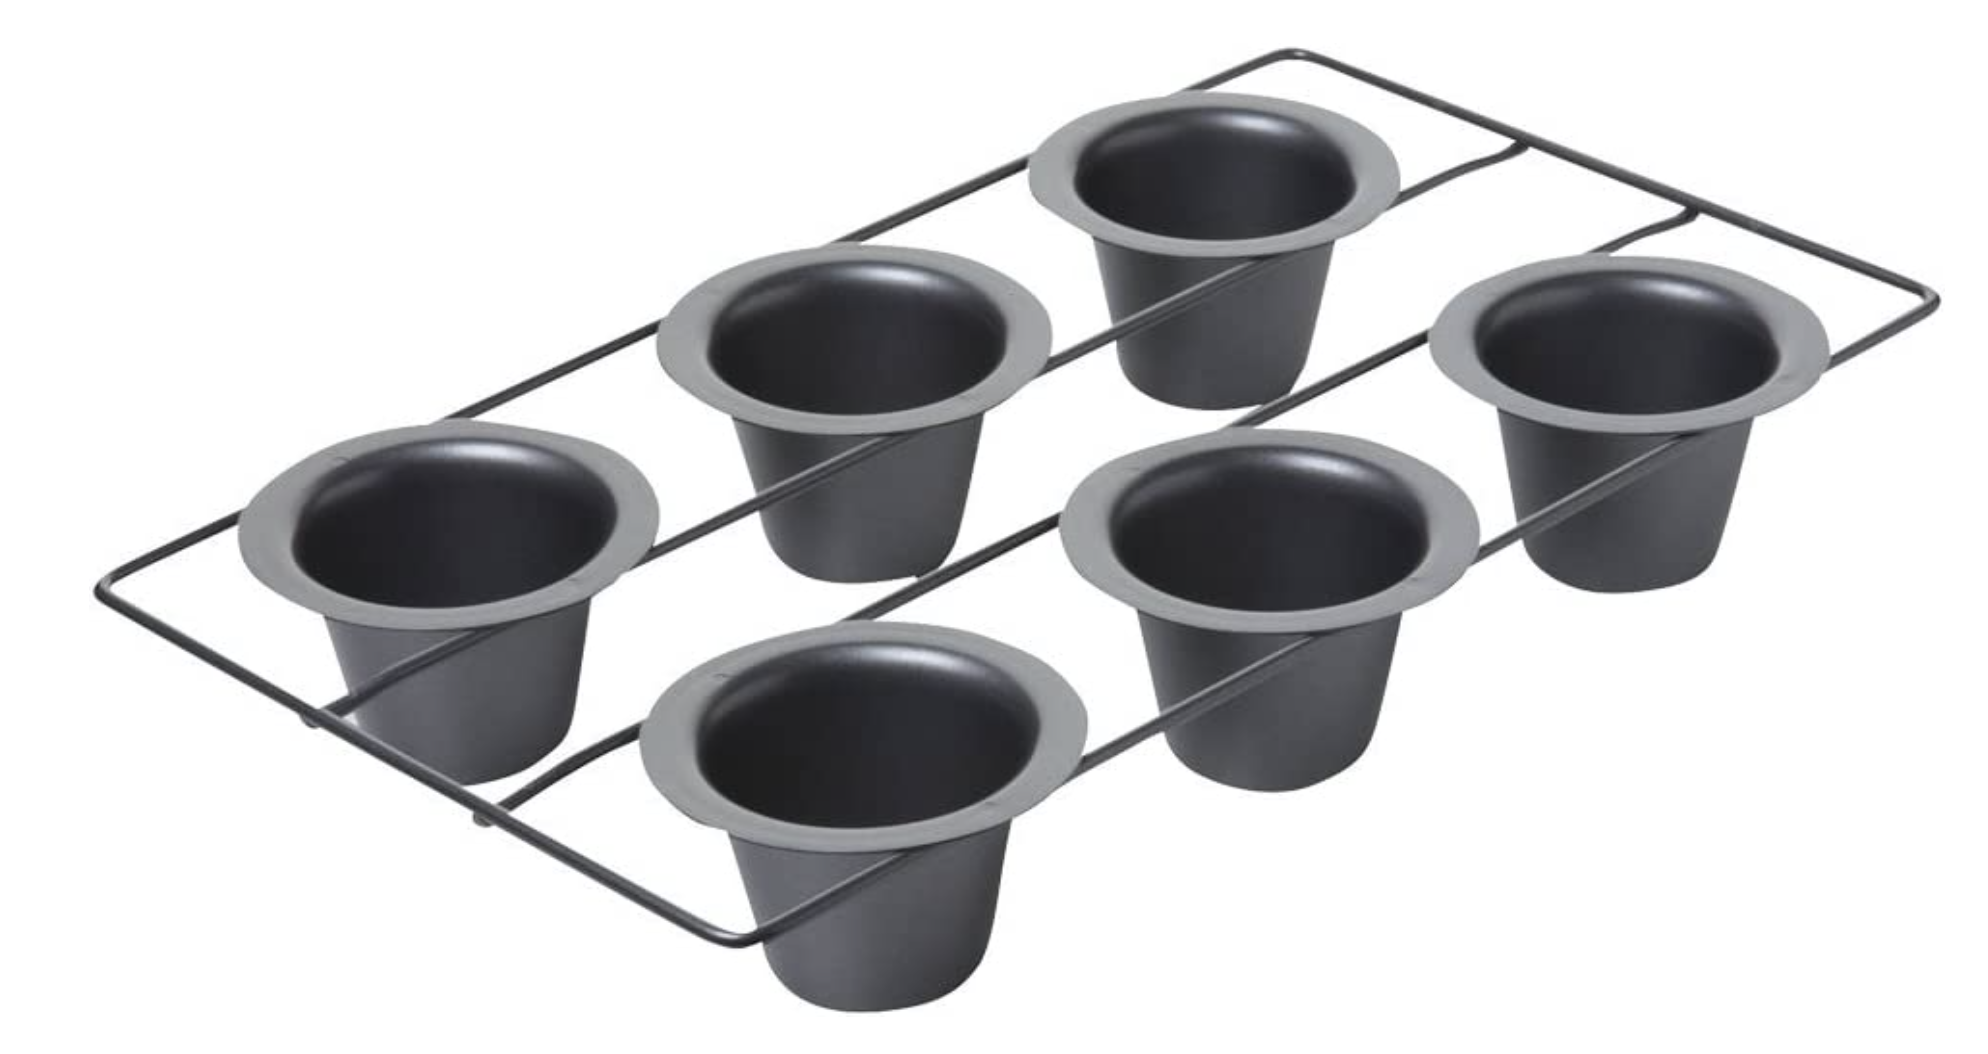
For best results, I highly recommend one. This is truthfully why I never made popovers before; I didn’t have the pan and didn’t want to purchase one. This popover recipe makes 6 popovers using this popover pan.
Popover pans are different from regular muffin tins in a couple ways. They have deep, steep-sided wells, which forces the batter upward while baking, resulting in a puffy top and crispy sides. You’ll also notice that most popover pans have the cups welded to the wire rack. This isn’t for aesthetics, but rather promotes even circulation of air and heat around the tins.
Technically you could make them in a muffin tin but it’s not preferred. This particular recipe makes enough batter to fill a standard 12-slot muffin tin. The popovers will still be good but smaller and possibly more dense. You will need to reduce your cooking time by 5 minutes at the higher temperature and also 5 minutes at the lower temperature.
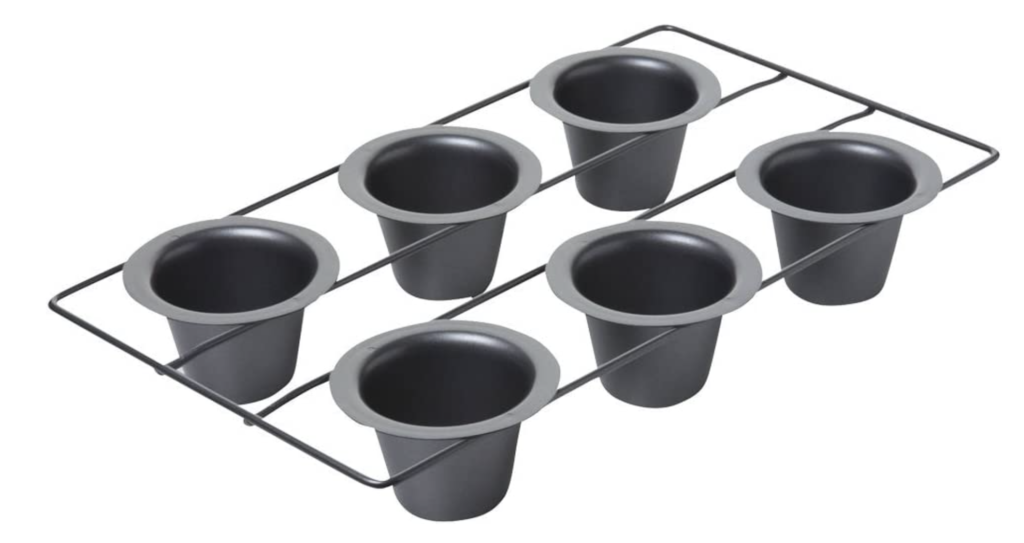
Popover Pan
Popover Recipe Variations
The sky is the limit with popovers, from sweet to savory or just plain so you can add butter, honey or jam. You can be creative in with your popovers.
You might want to fill a savory popover with smoked salmon, cream cheese and chives or with braised beef and gravy. A classic example of a sweet popover is one loaded with custard and a fruit filling such as apple or blueberry. But the sky is the limit for your popovers. Load them up with lobster, pulled pork or mashed potatoes. Fill them with chocolate and ricotta drizzled with honey and pistachios.
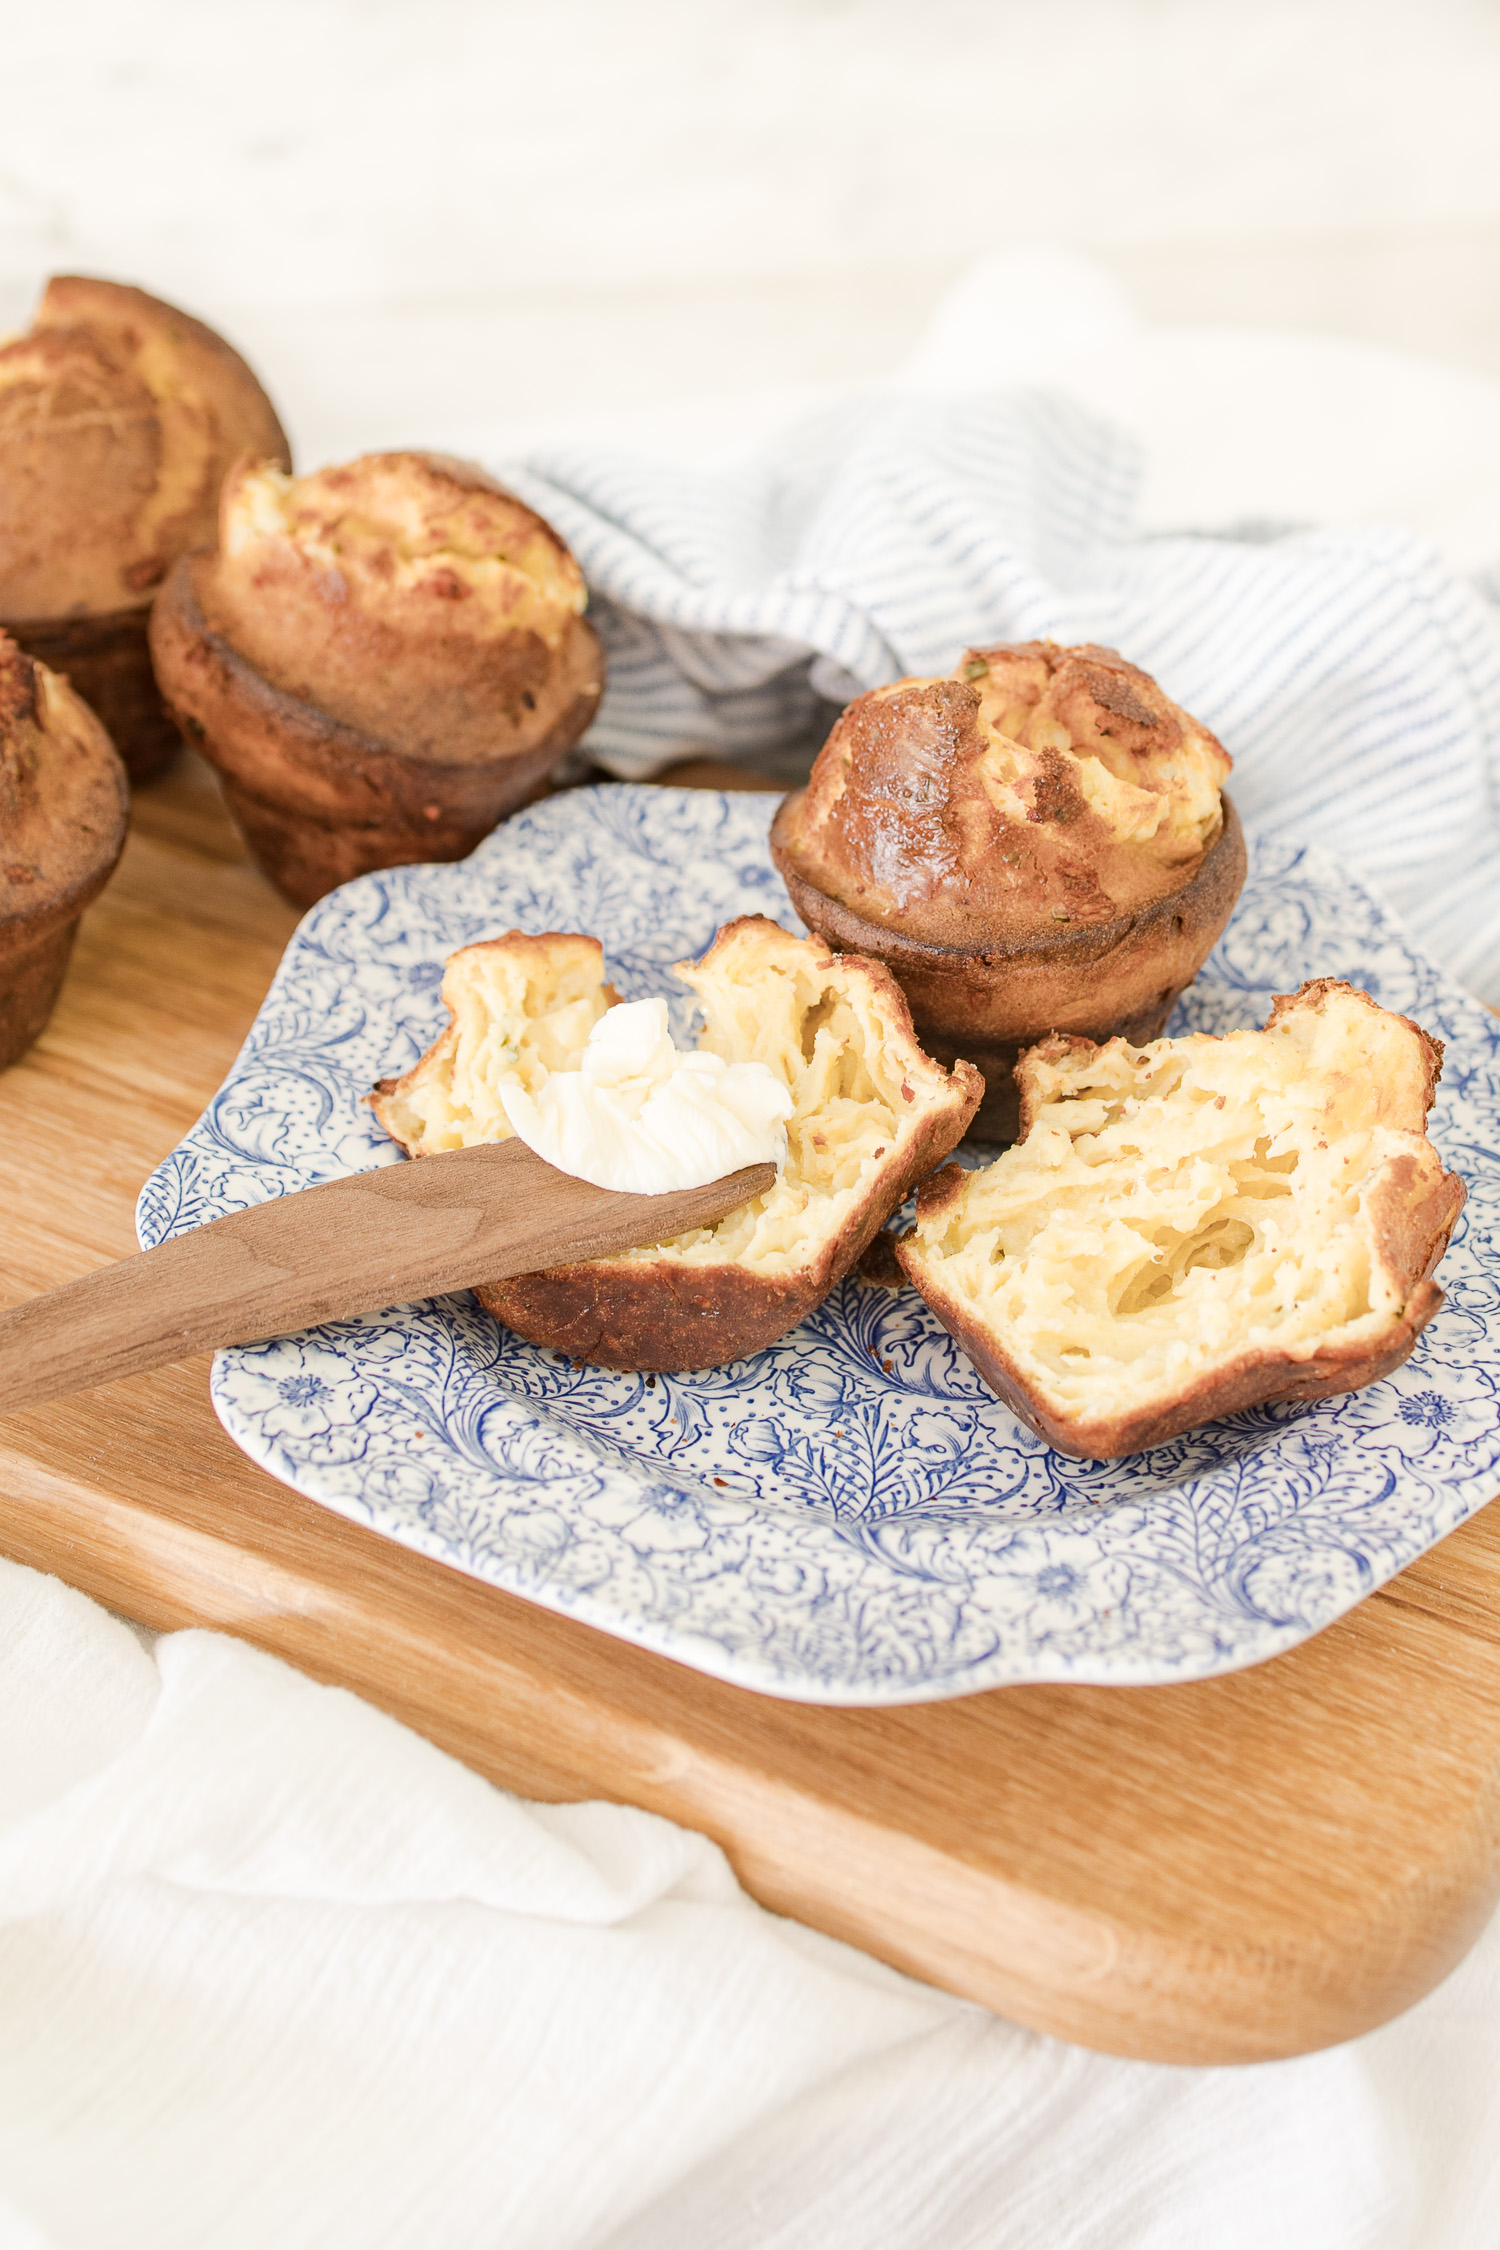
For this recipe I made Gruyere Cheese and Garlic Popovers with a touch of dried chives but you could also make these popovers just plain leaving out the cheese, garlic and chives.
Popover Variation Ideas:
How to Store and Reheat Popovers
Popovers are best enjoyed right after they come out of the oven; if possible, bake and serve immediately because the longer they sit, they tend to lose their height and crispness. However, you can still make them ahead of time and they will still be delish! I have even eaten a cold popover and I still think they are delicious.
Storing & Reheating
- Can you reheat popovers? Yes. Just warm them in a 350°F oven until warm and crispy again, about five minutes or place in the microwave for around ten seconds.
- Can you freeze popovers? Yes. Freeze baked and cooled popovers in an airtight, freezer-safe bag for up to 2 months. To reheat, place the popovers directly from the freezer into a 350°oven and bake until warm and crispy, about 8 minutes.
What to Serve with Popovers
Popovers are great for brunch, breakfast or with your dinner. I love a goat cheese and herb popover with a salad for lunch.
Serve your popovers with jam, lemon curb or a herb butter. One of the most versatile, delicious and satisfying treats is a warm and fluffy popover. Enjoy!
Easy Popover Recipe

Gruyere Cheese and Garlic Popovers
The best popovers are light, buttery, and fabulous and this classic popover recipe is easy to make for breakfast or dinner. These popovers rise up high with a crispy exterior and hollow interior.
Ingredients
- 4 large eggs , room temperature before cracking
- 1 1/2 cups room temperature whole milk
- 1/2 teaspoon salt
- 1 1/2 cups all-purpose flour , spooned and leveled
- 3 tablespoons melted butter, slightly cooled
- 1 cup Gruyere cheese
- 1 1/2 teaspoons minced garlic
Instructions
- Blend eggs, milk, minced garlic and salt in a blender. Add flour and cheese and blend until smooth.
- Add melted butter at the end, blending until frothy. Let batter rest for 15 minutes while you preheat the oven.
- Preheat the oven to 450 degrees F
- Place a 6-slot popover pan on a baking sheet and place in oven for 2 minutes while oven is preheating.
- Spray the hot pan all over (including inside the wells and the outside rim) with nonstick cooking spray or use melted butter to coat the pan.
- Pour batter evenly into the muffin slots, almost to the top.
- Bake the popovers for 20 minutes without opening the oven door. Reduce the heat to 350°F and bake for an additional 10 minutes, until they're tall, have "popped" over the tops of the pan, and are a deep, golden brown.
- Without opening the oven door, check them with the oven light during the last few minutes to make sure they’re not over-browning. If so, quickly open the door and put a cookie sheet on that upper rack to shield the popovers' tops from direct heat.
- Remove them from the oven, and pierce the top or bottom of each with the tip of a pairing knife, to release steam and help prevent sogginess.
- Remove them from the pan, split open and serve.
Recommended Products
As an Amazon Associate and member of other affiliate programs, I earn from qualifying purchases.
Follow for home decor, DIY and to shop: Instagram | Pinterest | LiketoKnowit